Do-it-yourself snow blower from a brush cutter
With the onset of winter, an irresistible desire arises to mechanize the snow removal process, since you can’t shovel much with a shovel. Having enough free time and desire, you can temporarily upgrade the engine of a brush cutter for snow removal, and in the summer use it again for its intended purpose.
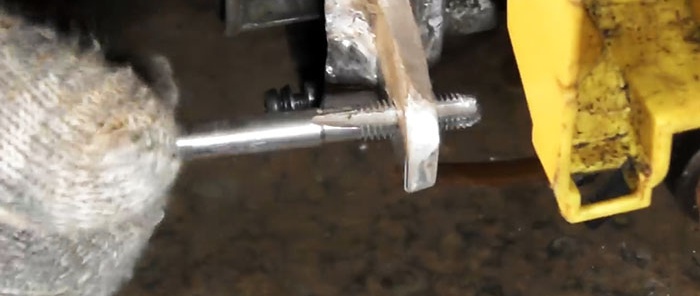
The first step is to remove the rod with the upper gearbox, the starter and the fuel tank from the brushcutter engine. On the clutch side, mounting ears are welded to the motor housing to secure it to the snow blower hopper. Holes are drilled in them and threads are cut for M8 bolts.
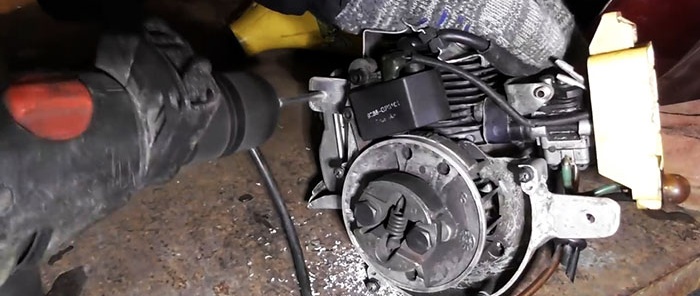
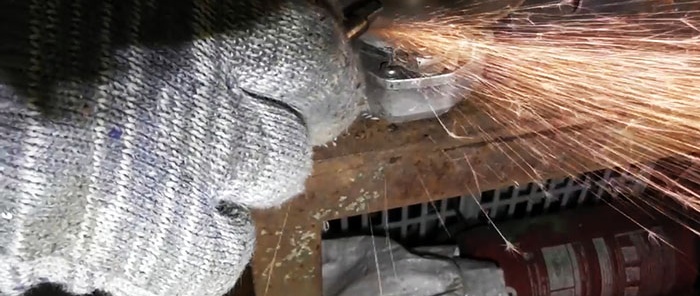
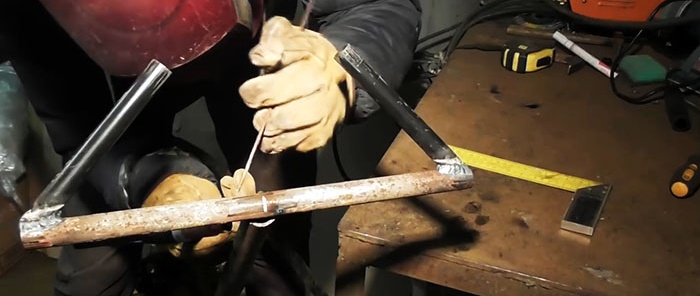
After upgrading with lugs, the lawn mower is put back together, but without the rod yet. Next, you need to shorten the rod so that there is literally a gap of 5-7 cm between the upper and lower gearboxes. To do this, first cut the tube, and then the shaft.
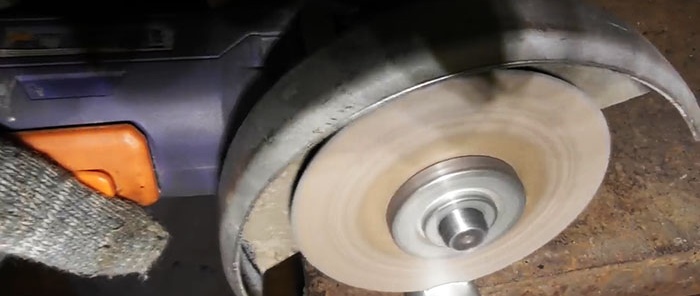
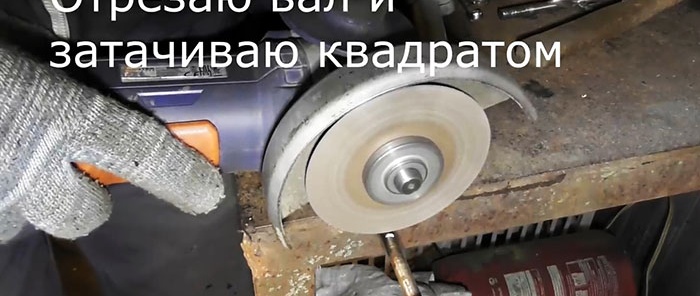
The cut end of the shaft is sharpened with a square so that it fits freely into the gearbox.
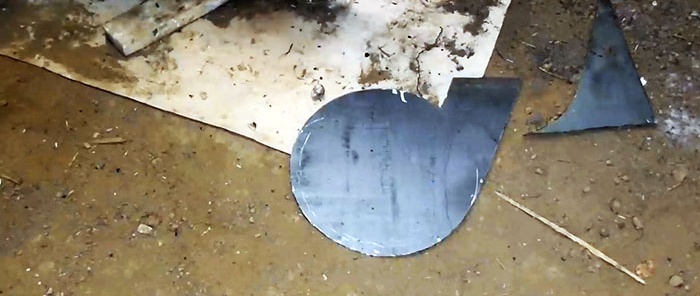
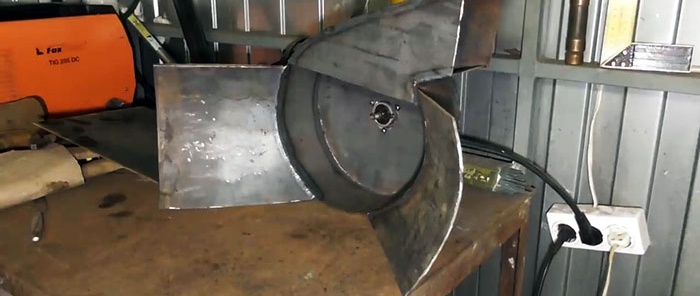
After remaking the engine and rod, the snail of the snow blower itself is made.Its shape is cut from sheet steel. The diameter of the base of the snail should be several centimeters larger than the mowing blade, which will later be digested to capture snow.
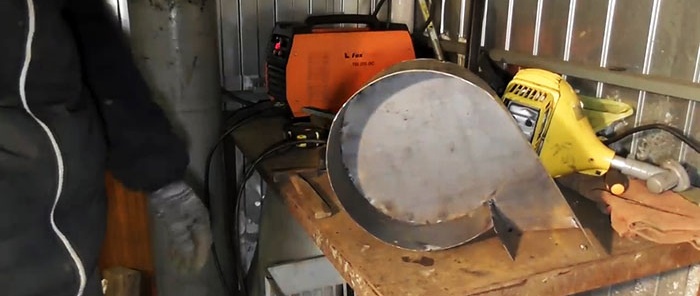
A side wall made of the same steel is welded to the base of the snail. The height of the resulting sidewall is approximately 10 cm. The higher it is, the greater the snow capture, but an increase is only advisable when using a powerful scythe. In the example sample, the engine power is 0.75 kW, which is basically enough.
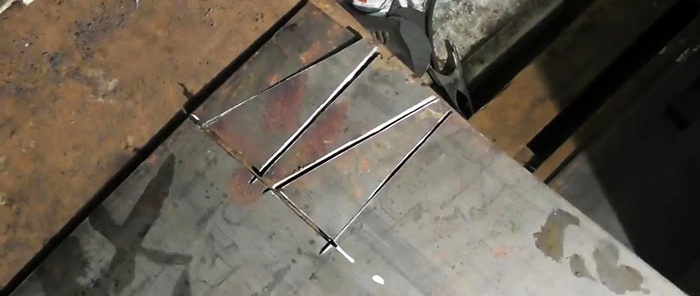
Next, you need to weld the snow ejection trunk, which is part of the snail. To do this, a steel cover is cut out.
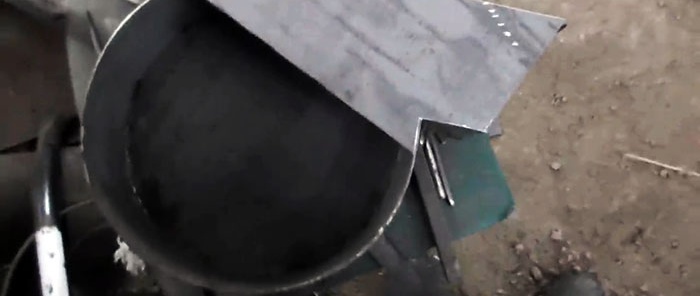
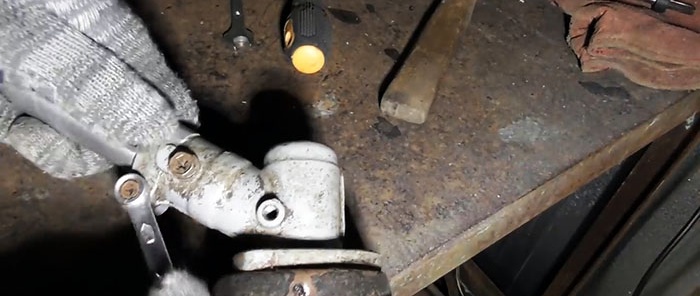
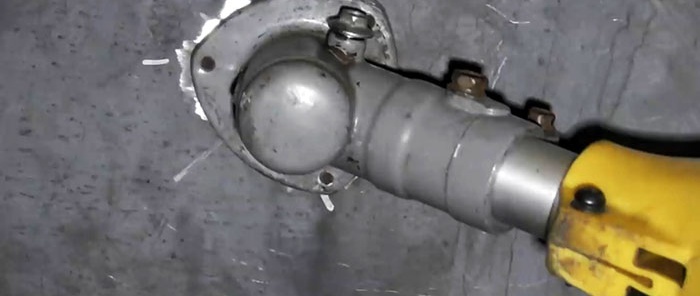
A hole is made in the center of the resulting body to connect the lower gearbox of the braid. The shaft is inserted into it, and mounting holes are made to secure the gearbox with bolts.
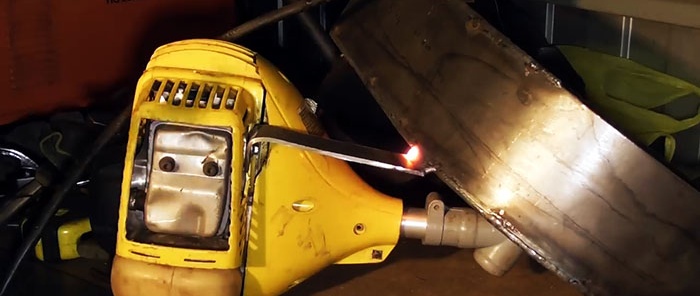
2 suspensions are made from steel in the form of curved strips, which are welded to the volute. The angle of their fixation is selected individually according to the dimensions of the brush cutter. This is not difficult, since at this moment it is already exposed, since its gearbox is clamped.
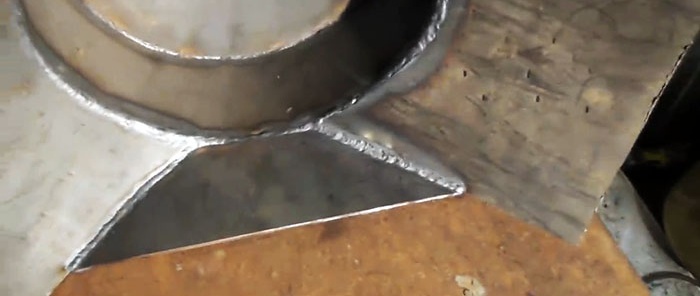
To direct the snow into the snail, you need to weld grips made of the same sheet steel to it. They consist of 3 parts. Two large wings diverge on the sides, and one pick-up is welded from below.
To make the snow blower slide, skids are welded to its body on the lower grip side.
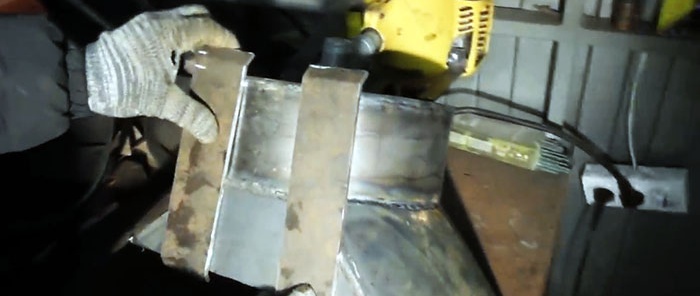
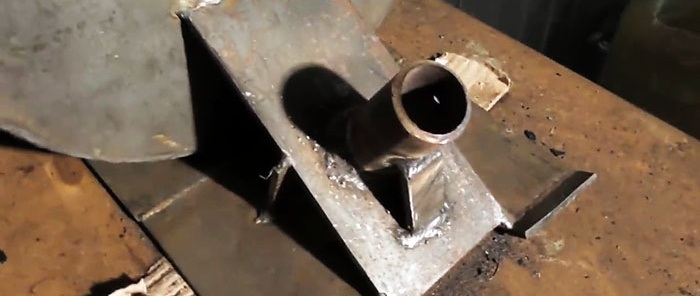
To control the unit, a pipe stand is attached to its body and skids. The steering wheel is welded to it. The gas lever and the ignition switch are placed on it.
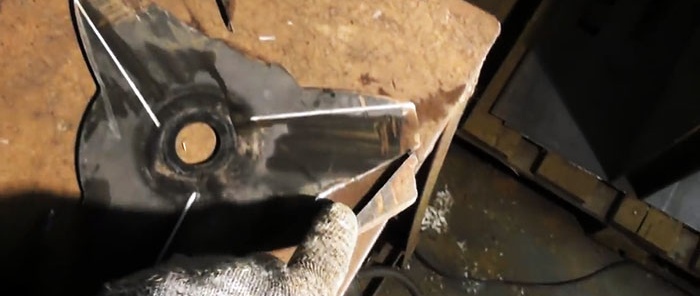
All that remains is to modify the mowing knife. First of all, you should cut it a little, removing bends from wear. After this, snow grips are welded to it, one for each blade of the knife.
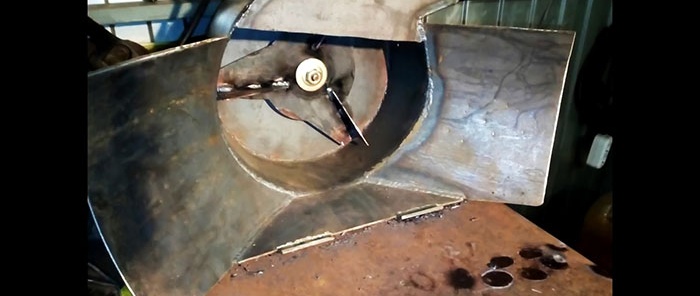
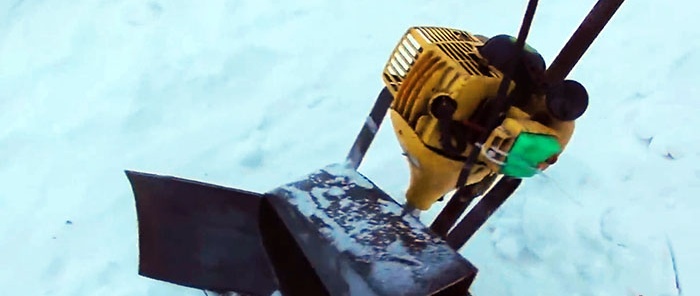
The snow blower, although small, does a good job of clearing snow.
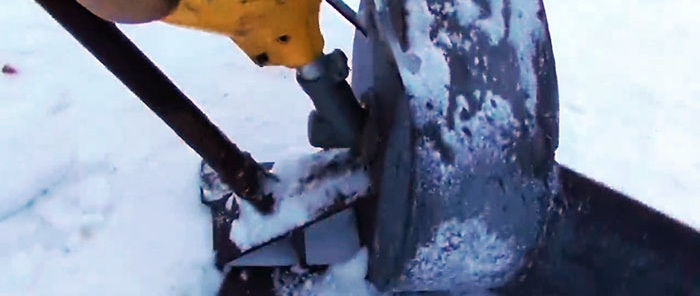
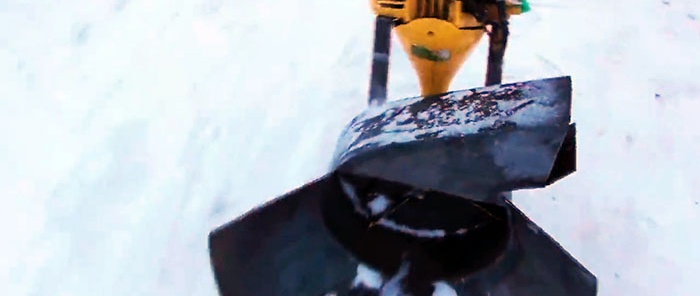
The small size of the capture bunker makes it difficult to work with dense snow, which, having collected in large lumps, simply does not enter the snail.
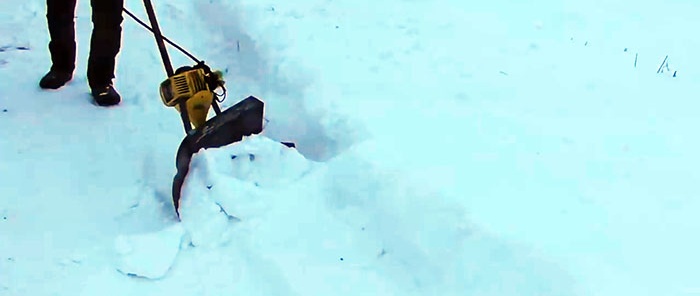
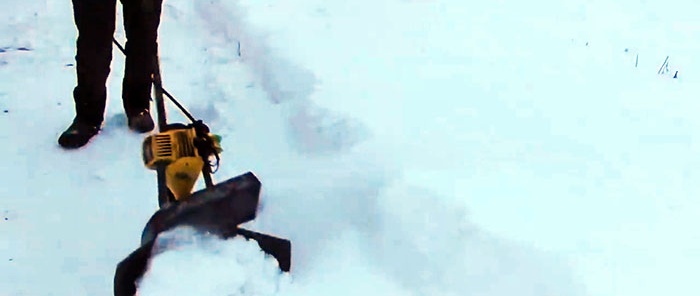
The device works most effectively on freshly fallen snow. The positive thing about this modification of the lawn mower is that its motor can be removed and a whole bar attached to it to continue mowing weeds in the summer.

Basic materials:
- brush cutter;
- sheet steel with a cross section of 2-3 mm;
- 2 bolts with M8 nuts;
- pipe d20 or larger.
Converting a lawn mower into a snow blower
The first step is to remove the rod with the upper gearbox, the starter and the fuel tank from the brushcutter engine. On the clutch side, mounting ears are welded to the motor housing to secure it to the snow blower hopper. Holes are drilled in them and threads are cut for M8 bolts.


After upgrading with lugs, the lawn mower is put back together, but without the rod yet. Next, you need to shorten the rod so that there is literally a gap of 5-7 cm between the upper and lower gearboxes. To do this, first cut the tube, and then the shaft.


The cut end of the shaft is sharpened with a square so that it fits freely into the gearbox.


After remaking the engine and rod, the snail of the snow blower itself is made.Its shape is cut from sheet steel. The diameter of the base of the snail should be several centimeters larger than the mowing blade, which will later be digested to capture snow.


A side wall made of the same steel is welded to the base of the snail. The height of the resulting sidewall is approximately 10 cm. The higher it is, the greater the snow capture, but an increase is only advisable when using a powerful scythe. In the example sample, the engine power is 0.75 kW, which is basically enough.
Next, you need to weld the snow ejection trunk, which is part of the snail. To do this, a steel cover is cut out.

A hole is made in the center of the resulting body to connect the lower gearbox of the braid. The shaft is inserted into it, and mounting holes are made to secure the gearbox with bolts.

2 suspensions are made from steel in the form of curved strips, which are welded to the volute. The angle of their fixation is selected individually according to the dimensions of the brush cutter. This is not difficult, since at this moment it is already exposed, since its gearbox is clamped.

To direct the snow into the snail, you need to weld grips made of the same sheet steel to it. They consist of 3 parts. Two large wings diverge on the sides, and one pick-up is welded from below.


To make the snow blower slide, skids are welded to its body on the lower grip side.

To control the unit, a pipe stand is attached to its body and skids. The steering wheel is welded to it. The gas lever and the ignition switch are placed on it.


All that remains is to modify the mowing knife. First of all, you should cut it a little, removing bends from wear. After this, snow grips are welded to it, one for each blade of the knife.


The snow blower, although small, does a good job of clearing snow.


The small size of the capture bunker makes it difficult to work with dense snow, which, having collected in large lumps, simply does not enter the snail.


The device works most effectively on freshly fallen snow. The positive thing about this modification of the lawn mower is that its motor can be removed and a whole bar attached to it to continue mowing weeds in the summer.
Watch the video
Similar master classes
How and with what to lubricate the shafts in the mower bar

Homemade motorized sprayer from a brush cutter

Do-it-yourself cultivator from a brush cutter
Homemade muffler for brush cutters

How to thread line into the mowing head of a brush cutter
How to lubricate the gearbox of a brush cutter in a simple way
Particularly interesting
Comments (5)


