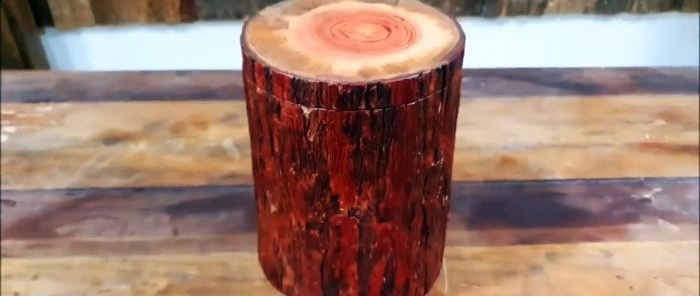
How to make a bread box from a piece of log
Wood is a very beautiful and useful material for humans. The more wood products, the better for people. You can make them yourself and, if you are smart, they will also become a decoration in every home or apartment.
To make a beautiful and functional bread box, we need to prepare:
To transform a log into a beautiful product, we will need the following tools and devices: chain saw, pendulum and jigsaw, tape measure, compass, thicknesser and square, grinder and drill with attachments, chisel and metal brush, sandpaper, clamps, sledgehammer and wooden mallet, brush and cloth napkin.
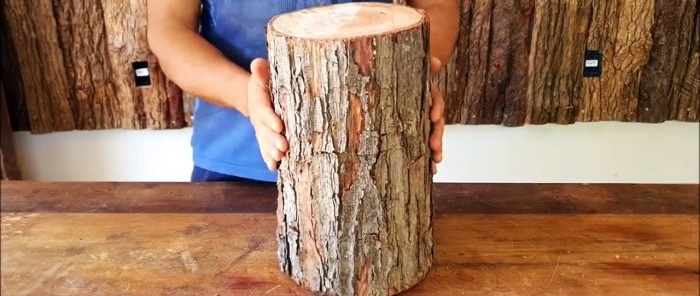
Using a chain saw, we remove the end part and a segment with a minimum runoff of the required length from a log that is suitable in diameter and appearance.
We install it on a flat surface with the run up. We use a tape measure to determine the length and cut off a disk about 6 cm thick from the base of the workpiece. We clean the ends using a grinder.
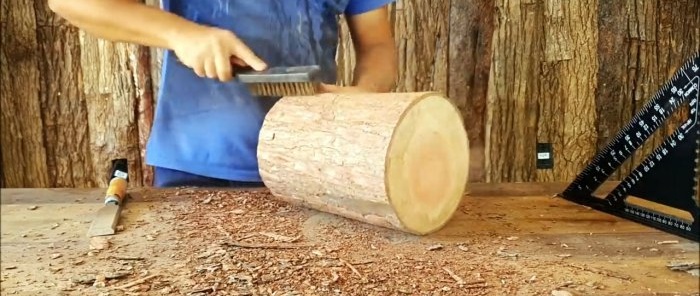
We place the workpiece on the table again and use a square to measure the run, which is approximately the same on all sides. We remove weakly holding parts of the bark with our hands, a chisel and finally with a metal brush.
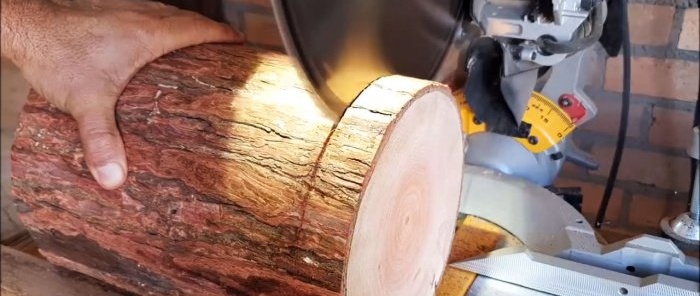
Using a pendulum saw, we cut a disk of a given thickness from the top of the workpiece, which subsequently, after processing, is used as a lid.
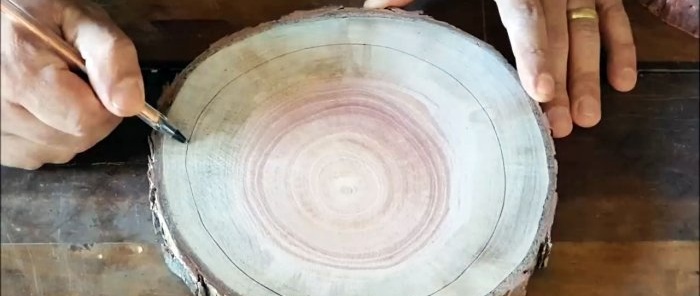
We begin to remove the core of the workpiece. To do this, draw a circle at the upper end with a compass, one leg of which is placed in the center of the workpiece.
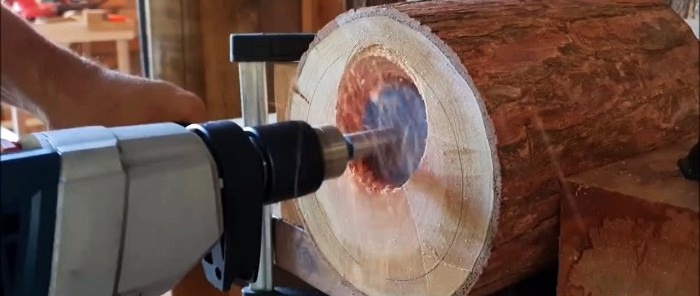
An attempt to remove the center using a drill and screw drill was unsuccessful. Therefore, we replace it with a long twist drill, on which we make a tape belt to mark the drilling depth.
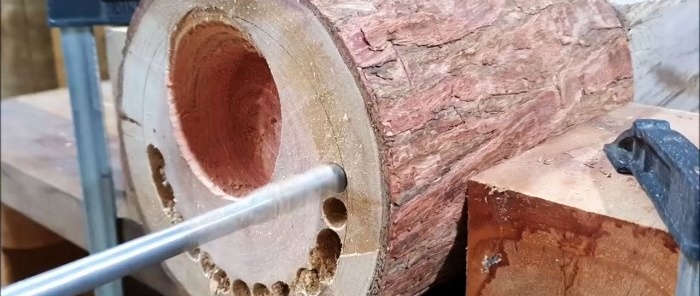
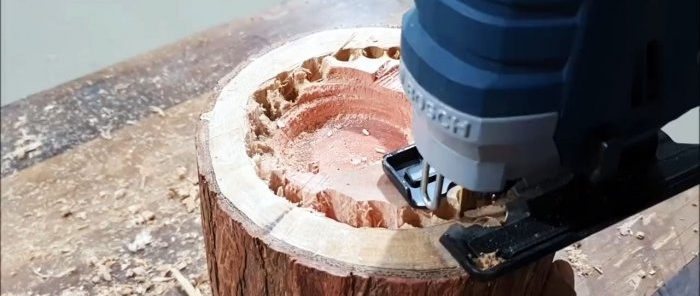
Inside the marked circle, we drill through holes along the ring and use a jigsaw to cut the jumpers between them.
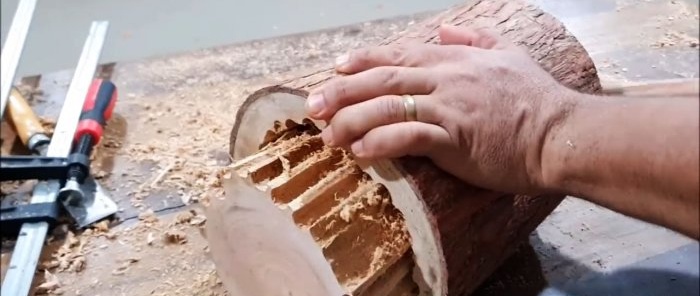
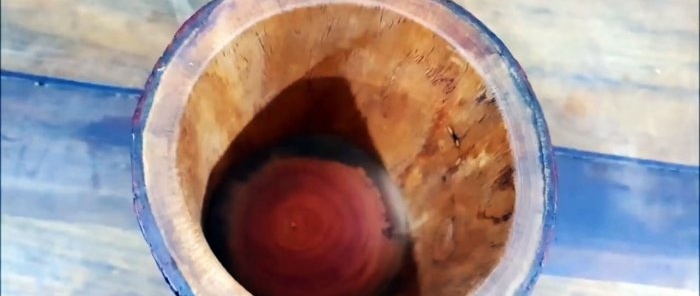
After this, knock out the core by hitting the end with a small sledgehammer.
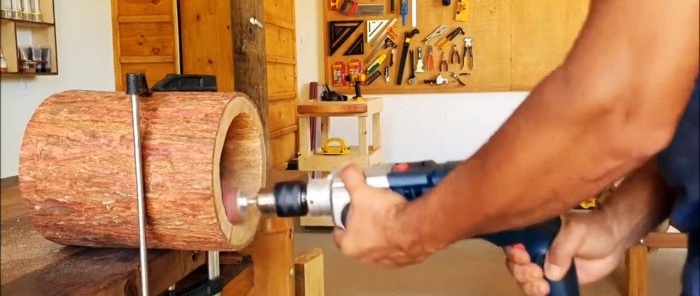
Using a chisel, milling cutter and sandpaper, we give the inner surface of the workpiece perfect smoothness.
We place a previously cut disk under the workpiece, combine the pattern of the bark and draw a circle from the inside with a pencil, along which we cut out the middle with a jigsaw.
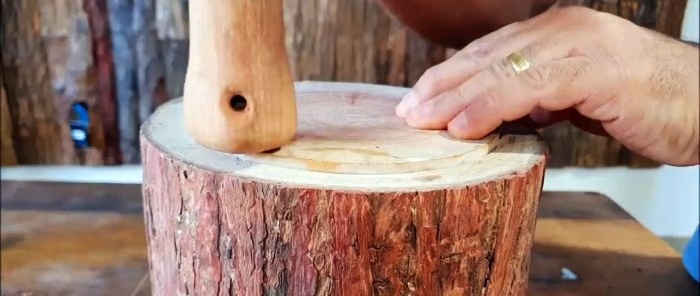
We cover the periphery of the disk with glue and insert it from below into the ring blank, aligning their positions. To finally seat the disc in place, we use a wooden mallet.
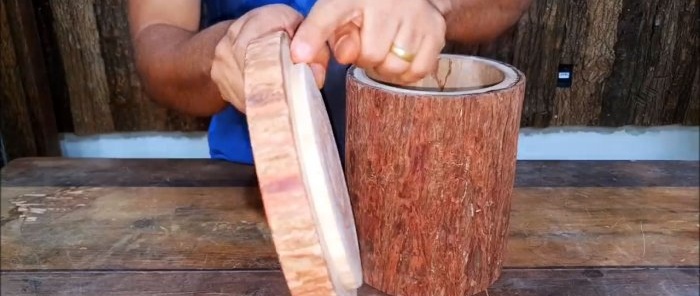
On the disk for the lid we form a central part, corresponding in shape to the ring blank on top. To ensure that the pattern on the lid and body matches, we apply two shallow vertical marks.
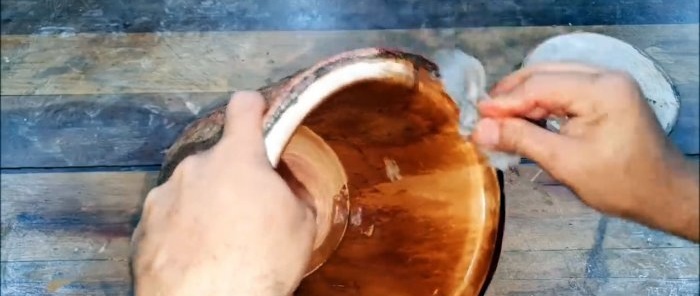
We first saturate the wood from the inside with pure mineral oil using a cloth, then from the outside using a paint brush.
After this, we leave the product in the open air for some time so that unwanted odors disappear from it, and then we use it for its intended purpose.
Will need
To make a beautiful and functional bread box, we need to prepare:
- a small log with a small slope;
- PVA glue;
- pure mineral oil.
To transform a log into a beautiful product, we will need the following tools and devices: chain saw, pendulum and jigsaw, tape measure, compass, thicknesser and square, grinder and drill with attachments, chisel and metal brush, sandpaper, clamps, sledgehammer and wooden mallet, brush and cloth napkin.
The process of making a bread box from wood
Using a chain saw, we remove the end part and a segment with a minimum runoff of the required length from a log that is suitable in diameter and appearance.
We install it on a flat surface with the run up. We use a tape measure to determine the length and cut off a disk about 6 cm thick from the base of the workpiece. We clean the ends using a grinder.
We place the workpiece on the table again and use a square to measure the run, which is approximately the same on all sides. We remove weakly holding parts of the bark with our hands, a chisel and finally with a metal brush.
Using a pendulum saw, we cut a disk of a given thickness from the top of the workpiece, which subsequently, after processing, is used as a lid.
We begin to remove the core of the workpiece. To do this, draw a circle at the upper end with a compass, one leg of which is placed in the center of the workpiece.
An attempt to remove the center using a drill and screw drill was unsuccessful. Therefore, we replace it with a long twist drill, on which we make a tape belt to mark the drilling depth.
Inside the marked circle, we drill through holes along the ring and use a jigsaw to cut the jumpers between them.
After this, knock out the core by hitting the end with a small sledgehammer.
Using a chisel, milling cutter and sandpaper, we give the inner surface of the workpiece perfect smoothness.
We place a previously cut disk under the workpiece, combine the pattern of the bark and draw a circle from the inside with a pencil, along which we cut out the middle with a jigsaw.
We cover the periphery of the disk with glue and insert it from below into the ring blank, aligning their positions. To finally seat the disc in place, we use a wooden mallet.
On the disk for the lid we form a central part, corresponding in shape to the ring blank on top. To ensure that the pattern on the lid and body matches, we apply two shallow vertical marks.
We first saturate the wood from the inside with pure mineral oil using a cloth, then from the outside using a paint brush.
After this, we leave the product in the open air for some time so that unwanted odors disappear from it, and then we use it for its intended purpose.
Watch the video
Similar master classes
Particularly interesting
Comments (0)


