Pocket chain saw
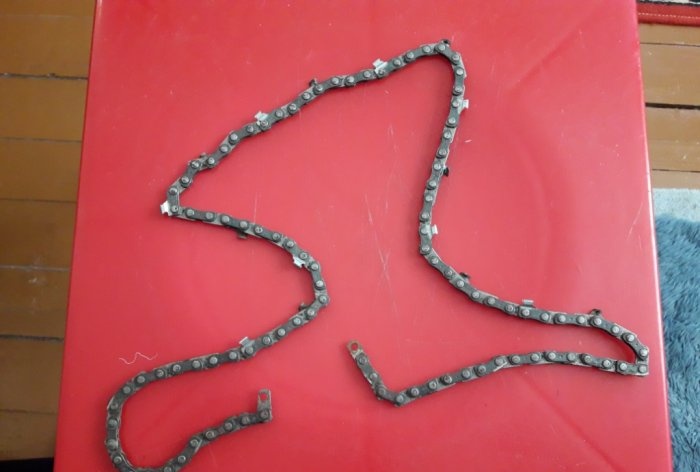
When going on a long journey, overnight fishing, hunting, or just relaxing, many fishermen, hunters and tourists load a small chainsaw into the luggage of their car. Most often, this is a small lopper to cut a log for a supply of firewood for the fire. But what should lovers of hiking do over long distances? You can’t put a chainsaw in a backpack, even a small one - it will simply displace all the other accessories needed on a hiking trip. And the prospect of carrying extra weight, even if it is a necessary thing on a hike, does not cause much optimism. Of course, there is always room in your backpack for a small hatchet, but there are times when you need a saw. For example, sawing off a piece of thick log that will burn all night. The dry, resinous trunk of a fallen coniferous tree is unusually hard, and with a small hatchet you can bale it all night. No fire needed! In this case, the chain from this same chainsaw will really help us out, from which we will make a pocket chainsaw. With its help, you can quite easily and quickly saw through a trunk with a diameter of up to 20 centimeters. Making such a saw takes half an hour.Among other junk in my shed, I had a broken chainsaw chain lying around, from which I made a pocket chainsaw.
Of course, you can make it from a new chain, but, in my opinion, a saw from a new chain will not be as effective; its teeth are too wide, not sharpened and it is not designed - it will be harder to operate it. On an old chain, all the teeth, as a rule, are already thin and ground, which is very convenient for a saw of this type.
Will need
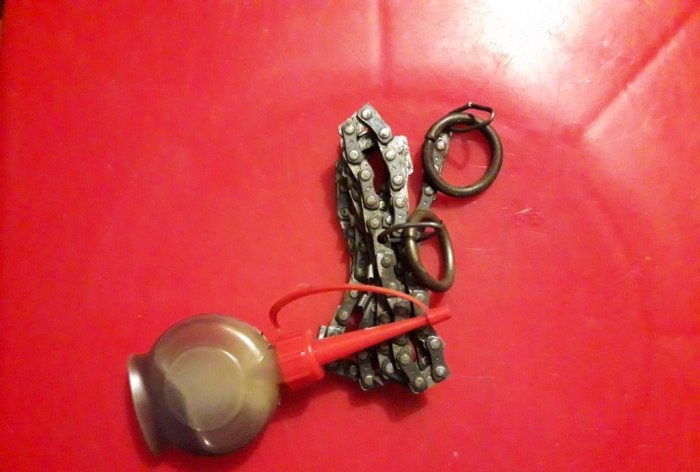
- A chainsaw chain (preferably an old one, already developed).
- Emery machine.
- File (round, thin, for sharpening teeth).
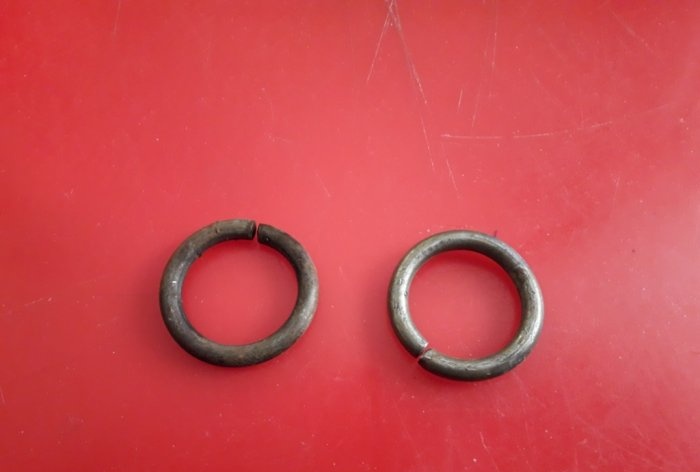
- Thick metal rings (from a bunch of keys, or from a keychain) 2 pcs.
- Tin and flux.
- Gas torch or powerful lighter.
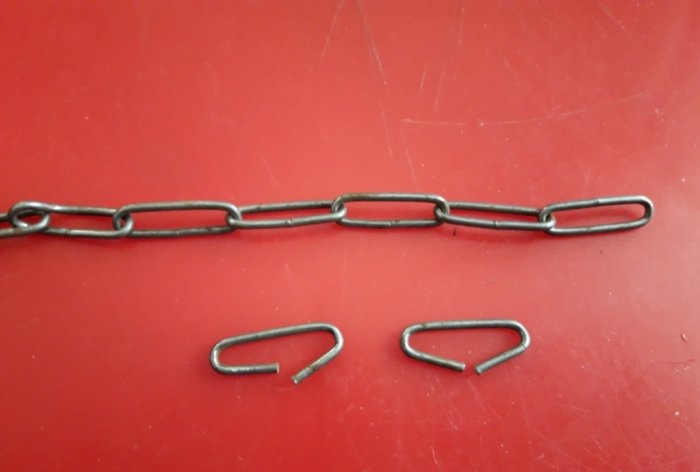
- A couple of links from a not too thick chain (as in the photo).
- Machine oil.
Making a chain pocket saw:
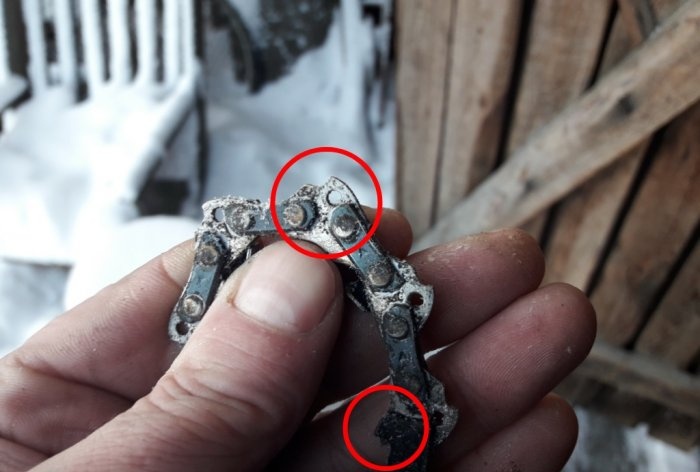
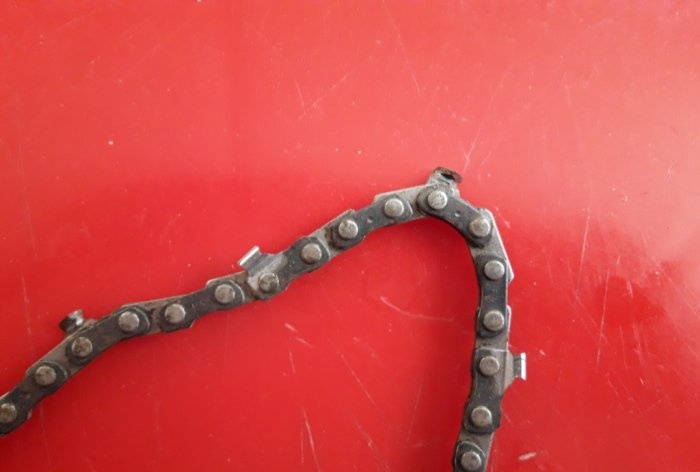
First, let's rid the chain of everything unnecessary and sticking out. Except for the sawing teeth, of course.
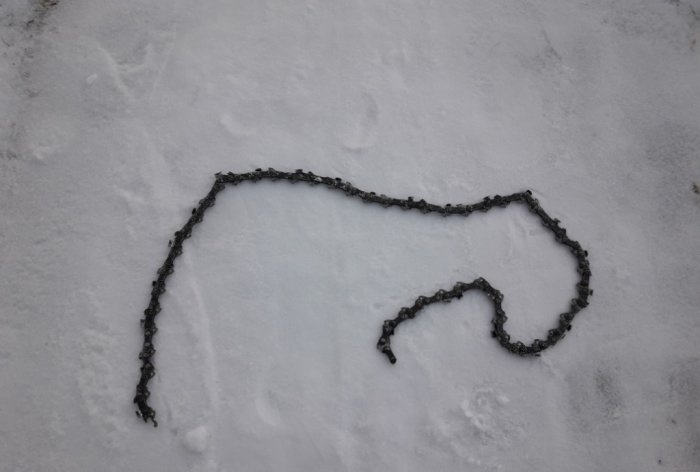
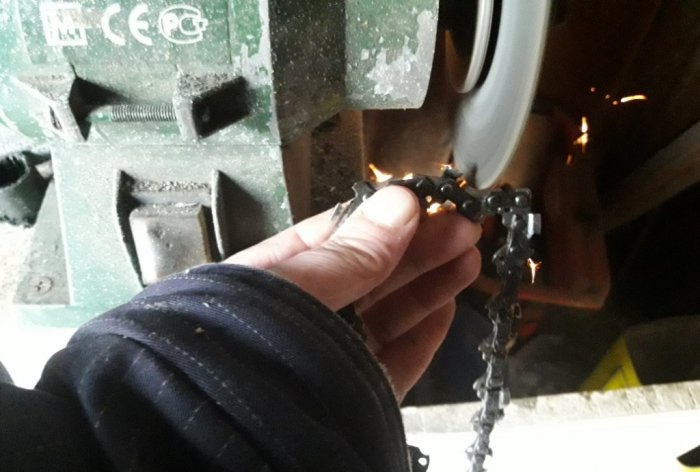
Using an emery machine, we grind or saw off all the protrusions, teeth for the sprocket and tire, and the stops that are located immediately behind the saw teeth. You will get a chain like this:
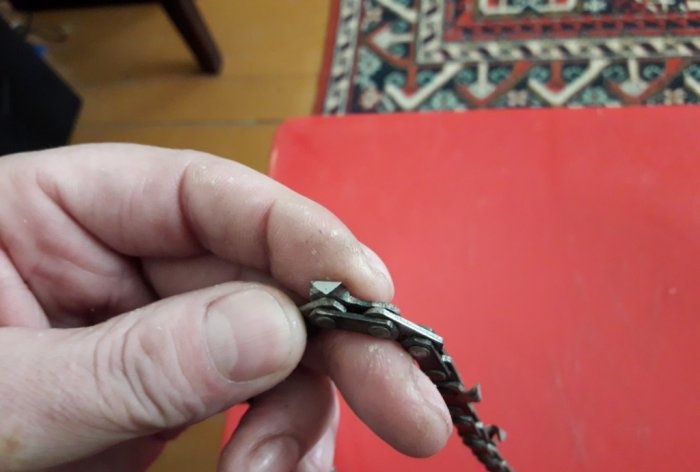
Next, you need to give the saw teeth the desired shape. Since we will work with a chain saw in both directions, and not as it worked with a chainsaw - in one direction, then the teeth, accordingly, need to be sharpened at both ends. Using an emery machine, using a thin cutting disc, we give the teeth a triangular shape.
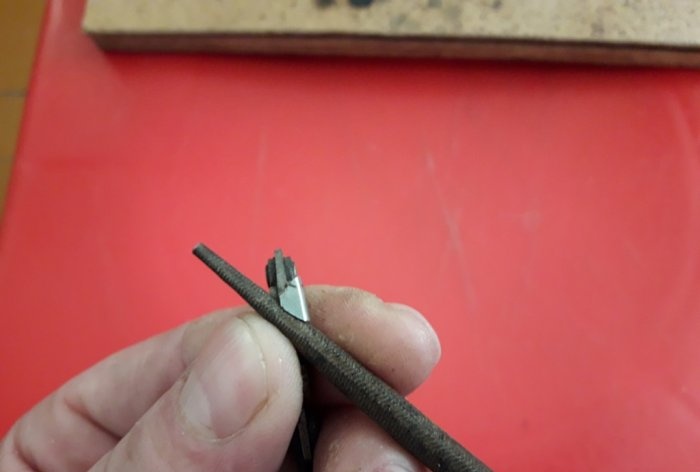
Armed with a round needle file or a thin file, we sharpen the teeth on the chain.
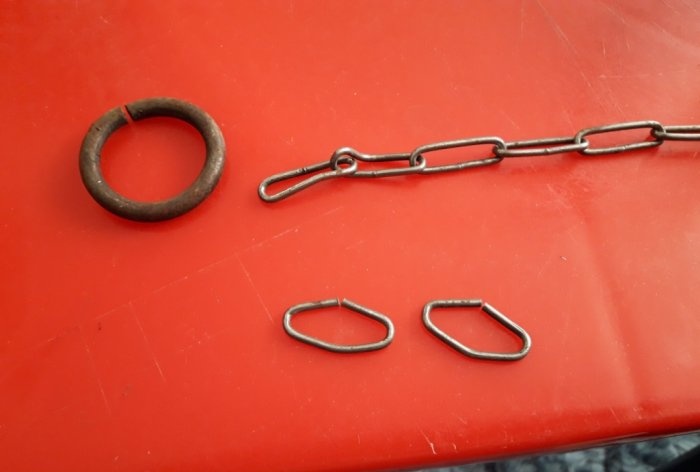
Now we need two powerful iron rings, as well as a couple of links from a small chain.
We widen the links a little so that the iron ring that will be put on later fits freely into them.
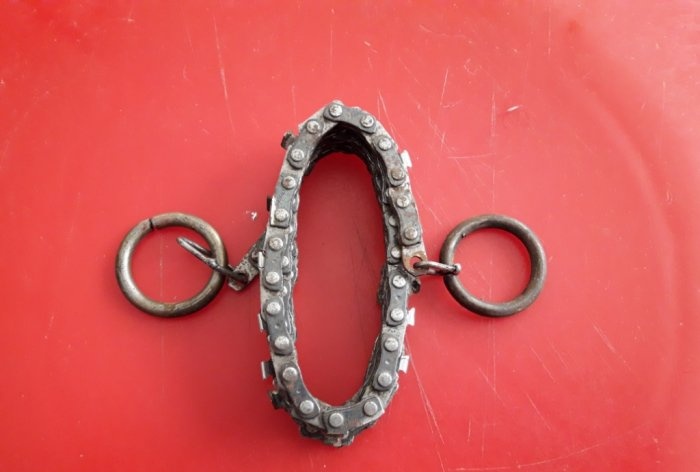
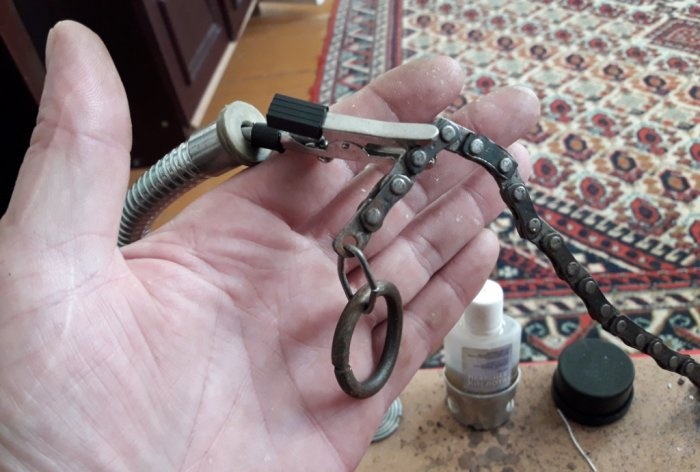
We connect the metal ring and the end of the chain with an extended link. It should look like this:
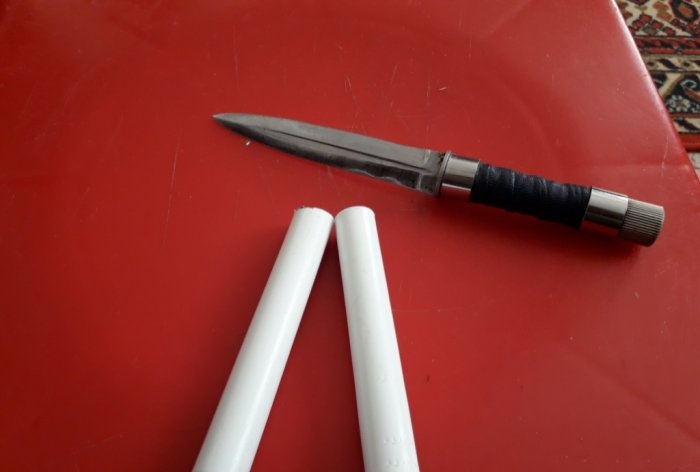
Next, let's move on to the handles. Here, at first, I made a little mistake with the material for the handles; I cut 16mm metal-plastic tubes the width of my hand.
Why didn't you guess? Because I didn’t take into account that in winter, in the cold, the plastic would slip out of woolen mittens, and it would be cold to work with gloves. So, instead of handles, it is better to use rough branches of suitable thickness cut off on the spot. Although everyone has their own business here - I personally (as can be seen in the video) got by just fine with metal rings attached to the ends of the saw chain, when I sent the constantly slipping tubes into the fire... so, after we connected all the parts of the saw chain, we need to solder the closed ones ends of metal rings and links, just in case. For greater reliability, so to speak. It takes too long to heat the metal rings with a soldering iron, so I soldered them with a powerful lighter - I simply cleaned the surface of the metal to be soldered with sandpaper, lubricated it with flux, heated it with a lighter and applied tin. All that remains is to lubricate the saw chain with machine oil.
I used gun oil for this, but in the absence of one, you can use any oil. At least it’s plant-based! That's all. All that remains is to carry out the test. As you can see in the video below, the chain handled dry wood just fine, even though I didn't use the handles.
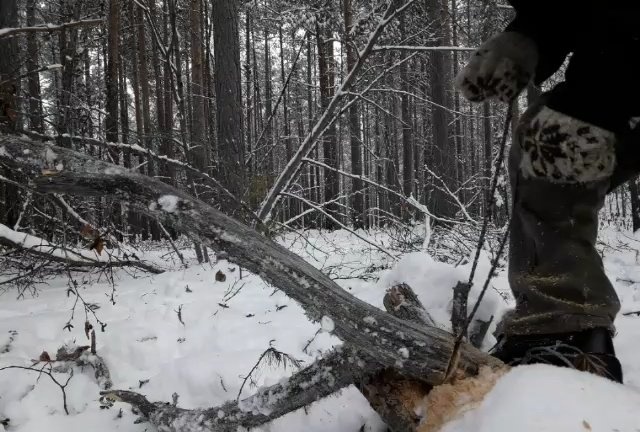
If you need to cut down something more serious, it’s never too late to cut a couple of branches for handles. With such a saw, you can easily cut firewood for future use, so that you can then maintain the fire for heating and cooking without saving.

The most important and, perhaps, biggest advantage of this product is that it is very compact and lightweight.Roll the chain into rings, put it in a bag, and put it in the pocket of your backpack or bag – it’s a matter of minutes. Don’t forget to lubricate the chain with oil and file its teeth after each trip, and it will serve you for a long time, just like any other thing with good care and a kind, thrifty attitude.
Watch the video
Similar master classes
Particularly interesting
Comments (12)

