How to make a simple kart without welding or lathe
Many people dream of assembling a kart on their own, but its production requires a fully equipped workshop with a lathe, electric welding and other metalworking tools. In fact, if you approach the issue wisely, you can assemble a kart with only a grinder and a drill available as a power tool. Let's look at how to do this.
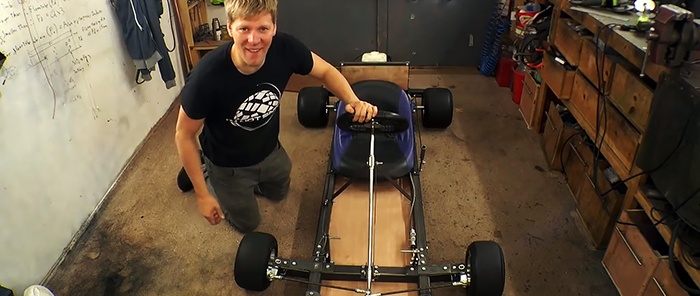
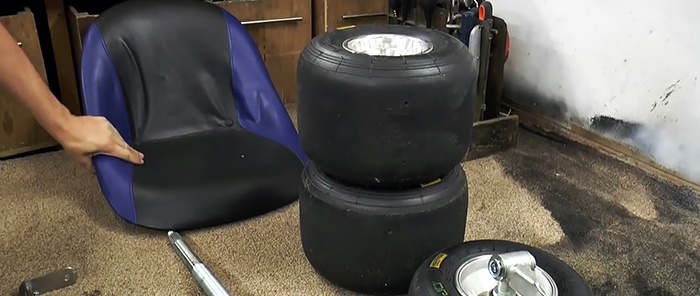
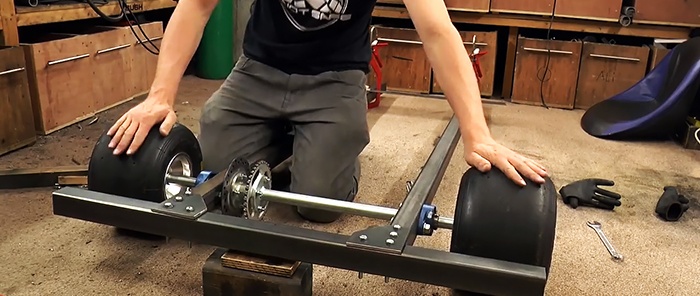
The card frame is made from a 50x50 mm profile pipe. Its size is calculated depending on the height of the rider. The frame should be U-shaped. Moreover, its rear jumper is made to match the width of the existing traction axle, taking into account the installed wheels. The frame parts are held together using bolts and mounting plates cut from a thick steel plate.
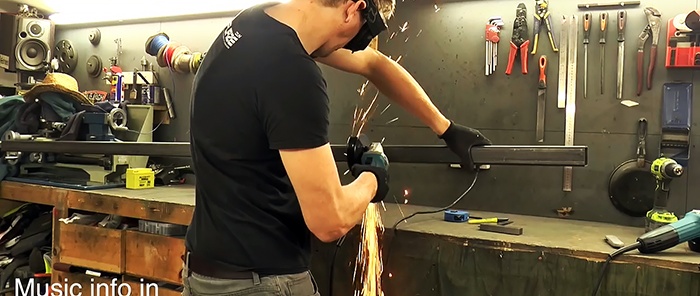
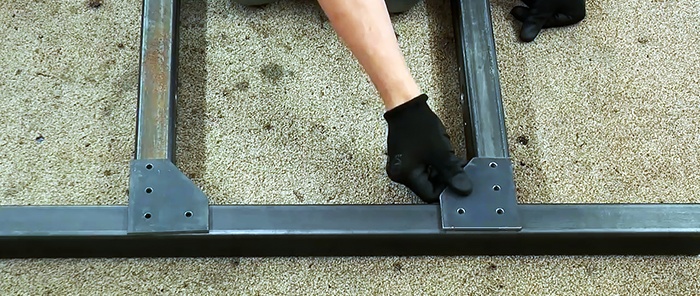
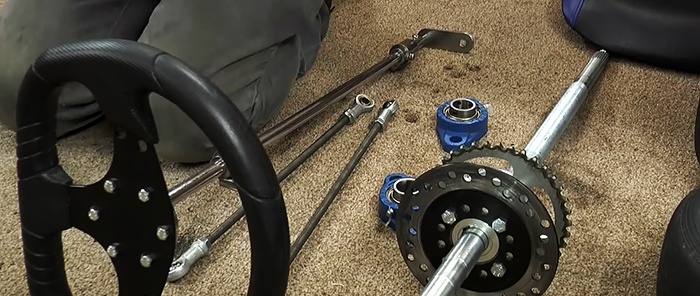
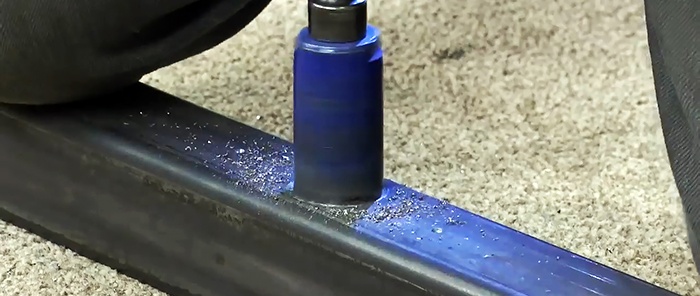
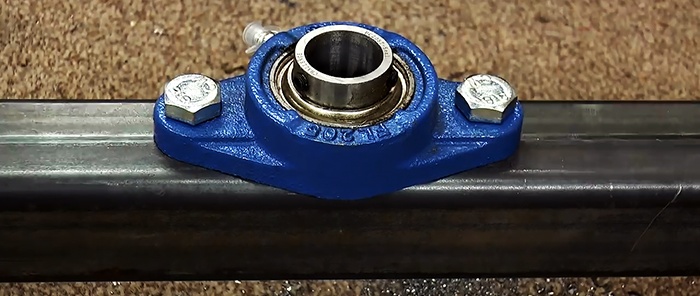
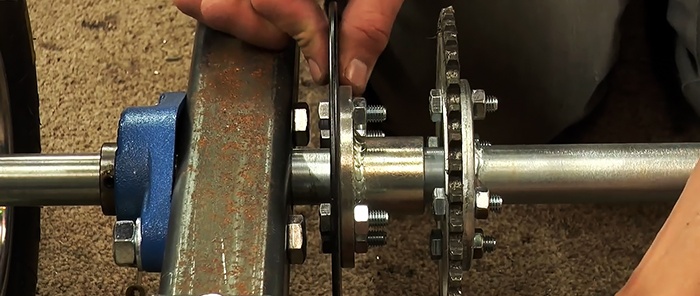
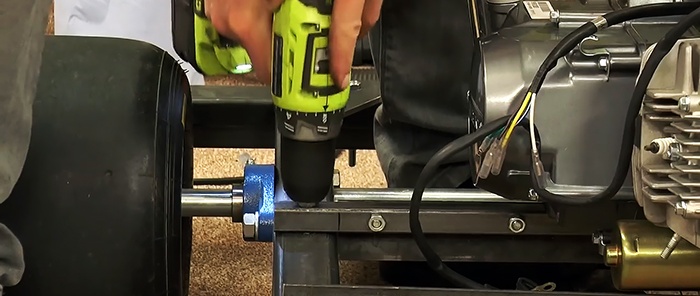
In the rear part of the frame, near the crossbar, through holes are drilled to install a traction axle through them with a sprocket and brake disc already screwed to it. The axle itself is attached to the frame through bearings with flanges bolted to the profile pipe. Wheels are immediately put on it.
To make the front axle, a 50x50 mm profile pipe is taken. At the points where it intersects with the frame, 3 walls are cut off. This will allow the bridge to be mated to the frame. It is important to make a cut at the bottom with a width of 50 mm, and towards the top with a slope towards the wheels by several degrees. Then the frame and bridge are tightened together with bolts and a sheet steel square. In this case, the part of the bridge protruding beyond the frame is bent upward, due to the resulting gap from the cut with a slope.
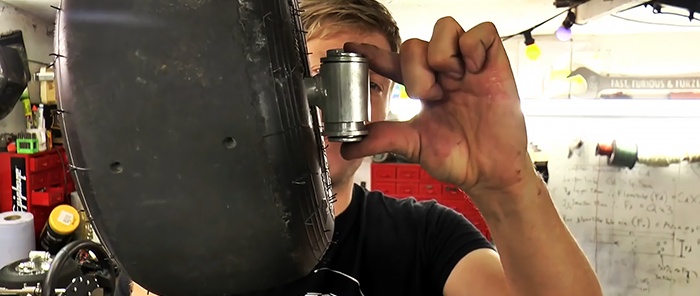
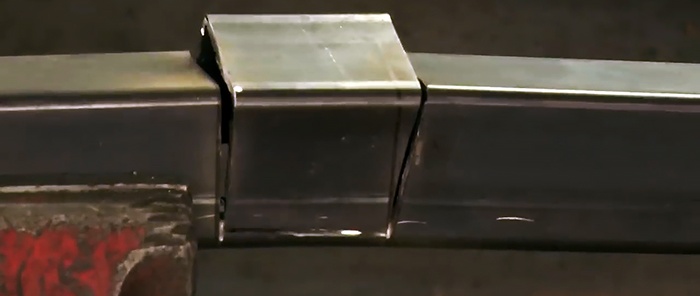
Then the edges of the bridge need to be trimmed on the front wall and bent towards the frame. After this, the front wheel brackets are attached to the axle through brackets made of plates.
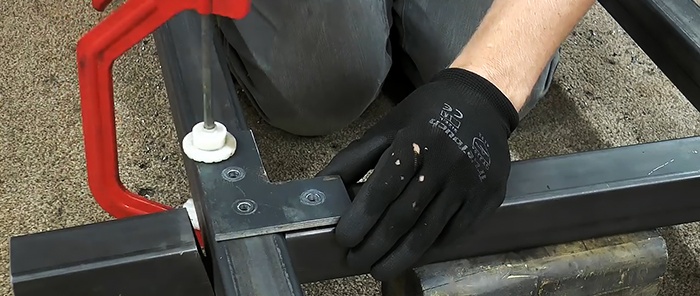
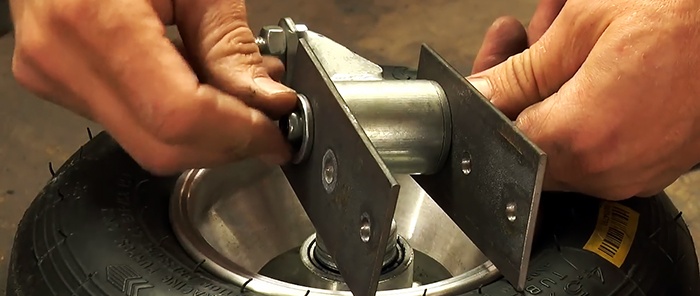
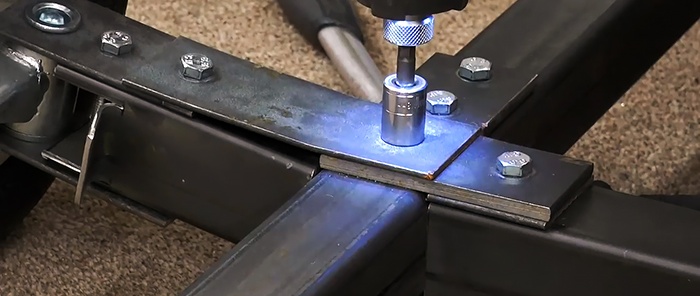
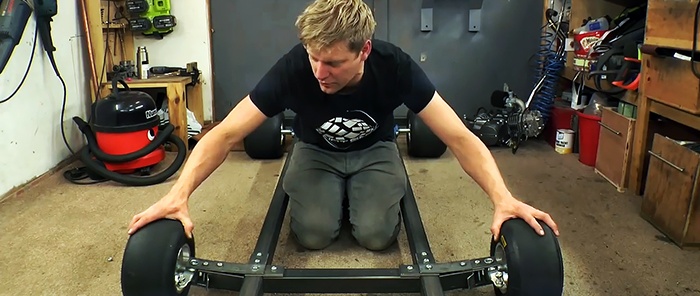
The kart is already on wheels, but its front axle is still dangling. Therefore, you need to cut 2 plates and screw them on top above the intersection with the frame. Before this, the plates will have to be bent. Thanks to this mounting method, the center of gravity of the front end of the kart will be lowered, which will provide stability when cornering in the future. The bending of the edges of the front wall of the bridge allows the wheels to turn normally over the entire radius.
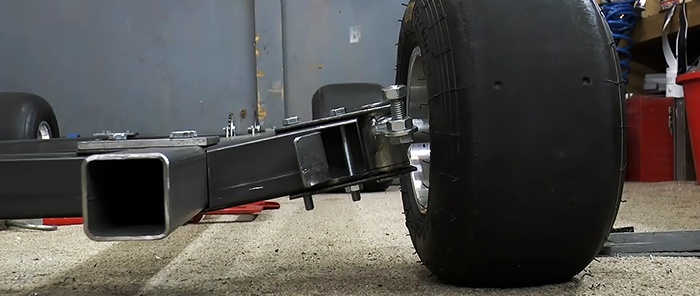
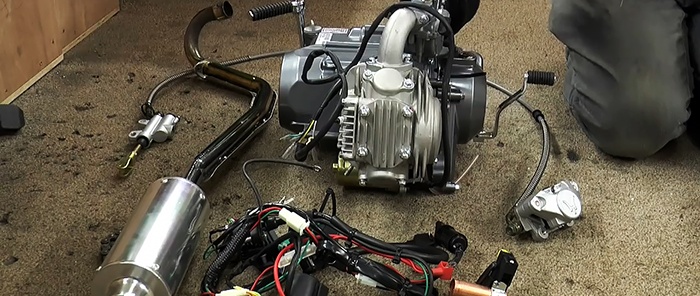
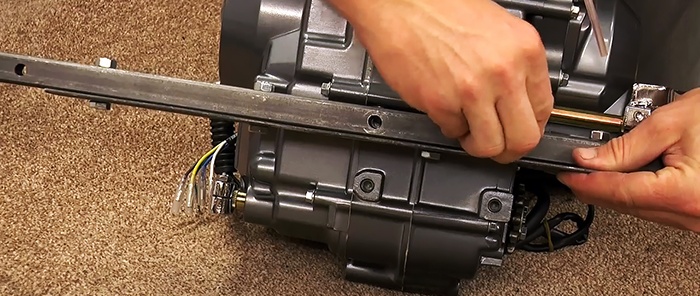
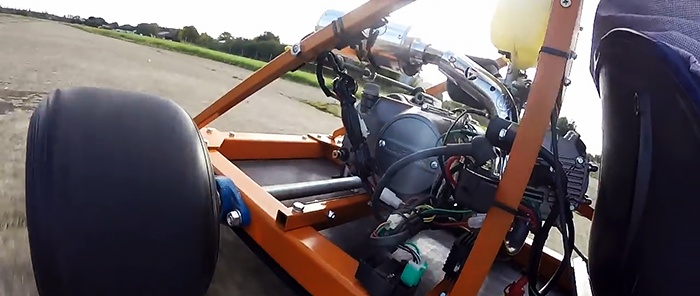
Next, the engine is installed on the frame. A fastening is made under it from a corner, a thin profile pipe and a strip. He only needs 2 points of support. It is positioned so that the drive chain can be placed over the sprocket on the axle.
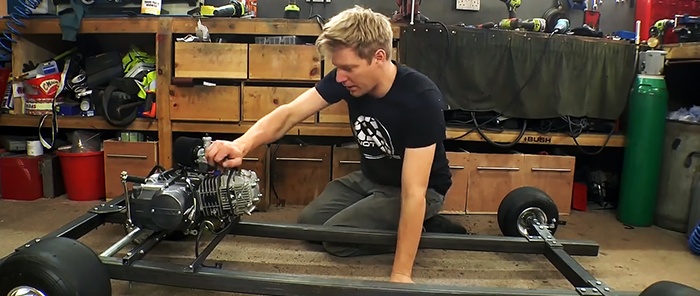
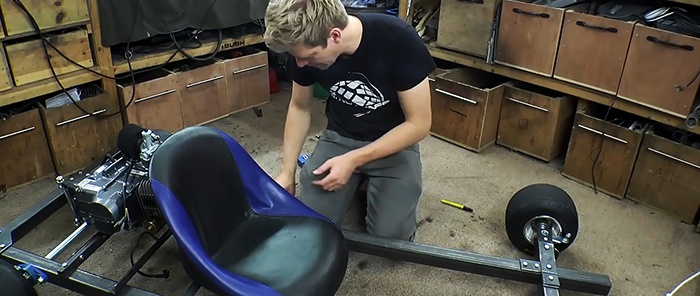
A seat is attached to the frame in front of the engine. It can be placed on crossbars made from a corner or profile pipe.
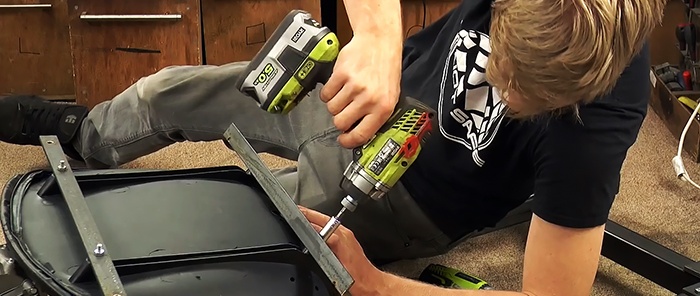
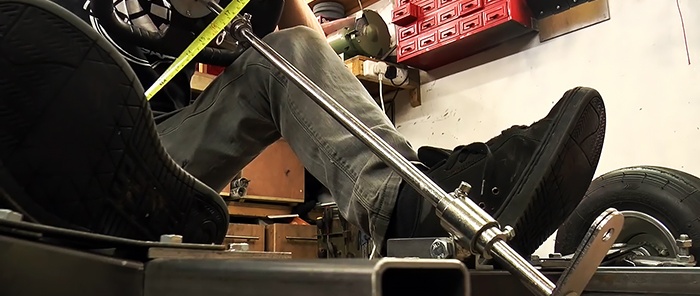
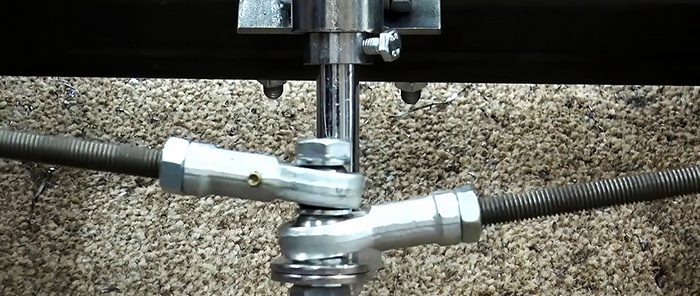
In the center of the front axle, the steering column is screwed onto a mount made from 2 pieces of angle iron. Then an upper stop is made for it from 3 pieces of strip. Of these, one is attached to the bridge and two on the sides to the frame. The final stage of assembling the control system is the installation and adjustment of the steering rods.
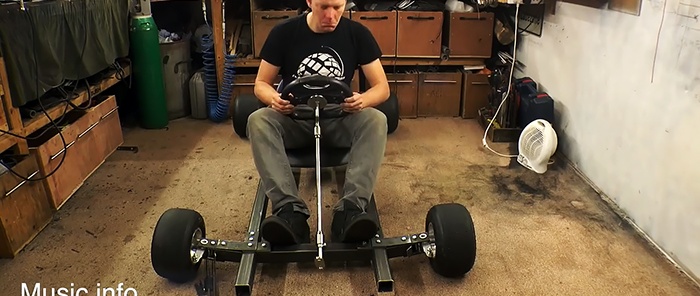
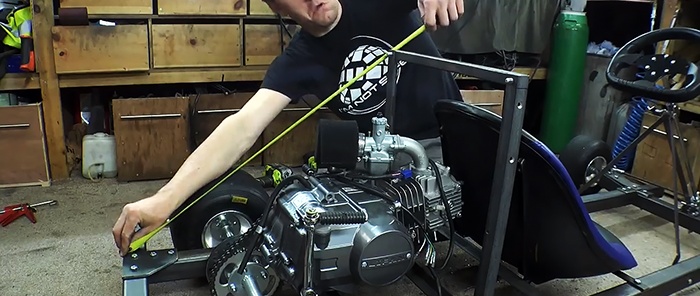
Next you need to make a protective frame for the engine. For this, a 20x20 mm profile pipe is used. First, a U-shaped stand is made between the seat and the engine, then it is reinforced with oblique jumpers. The part between the protective frame and the seat is covered with plywood. A bracket for attaching the gas tank is screwed to the plywood wall.
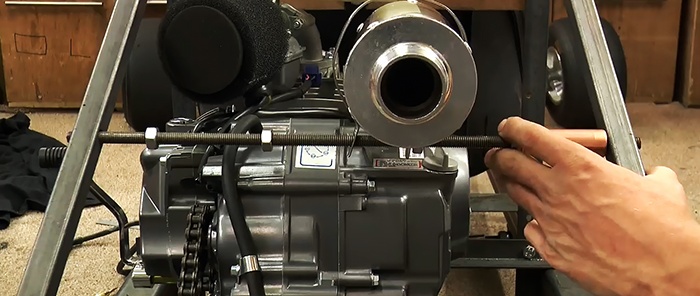
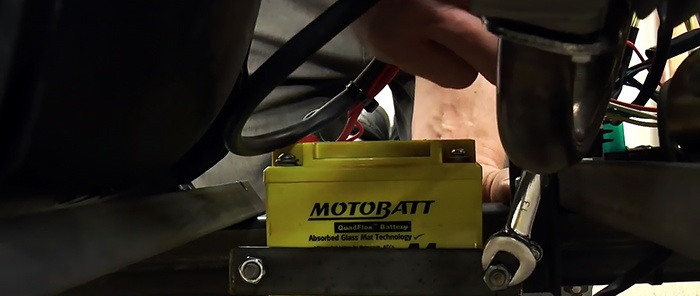
At the next stage of assembly, you need to install the muffler, connect the tank and deal with the electrical wiring. Then a hydraulic cylinder is installed on the brake disc, and the pedal for it is placed under the left foot.
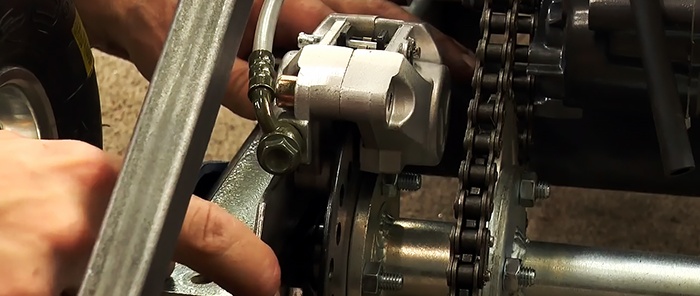
A rod is made from a steel strip, which is attached with a hole to the foot lever of the gearbox. To prevent it from flying off, it should be tightened with the standard rubber band of the lever. The rod is connected at the beginning of the seat to a second lever from the same strip. It is attached to it slightly below its center, the lever itself is attached to the frame below. It needs to be equipped with a knob on top; you can simply use a tube for it.
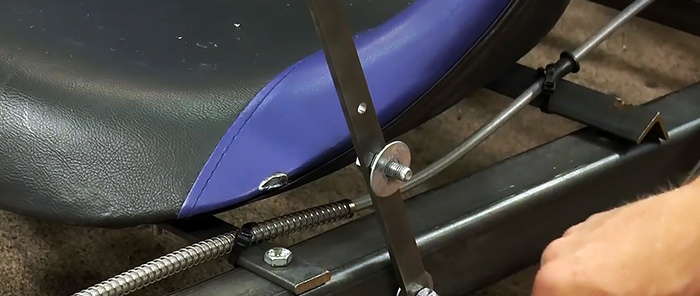
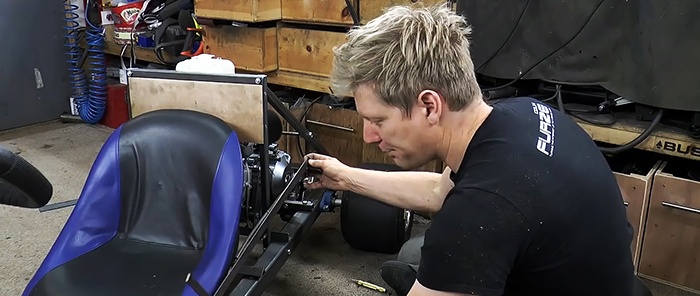
The clutch cable is routed from the engine to the front axle, where it is connected to the pedal mounted under the right foot. The pedal itself must be equipped with a limiter so that it cannot be pressed beyond the permissible cable travel.
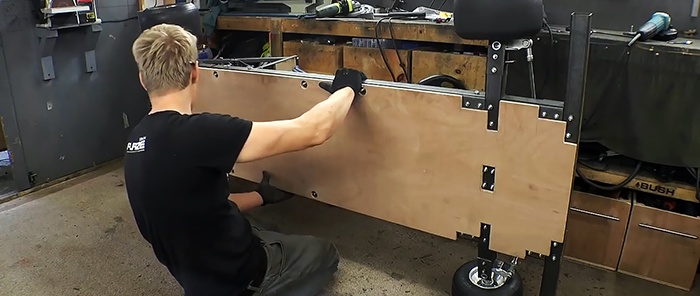
The final stage of assembly is installing the bottom. It is cut out of moisture-resistant plywood and screwed to the frame from below. After this, the battery is mounted, and the card is ready.
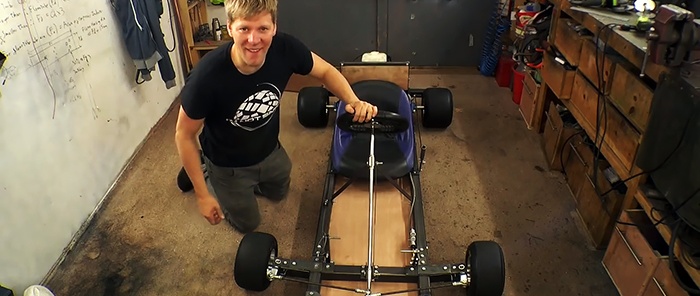
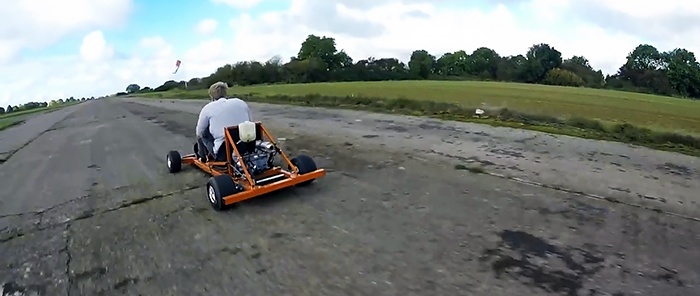
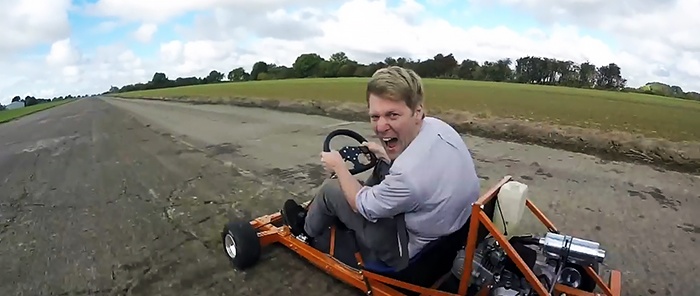
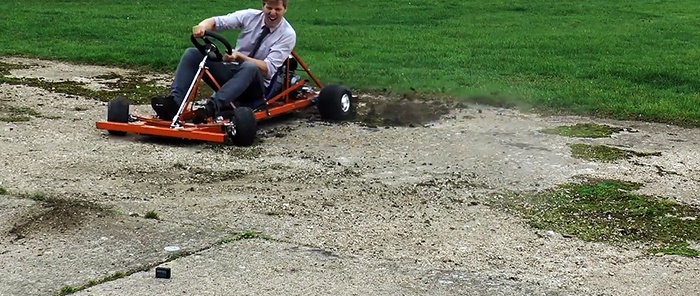
The result is an excellent entertaining mini car, unfortunately, with unusual controls at first. But after riding it for a few laps, further gear changes will take place automatically, and confusion with the pedals will also disappear. Using this principle, you can make a kart using an engine with a variator from a scooter. This will be even easier, considering that you only need to remove the gas and brake pedals.

Materials:
- profile pipe 50x50 mm;
- profile pipe 20x20 mm;
- corner 20x20 mm;
- steel strip 20 mm;
- sheet steel 5-10 mm;
- flange housing bearing 2 pcs.;
- rear wheel traction axle for kart;
- gasoline engine assembly from a motorcycle or moped;
- brake disc with brake cylinder;
- 2 front and 2 rear wheels for kart assembly;
- seat;
- steering wheel with steering column and rods;
- plywood;
- battery.


Assembly card
The card frame is made from a 50x50 mm profile pipe. Its size is calculated depending on the height of the rider. The frame should be U-shaped. Moreover, its rear jumper is made to match the width of the existing traction axle, taking into account the installed wheels. The frame parts are held together using bolts and mounting plates cut from a thick steel plate.


In the rear part of the frame, near the crossbar, through holes are drilled to install a traction axle through them with a sprocket and brake disc already screwed to it. The axle itself is attached to the frame through bearings with flanges bolted to the profile pipe. Wheels are immediately put on it.


To make the front axle, a 50x50 mm profile pipe is taken. At the points where it intersects with the frame, 3 walls are cut off. This will allow the bridge to be mated to the frame. It is important to make a cut at the bottom with a width of 50 mm, and towards the top with a slope towards the wheels by several degrees. Then the frame and bridge are tightened together with bolts and a sheet steel square. In this case, the part of the bridge protruding beyond the frame is bent upward, due to the resulting gap from the cut with a slope.


Then the edges of the bridge need to be trimmed on the front wall and bent towards the frame. After this, the front wheel brackets are attached to the axle through brackets made of plates.


The kart is already on wheels, but its front axle is still dangling. Therefore, you need to cut 2 plates and screw them on top above the intersection with the frame. Before this, the plates will have to be bent. Thanks to this mounting method, the center of gravity of the front end of the kart will be lowered, which will provide stability when cornering in the future. The bending of the edges of the front wall of the bridge allows the wheels to turn normally over the entire radius.


Next, the engine is installed on the frame. A fastening is made under it from a corner, a thin profile pipe and a strip. He only needs 2 points of support. It is positioned so that the drive chain can be placed over the sprocket on the axle.


A seat is attached to the frame in front of the engine. It can be placed on crossbars made from a corner or profile pipe.


In the center of the front axle, the steering column is screwed onto a mount made from 2 pieces of angle iron. Then an upper stop is made for it from 3 pieces of strip. Of these, one is attached to the bridge and two on the sides to the frame. The final stage of assembling the control system is the installation and adjustment of the steering rods.


Next you need to make a protective frame for the engine. For this, a 20x20 mm profile pipe is used. First, a U-shaped stand is made between the seat and the engine, then it is reinforced with oblique jumpers. The part between the protective frame and the seat is covered with plywood. A bracket for attaching the gas tank is screwed to the plywood wall.


At the next stage of assembly, you need to install the muffler, connect the tank and deal with the electrical wiring. Then a hydraulic cylinder is installed on the brake disc, and the pedal for it is placed under the left foot.

A rod is made from a steel strip, which is attached with a hole to the foot lever of the gearbox. To prevent it from flying off, it should be tightened with the standard rubber band of the lever. The rod is connected at the beginning of the seat to a second lever from the same strip. It is attached to it slightly below its center, the lever itself is attached to the frame below. It needs to be equipped with a knob on top; you can simply use a tube for it.


The clutch cable is routed from the engine to the front axle, where it is connected to the pedal mounted under the right foot. The pedal itself must be equipped with a limiter so that it cannot be pressed beyond the permissible cable travel.
The final stage of assembly is installing the bottom. It is cut out of moisture-resistant plywood and screwed to the frame from below. After this, the battery is mounted, and the card is ready.


The result is an excellent entertaining mini car, unfortunately, with unusual controls at first. But after riding it for a few laps, further gear changes will take place automatically, and confusion with the pedals will also disappear. Using this principle, you can make a kart using an engine with a variator from a scooter. This will be even easier, considering that you only need to remove the gas and brake pedals.


Watch the video
Similar master classes
Particularly interesting
Comments (0)

