Making a long cutting stand for an angle grinder
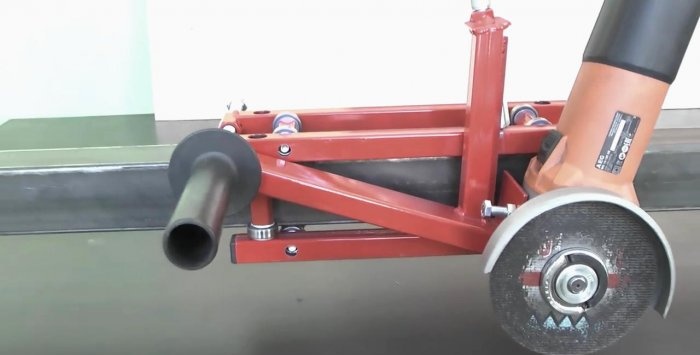
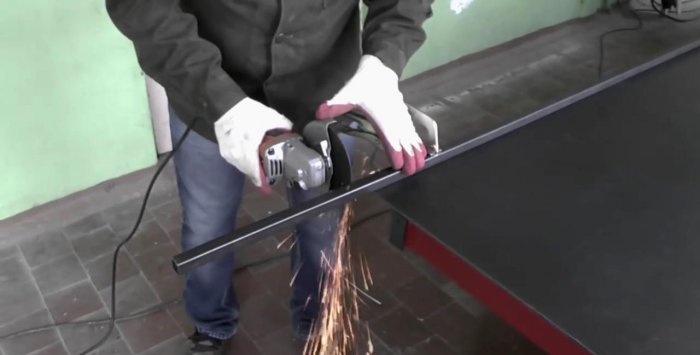
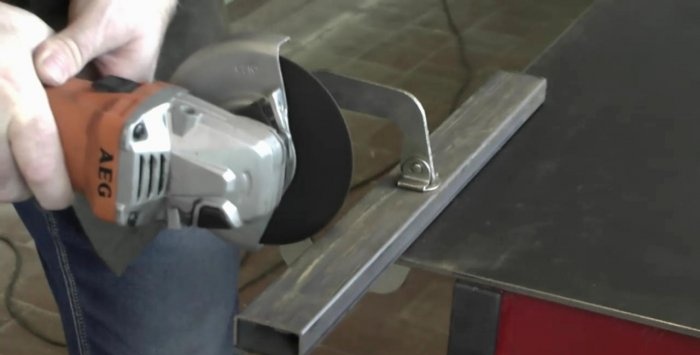
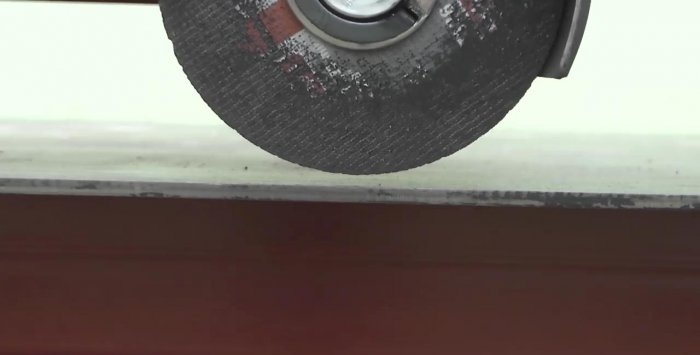
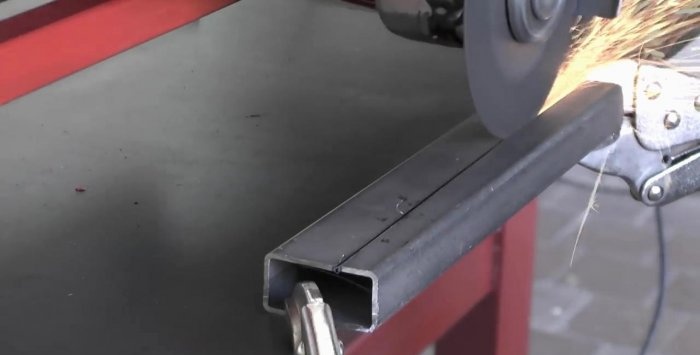
You can get a full-fledged machine for cutting sheet material even using the meringue of an ordinary grinder, which I will demonstrate. I made a linear guide, using which you can cut metal, wood, plastic and even ceramic tiles. It is relatively inexpensive to manufacture, takes up little space and is versatile.
Wasted materials
To make a stand for an angle grinder according to my measurements you will need:
- profile pipe 40x20mm – 0.32 m;
- profile pipe 20x20 mm – 1.38 m;
- profile pipe 15x15 mm – 0.34 m;
- strip 40 mm – 0.14 m;
- strip 20 mm – 0.16 m;
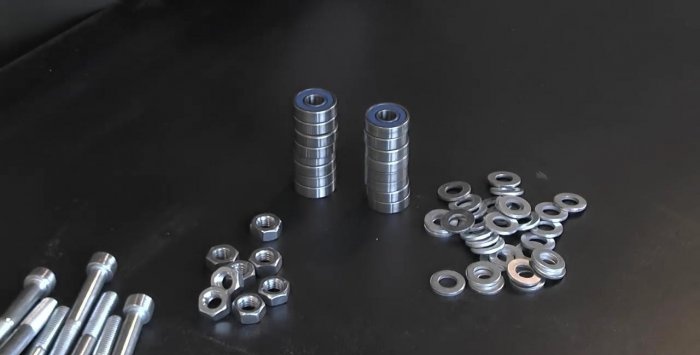
- bearings 100 series – 16 pcs.;
- M10 bolts for hexagon 75 mm – 8 pcs.;
- nuts M10 – 12 pcs.;
- washers 10 mm – 32 pcs.;
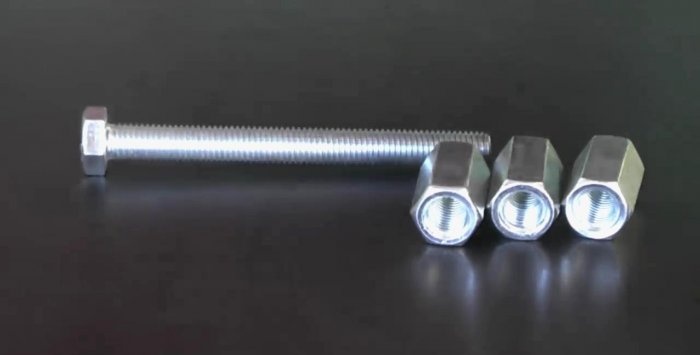
- long nuts M12 – 3 pcs.;
- long nut M10;
- M12 bolt with full thread 200 mm;
- bolts M10 40 mm – 2 pcs.;
- 70mm full thread hex bolt;
- plugs for profile 20x20 – 6 pcs.;
- plugs for profile 40x20 – 1 pc.;
- profile pipe 50x50 for guide – 2 m or more.
Manufacturing of guide and carriage
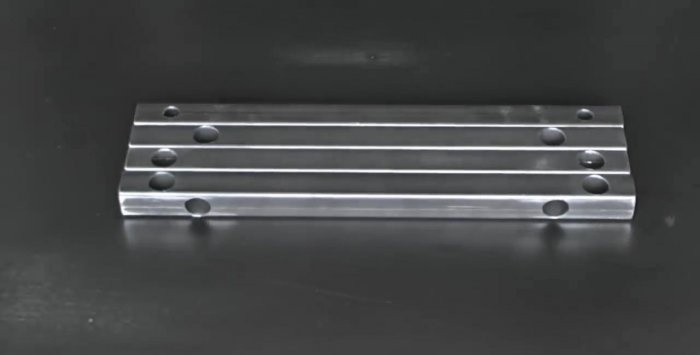
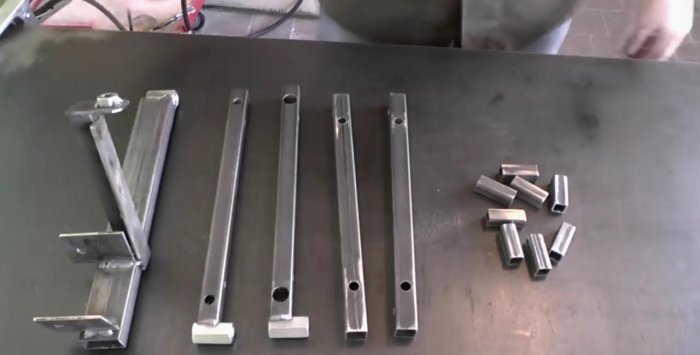
First you need to make a roller carriage for the linear guide. A profile pipe with a cross section of 20x20 mm will be used as its basis. You will need 4 blanks 300 mm long.
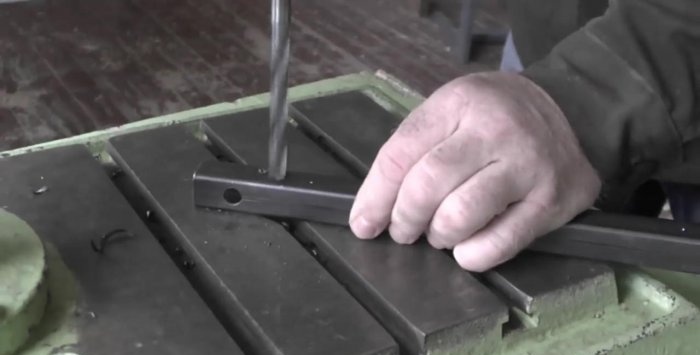
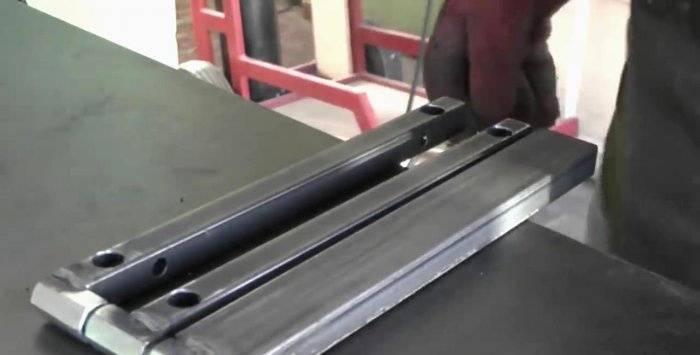
Now you need to drill through holes for the future connection of parts. Their centers are located 25 mm from each edge of the profile pipes. You will need a drill with a diameter of 11 mm.
Turning the coated profile over to the other side and retreating 50 mm, similar through holes are made on each side. An 11 mm drill is used.
To hide the bolts used later when assembling the carriage, the through holes in the workpieces need to be completed. To do this, one wall of each profile needs to be drilled using a drill with a diameter of 17 mm. In this way, all 16 holes are completed, the remaining 16 adjacent to them remain untouched.
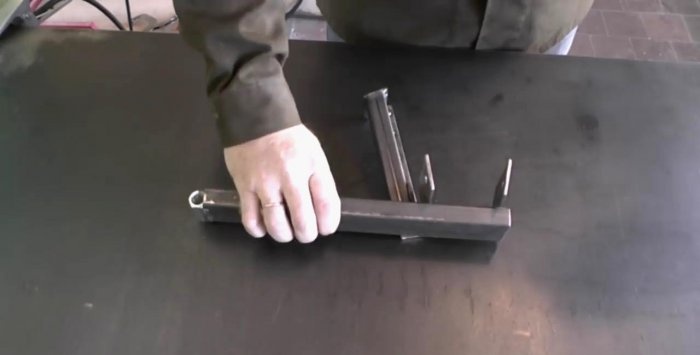
Now you need to make a shoulder to secure the grinder itself. For this purpose, a 40x20 profile pipe with a length of 300 mm is used.
In order to be able to adjust the cutting depth in the future, an additional adjustment element is required. It is made from a 20x20 mm profile pipe. A section 160 mm long is prepared. Its ends are cut at an angle of 45 degrees. You can cut by eye, since accuracy is not so critical.
From a profile pipe with a cross section of 15x15 mm you need to cut small spacers 40 mm long. A total of 8 pieces are required.
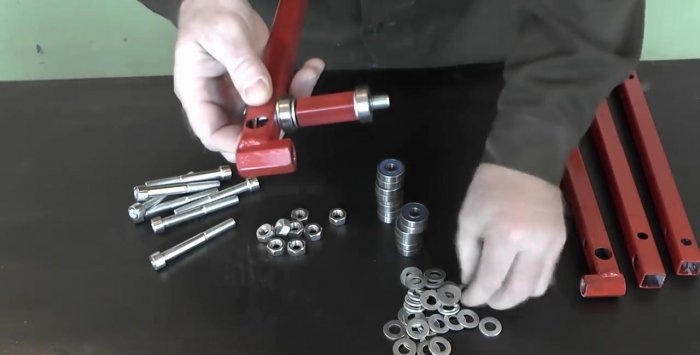
Having finished with these blanks, it's time to assemble them together. An M12 bolt with a solid thread 200 mm long will be used as a connecting loop. 3 long M12 nuts are screwed onto it.
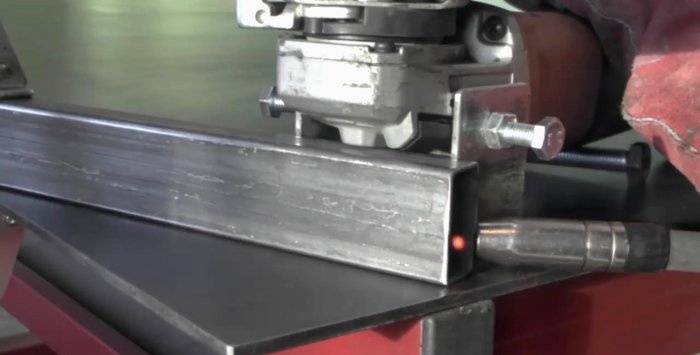
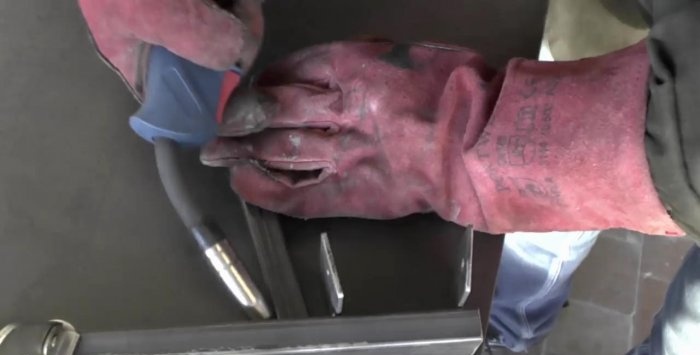
Having secured the bolts with nuts with clamps to the table, you need to attach blanks from a pair of 20x20 profiles and one 40x20.The pipes must be welded to the nuts.
From a steel strip 40 mm wide you need to cut 2 pieces 50 mm long. Drill a hole in the center closer to the edges with an 11 mm drill.
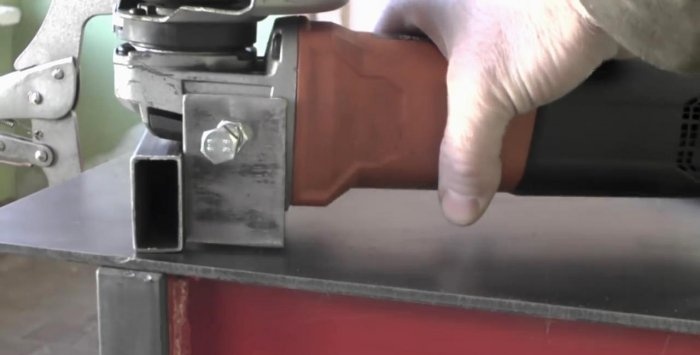
The plates need to be screwed to the grinder gearbox into the standard holes used for attaching the handle. In some tools, these holes can be made for M8 bolts, which will need to be taken into account. For reliability, the M10 40 mm clamping bolts must be equipped with nuts. The bolts are screwed into the gearbox through the plates and tightened with nuts.
You need to attach the grinder with the plates to the workpiece from the 40x20 mm profile and weld it. Afterwards, the tool can be removed so as not to cause damage when the fastening is already securely welded.
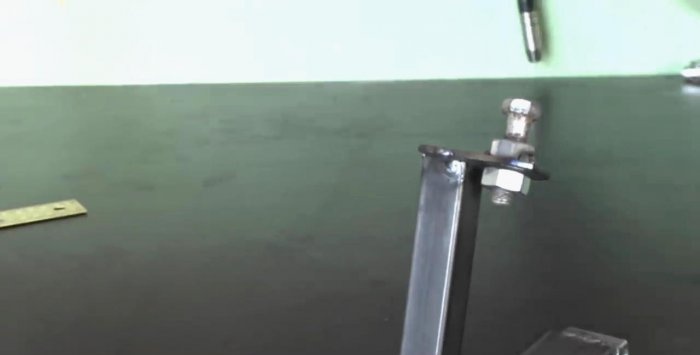
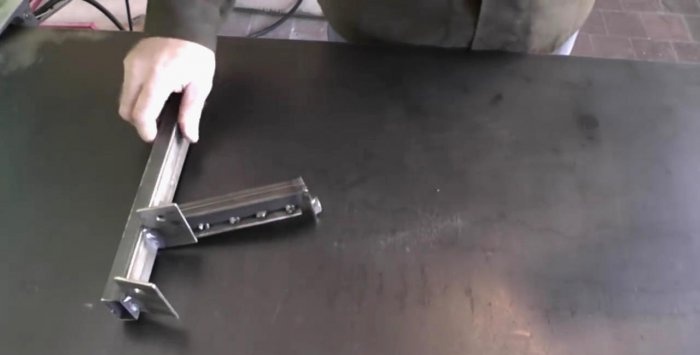
By eye, stepping back a little from the fastening of the plates, a previously made workpiece from a 20x20 profile with a length of 160 mm is boiled down. A plug is welded onto its free end from the same strip as the mount for the angle grinder. A hole is drilled on the protruding ear of the plate, and an M10 nut is welded onto it. To strengthen the structure, an additional steel strip 160 mm long, also sawn at 45 degrees, must be welded onto the side of the profile.
Now the welding work is completely finished and you can begin assembly. It's time to paint the parts.
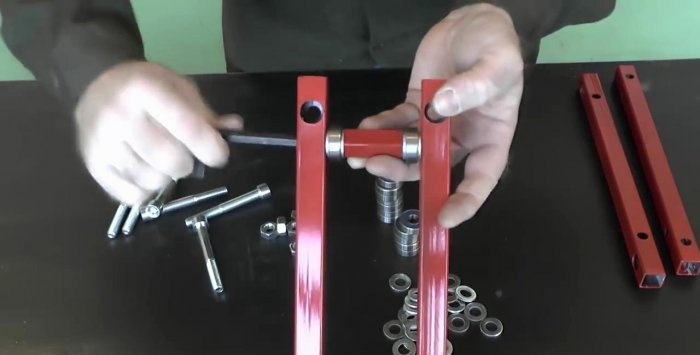
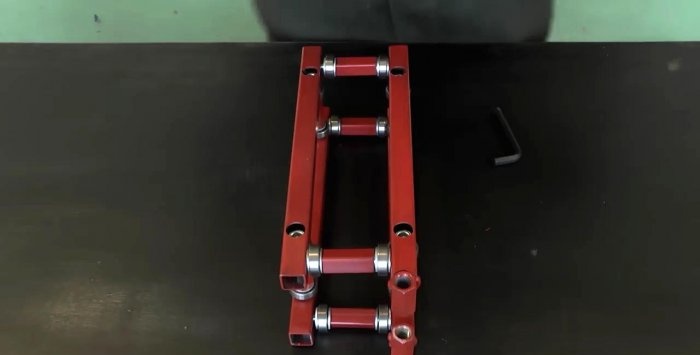
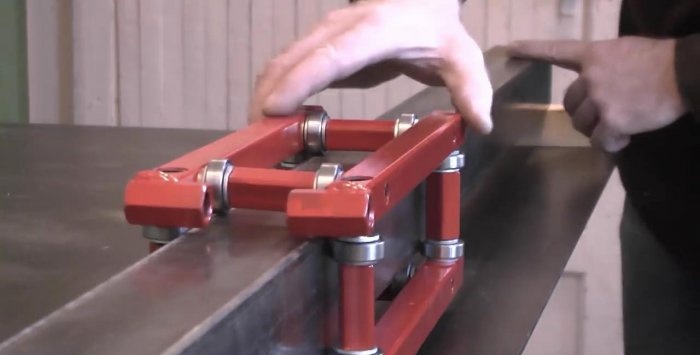
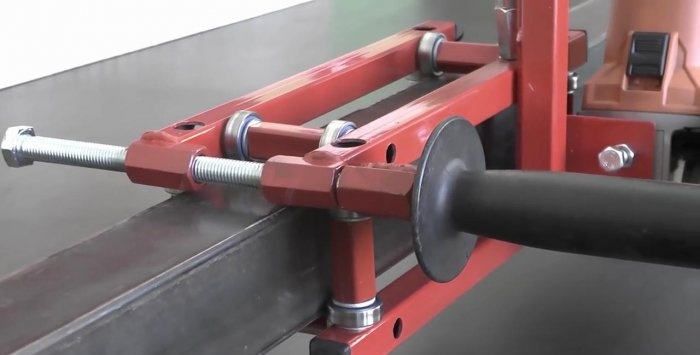
It's time to assemble the carriage. To do this, you will need M10 hex screws 75 mm long. It is necessary to tighten the 20x20 mm profile pipe blanks together. At the same time, a pie is formed between them: washer, bearing, washer, spacer, washer, bearing, washer. By repeating this 7 more times, the result is a finished carriage.
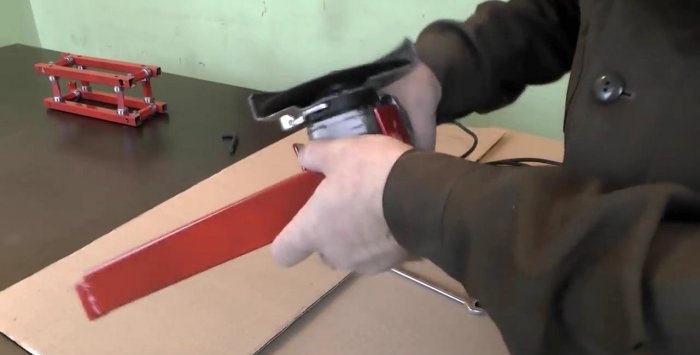
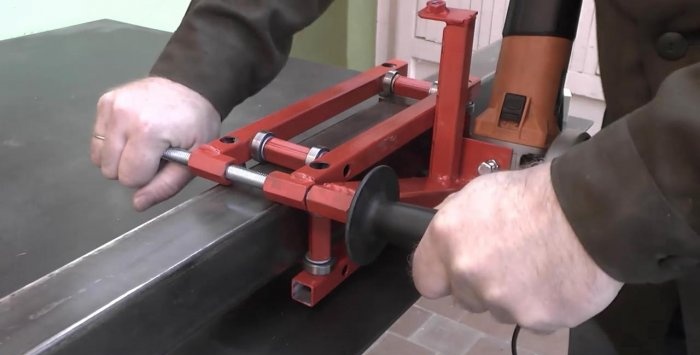
Now you need to assemble the shoulder for the grinder itself. It is screwed to it with bolts and pressed with nuts.When assembling this unit, you need to tighten the threads well so that the tool does not come loose during operation.
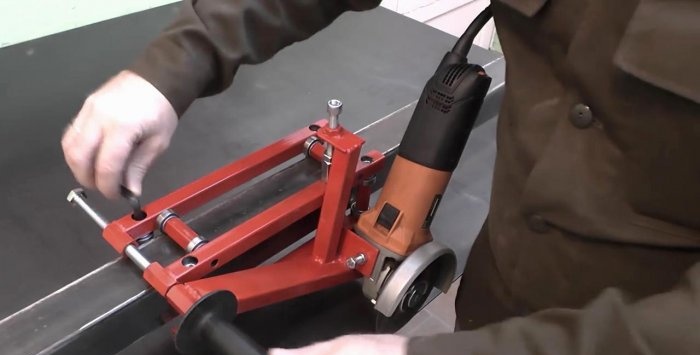
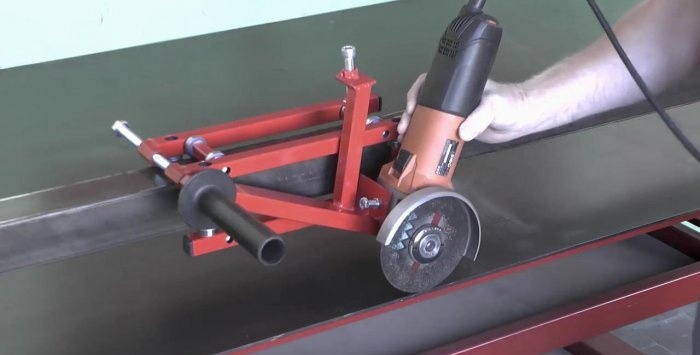
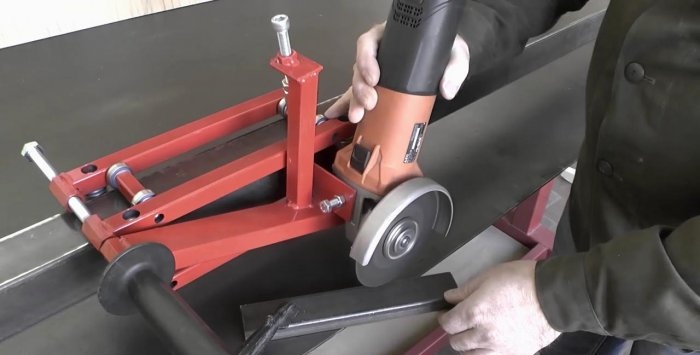
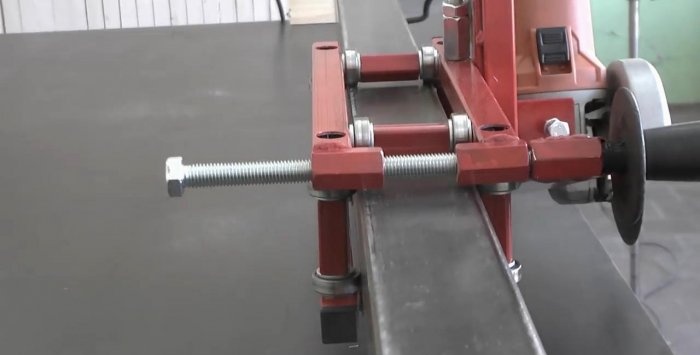
The carriage is mounted on a guide profile pipe 50x50 mm, for which it was actually made. All that remains is to screw in the long bolt, thereby connecting the arm with the grinder. The bolt must not be tightened all the way so that there is room in the long arm nut to secure a standard tool handle.
Now you need to install a mechanism for adjusting the cutting depth. To do this, you need to screw an M10 bolt 70 mm long under a hexagon with a solid thread into the eye of the vertical profile on the arm of the angle grinder. Since I did not have hardware of the appropriate length, I extended it using a long nut and a lock nut.
To give the structure a finished look, it doesn’t hurt to put plastic plugs at the ends of the profile pipes.
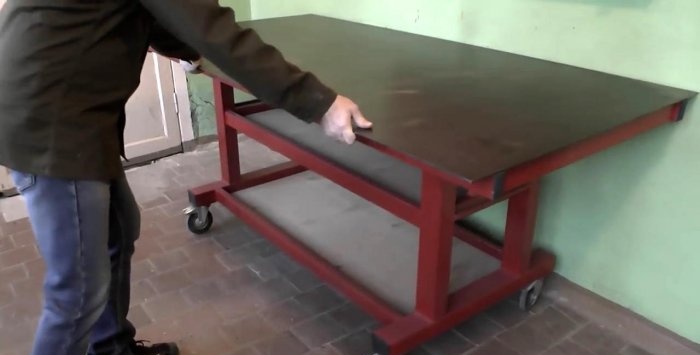
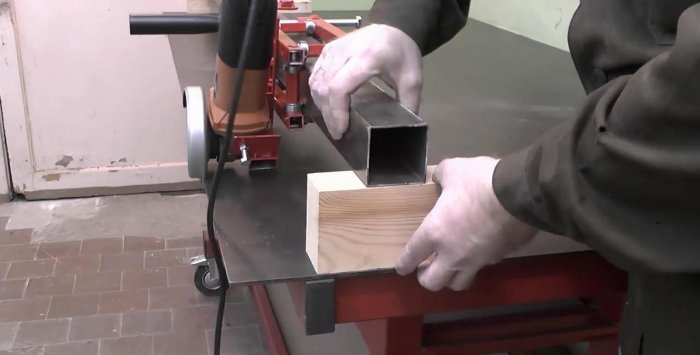
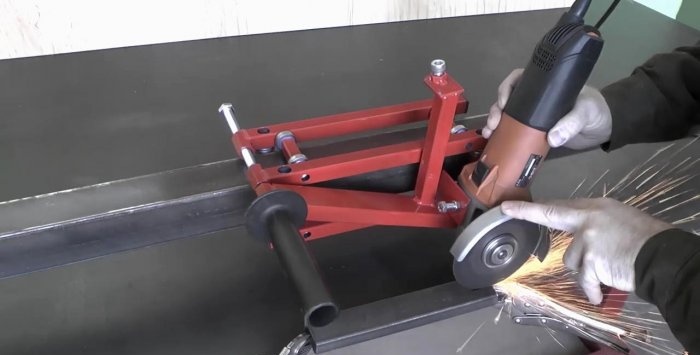
The linear guide with roller carriage is completely ready for use. Its height is adjusted by lining it with wooden blocks. The tool is positioned along the edge of the table. The workpieces for cutting are pressed with a pair of metalwork clamps. For convenience, you can carry out cutting in several passes, each time adding the depth of the cut.
Watch the video
Similar master classes
Universal bench with racks
A stand for an angle grinder made from the handle of a children's bicycle. Extremely
Horizontal bar, parallel bars and press
How to increase the functionality of an angle grinder with removable equipment
A simple stand for an angle grinder made from a bicycle
A simple stand for an angle grinder
Particularly interesting
Comments (2)

