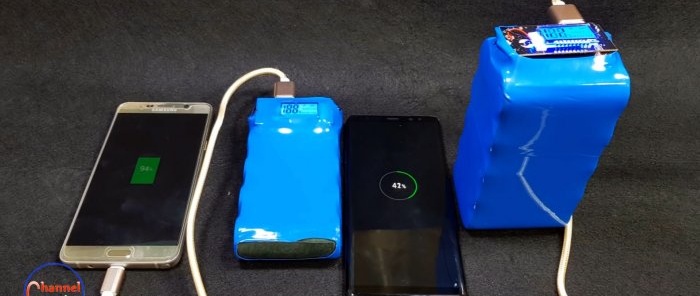
Making a powerful 40,000 mAh Power Bank
Somehow I needed a powerful power bank with which I could easily charge my gadgets for a whole week while on a hike. I couldn’t buy it in the store, since there are simply no batteries of such power on sale. And the idea to make a powerful power bank was born by itself.
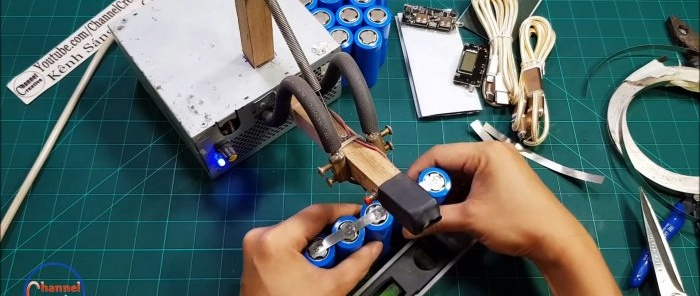
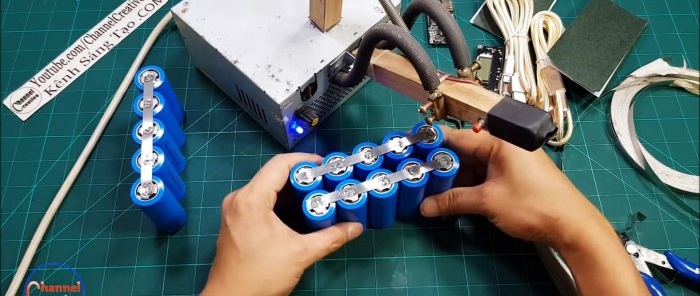
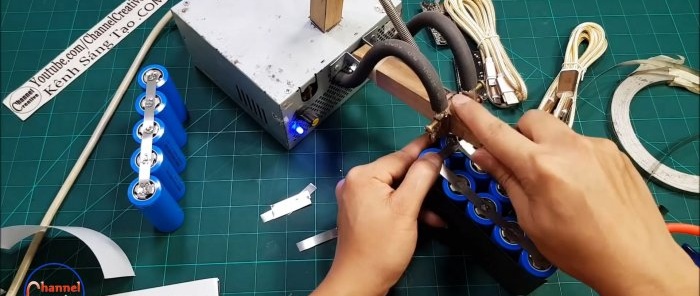
Take the battery connection tape and cut it to the required length. We weld the tape using spot welding.
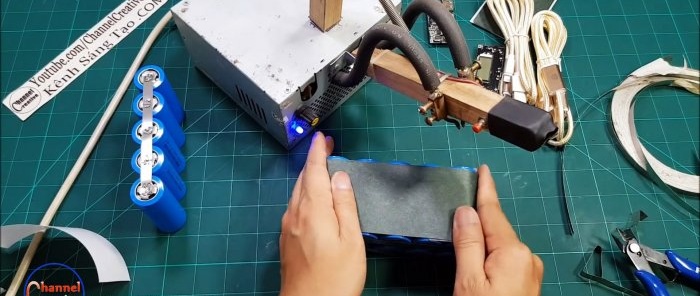
Turn the battery pack over to the other side. We weld the tape in the same way. For a 40,000 mAh power bank, we make a second battery pack of the same type. Then we wrap them together with self-adhesive dielectric insulation.
We make 6 jumpers from connecting tape.
We connect the battery blocks with jumpers.
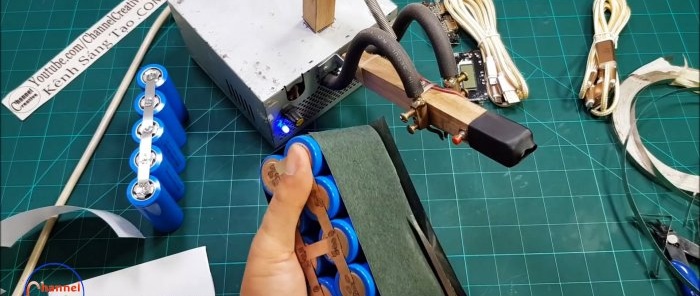
Cover the resulting block with insulation on all sides. Trim off the excess.
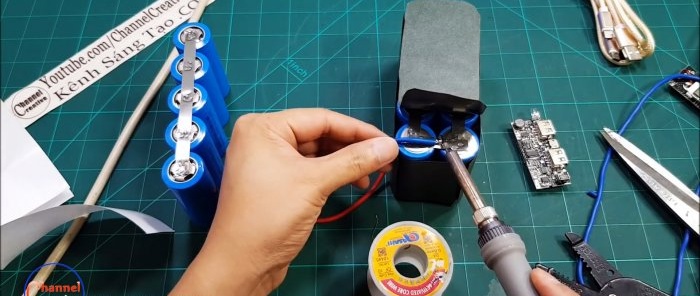
We bend the dielectric insulation on one side. We clean the surface of the connecting tape, preparing the area for soldering. Solder the wire.I took blue for the “minus” so as not to mix up the poles during assembly.
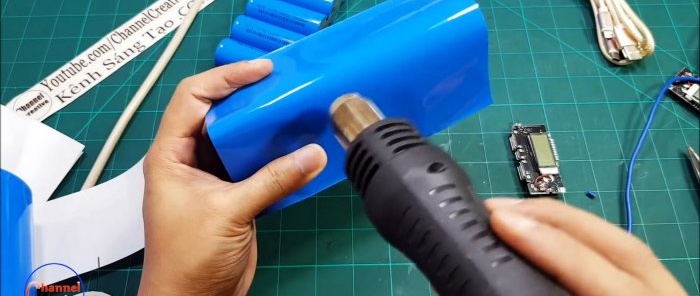
On the other side we solder the red wire. Cut off the shrink film. Its length should be a couple of centimeters longer than the block. Place the block in shrink film. We heat the film with a technical hair dryer until it shrinks tightly.
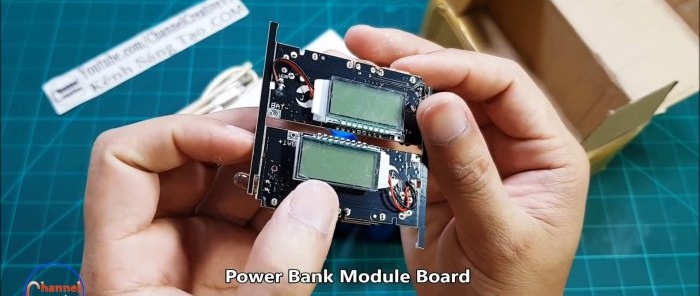
Take the power bank module and check the correct polarity.
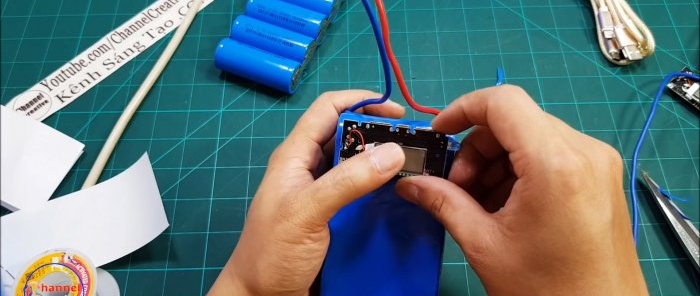
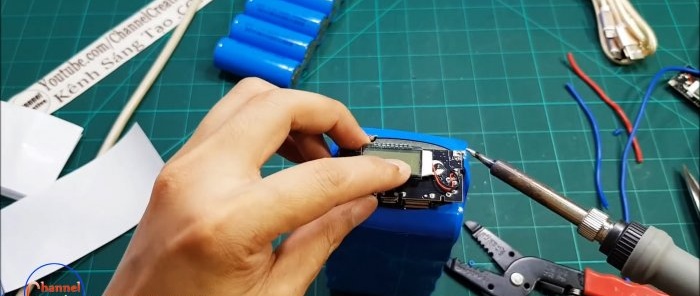
Cut the wire. We strip and solder the wire to the module.
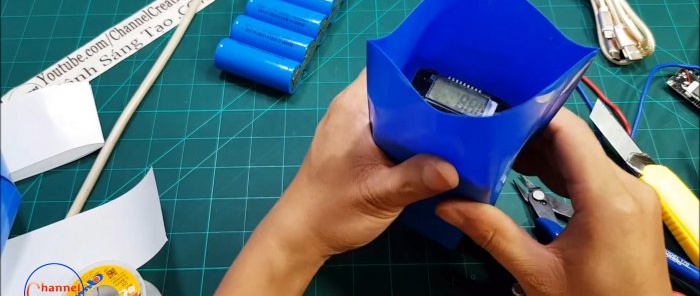
We check the functionality. Cut the shrink film half the length of the block. We put on the film.
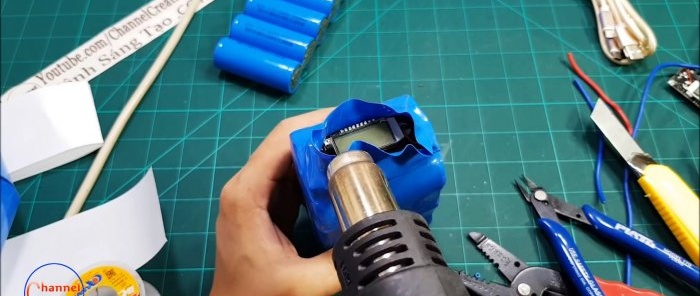
We warm it with a hairdryer.
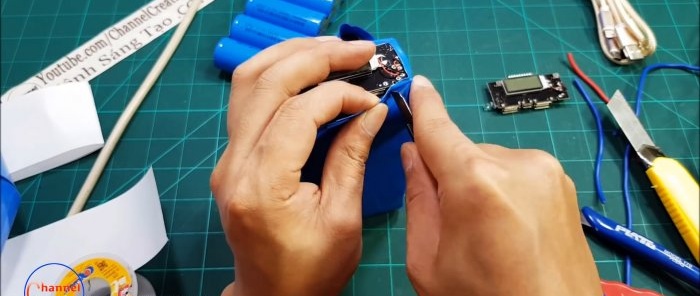
Trim off the excess.
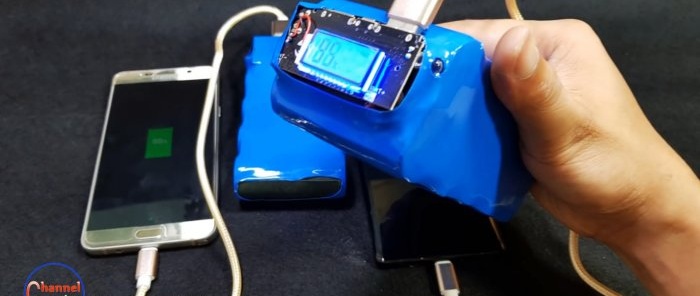
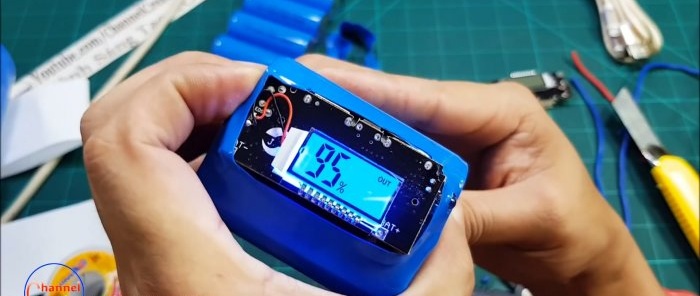
We check the operation of the power bank.
The controller has 2 USB ports, overload protection, short circuit protection. Shows the capacity level of the entire battery on the display.
Materials used
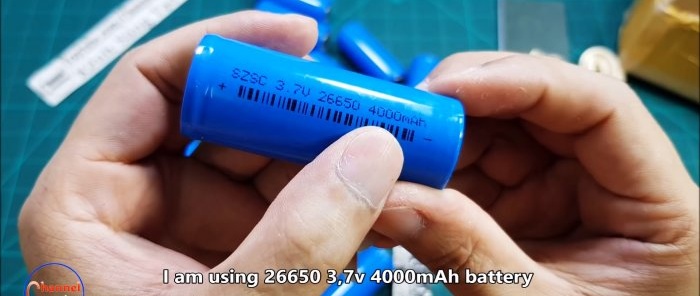
- batteries 26650 4000mAh (10 pcs.) -
- copper wires;
- self-adhesive dielectric insulation -
- battery connection tape -
- thermoresistant paper -
- power bank control controller -
- solder.
Power bank manufacturing process
Take the battery connection tape and cut it to the required length. We weld the tape using spot welding.
Turn the battery pack over to the other side. We weld the tape in the same way. For a 40,000 mAh power bank, we make a second battery pack of the same type. Then we wrap them together with self-adhesive dielectric insulation.
We make 6 jumpers from connecting tape.
We connect the battery blocks with jumpers.
Cover the resulting block with insulation on all sides. Trim off the excess.
We bend the dielectric insulation on one side. We clean the surface of the connecting tape, preparing the area for soldering. Solder the wire.I took blue for the “minus” so as not to mix up the poles during assembly.
On the other side we solder the red wire. Cut off the shrink film. Its length should be a couple of centimeters longer than the block. Place the block in shrink film. We heat the film with a technical hair dryer until it shrinks tightly.
Take the power bank module and check the correct polarity.
Cut the wire. We strip and solder the wire to the module.
We check the functionality. Cut the shrink film half the length of the block. We put on the film.
We warm it with a hairdryer.
Trim off the excess.
We check the operation of the power bank.
The controller has 2 USB ports, overload protection, short circuit protection. Shows the capacity level of the entire battery on the display.
Watch the video
Similar master classes
Particularly interesting
Comments (0)

