How to make an ax from rebar
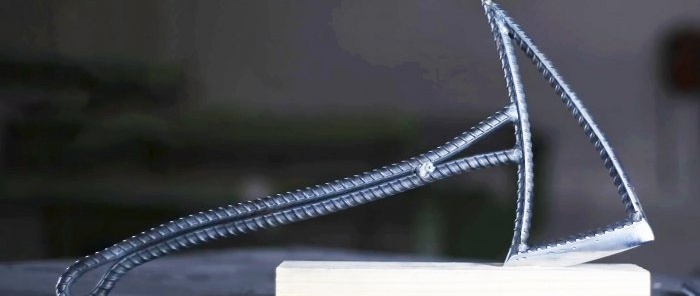
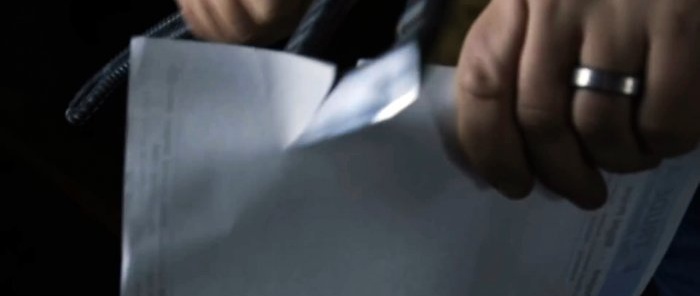
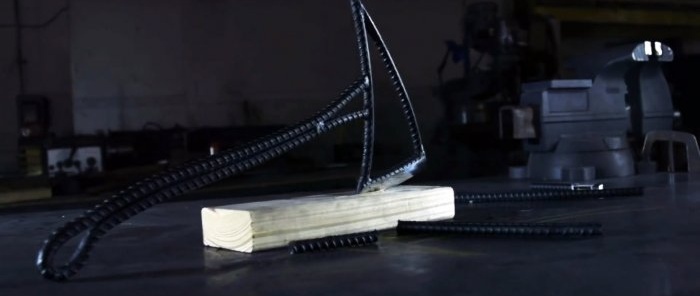
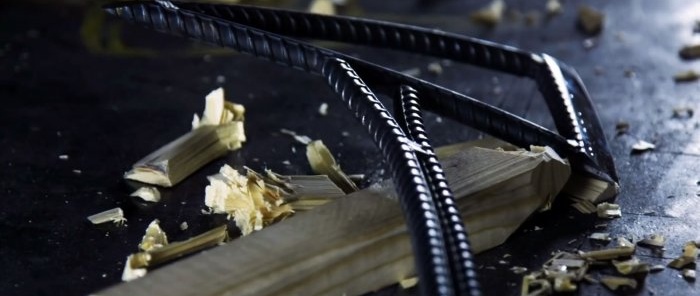
Construction reinforcement can be used not only for working with concrete, but also for creating various crafts. One of the most unusual options for its use is the manufacture of a skeletal type ax. With a fairly decorative appearance, it can well be used as a working tool. Of course, it is not suitable for chopping wood, but it is suitable for cutting meat or cutting down branches. It will also look good on the wall.
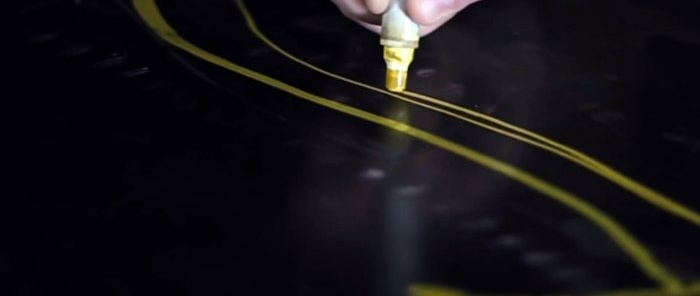
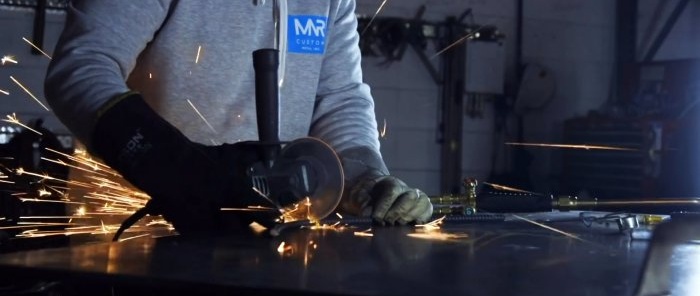
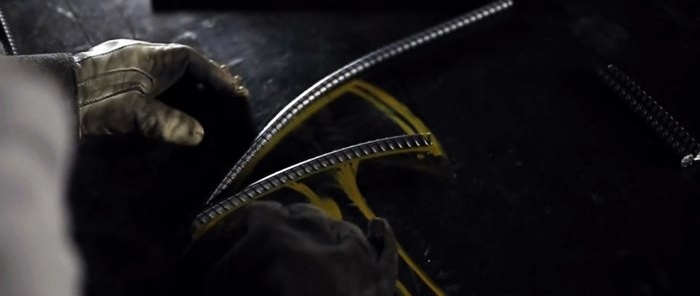
Before you start working with reinforcement, you need to draw an ax template in order to accurately bend the workpiece along it. It is best to draw it on a tabletop, sheet steel or plywood, but not on paper, since it will burn when hot metal is applied.
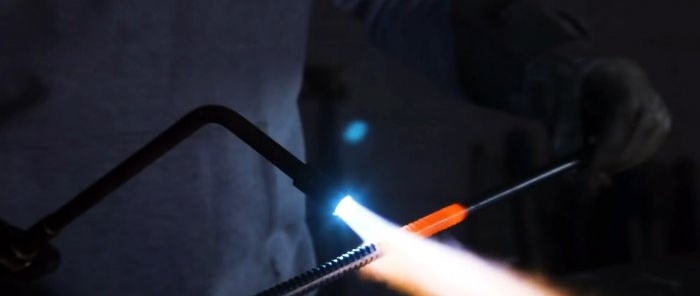
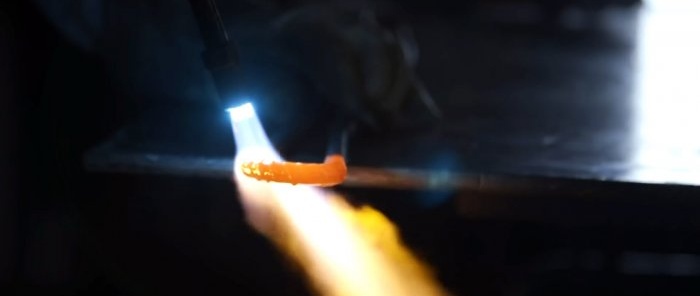
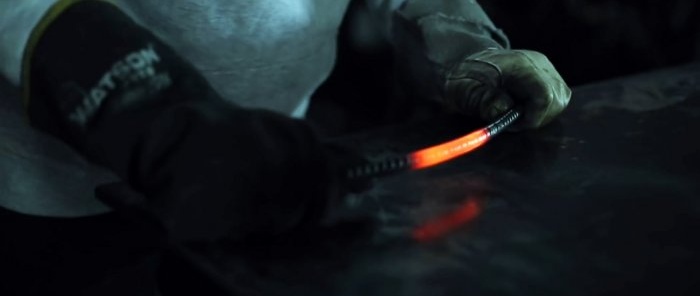
Next, you need to measure the circumference of the ax and take the corresponding piece of reinforcement for its manufacture with a small margin of 10-20 cm. The center is marked on the workpiece. It is heated red-hot in a forge or under the flame of a gas torch. The red-hot reinforcement is bent in half by hand.
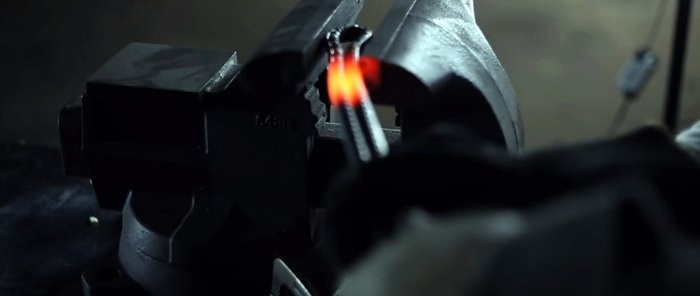
To narrow the bend radius, you need to warm it up again, but wider, and squeeze it in a vice.
You can also straighten the workpiece with hammer blows, but this carries the risk of damaging the characteristic relief on the reinforcement, which will then not look the best. It is necessary to warm up the reinforcement in the right places and bend it in a vice so that it completely follows the shape of the template.
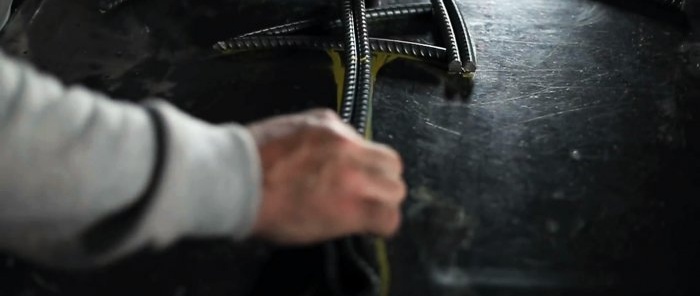
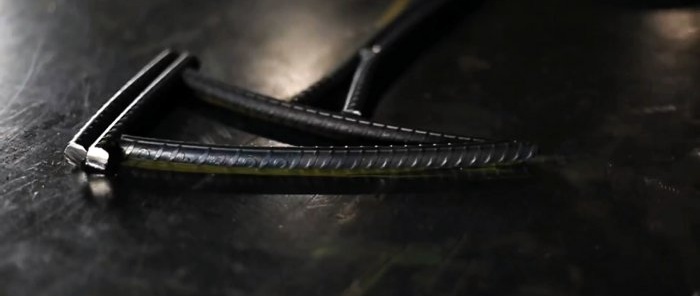
After bending the ax handle, the ax head is made. It consists of 4 pieces of reinforcement. Before cutting, the workpiece must be bent under them with an arc. The ax blade will consist of 2 folded pieces of reinforcement.
Blanks for a pointed butt should be cut at an angle at the end to form a wedge when joined.
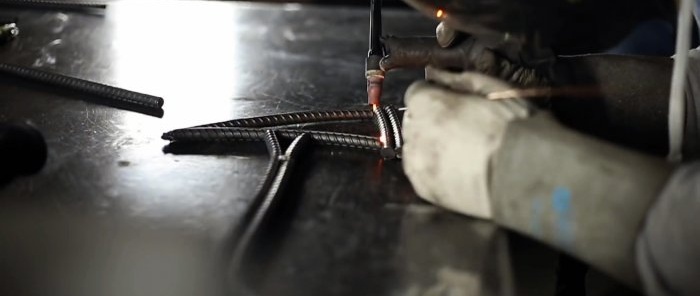
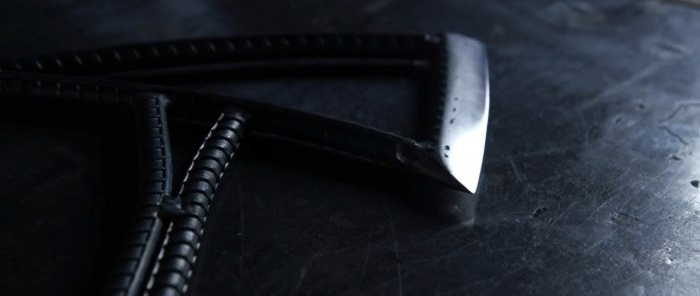
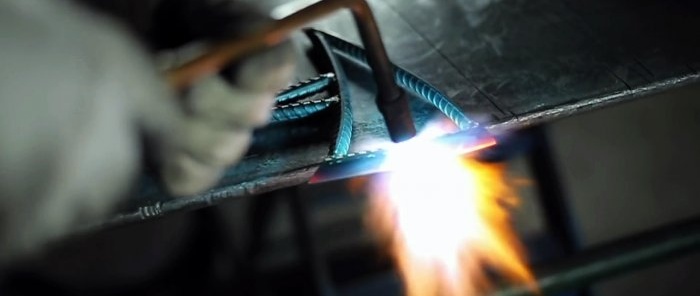
The details of the ax head and ax handle are tried on. Then you need to weld the handle reinforcement at one point 4-8 cm in front of the blade, then move its ends apart and cut it off. After this, all the parts are welded together one by one. When welding 2 pieces of reinforcement that form the blade, you need to make a thick seam to completely fuse them, filling in all the recesses.
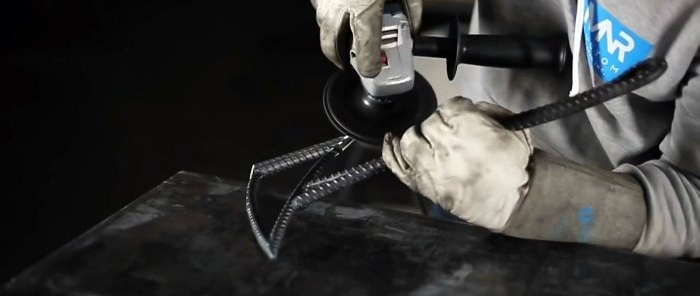
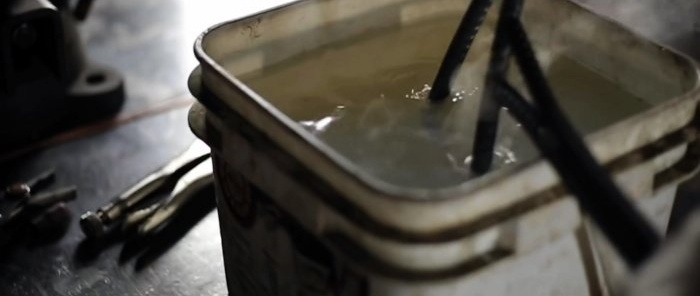
The ax blade is sharpened, but not to full sharpness. After the slopes are formed, it needs to be hardened. To do this, the cutting edge is heated to an orange tarnish and immediately cooled in water.
After hardening, the ax can be sharpened to the desired sharpness. If you immediately harden a razor-sharp blade, it may deteriorate.
In the future, if you plan to use the ax for work and not decoration, it is better to wrap the ax handle in the grip areas with leather so as not to rub your hands. The ax also needs to be painted and the blade blued.
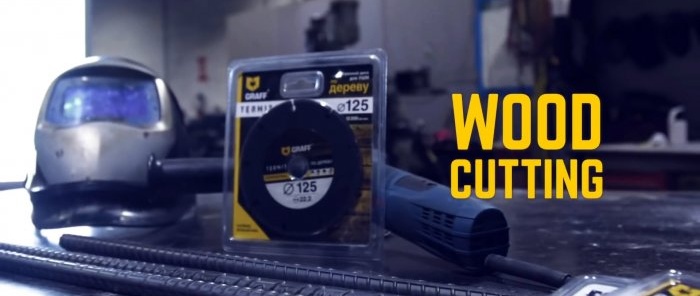
Materials and tools:
- reinforcement 12-16 mm;
- gas cutter or forge;
- vice;
- electric welding;
- emery.
Making an ax
Before you start working with reinforcement, you need to draw an ax template in order to accurately bend the workpiece along it. It is best to draw it on a tabletop, sheet steel or plywood, but not on paper, since it will burn when hot metal is applied.
Next, you need to measure the circumference of the ax and take the corresponding piece of reinforcement for its manufacture with a small margin of 10-20 cm. The center is marked on the workpiece. It is heated red-hot in a forge or under the flame of a gas torch. The red-hot reinforcement is bent in half by hand.
To narrow the bend radius, you need to warm it up again, but wider, and squeeze it in a vice.
You can also straighten the workpiece with hammer blows, but this carries the risk of damaging the characteristic relief on the reinforcement, which will then not look the best. It is necessary to warm up the reinforcement in the right places and bend it in a vice so that it completely follows the shape of the template.
After bending the ax handle, the ax head is made. It consists of 4 pieces of reinforcement. Before cutting, the workpiece must be bent under them with an arc. The ax blade will consist of 2 folded pieces of reinforcement.
Blanks for a pointed butt should be cut at an angle at the end to form a wedge when joined.
The details of the ax head and ax handle are tried on. Then you need to weld the handle reinforcement at one point 4-8 cm in front of the blade, then move its ends apart and cut it off. After this, all the parts are welded together one by one. When welding 2 pieces of reinforcement that form the blade, you need to make a thick seam to completely fuse them, filling in all the recesses.
The ax blade is sharpened, but not to full sharpness. After the slopes are formed, it needs to be hardened. To do this, the cutting edge is heated to an orange tarnish and immediately cooled in water.
After hardening, the ax can be sharpened to the desired sharpness. If you immediately harden a razor-sharp blade, it may deteriorate.
In the future, if you plan to use the ax for work and not decoration, it is better to wrap the ax handle in the grip areas with leather so as not to rub your hands. The ax also needs to be painted and the blade blued.
Watch the video
Similar master classes
Particularly interesting
Comments (2)

