DIY taillight tuning
Car enthusiasts like to tune cars to add interest, charm, and simply beauty. For example, I, like many people, am not satisfied with the usual light from the rear lights. Therefore, today I will talk about how to do the tuning of the rear headlights on a Ford Focus yourself.
We will need the following materials and tools:
The procedure is not complicated, so it can be easily done at home.
Let's start by preparing the details. Mark the junction of the lantern with the box with a marker. Cut or use a burning device.
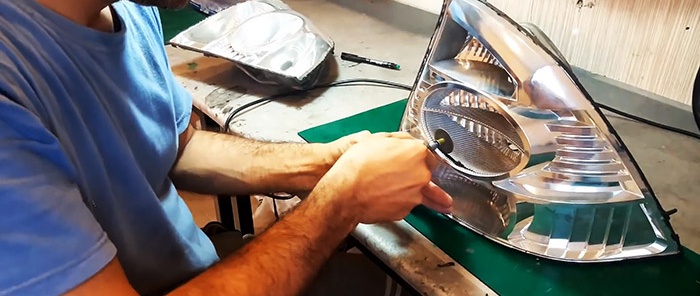
Sand the cut area if you used a mini saw. Now we cut out two ovals from plexiglass exactly in this circle.
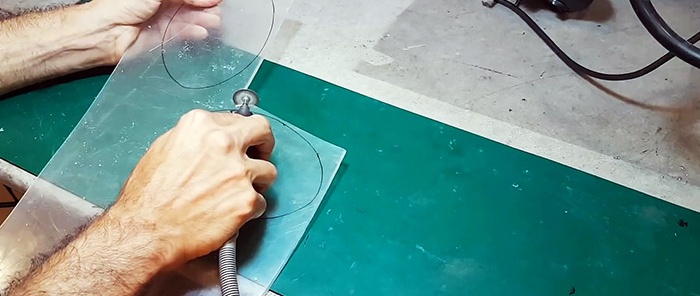
Remove the protective film and sand the edges of the cut. Let's check if they are the right size. Then we put them in an electric oven to soften them.
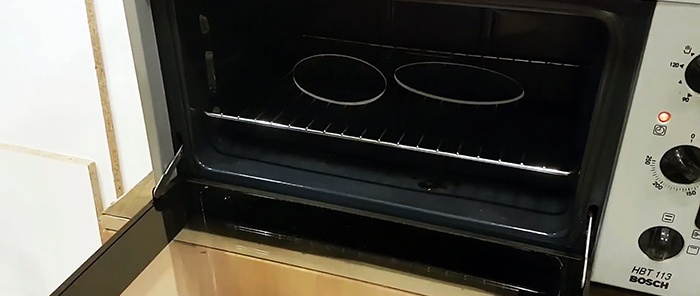
While they are still soft, we transfer them to the headlight housing.
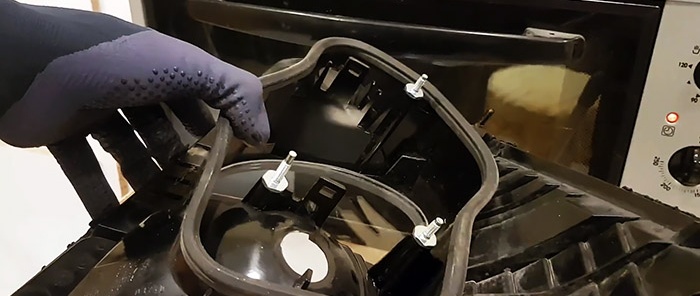
We move on to making “fiery” stripes for “stoppers”.
Using a circular saw, we cut out six long strips from thick plastic glass to fit the height of the headlight housing.
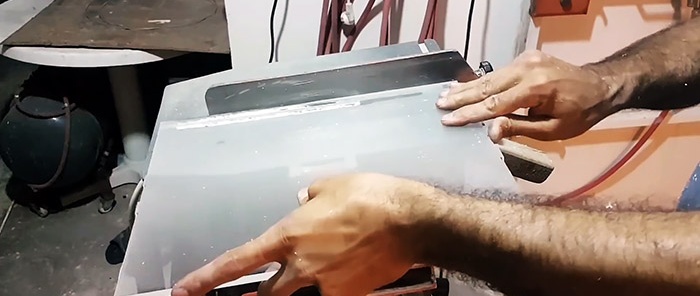
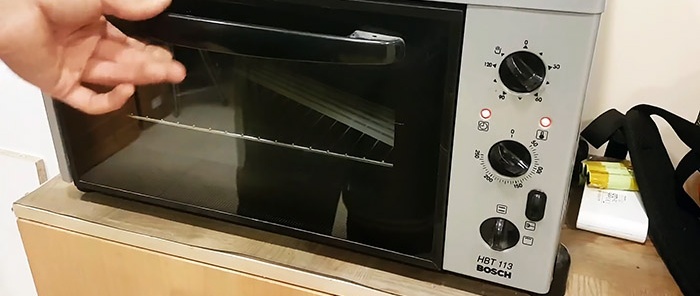
We put it in the electric oven.
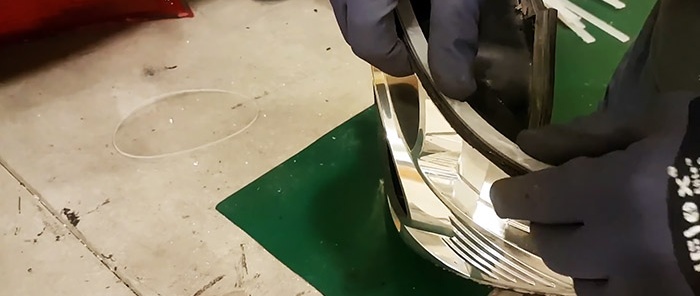
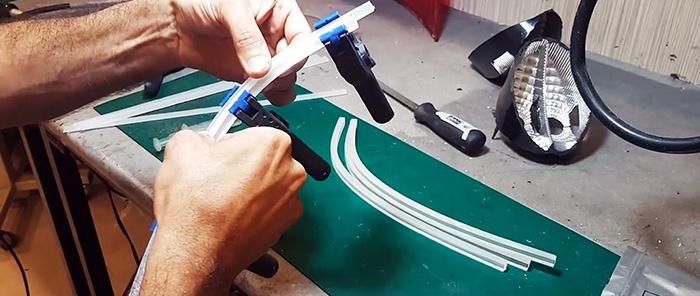
When they soften, bend them according to the pattern and clamp them with special clamps.
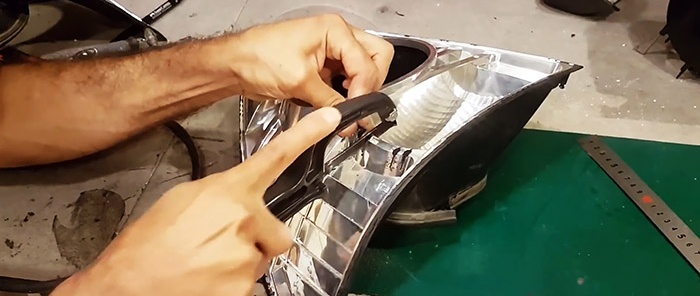
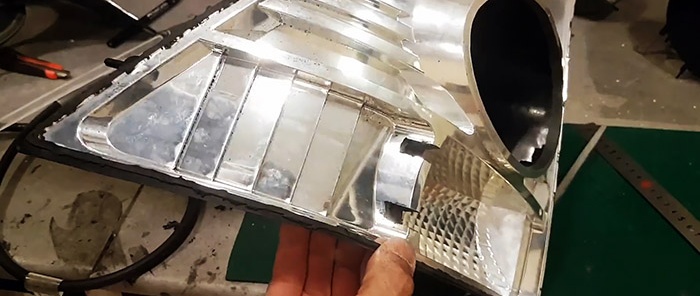
Let's move on to the pointers. Cut out the guide signs.
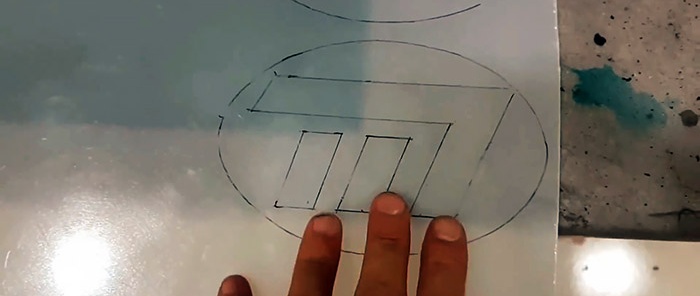
We fix it on previously prepared ovals. We glue the edges with a special glue from a syringe.
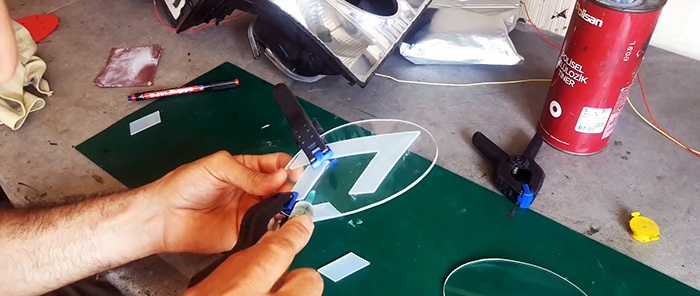
Rub the remaining glue on the surface with sandpaper. Let's move on to preparing for installation LEDs.
We make cuts on the headlight protrusion so that the strip can lie along the entire length of the opening.
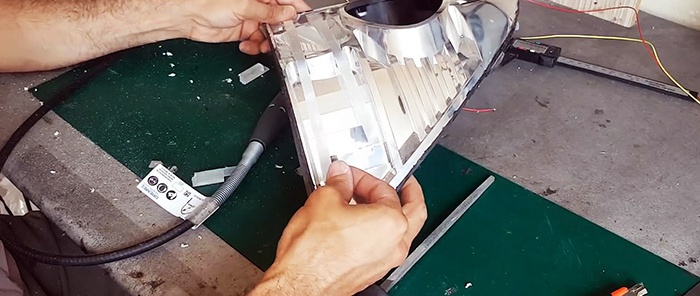
We lay pre-cut fiberglass strips.
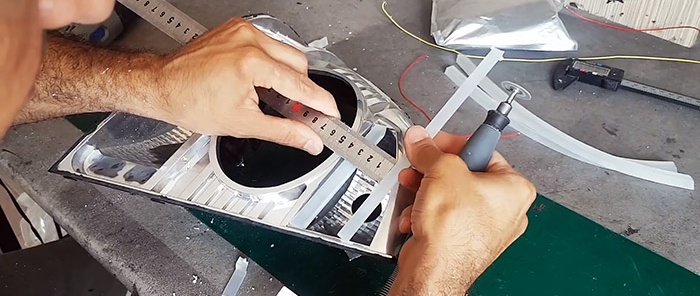
This is delicate work and requires care and precision.
According to the size of the cut strips, cut LEDs.
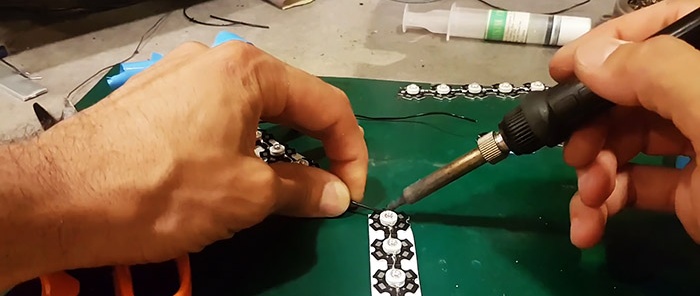
We solder them with wires. We heat the joint to soften it with a lighter and seal it with our fingers so that the rubber protection does not come off and expose the wires.
Cut the foil into strips. We put it on it Light-emitting diode. Place a strip of fiberglass on top and wrap it in foil. Light-emitting diode. We test and glue it into the headlight housing.
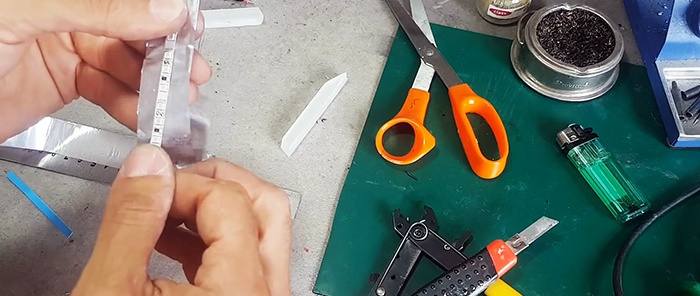
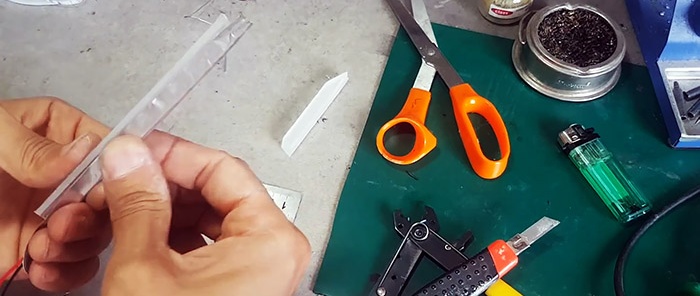
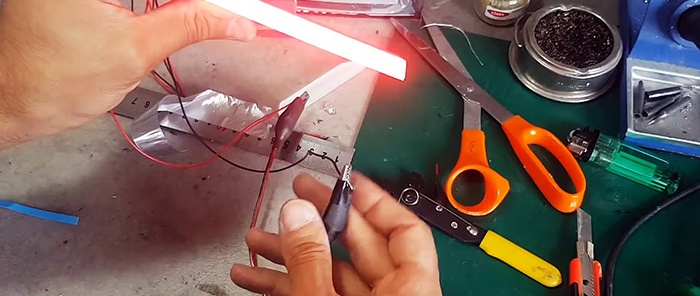
This is what should happen in the end.
Now let's move on to installing the turn signals. We connect the stop diodes into a single line according to the size of the cut out arrows. We glue the diffusive caps.
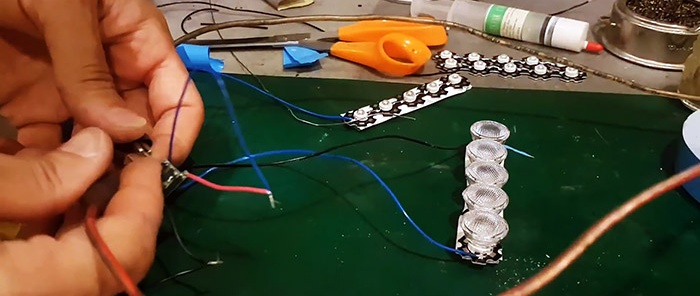
We put it on glue to the plexiglass.
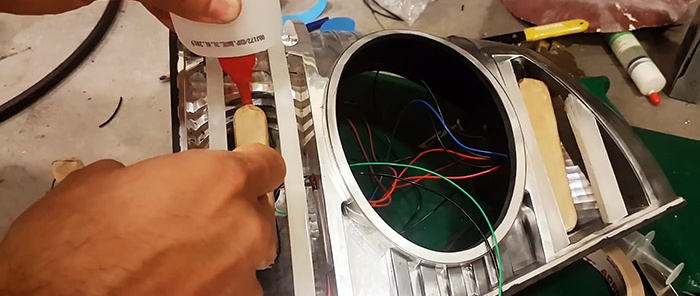
We glue plexiglass protection to the side.
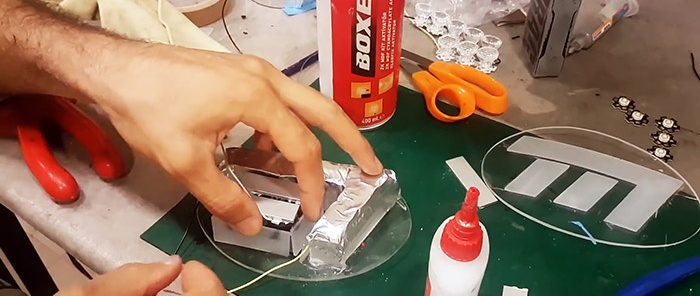
Sew the top with foil.
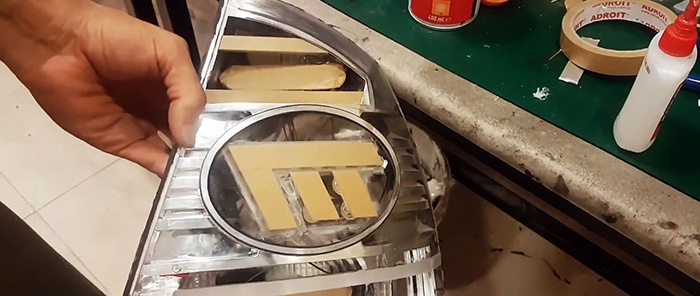
We repeat the procedure with all pointers.
We insert it into the headlight housing and cover it with a protective film. Prime and cover with black paint.
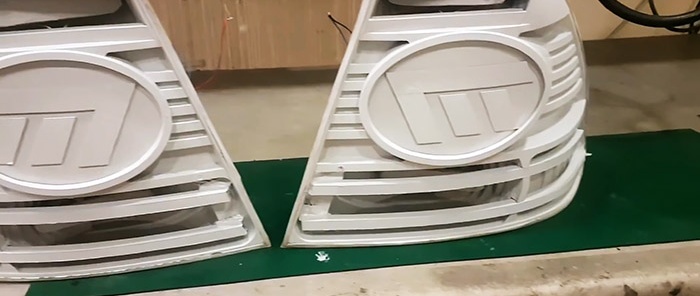
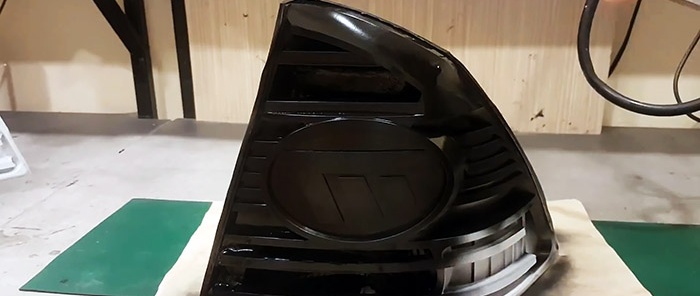
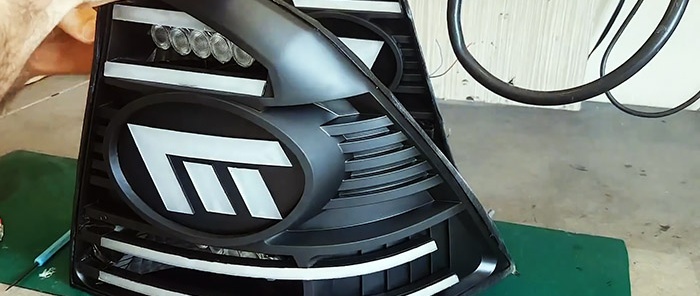
We degrease the edges of the outer glass and the headlight housing and apply sealant. Let's connect.
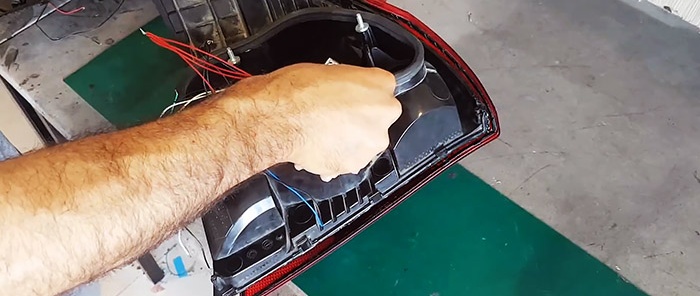
Don't forget to install a resistor.
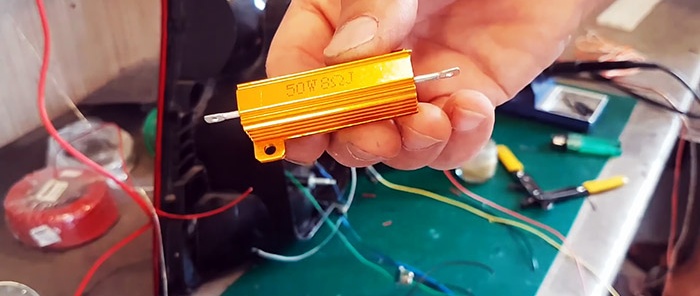
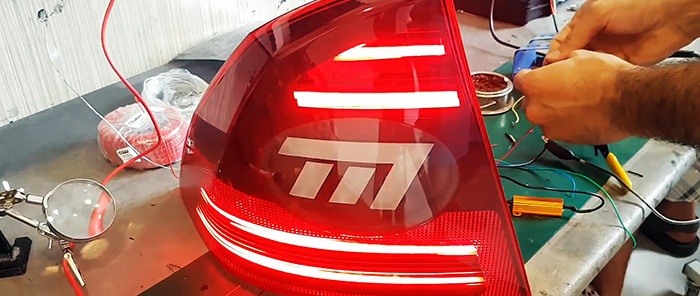
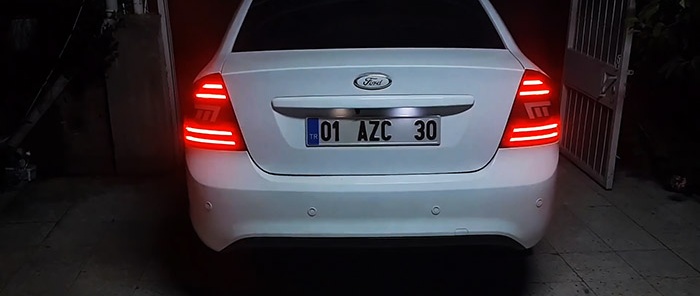
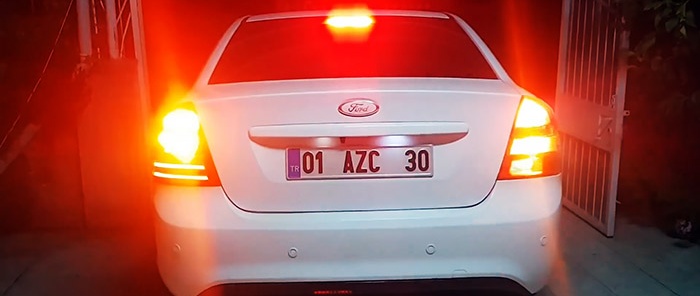
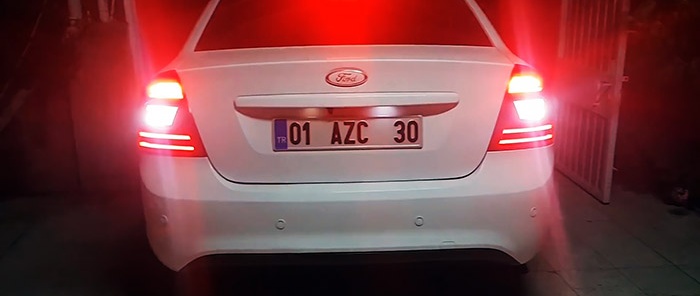
We get this headlight tuning.
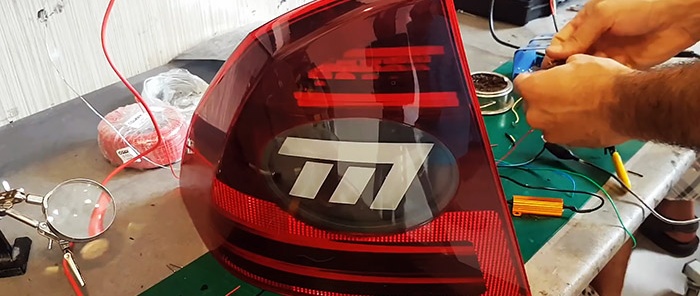
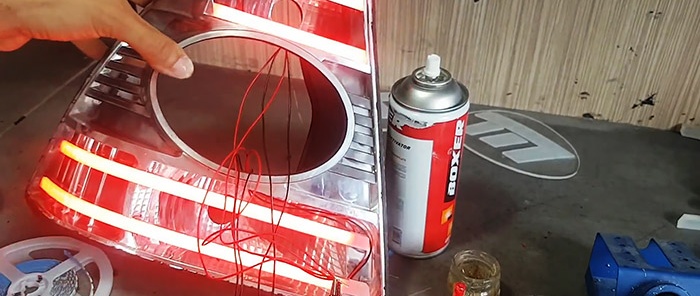
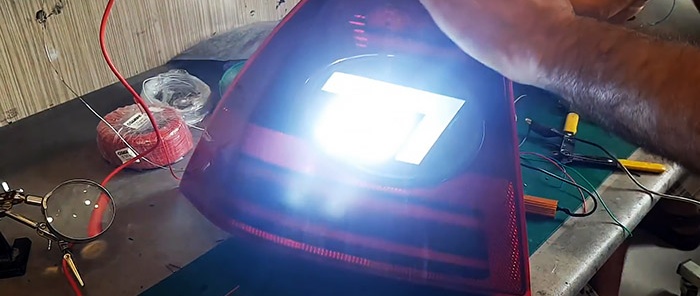
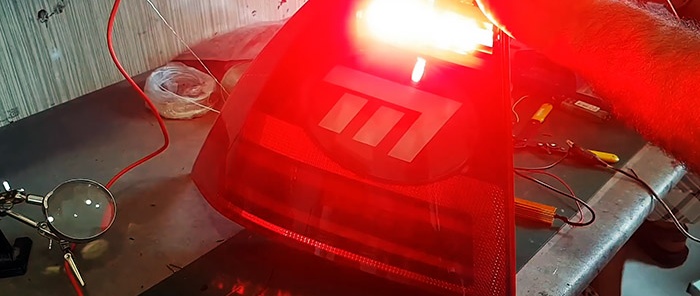
The difference between LEDs and conventional lamps is clearly visible in the photograph.
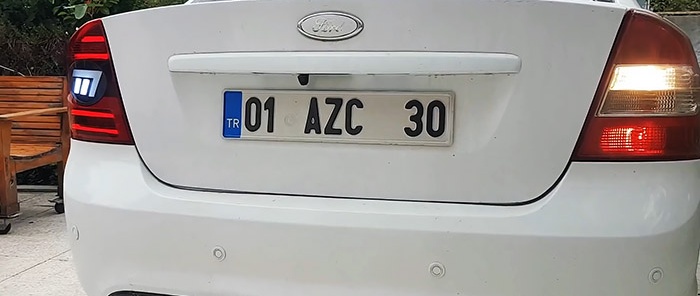
Finished look:

What you will need
We will need the following materials and tools:
- marker;
- sealant;
- a circular saw;
- a grinding machine or a regular drill with attachments;
- LEDs;
- resistor 50 W 8 Ohm;
- plexiglass;
- soldering iron;
- foil and some other related materials and tools.
The procedure is not complicated, so it can be easily done at home.
DIY taillight tuning
Let's start by preparing the details. Mark the junction of the lantern with the box with a marker. Cut or use a burning device.

Sand the cut area if you used a mini saw. Now we cut out two ovals from plexiglass exactly in this circle.

Remove the protective film and sand the edges of the cut. Let's check if they are the right size. Then we put them in an electric oven to soften them.

While they are still soft, we transfer them to the headlight housing.

We move on to making “fiery” stripes for “stoppers”.
Using a circular saw, we cut out six long strips from thick plastic glass to fit the height of the headlight housing.

We put it in the electric oven.

When they soften, bend them according to the pattern and clamp them with special clamps.


Let's move on to the pointers. Cut out the guide signs.

We fix it on previously prepared ovals. We glue the edges with a special glue from a syringe.

Rub the remaining glue on the surface with sandpaper. Let's move on to preparing for installation LEDs.
We make cuts on the headlight protrusion so that the strip can lie along the entire length of the opening.

We lay pre-cut fiberglass strips.

This is delicate work and requires care and precision.
According to the size of the cut strips, cut LEDs.
We solder them with wires. We heat the joint to soften it with a lighter and seal it with our fingers so that the rubber protection does not come off and expose the wires.
Cut the foil into strips. We put it on it Light-emitting diode. Place a strip of fiberglass on top and wrap it in foil. Light-emitting diode. We test and glue it into the headlight housing.


This is what should happen in the end.
Now let's move on to installing the turn signals. We connect the stop diodes into a single line according to the size of the cut out arrows. We glue the diffusive caps.


We put it on glue to the plexiglass.

We glue plexiglass protection to the side.

Sew the top with foil.

We repeat the procedure with all pointers.
We insert it into the headlight housing and cover it with a protective film. Prime and cover with black paint.


We degrease the edges of the outer glass and the headlight housing and apply sealant. Let's connect.

Don't forget to install a resistor.

We get this headlight tuning.


The difference between LEDs and conventional lamps is clearly visible in the photograph.

Finished look:


Watch the video
Similar master classes
Particularly interesting
Comments (10)

