Making a 12V Mini Table Saw
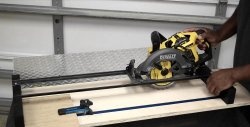
It happens that you cannot do without a circular saw at home. It is necessary to cut fiberboard or glazing beads evenly and accurately. A hand saw or electric saw with large teeth is not suitable.
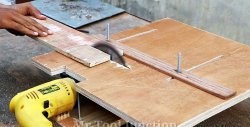
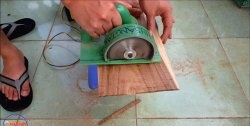
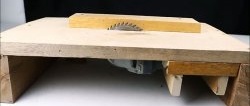
Today I will tell you how to make a mini table saw for fine woodworking. Such a device allows you to work with small carpentry parts, beautifully cut and slice material to create mini-ships and other wood crafts.
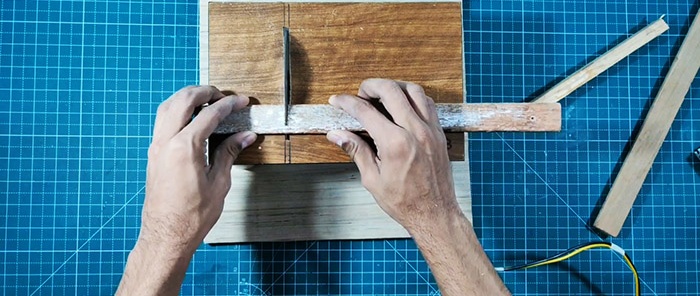
What you will need:
The manufacture of a mini table saw consists of several stages. Let's proceed to the first stage.
Making a countertop:
We take a piece of plywood already cut to the dimensions that I indicated earlier.
From PVC pipes we cut the future legs into 10 cm pieces and glue them along the edges of a piece of plywood.
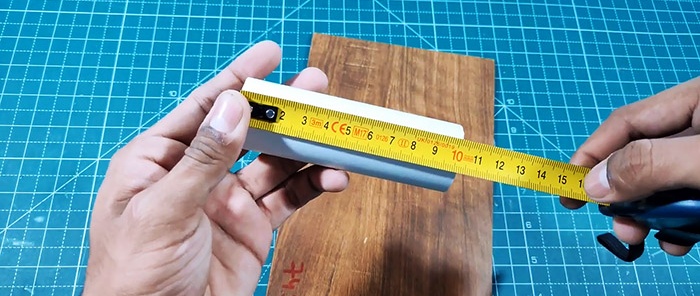
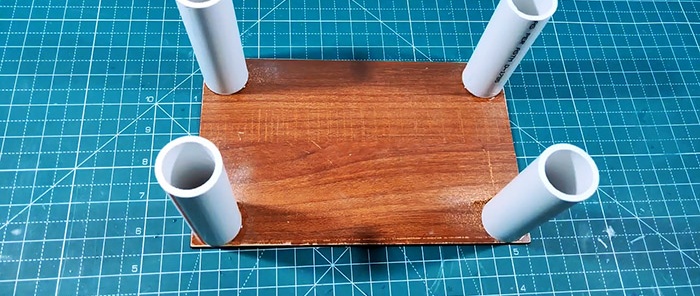
Now we need to make a slot to fit the circular saw blade into.
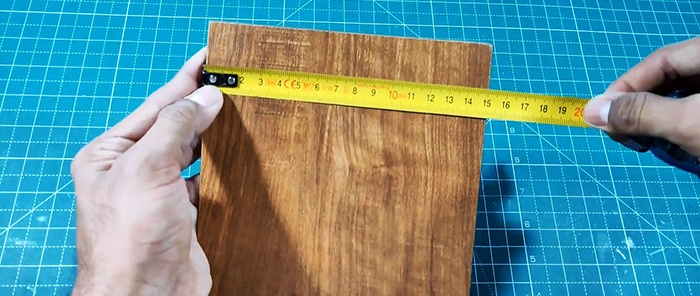
We measure 7 cm in length from the edge of the board and make a mark on the left side.We repeat the same procedure on the right side of the plywood. The distance between the marks should exceed 110 mm - the width of the disk by 1.5 cm.
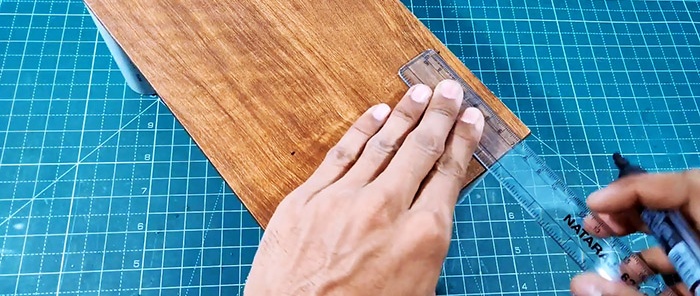
We connect these marks with a marker into a single strip.
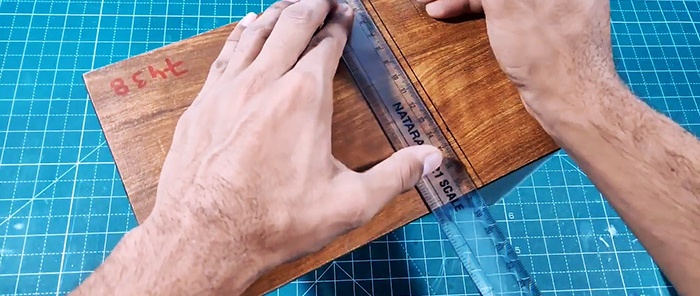
We retreat 8 mm and make another strip. Using a drill and a wood drill bit with a diameter of 8 mm, we drill holes between the marks.
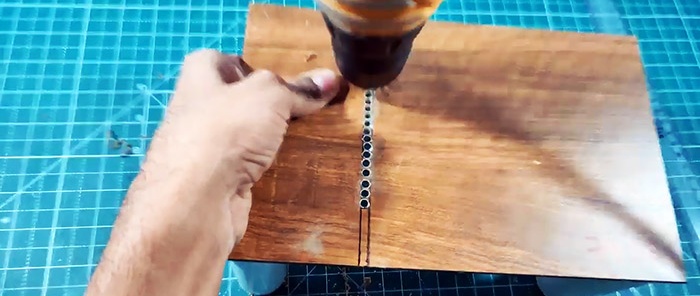
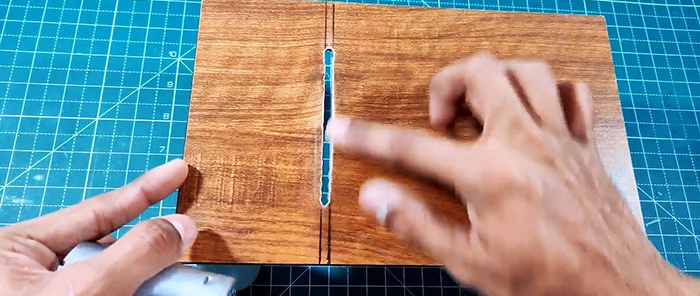
Using a hacksaw blade, we connect the holes into a single slot. We clean the edges.
Next we make a stand for the switch and connecting the power source. We take a small square of plywood or laminated cardboard and drill two holes the size of the button and connector with a drill.
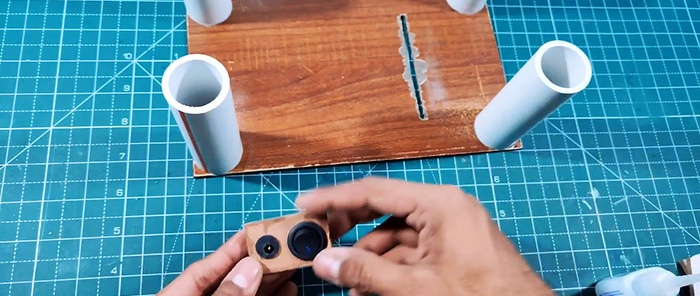
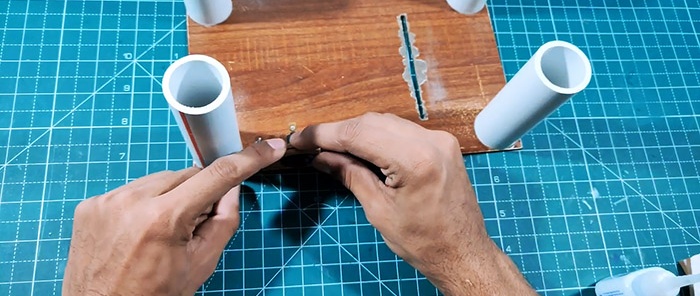
We insert these two elements and place them on the tabletop with glue on the back side.
Let's start installing the motor for the mini saw. We put the adapter coupling on the motor shaft and tighten the fastening bolt with a hexagon.
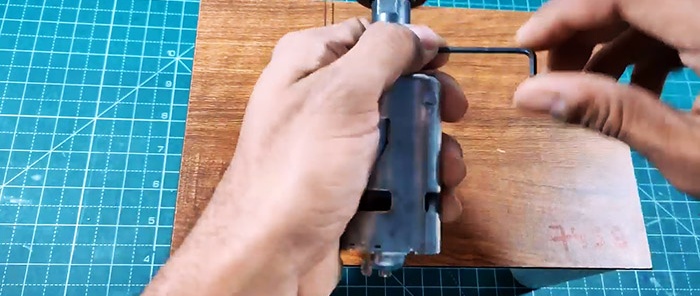
We put a circular saw blade on the adapter and secure it with a nut.
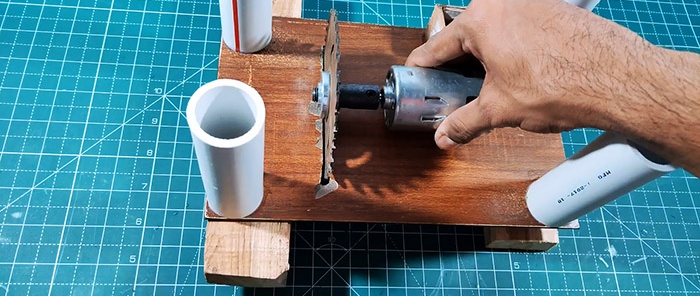
We install the disk in the hole, and fix the motor with small wooden blocks. We sit the timber on glue. We also apply glue along the top edges of the motor so that it holds firmly between the supports.
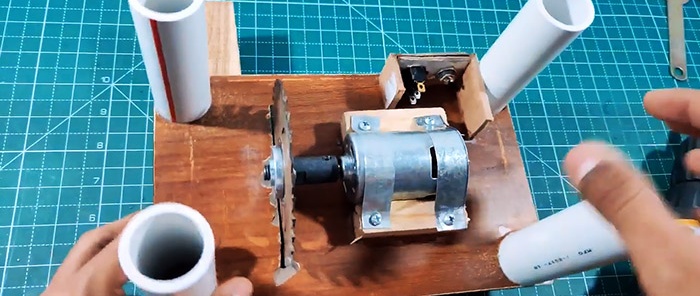
Additionally, we secure it with two plates. We screw them to the bars.
Now there's just a little bit left to do.
We install the tabletop on a stronger and wider base. We glue the legs to it.
We take a 12 V adapter and connect it as shown in the diagram.
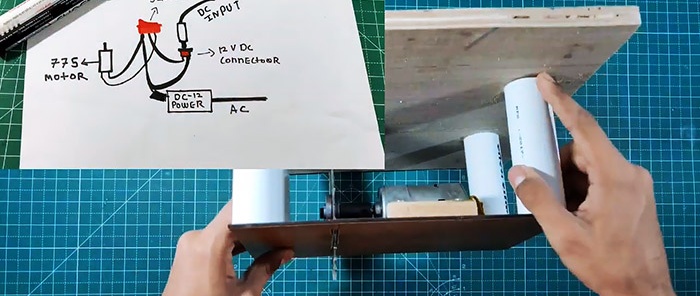
Now we take small bars and saw them.
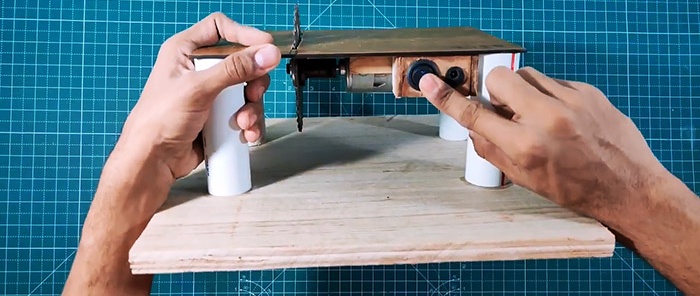
This saw is suitable for sawing thin slats, window beads, and bars up to 3 cm. When working with it, be careful and follow technical safety rules so as not to injure yourself.

Today I will tell you how to make a mini table saw for fine woodworking. Such a device allows you to work with small carpentry parts, beautifully cut and slice material to create mini-ships and other wood crafts.

Tools and materials
What you will need:
- piece of plywood (LxW – 24x15 cm) – 1 piece;
- PVC pipes 10 cm – 4 pcs;
- switch button – 1 piece;
- 12-24V power connector – 1 piece;
- 775 engine (power – 9000 rpm) – 1 piece -
- 5 mm coupling connector – 1 piece;
- 110 mm circular saw blade – 1 pc.
The manufacture of a mini table saw consists of several stages. Let's proceed to the first stage.
Making a mini table saw
Making a countertop:
We take a piece of plywood already cut to the dimensions that I indicated earlier.

From PVC pipes we cut the future legs into 10 cm pieces and glue them along the edges of a piece of plywood.


Now we need to make a slot to fit the circular saw blade into.
We measure 7 cm in length from the edge of the board and make a mark on the left side.We repeat the same procedure on the right side of the plywood. The distance between the marks should exceed 110 mm - the width of the disk by 1.5 cm.

We connect these marks with a marker into a single strip.

We retreat 8 mm and make another strip. Using a drill and a wood drill bit with a diameter of 8 mm, we drill holes between the marks.

Using a hacksaw blade, we connect the holes into a single slot. We clean the edges.

Next we make a stand for the switch and connecting the power source. We take a small square of plywood or laminated cardboard and drill two holes the size of the button and connector with a drill.

We insert these two elements and place them on the tabletop with glue on the back side.

Let's start installing the motor for the mini saw. We put the adapter coupling on the motor shaft and tighten the fastening bolt with a hexagon.

We put a circular saw blade on the adapter and secure it with a nut.

We install the disk in the hole, and fix the motor with small wooden blocks. We sit the timber on glue. We also apply glue along the top edges of the motor so that it holds firmly between the supports.

Additionally, we secure it with two plates. We screw them to the bars.
Now there's just a little bit left to do.
We install the tabletop on a stronger and wider base. We glue the legs to it.
We take a 12 V adapter and connect it as shown in the diagram.

Now we take small bars and saw them.

This saw is suitable for sawing thin slats, window beads, and bars up to 3 cm. When working with it, be careful and follow technical safety rules so as not to injure yourself.

Watch the video
Similar master classes
Particularly interesting
Comments (0)

