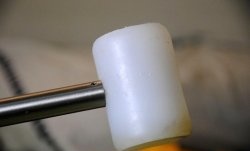
How to simply and easily make a mallet from a plastic canister
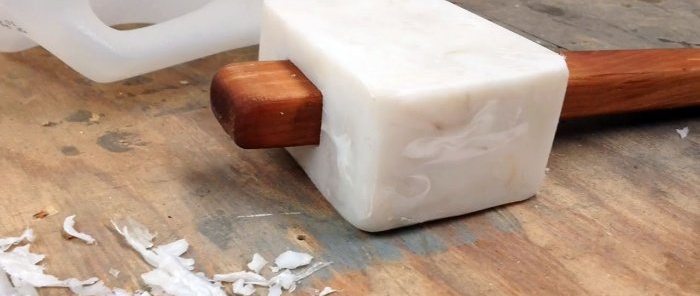
Of two mallets of the same size, the plastic one is heavier than the wooden one. It is convenient for working with thin sheet metal. Therefore, roofers and tinsmiths readily use it, especially since it is less “noisy”. Its manufacture does not require special skills, expensive materials or special tools.
To make a plastic mallet that is beautiful in appearance, easy to use and reliable for many years, we must prepare the following materials:
Having the following tools and equipment will help you perform the work at a modern technical level:
As raw materials for plastic mallets, we use products made of high-density polyethylene, which is not subject to cracking.
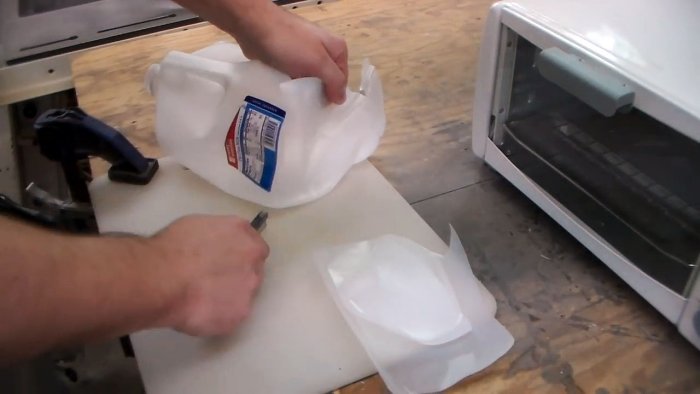
Before melting, we cut the plastic into pieces using a construction knife, carefully removing stickers, labels, traces of glue, etc.
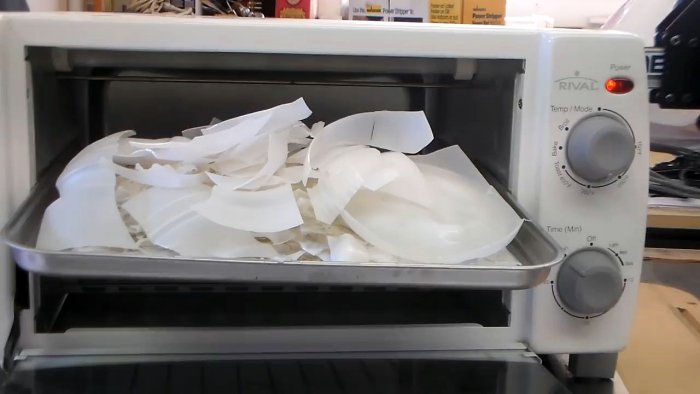
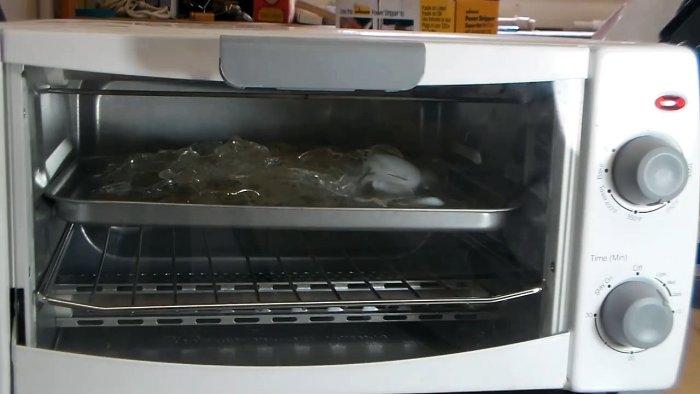
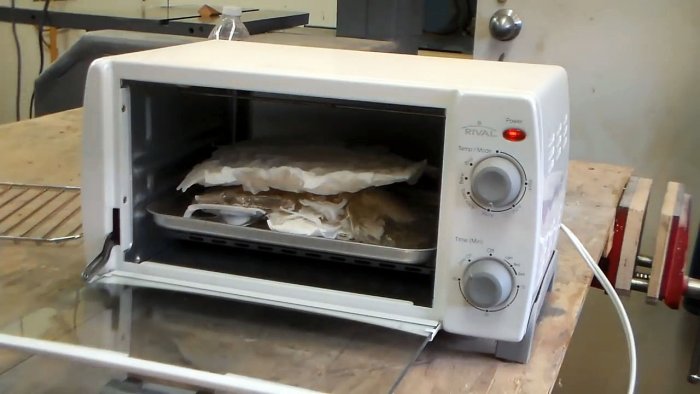
The crushed raw materials, placed on a metal baking sheet, are placed in an electric oven heated to approximately 125 degrees Celsius, at which the plastic softens and begins to melt.
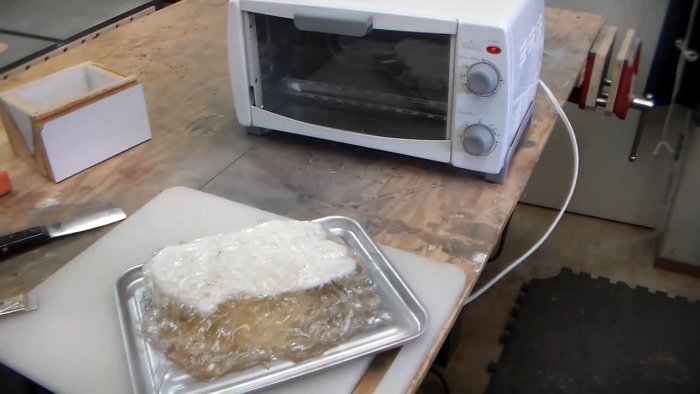
If it turns out that after melting the mass is insufficient, then you can add more raw materials on top of it and reheat everything again.
While the polyethylene is melting, we will make a handle for the plastic head. Using a jigsaw, we cut out a blank from a wooden board according to the markings.
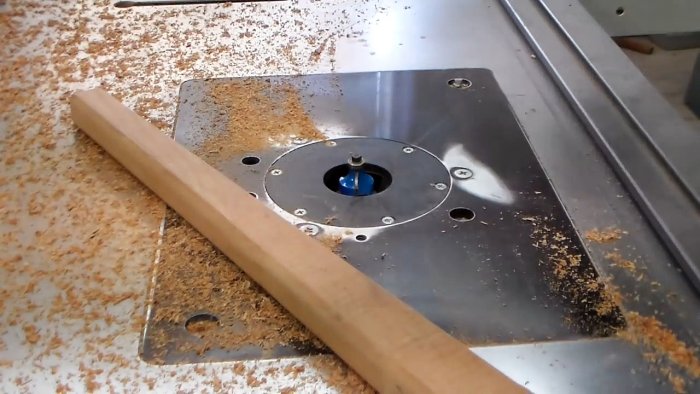
Then we process it with a hand plane, giving the tree the desired profile and cross-section. We round the edges of the workpiece with a mechanical milling head. We clean and polish the handle with a grinder and a sanding disc.
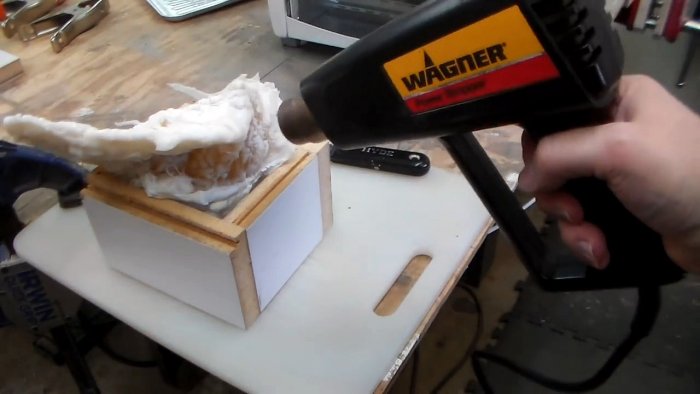
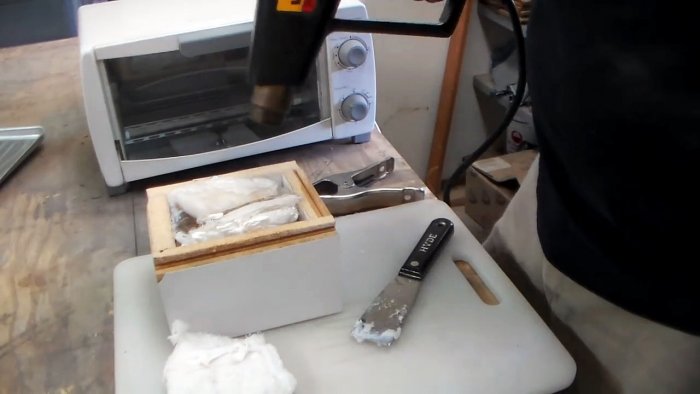
We take out a baking sheet with molten polyethylene from the electric oven and, using a spatula, place it in a wooden box, heating the mass with hot air from a hair dryer.
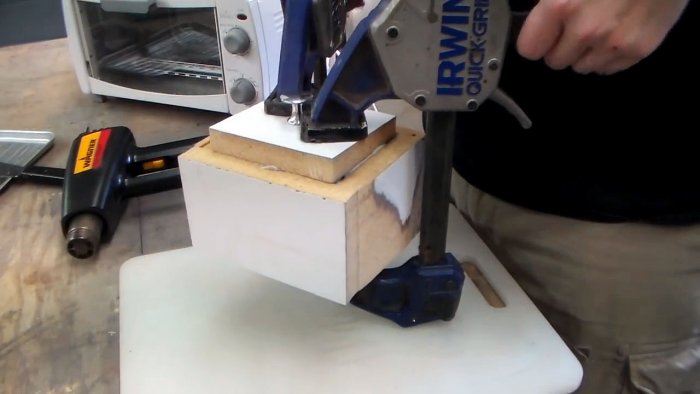
As soon as the softened plastic is in the box, we cover it on top with a punch lid and press it in with clamps, while other stops keep the bottom and side walls of the box from moving.
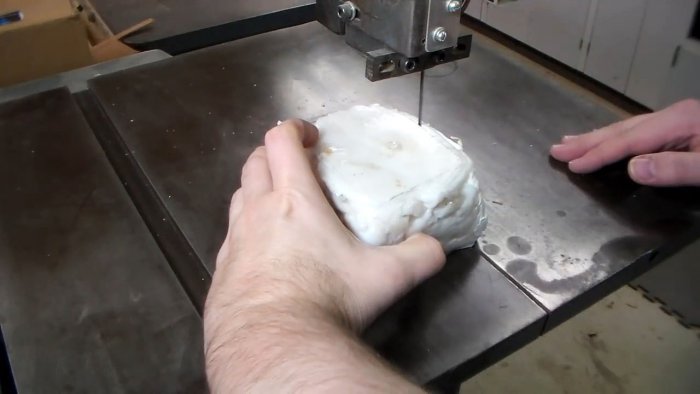
After the plastic mass has hardened and taken on a rectangular shape, remove the clamps, disassemble the box and remove the mallet head blank. Using a jigsaw we give the plastic block the required dimensions and shape.
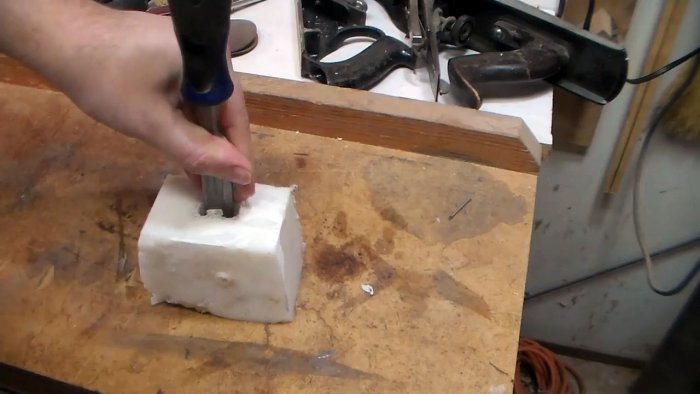
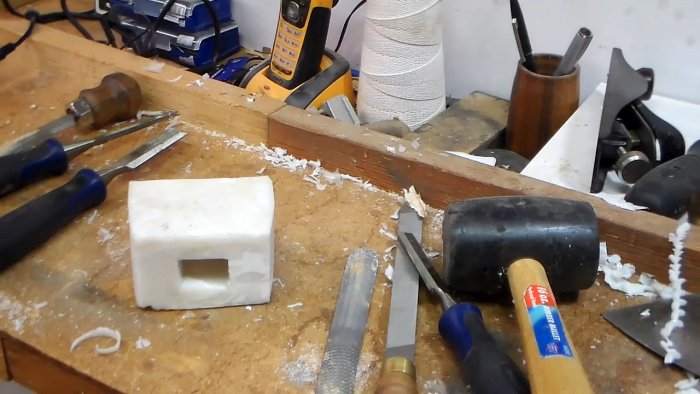
We make a through hole in the head blank for the handle on a drilling machine. Using a chisel and hammer, we expand and modify the round drilling into a rectangular one, in which the inlet section is larger than the outlet.
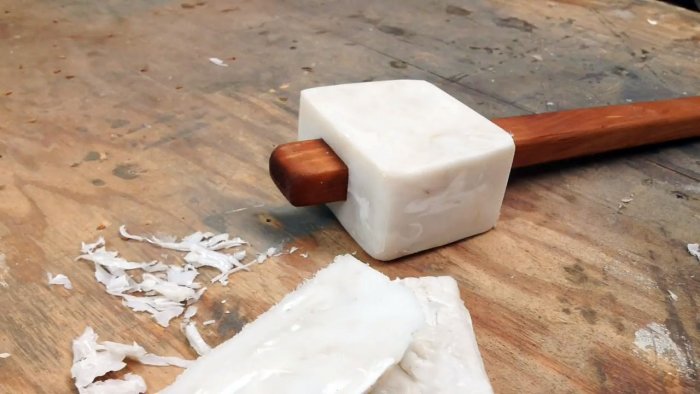
We place the plastic head on the wooden handle. Thanks to the tapering cross-section of the hole and handle, the fastening is reliable and durable without additional effort or elements.We remove the head and finalize the dimensions and correct the shape on the grinder.
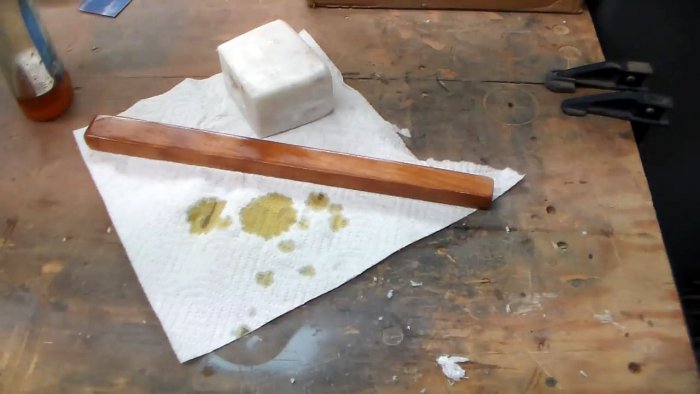
Reassemble the mallet and lubricate the handle with linseed oil. This impregnation will increase the service life of the handle, protecting it from moisture penetration.
Working with a plastic mallet is much more convenient and efficient compared to a wooden one due to its compactness, weightiness and lack of rebound.
Will need
To make a plastic mallet that is beautiful in appearance, easy to use and reliable for many years, we must prepare the following materials:
- A canister or two, it all depends on the size. Those made of low-density polyethylene (HDPE, HDPE) are suitable;
- wooden blank (maple, cherry, etc.);
- linseed oil.
Having the following tools and equipment will help you perform the work at a modern technical level:
- electric oven and hair dryer;
- drilling machine and jigsaw;
- milling cutter, grinder and grinder;
- plane, knife and spatula;
- clamps, chisel and hammer;
- wooden form.
Plastic mallet manufacturing technology
As raw materials for plastic mallets, we use products made of high-density polyethylene, which is not subject to cracking.
Before melting, we cut the plastic into pieces using a construction knife, carefully removing stickers, labels, traces of glue, etc.
The crushed raw materials, placed on a metal baking sheet, are placed in an electric oven heated to approximately 125 degrees Celsius, at which the plastic softens and begins to melt.
If it turns out that after melting the mass is insufficient, then you can add more raw materials on top of it and reheat everything again.
While the polyethylene is melting, we will make a handle for the plastic head. Using a jigsaw, we cut out a blank from a wooden board according to the markings.
Then we process it with a hand plane, giving the tree the desired profile and cross-section. We round the edges of the workpiece with a mechanical milling head. We clean and polish the handle with a grinder and a sanding disc.
We take out a baking sheet with molten polyethylene from the electric oven and, using a spatula, place it in a wooden box, heating the mass with hot air from a hair dryer.
As soon as the softened plastic is in the box, we cover it on top with a punch lid and press it in with clamps, while other stops keep the bottom and side walls of the box from moving.
After the plastic mass has hardened and taken on a rectangular shape, remove the clamps, disassemble the box and remove the mallet head blank. Using a jigsaw we give the plastic block the required dimensions and shape.
We make a through hole in the head blank for the handle on a drilling machine. Using a chisel and hammer, we expand and modify the round drilling into a rectangular one, in which the inlet section is larger than the outlet.
We place the plastic head on the wooden handle. Thanks to the tapering cross-section of the hole and handle, the fastening is reliable and durable without additional effort or elements.We remove the head and finalize the dimensions and correct the shape on the grinder.
Reassemble the mallet and lubricate the handle with linseed oil. This impregnation will increase the service life of the handle, protecting it from moisture penetration.
Working with a plastic mallet is much more convenient and efficient compared to a wooden one due to its compactness, weightiness and lack of rebound.
Watch the video
Similar master classes
Particularly interesting
Comments (2)

