Fridge magnet
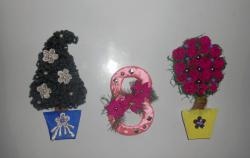
Good day to all. Spring has already arrived and very soon the first spring holiday will come on March 8th. On this day it is customary to give present mothers, girlfriends and work colleagues. There's a crisis right now, so you can't buy many gifts. I want to invite you to give small gifts to all the women you know without spending a lot of money. We will make decorative refrigerator magnets.
To make this magnet we will need:
- Magnetic tape (old magnet).
- Cardboard.
- Scissors.
- Pencil.
- Glue.
- Textile.
- Twine or twine.
- Woolen threads.
- Decorative flowers, elements.
- Beads.
First we need to draw a tree template on cardboard and cut it out. A decorative magnet can be made in any shape. Here are three templates for you to choose from. I chose the first option.
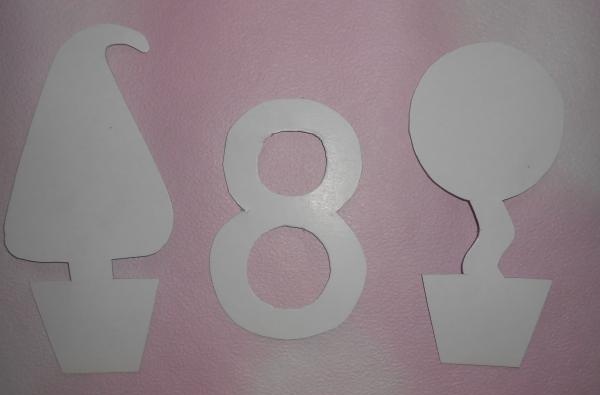
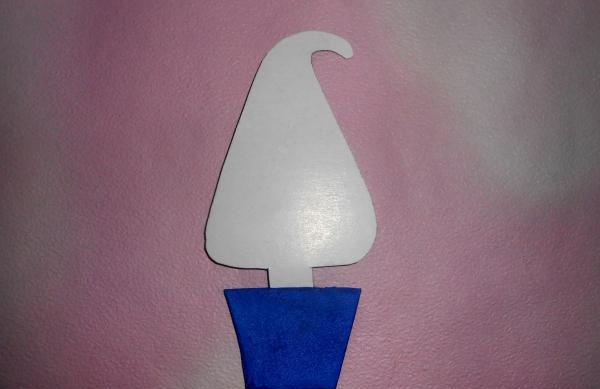
We glue magnetic tape (or just a magnet) on the back side. If you want to make a tree, it is better to glue a magnet to the crown of the tree and to the pot. Then we take the fabric, trace the pot on it, cut it out and glue the material.
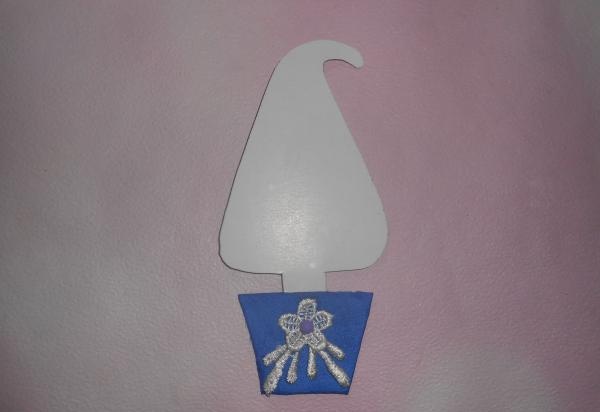
We glue decorative elements on top of the fabric for beauty.
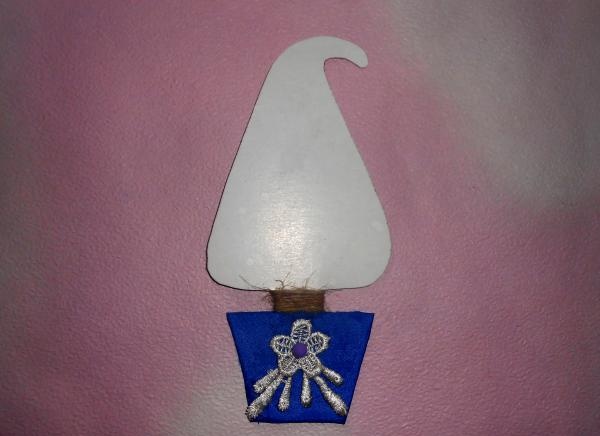
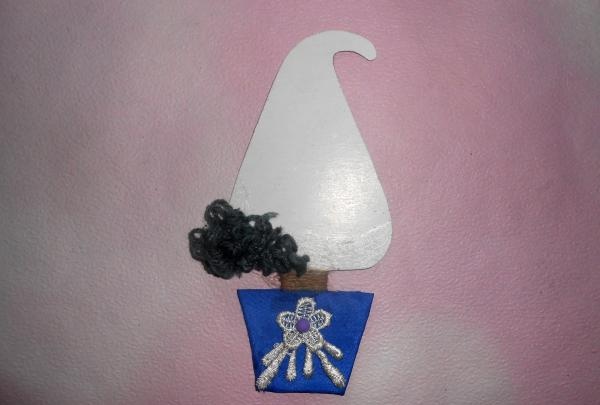
We take string or twine, wrap it around the trunk of the tree, and fix the ends with glue.
Now we take woolen threads of the desired color. Mine are green. We cut the thread into pieces 1-1.5 cm long, fold it in half, grease the fold with glue and glue it to the crown of the tree. Or we smear glue directly onto the wood, whichever is more convenient for you. So we cover the entire top of the tree. Make sure you don't have any spaces. The threads need to be glued tightly to each other, otherwise it will not be beautiful.
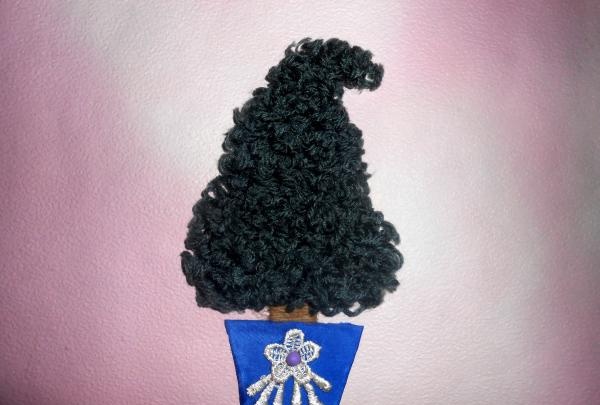
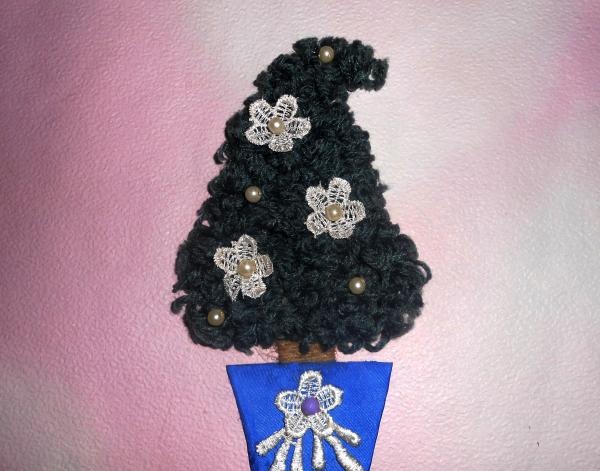
The magnet is almost ready. Glue flowers and beads to the crown.
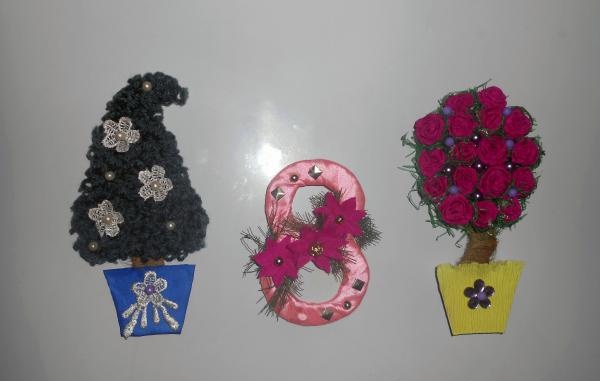
Having shown your imagination, you can make various magnets from any available material, if you have free time and desire. This magnet is wrapped in satin ribbon. The flowers are made of corrugated paper. It is decorated with beads and sequins. The greenery is imitated from the packaging mesh for bouquets.
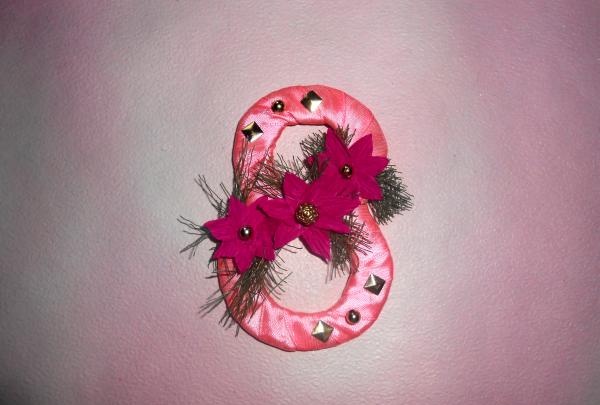
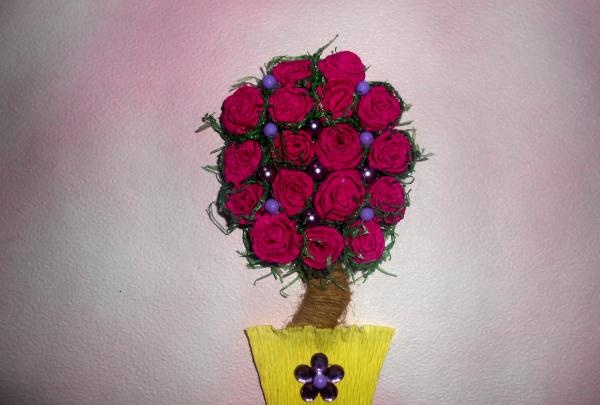
And this tree is made of paper flowers and vegetable mesh, which replaces greens. It is decorated with beads.
By giving such small gifts to your loved ones, you will give a piece of your soul, because they were made by your own hands. Happy holiday, dear needlewomen.
Goodbye.
To make this magnet we will need:
- Magnetic tape (old magnet).
- Cardboard.
- Scissors.
- Pencil.
- Glue.
- Textile.
- Twine or twine.
- Woolen threads.
- Decorative flowers, elements.
- Beads.
First we need to draw a tree template on cardboard and cut it out. A decorative magnet can be made in any shape. Here are three templates for you to choose from. I chose the first option.

We glue magnetic tape (or just a magnet) on the back side. If you want to make a tree, it is better to glue a magnet to the crown of the tree and to the pot. Then we take the fabric, trace the pot on it, cut it out and glue the material.

We glue decorative elements on top of the fabric for beauty.

We take string or twine, wrap it around the trunk of the tree, and fix the ends with glue.

Now we take woolen threads of the desired color. Mine are green. We cut the thread into pieces 1-1.5 cm long, fold it in half, grease the fold with glue and glue it to the crown of the tree. Or we smear glue directly onto the wood, whichever is more convenient for you. So we cover the entire top of the tree. Make sure you don't have any spaces. The threads need to be glued tightly to each other, otherwise it will not be beautiful.


The magnet is almost ready. Glue flowers and beads to the crown.

Having shown your imagination, you can make various magnets from any available material, if you have free time and desire. This magnet is wrapped in satin ribbon. The flowers are made of corrugated paper. It is decorated with beads and sequins. The greenery is imitated from the packaging mesh for bouquets.

And this tree is made of paper flowers and vegetable mesh, which replaces greens. It is decorated with beads.

By giving such small gifts to your loved ones, you will give a piece of your soul, because they were made by your own hands. Happy holiday, dear needlewomen.

Goodbye.
Similar master classes
Particularly interesting
Comments (0)


