How to make a drill attachment for a screwdriver
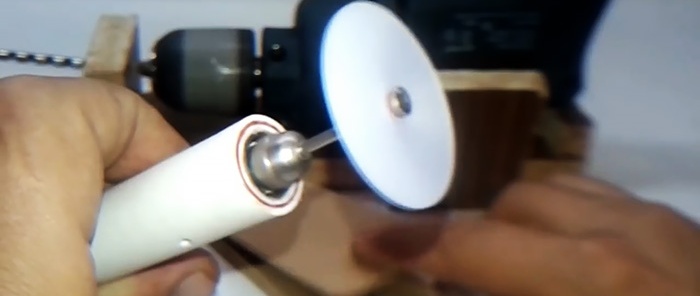
If you have a screwdriver and do not have a drill, you can make an attachment that allows you to replace it. It is clamped into the screwdriver chuck and uses it as a drive. The result will be a completely working and convenient tool for fine work, although it produces lower speeds than the original device.
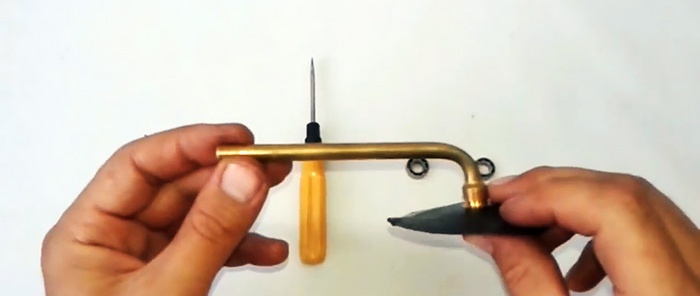
A piece of valve for the cargo chamber will be used as the working shaft of the nozzle.
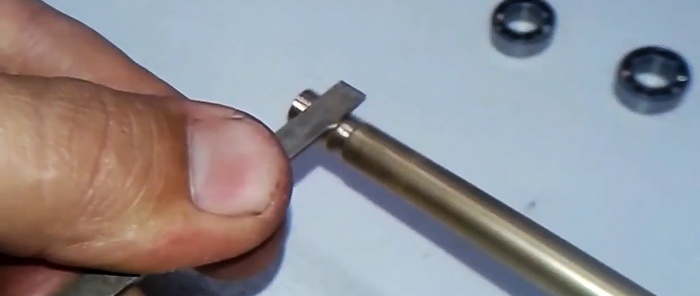
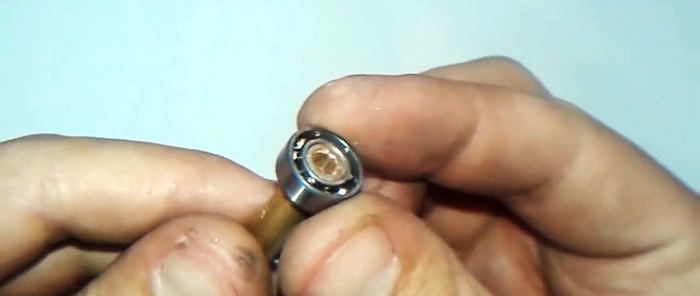
On both sides it is ground around the edges to install mini bearings, in this case removed from spinning fishing reels.
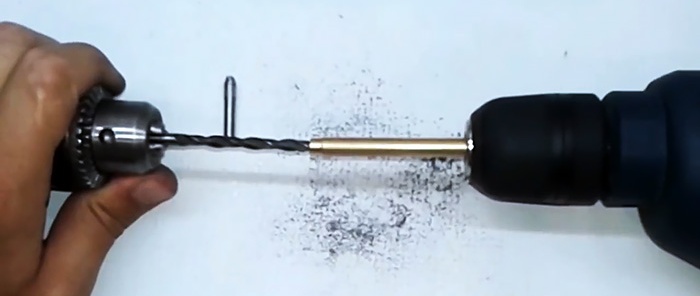
The collet for the nozzle is made of an M6 screw. You need to drill a hole in it with a 2.5 mm drill. To make it even, if drilling without a lathe, you should rotate the screw in a screwdriver and place a stationary drill against it. In this case, the hole self-centers.
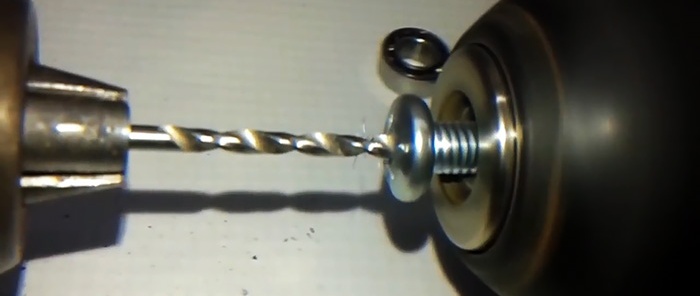
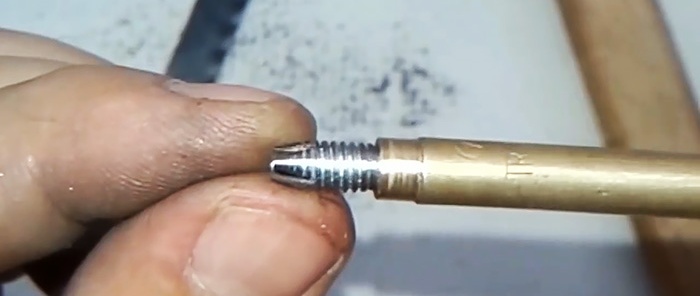
After drilling, you need to cut off the screw head.Then, using a hand hacksaw for metal, 2 even cuts are made crosswise at its end to a depth of 5 mm. The cut end is turned into a cone.
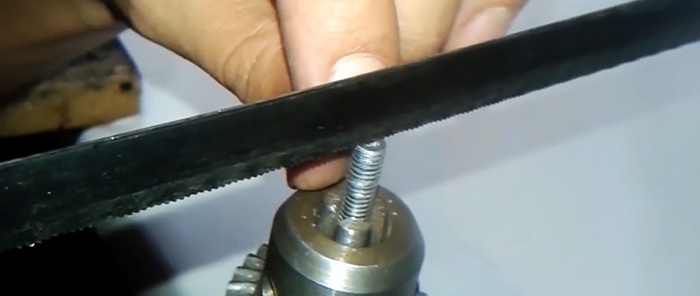
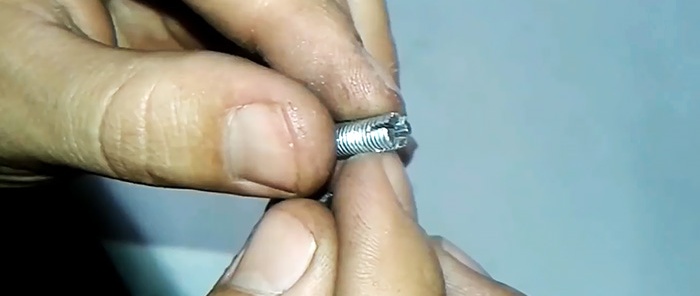
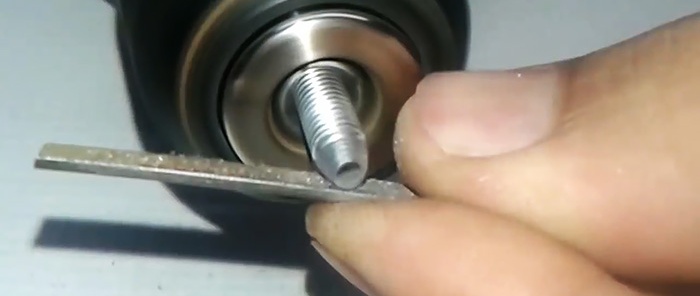
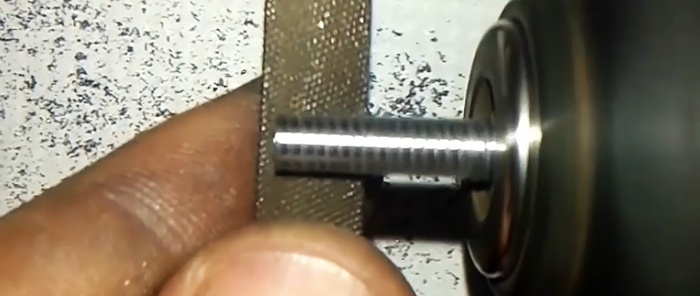
Next, the workpiece is turned over and its shank is ground down to a diameter of 5 mm. In this case, it is important not to catch the edge with the cuts, stepping back 12 mm from it. Then you need to drill out one end of the valve tube with a 5 mm drill to the depth of the machined collet and press it inside. The tube and collet are drilled from the side, and a pin is driven through them, the edges of which are riveted.
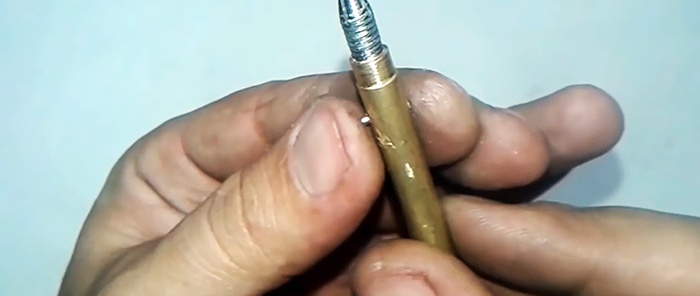
To clamp the collet jaws, you need to prepare a cap nut. A hole is drilled in it, then you need to slightly drill out the cap from the inside so that it can screw onto the collet and press the equipment into it.
The brake cable will transmit torque to the shaft from the valve.
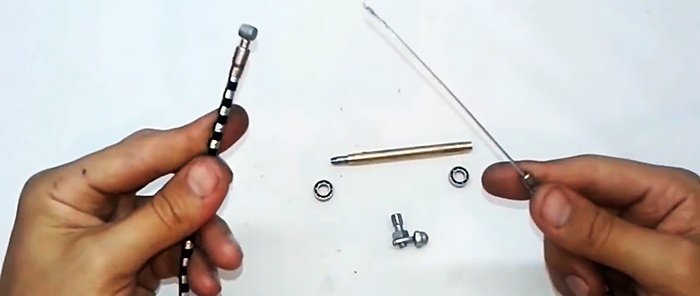
To connect them, you need to drill and grind another screw. The cable is then soldered into the resulting rod. The rod itself is driven into the valve and secured with a pin, like a collet before.
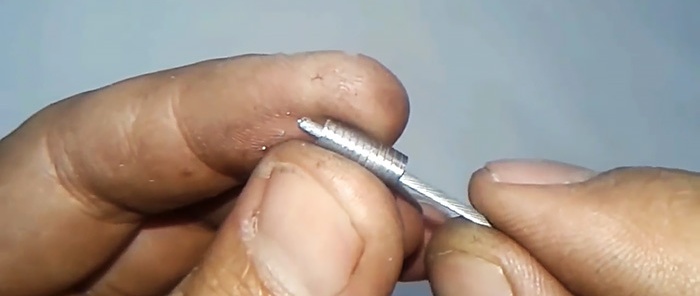
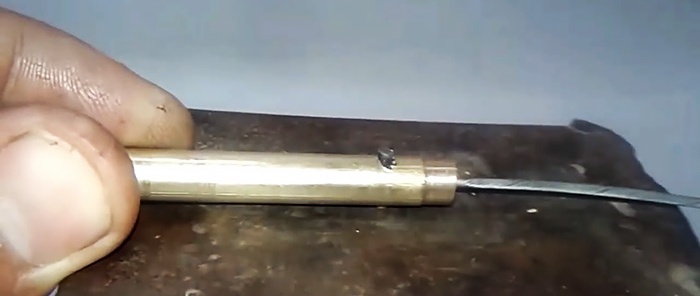
After this, the shaft along with the bearings is placed in a polypropylene tube. To do this, you will need to bore it along the edges to press in the bearings.
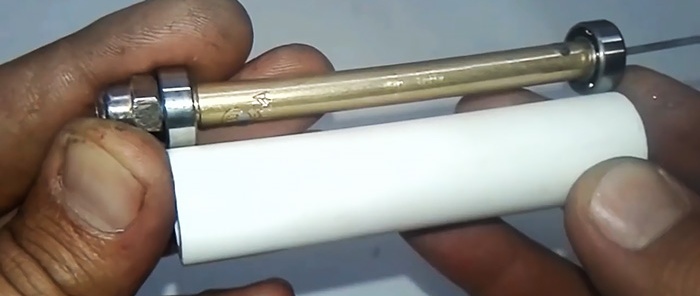
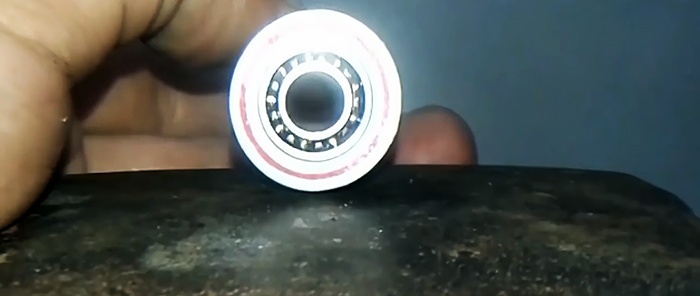
In a convenient place, the tube and shaft are drilled through, so that in the future it will be possible to lock the collet when installing the equipment.
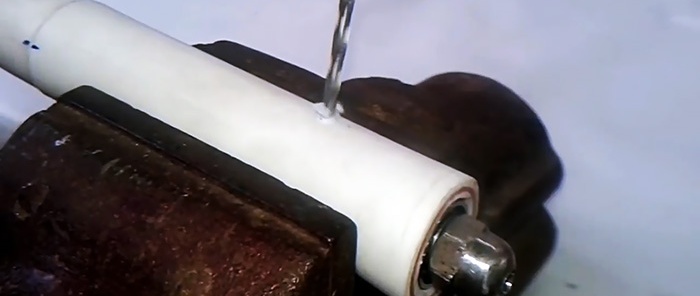
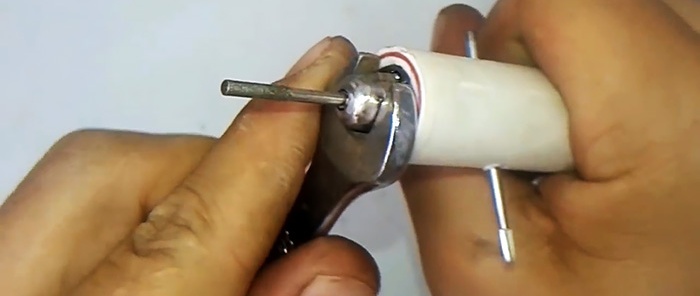
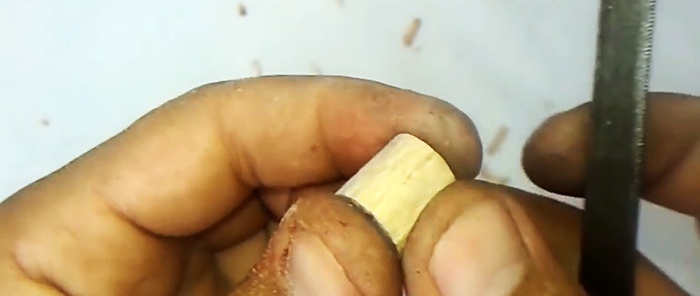
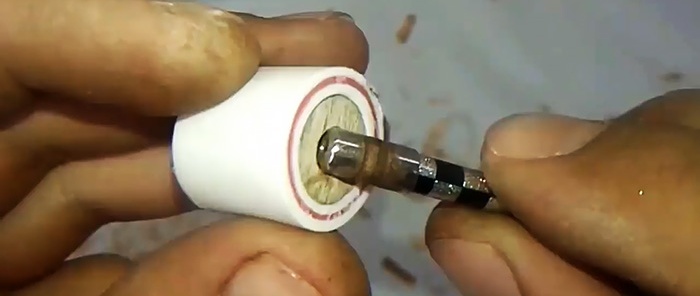
Next, you need to secure the cable jacket to the tip body. To do this, take a small piece of the same tube and jam it with a wooden insert. A hole of slightly smaller diameter than the cable jacket coupling is drilled into it. After this, the shirt is pressed into the insert.
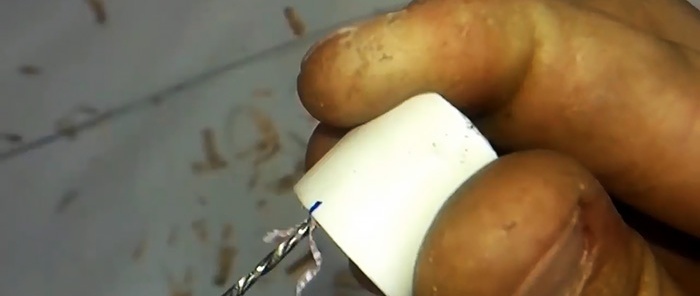
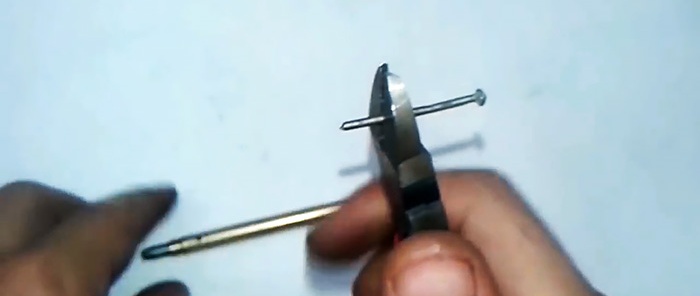
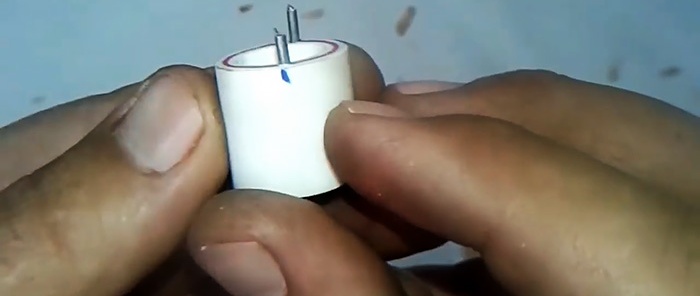
Then the tubes are connected to each other by 2 pins made of thin nails. Holes for them can be drilled or burned with a heated nail. Before this, the cable and bearings are lubricated.
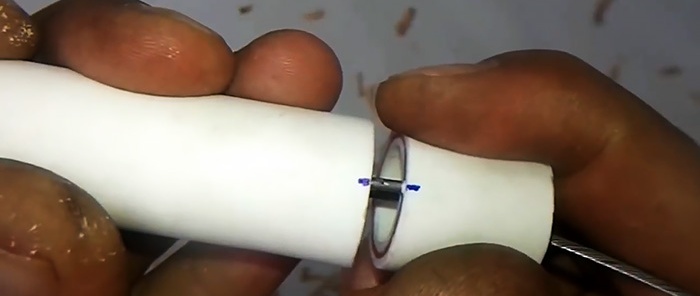
Since the cable is shorter than the shirt, it needs to be cut. At the point of the cut, it can unravel into a wire, so before biting it off, you should tin it with solder, then everything will hold together.
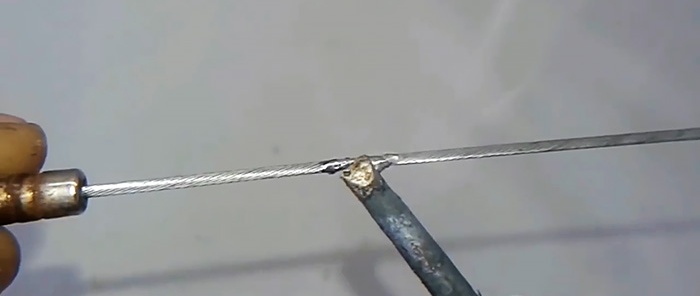
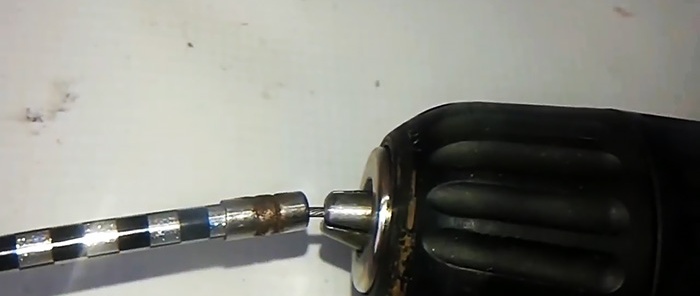
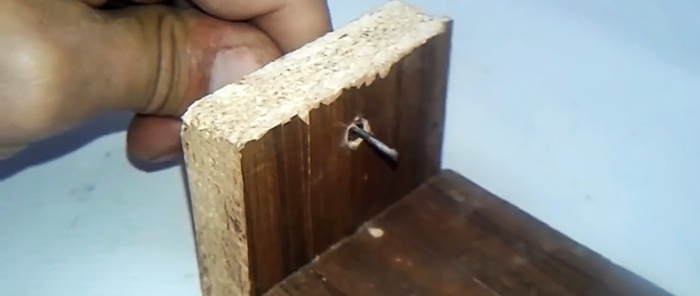
The attachment can already be installed on the screwdriver, but during operation the cable will break near the chuck. To avoid this, you should make a mount for a screwdriver. Any wooden scraps will do for this. Also, for convenience, it doesn’t hurt to equip the extension cord with a pedal to connect it.
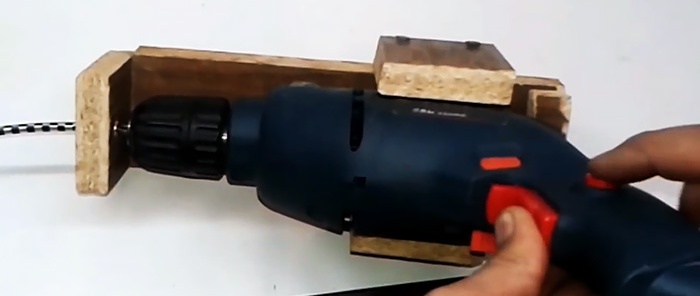

Before using the attachment, the screwdriver button will need to be blocked, for example, by wrapping it with electrical tape.
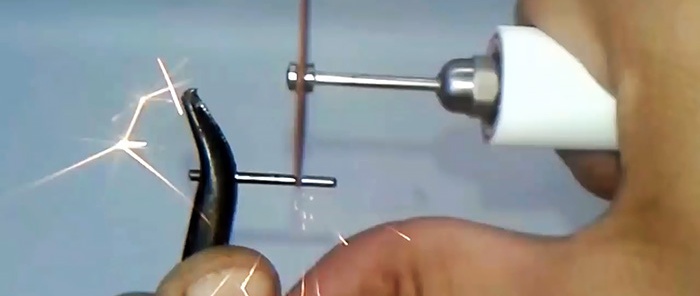

Materials:
- mini bearings – 2 pcs.;
- valve for the cargo chamber or a tube of similar diameter;
- M6 screws – 2 pcs.;
- cap nut M6;
- bicycle brake cable;
- polypropylene pipe 20 mm;
- small nails;
- cuttings of bars.
Making the nozzle
A piece of valve for the cargo chamber will be used as the working shaft of the nozzle.

On both sides it is ground around the edges to install mini bearings, in this case removed from spinning fishing reels.


The collet for the nozzle is made of an M6 screw. You need to drill a hole in it with a 2.5 mm drill. To make it even, if drilling without a lathe, you should rotate the screw in a screwdriver and place a stationary drill against it. In this case, the hole self-centers.

After drilling, you need to cut off the screw head.Then, using a hand hacksaw for metal, 2 even cuts are made crosswise at its end to a depth of 5 mm. The cut end is turned into a cone.


Next, the workpiece is turned over and its shank is ground down to a diameter of 5 mm. In this case, it is important not to catch the edge with the cuts, stepping back 12 mm from it. Then you need to drill out one end of the valve tube with a 5 mm drill to the depth of the machined collet and press it inside. The tube and collet are drilled from the side, and a pin is driven through them, the edges of which are riveted.


To clamp the collet jaws, you need to prepare a cap nut. A hole is drilled in it, then you need to slightly drill out the cap from the inside so that it can screw onto the collet and press the equipment into it.
The brake cable will transmit torque to the shaft from the valve.

To connect them, you need to drill and grind another screw. The cable is then soldered into the resulting rod. The rod itself is driven into the valve and secured with a pin, like a collet before.


After this, the shaft along with the bearings is placed in a polypropylene tube. To do this, you will need to bore it along the edges to press in the bearings.


In a convenient place, the tube and shaft are drilled through, so that in the future it will be possible to lock the collet when installing the equipment.


Next, you need to secure the cable jacket to the tip body. To do this, take a small piece of the same tube and jam it with a wooden insert. A hole of slightly smaller diameter than the cable jacket coupling is drilled into it. After this, the shirt is pressed into the insert.


Then the tubes are connected to each other by 2 pins made of thin nails. Holes for them can be drilled or burned with a heated nail. Before this, the cable and bearings are lubricated.


Since the cable is shorter than the shirt, it needs to be cut. At the point of the cut, it can unravel into a wire, so before biting it off, you should tin it with solder, then everything will hold together.


The attachment can already be installed on the screwdriver, but during operation the cable will break near the chuck. To avoid this, you should make a mount for a screwdriver. Any wooden scraps will do for this. Also, for convenience, it doesn’t hurt to equip the extension cord with a pedal to connect it.


Before using the attachment, the screwdriver button will need to be blocked, for example, by wrapping it with electrical tape.

Watch the video
Similar master classes
5 useful screwdriver attachments
How to drill an electric motor shaft straight without a lathe
How to turn a power tool armature commutator without a lathe
5 devices to expand the functionality of a screwdriver and
6 useful screwdriver attachments that few people know about
2 anchor sanding attachments
Particularly interesting
Comments (5)


