Without welding, we patch huge rusty holes in the body quickly and cheaply
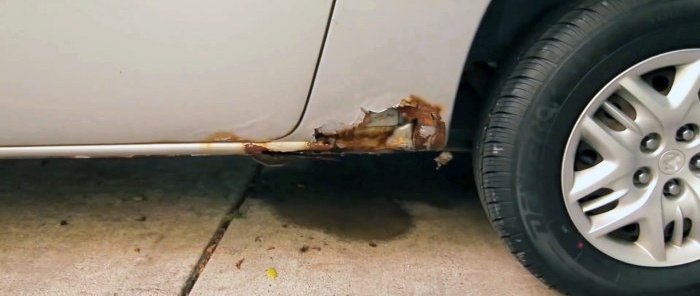
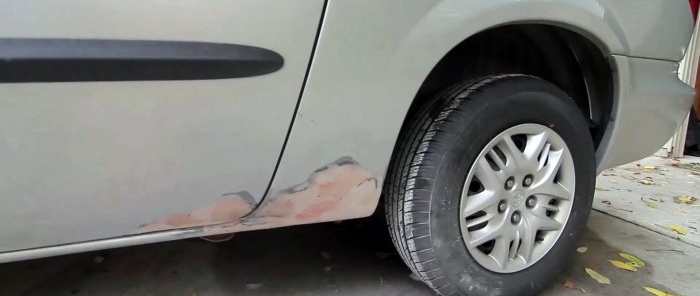
Owners of old cars are faced with the problem of rusty holes appearing on the sills, arches and doors, which greatly spoils the appearance of the car. In a good way, such places should be cleaned and welded, but for this you need to have electric welding or extra money to pay for the work of a bodyworker. If you don’t have any of this, but you don’t want to drive a rotten car, then you can solve the problem yourself very cheaply and quickly. We offer a simple but temporary method of cosmetic body repair.
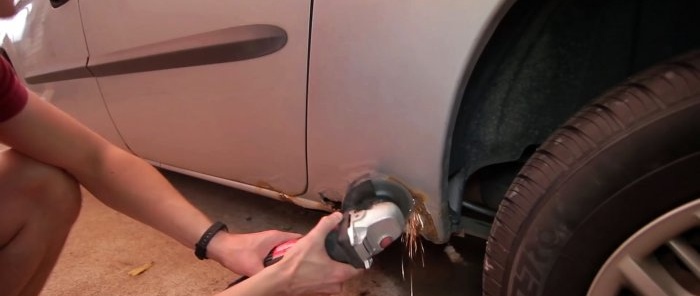
The first step is to completely cut off the rotten metal and clean the body in the damaged area.
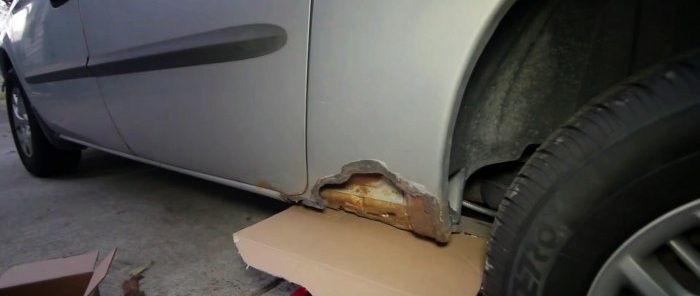
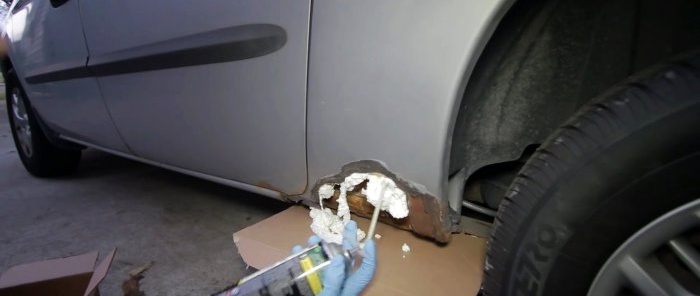
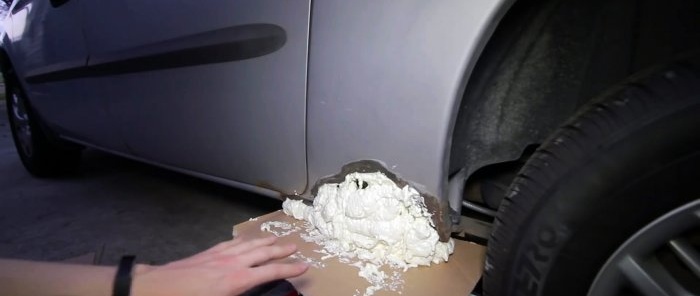
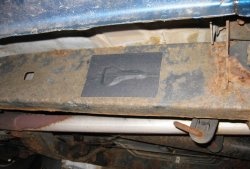
If this is a rotten threshold, then you should place cardboard underneath it, creating a restriction, and foam the entire hole with polyurethane foam.
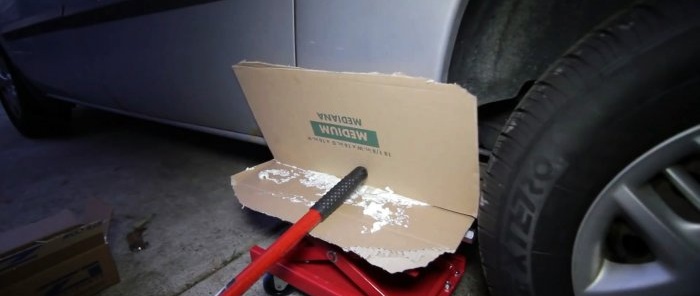
It is important to blow out as much foam as possible, starting from the top, to ensure there is enough contact area for a secure adhesion.To make it compact, you should support it with cardboard and let it harden.
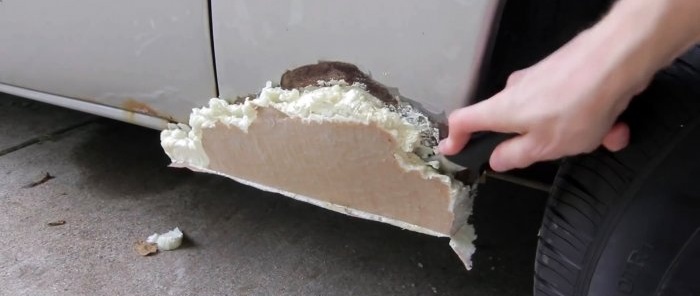
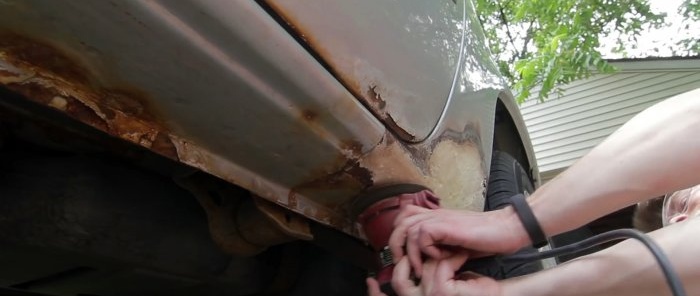
When the foam dries, you need to cut it with a sharp knife, giving the shape of the plane of the missing part of the body. Then you need to polish the remaining saffron caps, under which there is still living metal.
Small completely through holes on the doors are left, they just need to be cleaned to a shine.
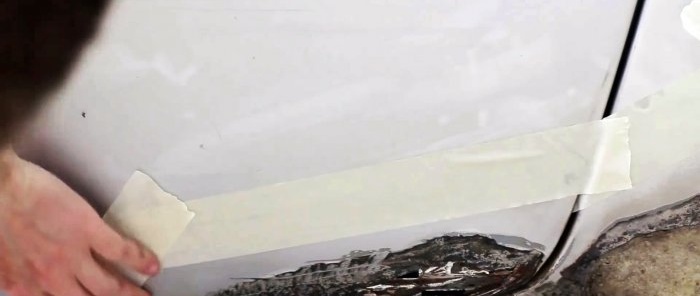
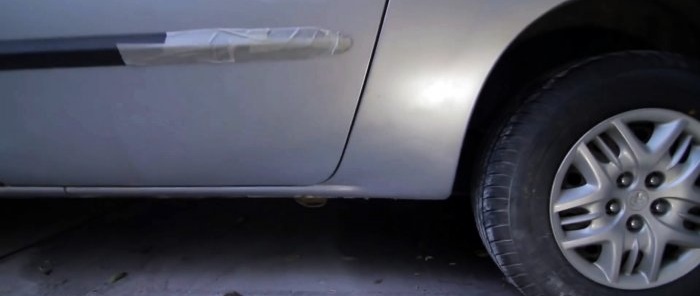
After this, you need to separate the part of the body being repaired from the normal one with a strip of glued masking tape.
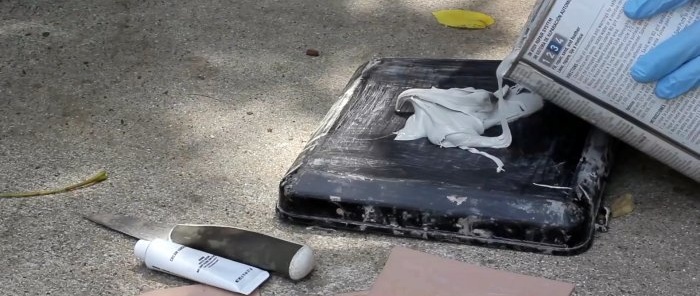
Then the surface is degreased and puttied with epoxy putty, preferably with fiberglass.
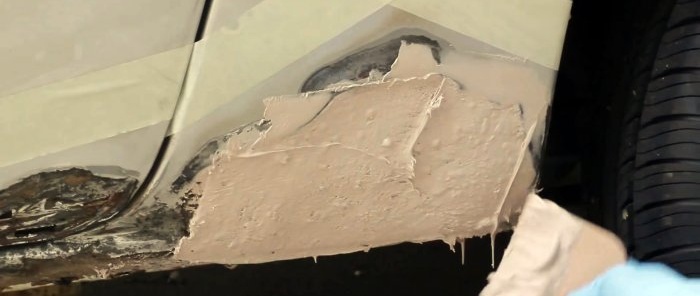
Where there is a through hole in the doors, putty is applied on both sides. It hardens quickly, so it should be applied quickly, roughly and in excess.
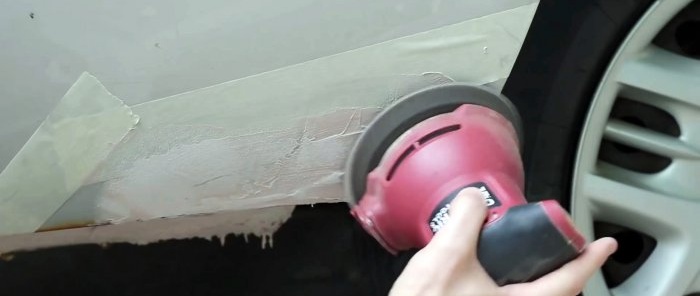
The dried putty surface is sanded. After processing, it needs to be puttied again, but with finishing putty, and when it has cooled down, then sanded with zero to perfect smoothness.
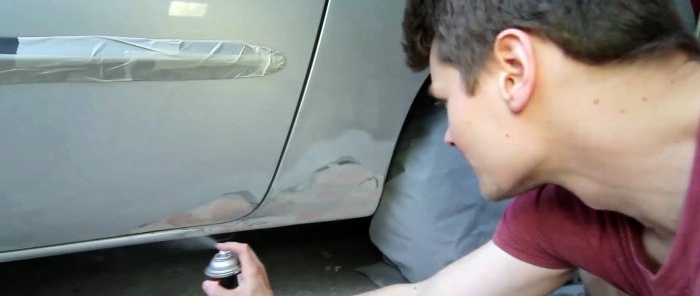
Having completely restored the surface of the body, you should cover the molding with masking tape and cover the wheel near the area to be repaired with thick cloth or film. Then the restored area is degreased and covered with primer from a can.
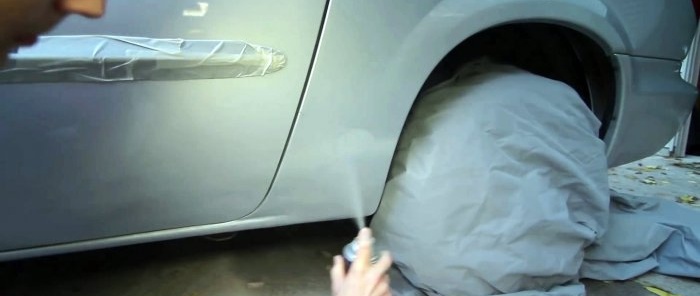
When it dries, the roughness that appears is sanded with zero-grade sandpaper. After this, paint is applied in a thin layer. It is better not to spray a lot of paint at one time to avoid smudges. When it dries, if necessary, apply a layer of varnish.
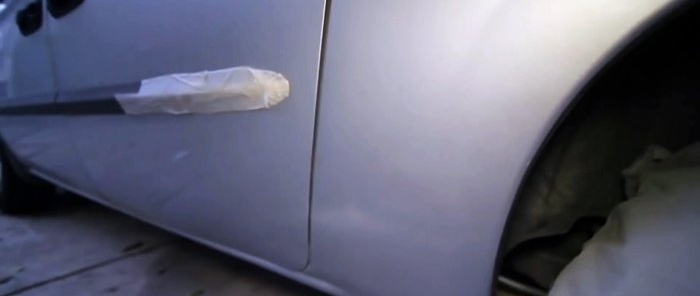
If the paint and varnish materials were chosen to match, then it is very difficult to notice that the body in this place was repaired, even if you look closely. This method is extremely simple, but less durable than welding repairs, but the car will look intact and well-groomed for a season or even several.
Materials:
- degreaser or solvent;
- polyurethane foam;
- masking tape;
- starting and finishing automotive putty;
- aerosol automotive primer, paint and varnish.
The process of repairing and painting rusty holes in a car body
The first step is to completely cut off the rotten metal and clean the body in the damaged area.
If this is a rotten threshold, then you should place cardboard underneath it, creating a restriction, and foam the entire hole with polyurethane foam.
It is important to blow out as much foam as possible, starting from the top, to ensure there is enough contact area for a secure adhesion.To make it compact, you should support it with cardboard and let it harden.
When the foam dries, you need to cut it with a sharp knife, giving the shape of the plane of the missing part of the body. Then you need to polish the remaining saffron caps, under which there is still living metal.
Small completely through holes on the doors are left, they just need to be cleaned to a shine.
After this, you need to separate the part of the body being repaired from the normal one with a strip of glued masking tape.
Then the surface is degreased and puttied with epoxy putty, preferably with fiberglass.
Where there is a through hole in the doors, putty is applied on both sides. It hardens quickly, so it should be applied quickly, roughly and in excess.
The dried putty surface is sanded. After processing, it needs to be puttied again, but with finishing putty, and when it has cooled down, then sanded with zero to perfect smoothness.
Having completely restored the surface of the body, you should cover the molding with masking tape and cover the wheel near the area to be repaired with thick cloth or film. Then the restored area is degreased and covered with primer from a can.
When it dries, the roughness that appears is sanded with zero-grade sandpaper. After this, paint is applied in a thin layer. It is better not to spray a lot of paint at one time to avoid smudges. When it dries, if necessary, apply a layer of varnish.
If the paint and varnish materials were chosen to match, then it is very difficult to notice that the body in this place was repaired, even if you look closely. This method is extremely simple, but less durable than welding repairs, but the car will look intact and well-groomed for a season or even several.
Watch the video
Similar master classes
Particularly interesting
Comments (11)

