Making a wall-mounted compact boxing trainer from a tire
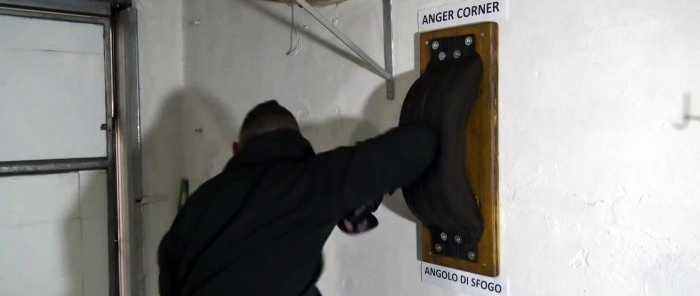
To practice punches and kicks, you can make a very simple wall-mounted simulator from a tire. It has a simple device that allows you to do it in literally 1 hour.
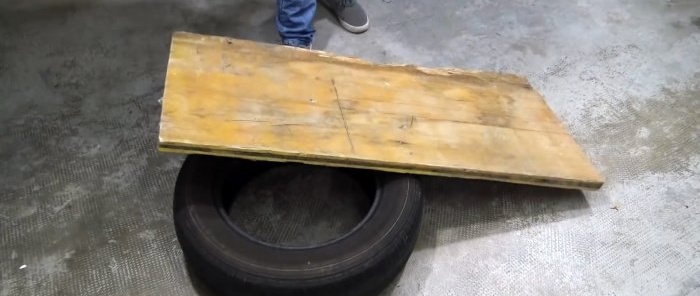
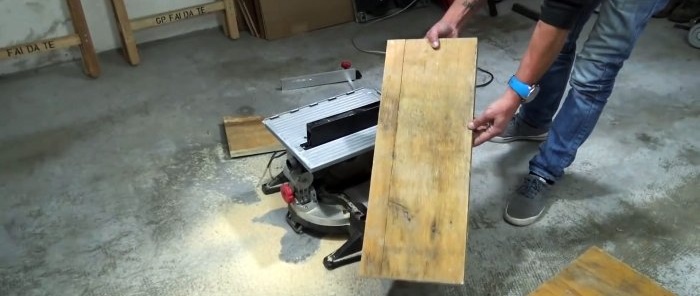
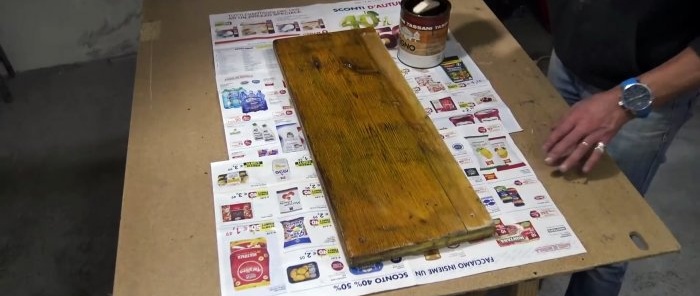
It is necessary to measure the diameter and width of the tire. Based on the obtained dimensions, a base is cut out of thick plywood for installing half of the tire. It is made in the form of a rectangle. Its width should be 30-40 cm larger than the diameter of the tire, and 20 cm wider. After trimming, the plywood is sanded and the chamfer is removed from it.
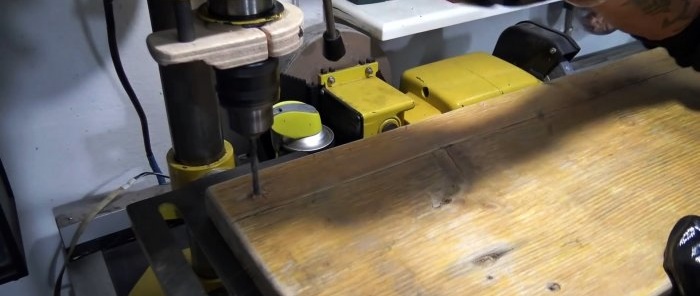
Holes are drilled for future wall mounting.
You can also paint it; this will not hurt if you plan to install the exercise machine outdoors.
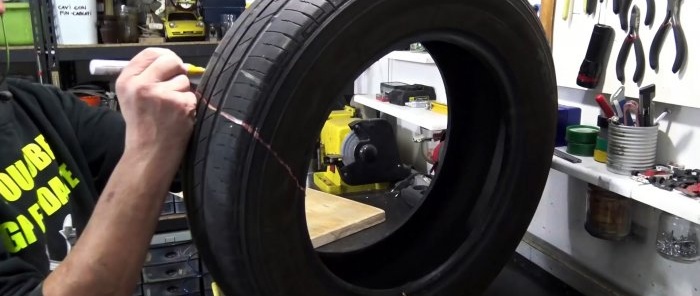
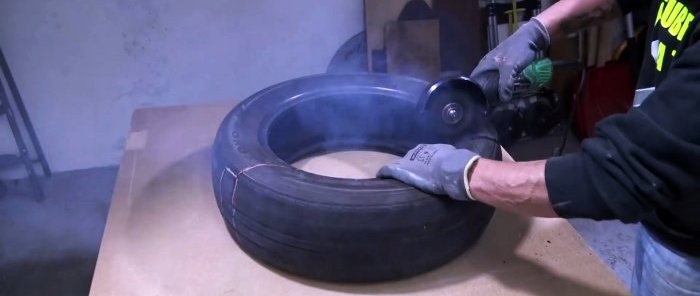
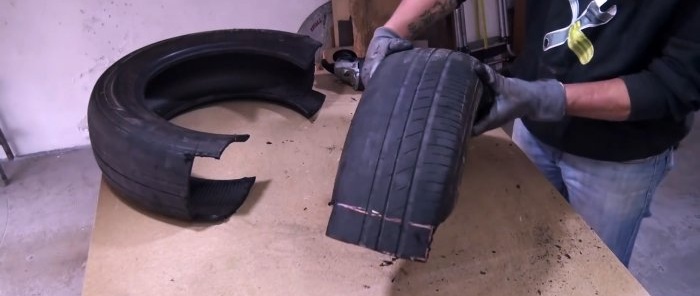
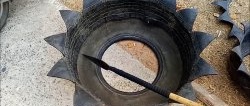
The tire is cut into 2 parts with a grinder, so as to form eyelets for fastening along its edges. When cutting with a grinder, there will be a lot of acrid smoke, so it is better to do it outside. It is cut across the tread, then along the line of the sidewalls 10 cm in a smaller direction.The cut to the bead is made at a slight angle from the cross-section of the tread. If there is no plywood of sufficient size available, then when cutting the tire, you can make a cut less than half, adjusting it to the existing base.
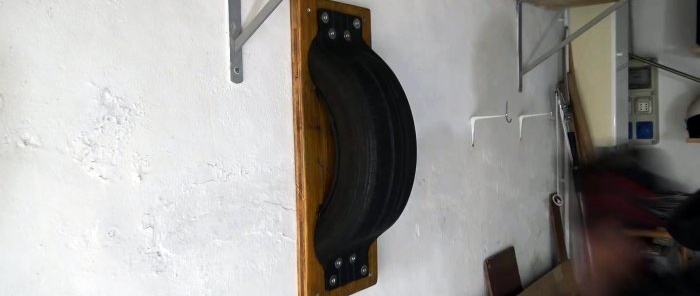
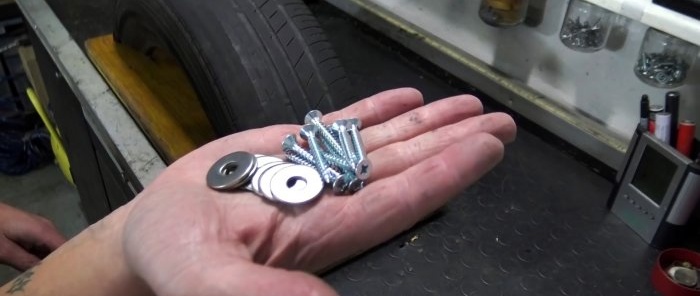
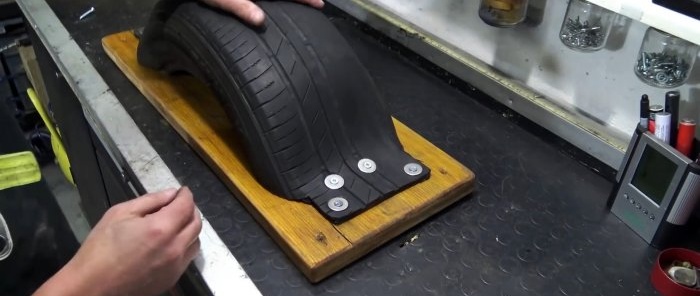
Next, half of the tire with lugs is screwed to the plywood base. For this, self-tapping screws with washers are used, which will prevent rubber breakthrough. 4 screws on each side will be enough.
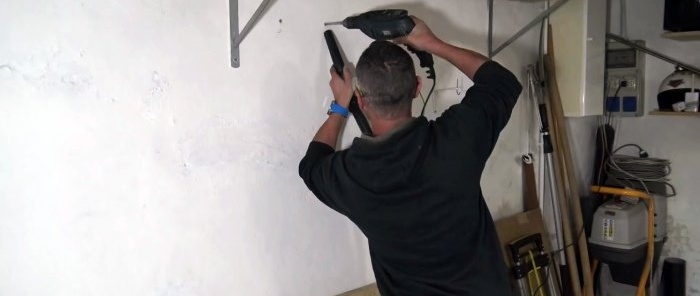
Then the simulator is screwed to the wall through the previously made holes in the corners of the plywood. Depending on the wall material, hanging is done using nylon dowels, metal or chemical anchors. The height of the simulator is selected according to the height of the trainee.
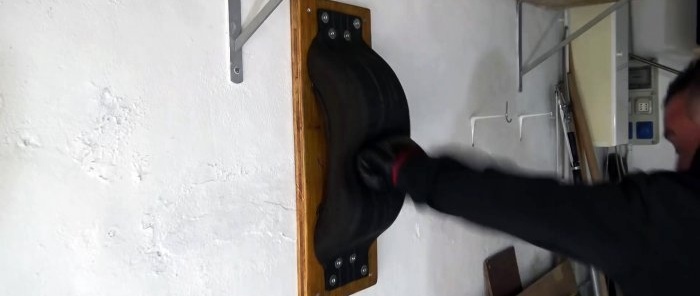
To practice striking techniques, it is advisable to use gloves or at least bandages. The shape of the simulator allows you to practice direct strikes, from below, from the side. When training without gloves, you should try to be in the center of the tread, where the rubber is softer. The simulator is also suitable for practicing kicking techniques; it is especially convenient to perform straight kicks. The second part of the tire can be saved and later, if necessary, cut off and used for replacement when the first half breaks and loses its shape. The actual service life of the simulator from the tire is very long, so the second part can be thrown away, since new worn tires will appear before the first is replaced.
Materials:
- plywood;
- a car tire, preferably with a heavily worn tread;
- wood screws;
- washers;
- dowels or anchors.
The manufacturing process of the simulator
It is necessary to measure the diameter and width of the tire. Based on the obtained dimensions, a base is cut out of thick plywood for installing half of the tire. It is made in the form of a rectangle. Its width should be 30-40 cm larger than the diameter of the tire, and 20 cm wider. After trimming, the plywood is sanded and the chamfer is removed from it.
Holes are drilled for future wall mounting.
You can also paint it; this will not hurt if you plan to install the exercise machine outdoors.
The tire is cut into 2 parts with a grinder, so as to form eyelets for fastening along its edges. When cutting with a grinder, there will be a lot of acrid smoke, so it is better to do it outside. It is cut across the tread, then along the line of the sidewalls 10 cm in a smaller direction.The cut to the bead is made at a slight angle from the cross-section of the tread. If there is no plywood of sufficient size available, then when cutting the tire, you can make a cut less than half, adjusting it to the existing base.
Next, half of the tire with lugs is screwed to the plywood base. For this, self-tapping screws with washers are used, which will prevent rubber breakthrough. 4 screws on each side will be enough.
Then the simulator is screwed to the wall through the previously made holes in the corners of the plywood. Depending on the wall material, hanging is done using nylon dowels, metal or chemical anchors. The height of the simulator is selected according to the height of the trainee.
To practice striking techniques, it is advisable to use gloves or at least bandages. The shape of the simulator allows you to practice direct strikes, from below, from the side. When training without gloves, you should try to be in the center of the tread, where the rubber is softer. The simulator is also suitable for practicing kicking techniques; it is especially convenient to perform straight kicks. The second part of the tire can be saved and later, if necessary, cut off and used for replacement when the first half breaks and loses its shape. The actual service life of the simulator from the tire is very long, so the second part can be thrown away, since new worn tires will appear before the first is replaced.
Watch the video
Similar master classes
Particularly interesting
Comments (0)

