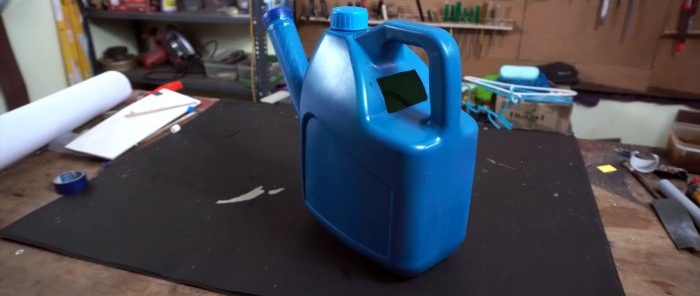
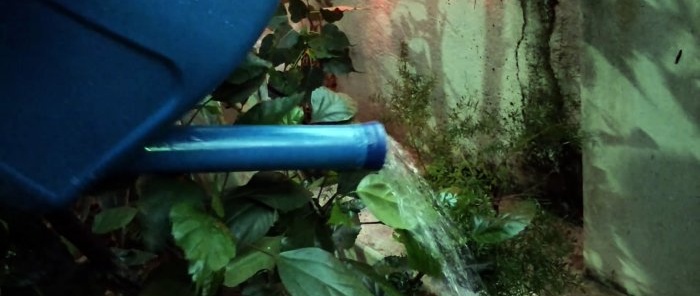
How to make a garden watering can from a canister and cutting a pipe
When manually watering plants, it is convenient to use a garden watering can for accurate and comfortable dosing of water. It allows you to do targeted watering at the root, practically without eroding the soil or flooding the leaves. If you have an unnecessary plastic canister, you can make a watering can yourself, completely adjusting the length of its spout to your wishes.
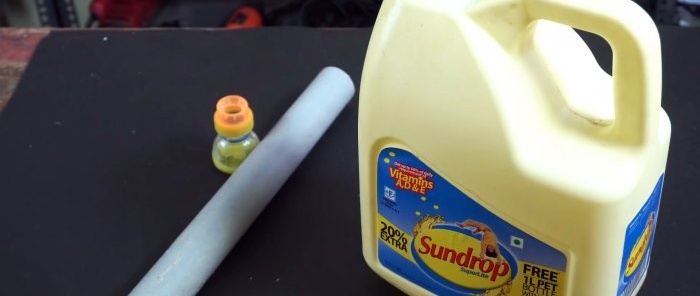
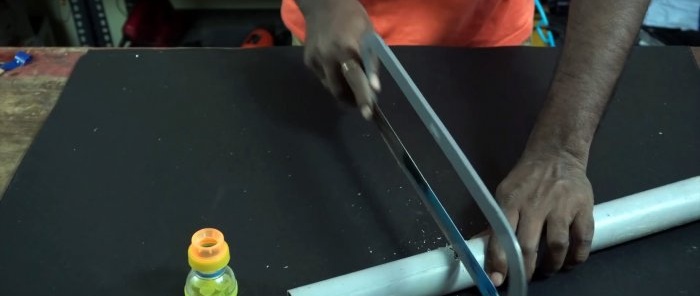
To make the spout of a watering can, you need to cut a piece of plastic pipe of a convenient length.
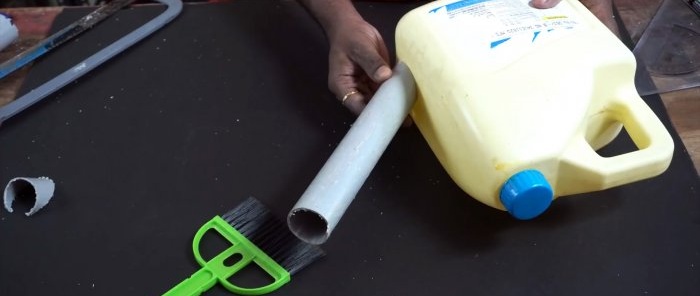
It is optimal that when docked with the side of the canister at an angle of 45 degrees, the tube should be slightly higher.
In this case, when filling the watering can to the top, water will not splash out through the spout. Having cut the tube to the required length, you also need to cut one end of it at 45 degrees.
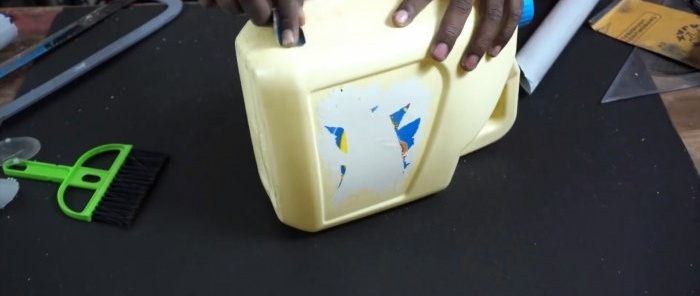
The edges of the pipe at both ends should be sanded.
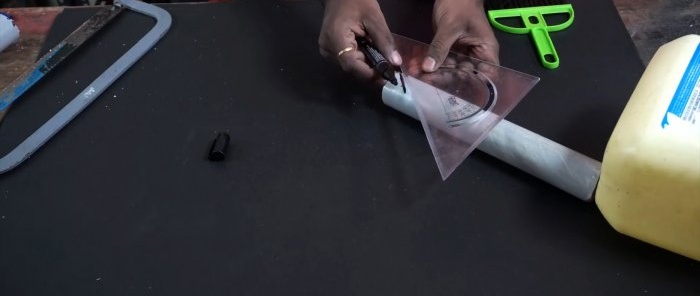
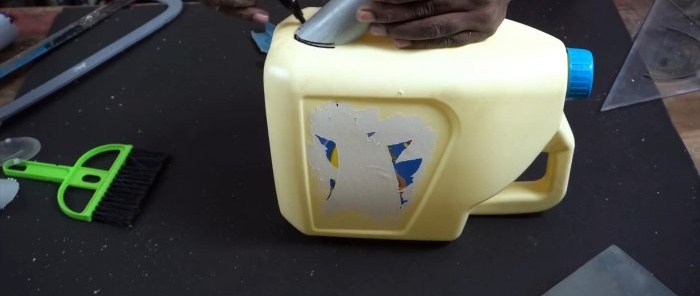
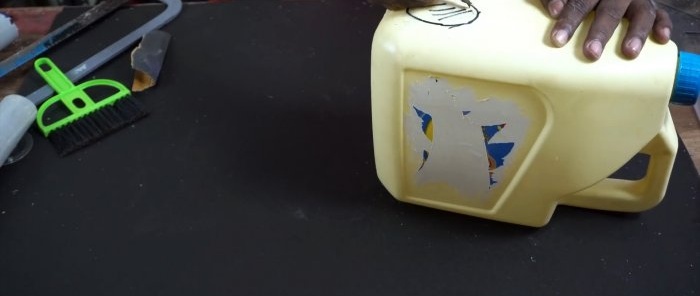
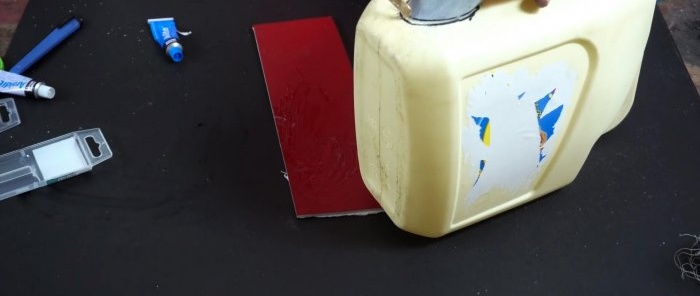
The cutting is applied with a beveled end to the front side of the canister closer to the bottom. Then the pipe is outlined with a marker.
You need to cut a hole in the canister for its installation. It is made slightly smaller in diameter than the drawn outline in order to leave room for gluing the pipe.
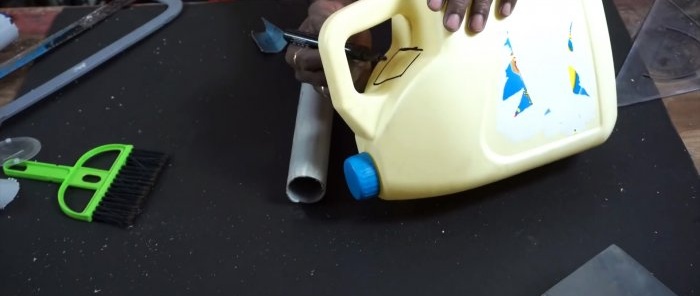
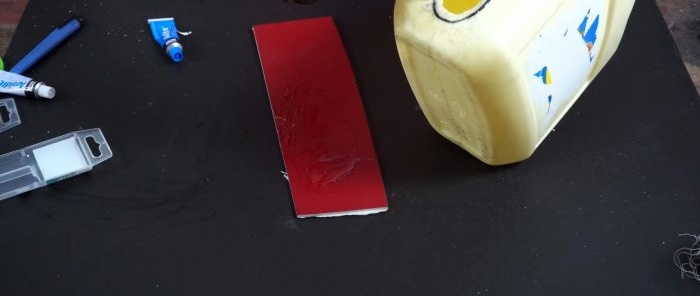
It is necessary to cut a window under the handle of the canister to fill the watering can and allow air to enter it for normal drainage of water. Due to its location, the neck is not suitable for this, since when the lid is removed during watering, water will flow through it.
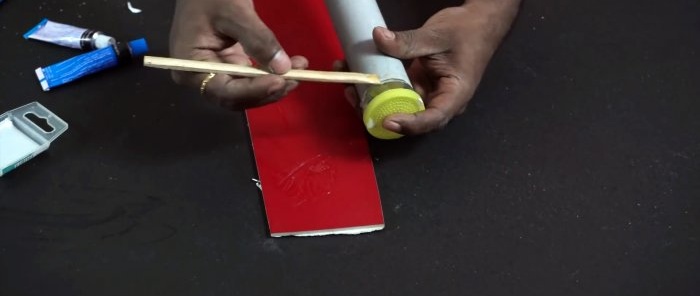
Then you need to prepare epoxy or other reliable two-component plastic adhesive. It is mixed according to the instructions in the proportion strictly specified in the instructions. With its help, you need to glue a diffuser for a watering can or summer shower into the even end of the tube. If there is no such thing, then it can be made from cutting the neck of a PET bottle with a plastic cap from instant coffee or nut butter glued on, in which many holes are drilled.
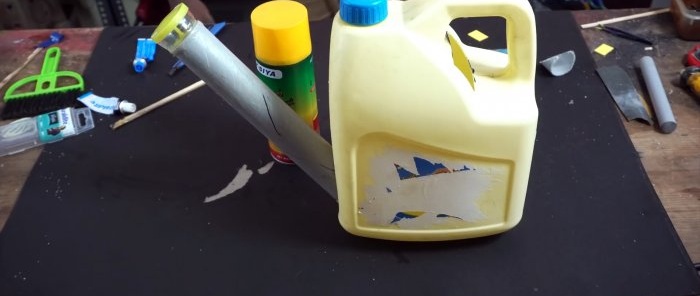
The tube with the diffuser is glued to the canister.
Here it is advisable to degrease all surfaces so that the spout holds as tightly as possible. The glue is applied before gluing, and then on top of the joint, this will give a complete seal. If you have leftover spray paint, you can paint the watering can after the glue has dried, making it almost indistinguishable from the store-bought one.
Materials:
- a plastic canister with a handle offset into a corner;
- sewer or water plastic pipe;
- diffuser for a watering can or PET bottle;
- epoxy adhesive.
Watering can manufacturing process
To make the spout of a watering can, you need to cut a piece of plastic pipe of a convenient length.
It is optimal that when docked with the side of the canister at an angle of 45 degrees, the tube should be slightly higher.
In this case, when filling the watering can to the top, water will not splash out through the spout. Having cut the tube to the required length, you also need to cut one end of it at 45 degrees.
The edges of the pipe at both ends should be sanded.
The cutting is applied with a beveled end to the front side of the canister closer to the bottom. Then the pipe is outlined with a marker.
You need to cut a hole in the canister for its installation. It is made slightly smaller in diameter than the drawn outline in order to leave room for gluing the pipe.
It is necessary to cut a window under the handle of the canister to fill the watering can and allow air to enter it for normal drainage of water. Due to its location, the neck is not suitable for this, since when the lid is removed during watering, water will flow through it.
Then you need to prepare epoxy or other reliable two-component plastic adhesive. It is mixed according to the instructions in the proportion strictly specified in the instructions. With its help, you need to glue a diffuser for a watering can or summer shower into the even end of the tube. If there is no such thing, then it can be made from cutting the neck of a PET bottle with a plastic cap from instant coffee or nut butter glued on, in which many holes are drilled.
The tube with the diffuser is glued to the canister.
Here it is advisable to degrease all surfaces so that the spout holds as tightly as possible. The glue is applied before gluing, and then on top of the joint, this will give a complete seal. If you have leftover spray paint, you can paint the watering can after the glue has dried, making it almost indistinguishable from the store-bought one.
Watch the video
Similar master classes
How to make a full-fledged garden watering can from a canister in 2 minutes
How to quickly and easily clean a shower head yourself

How to easily remove limescale from a watering can in just a few minutes
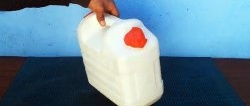
2 useful homemade products from a plastic canister
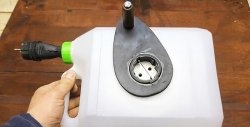
Cable reel from a plastic canister
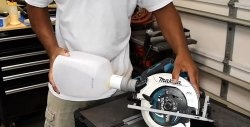
Dust collector from a canister
Particularly interesting
Comments (2)

