How to make a water tank from an old tire
A worn-out tire can be used to make an airtight water container. This could be a washing basin, a sediment collection tank, a drinking bowl for animals, a pool for children or waterfowl. The scope of use of such capacity is very large. In order for it to fully meet the necessary requirements, you only need to use a tire of sufficient size in its manufacture.
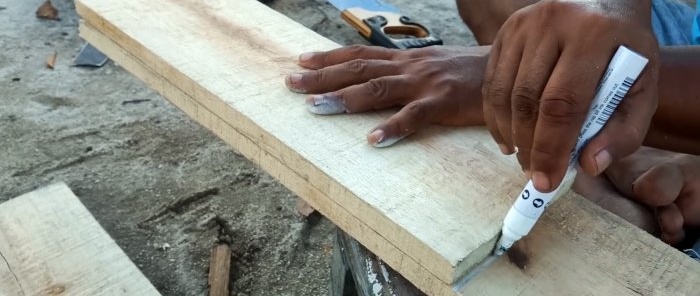
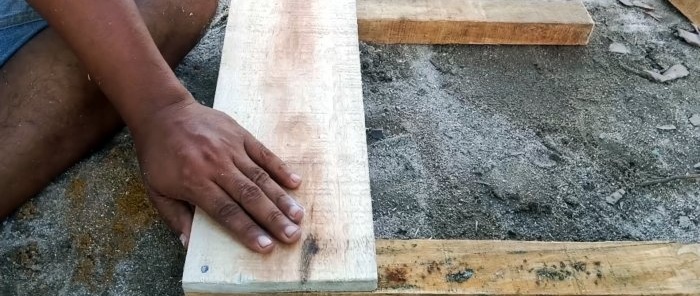
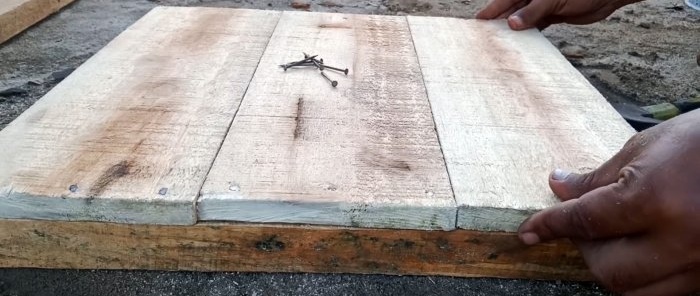
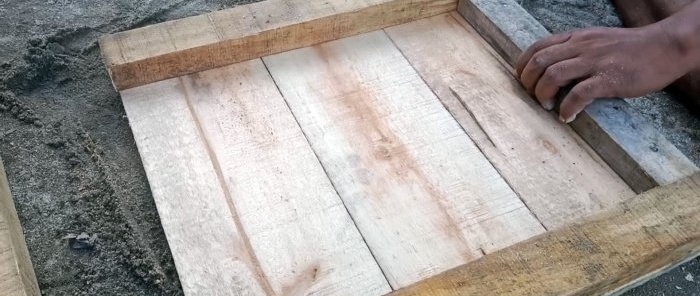
The tire, due to its shape, is used only to form the walls of the container. To make its bottom, you need to knock together a square wooden board. Its size should be slightly larger than the circumference of the tire bead. The shield is made in the simplest way. You need to cut the edged board into identical pieces and nail them onto 2 slats.
It is important to use boards of the same thickness so that the board is level without steps. For better stability on the back side of the board, it is necessary to nail 2 additional slats between the main ones, fastening the boards together.
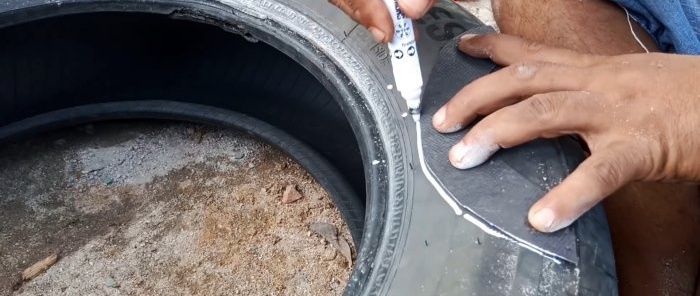
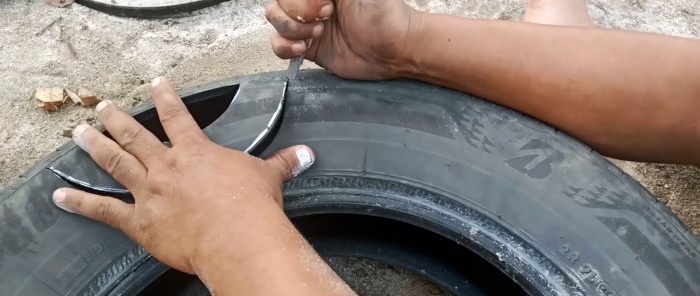
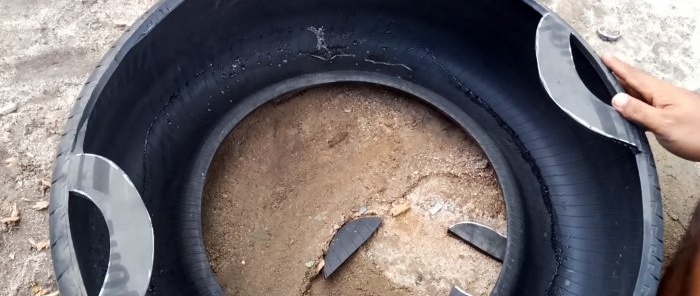
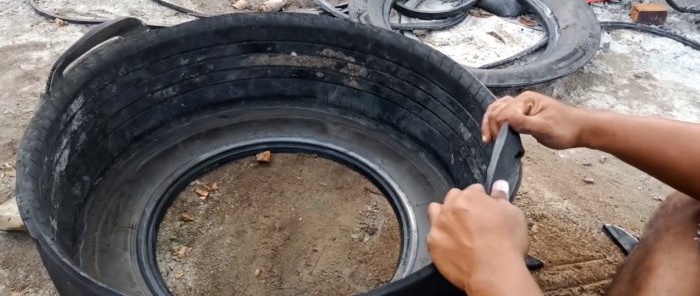
Next, use a sharp knife to cut off one sidewall of the tire. If you are making a small container that will need to be moved from place to place, you can pre-form handles for this. They are cut into the side piece to be removed before it is cut off.
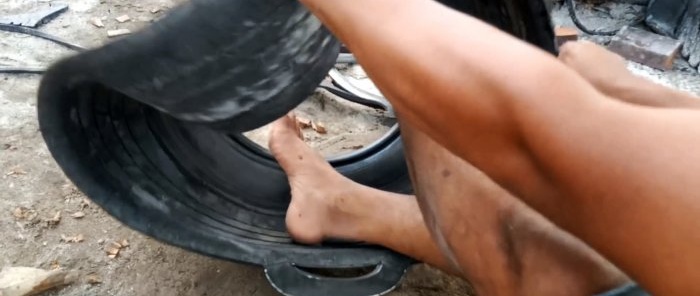
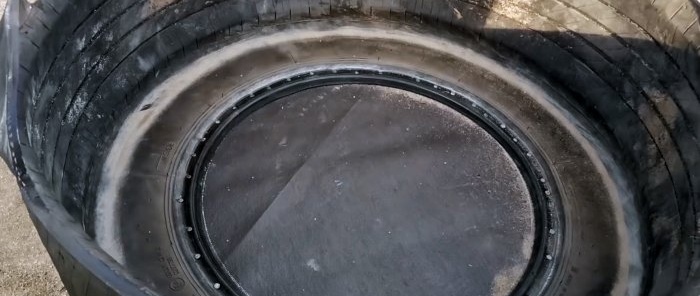
The next step is to turn the cut tire inside out. This is quite difficult, especially if you use a large tractor or truck tire.
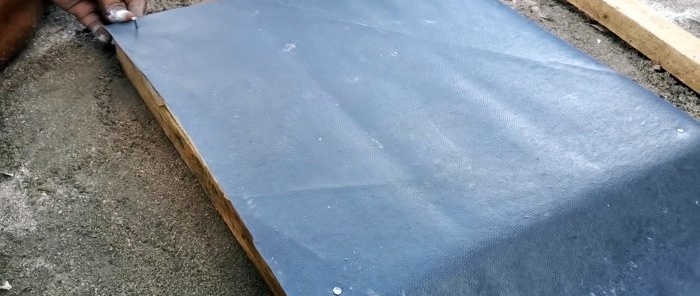
Then you need to pin the inverted tire onto the shield, laying a rubber mat between them. The rug itself is first secured at the corners with nails or staples.
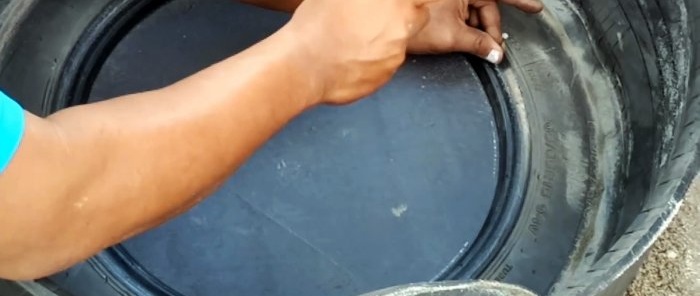
The tire is nailed to the pallet along the side. The distance between nails depends on the softness of the rug. If it is hard and does not compress well, then it is better to retreat at least 2-5 cm.
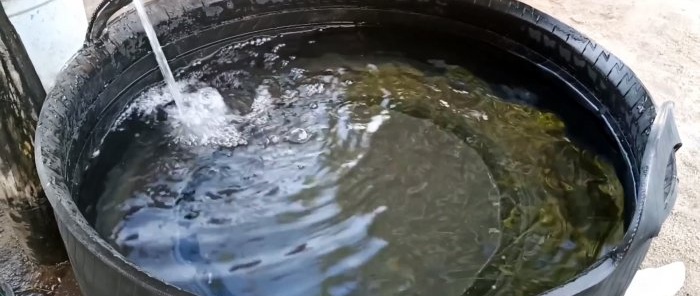
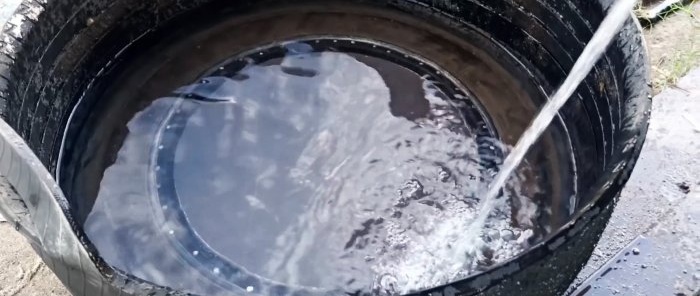
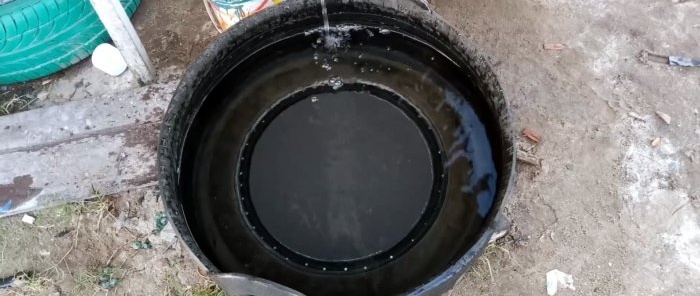
As a result of compression, the mat will act as a gasket, ensuring complete sealing at the junction with the tire. If you pour water into the resulting container, it will not leak out.
If a rubber mat of a suitable size is not available, you can lay a fairly thick film on the shield. Before directly nailing the tire to the pallet, the joint between them should be sealed with silicone sealant. This will also ensure a complete seal, but will take longer.
Materials:
- old tire without through holes;
- rubber mat;
- edged board;
- wooden slats;
- nails.
The process of making a container from a tire
The tire, due to its shape, is used only to form the walls of the container. To make its bottom, you need to knock together a square wooden board. Its size should be slightly larger than the circumference of the tire bead. The shield is made in the simplest way. You need to cut the edged board into identical pieces and nail them onto 2 slats.
It is important to use boards of the same thickness so that the board is level without steps. For better stability on the back side of the board, it is necessary to nail 2 additional slats between the main ones, fastening the boards together.
Next, use a sharp knife to cut off one sidewall of the tire. If you are making a small container that will need to be moved from place to place, you can pre-form handles for this. They are cut into the side piece to be removed before it is cut off.
The next step is to turn the cut tire inside out. This is quite difficult, especially if you use a large tractor or truck tire.
Then you need to pin the inverted tire onto the shield, laying a rubber mat between them. The rug itself is first secured at the corners with nails or staples.
The tire is nailed to the pallet along the side. The distance between nails depends on the softness of the rug. If it is hard and does not compress well, then it is better to retreat at least 2-5 cm.
As a result of compression, the mat will act as a gasket, ensuring complete sealing at the junction with the tire. If you pour water into the resulting container, it will not leak out.
If a rubber mat of a suitable size is not available, you can lay a fairly thick film on the shield. Before directly nailing the tire to the pallet, the joint between them should be sealed with silicone sealant. This will also ensure a complete seal, but will take longer.
Watch the video
Similar master classes
Particularly interesting
Comments (0)

