How to clean carbon deposits from a grill grate without extra effort
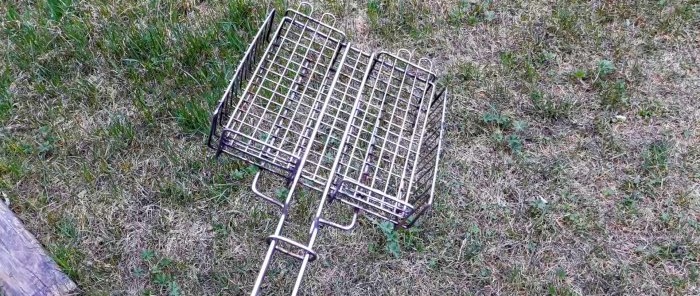
The season for barbecue and outdoor recreation has long begun. For obvious reasons, this year going out to relax in nature is quite a troublesome task. However, some townspeople moved outside the city to their dachas early in the spring. And here the most “interesting” part of the holiday begins - it is necessary to put in order everything that has fallen into disrepair over the winter. In today's master class we will talk about cleaning the grill grate from carbon deposits and soot.
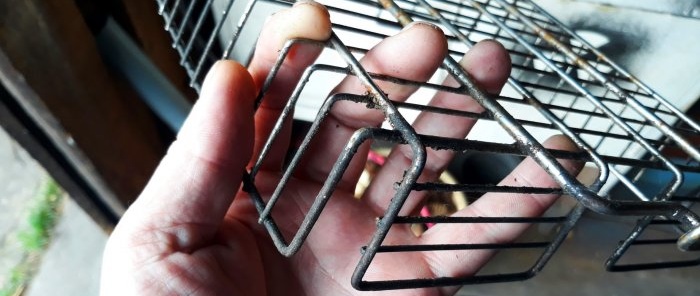
Some short-sighted owners throw away their tool immediately after cooking, without bothering to put it in order until the next use. And when it comes time to fry meat or sausages, they are sincerely surprised why these kitchen utensils are in such an ugly state. In this regard, I want to share a way to clean the grill from carbon deposits and dried debris in a relatively gentle way, albeit not so fast. In addition, just a few hours ago, my grill was used for its intended purpose, and ketchup and the remains of onions had already dried on it.I clean my grill immediately after each use, but even with such care, over time it becomes covered with a layer of soot that even a rough brush cannot remove! Using a steel brush is a rather dubious idea, since it can strip off the protective chrome plating, after which the grille will begin to rust. The solution was found to be the simplest: soak it for a day in a thick double bag!
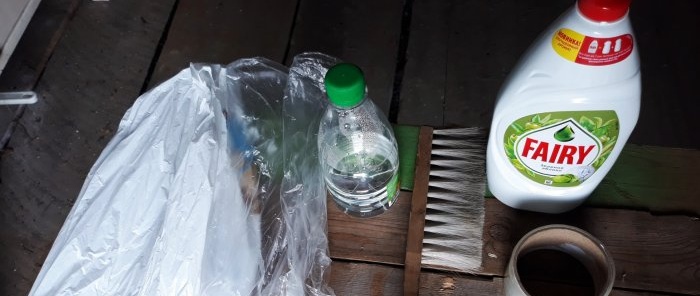
Will need
- A small disposable plastic bag (“bag”).
- Plastic bag with handles (for products).
- Table vinegar, 70 percent.
- Dishwashing liquid.
- A brush with coarse bristles (made from fishing line).
- Scotch.
Cleaning the grill
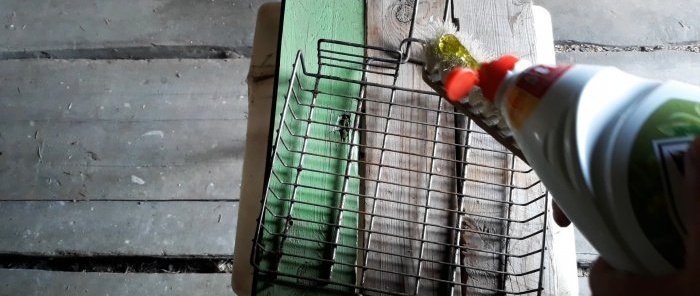
We will use a “ferri” type product and 70 percent vinegar. It won't be a soaking at all, more like a vinegar bath. Vinegar vapor, in my opinion, will work in this case no worse, and maybe even more effectively, than completely immersing the product in vinegar. And where can I get so much vinegar... So, the steps are the simplest. First, you need to thoroughly coat the entire grate, except the handle, with dishwashing detergent. It is better if it is a product with a high surfactant content. I took "Ferry" - everyone knows how it copes with dried fat. No need to skimp on the cleaning product. Apply it to the brush and cover the entire grate with a thick layer.
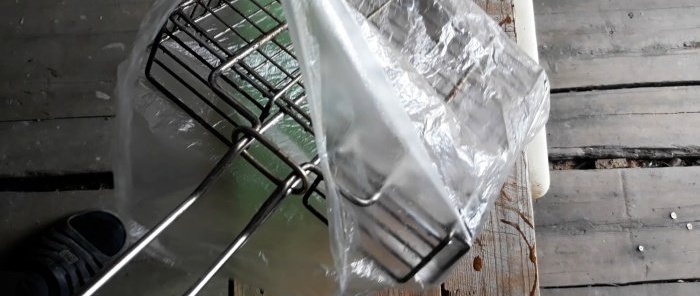
Don't forget about the second half. We connect both parts together and stretch a plastic bag over the entire structure.
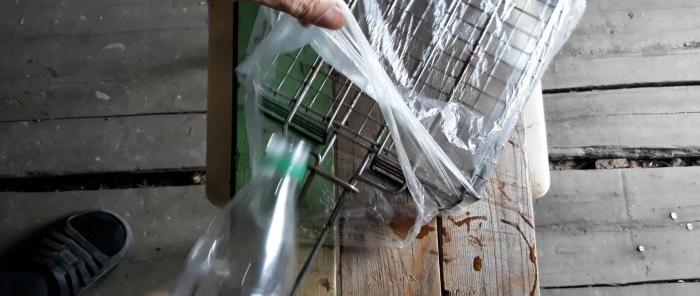
Pour 50-70 ml of vinegar inside.
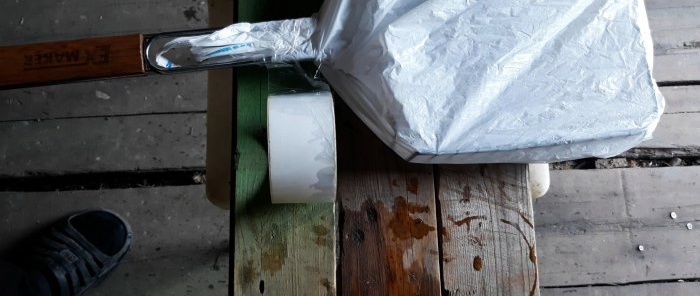
We put this whole thing in a second, large package. We also pour vinegar, 100 mg, into a large bag. We tighten everything tightly around the handle and secure it with tape.
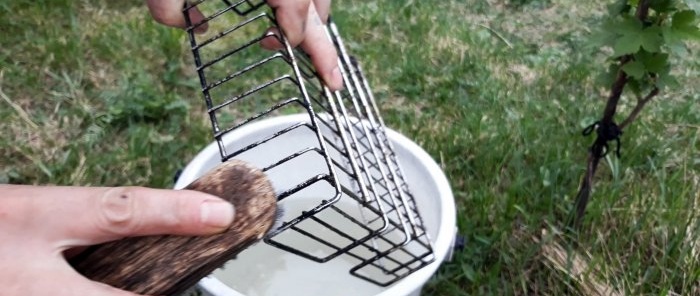
Now you need to leave this bag with the grill and vinegar in a warm place.I think there will be no problems with this - it’s warm outside, and even the night temperature is quite enough: the vinegar begins to evaporate even at zero temperature. Now you can leave all this alone for 24 hours and do other things. After the specified time has passed, pour warm water into a basin or bucket and prepare the brush for washing. Remove the bags from the grill. Preferably, standing in the wind - 70 percent vinegar, and it will knock out a tear in one go! We lower the grate into the water for 10 minutes and start working with a brush.
It doesn’t require much effort - the surfactants contained in the “ferri”, plus acetic acid vapor, did their job with a plus in 24 hours. We wash off all the debris and carbon deposits from the grill, rinse in clean water, dry, and use it with pleasure! Shines! It's like a cat's fur!
Of course, in some places in the corners from the inside, it was not possible to reach with a brush, but if this is important for anyone, a toothbrush will help! And in the future, don’t forget to put things in order immediately after cooking.
This will make it less troublesome the next time you cook.
Watch the video
Similar master classes
