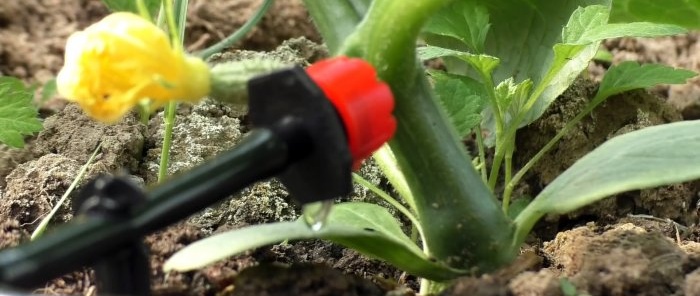
How to organize automatic watering yourself
Summer residents, who have the opportunity to visit the plot only once a week, often find their beds in a deplorable state, since they need more frequent irrigation. This problem can be solved by installing automatic drip irrigation.
Materials:
Automatic drip irrigation assembly process
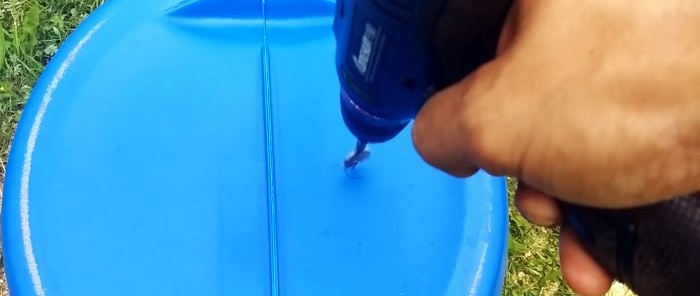
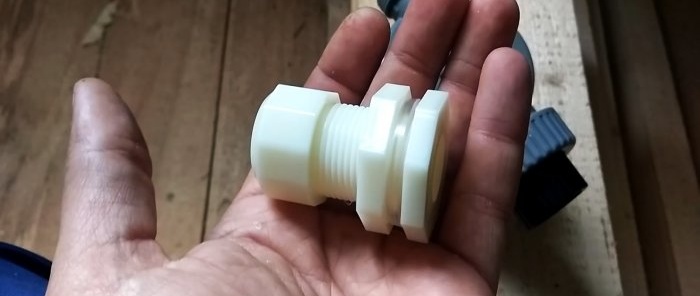
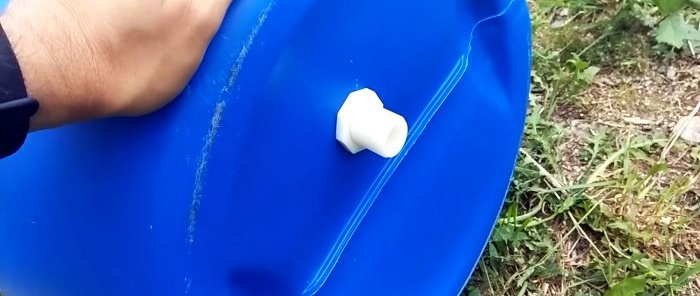
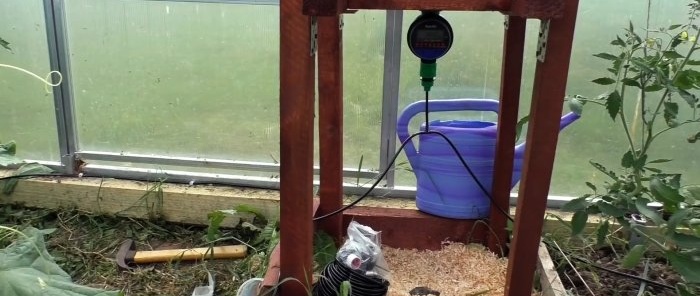
The assembly of the system must begin by inserting the adapter into the tank. A hole is drilled in its bottom into which a fitting is inserted.
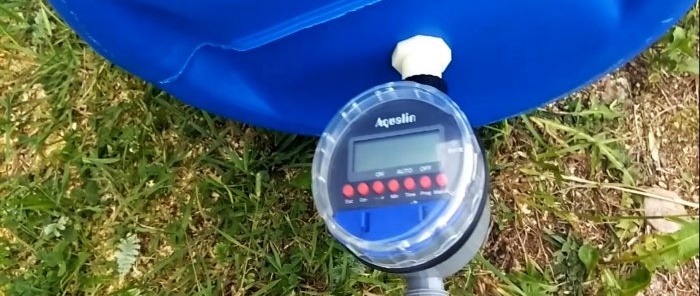
A nut is screwed onto the adapter from the outside. The result is a tight connection. Then the watering timer is screwed onto the insert.
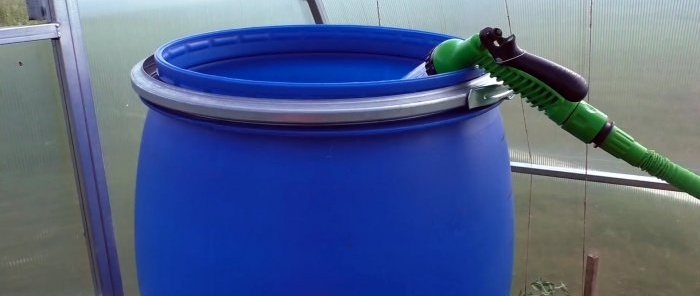
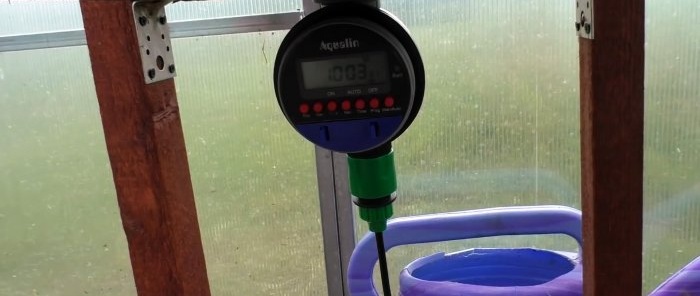
The tank is installed in the greenhouse on a stand approximately 1 m high. It can be assembled from a wooden beam. The stand is made so that the insert with the timer does not rest against anything. Then the hose adapter from the micro drip irrigation system kit is installed on the timer.
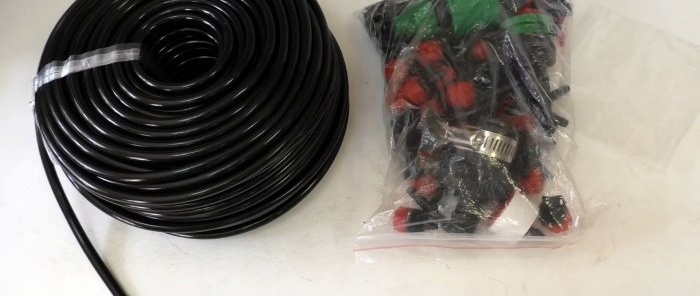
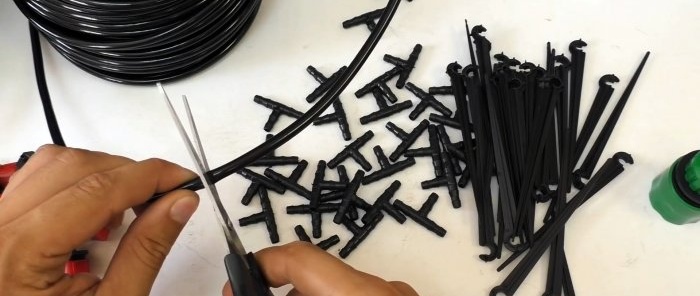
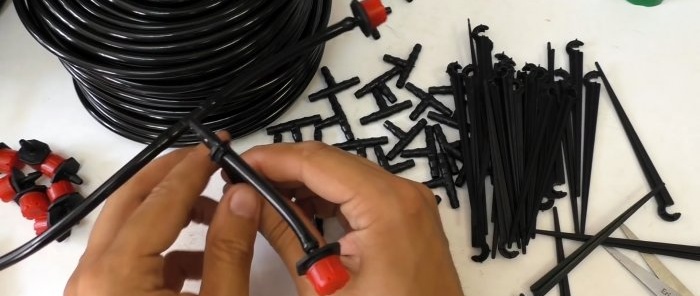
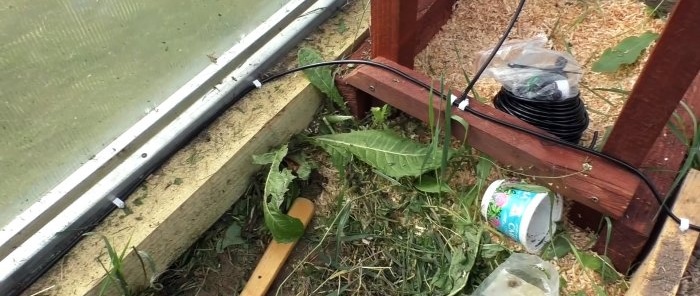
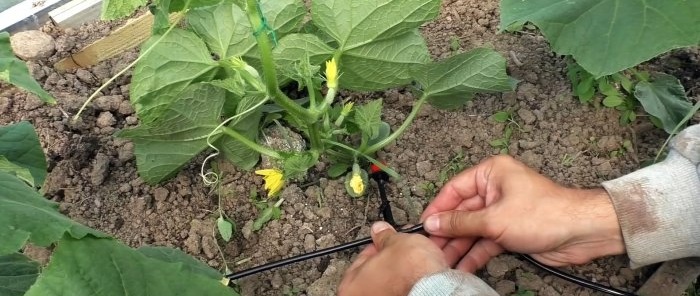
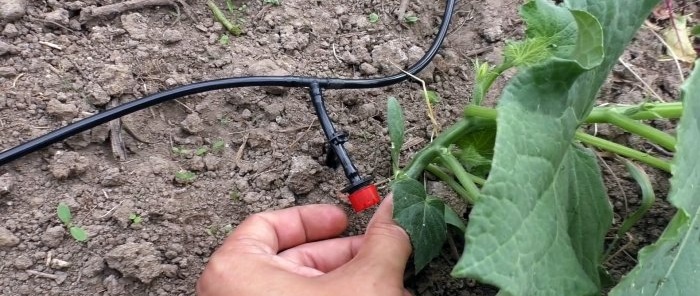
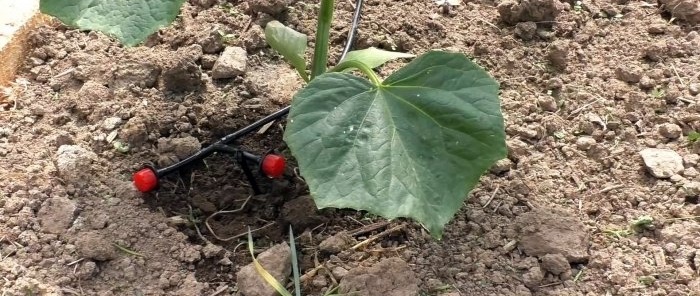
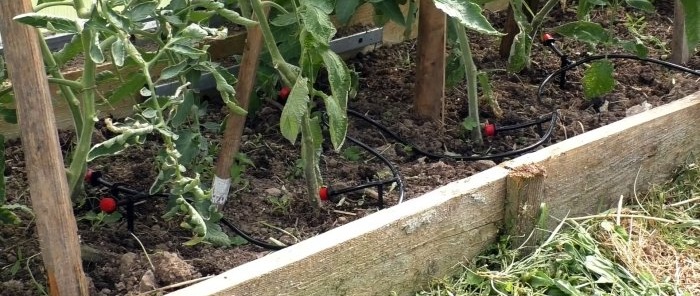
After this, the hose from the kit is connected to the adapter and laid to the beds. On it, with the help of tees, branches are made for each plant.Nozzles are installed at the end of the branches. Using a tee, you can divide the line into separate sleeves for different beds. If the tube needs to be plugged, then a nozzle that is completely screwed in is installed on it. The system is fixed on the garden bed with supports from the kit.
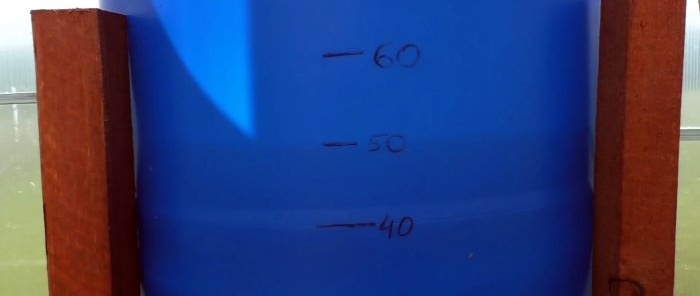
Next you need to fill the tank. It is better to do this with buckets to apply markings. When pouring 10 liters at a time, you need to draw a gradation on the wall of the container.
After installation and refueling of the system, it is necessary to adjust the nozzles. To do this, you need to open the irrigation controller valve and adjust the drops. Tomatoes require less water, approximately 1 drop/sec. For cucumbers you should add 2-3 drops.
After adjusting and rechecking the adjustments, you also need to make sure that the nozzles are not lying on the ground, since this can cause them to become clogged. Next you need to set the timer. To do this, you need to estimate how many liters of water you need to use per day. As a result, based on this value and the capacity of the tank, you can understand how many days one refill will last. After this, the water supply valve on the controller opens and you note the time it takes for this amount of liquid to be consumed according to the gradation on the tank.
Having received the exact time, you need to set the watering timer so that at certain hours it opens for a given number of minutes. If you plan to water 2 times a day, then set the opening at half this time so that together the volume of flow will be as needed.
Watch the video
Similar master classes

Simple automatic watering system
3 ways to organize a plant watering system during your

The secret of a good harvest: how to organize drip irrigation

How and with what to quickly seal holes in any steel container for

Strawberry bed made of PVC pipes with a root irrigation system

How to make a sprinkler with a large watering radius from PVC pipes
Particularly interesting
Comments (1)

