Simple automatic watering system
This system for auto-watering plants can be made by anyone without knowledge of electronics, and even without the ability to solder radio elements. The system uses ready-made devices that you simply need to connect in a certain sequence and enjoy the results of automatic watering.
This simple innovation can be assembled in no more than one hour, but for this you need to order or buy all the elements of the system.
I used a solenoid valve in the system. There are some advantages here:
- In the event of a sudden power outage, your area will not be flooded with water, since the valve will close, unlike an electromechanical one.
- Ease of Management. There is voltage - the valve is open, no voltage - the valve is closed. It's simple. And you also need to be able to control electromechanical ones.
For the system to operate, you need: a free socket with a voltage of 220 V and running water.
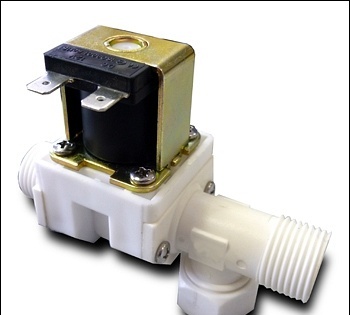
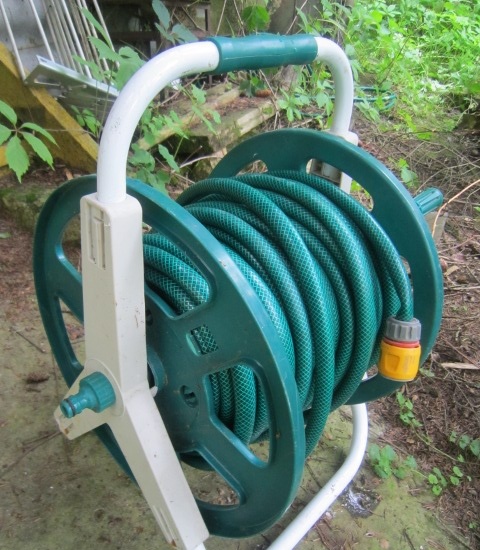
The operation of the system is as follows: that the timer is connected to a 220 V AC network. It controls the operation of the adapter included in it. And according to a given schedule, it turns on or off the power adapter, the load of which in turn is the solenoid valve. A central water supply is connected to the valve and as soon as the valve opens, all the pressure rushes into the garden hose and is sprayed through the sprayer onto the area. You can connect several more of these sprinklers via a tee if you need to water a large area of the garden plot.
In fact, it consists of placing a valve between the soda hose and the water supply, connecting the power supply to the valve and plugging everything into the network. Everything is simple, without unnecessary hassle.
You can, of course, cut the wire from the adapter and immediately screw it to the valve, but I have a considerable distance from the valve and from the socket. Therefore, I will extend the 12 volt circuit.
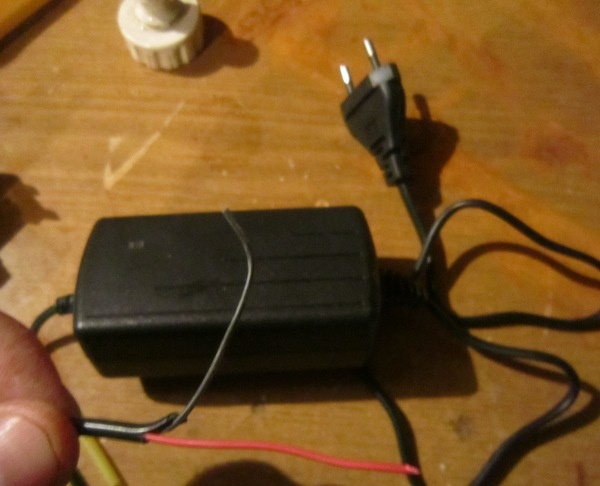
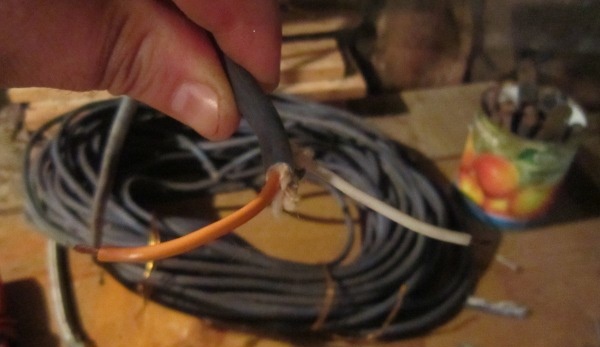
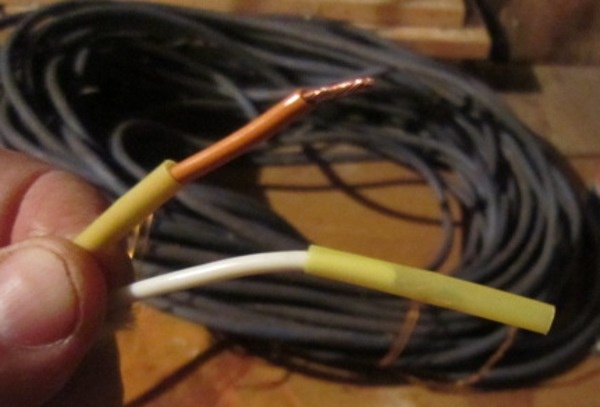

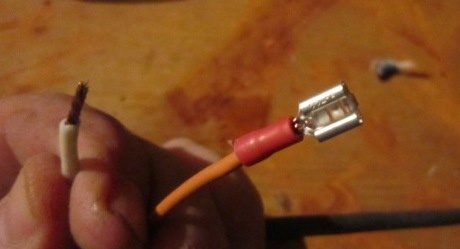
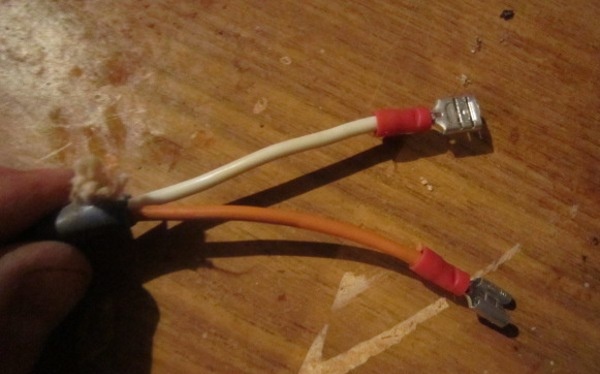
I connect the wire to the power supply.
I connect the terminals to the second end and then connect it to the valve.
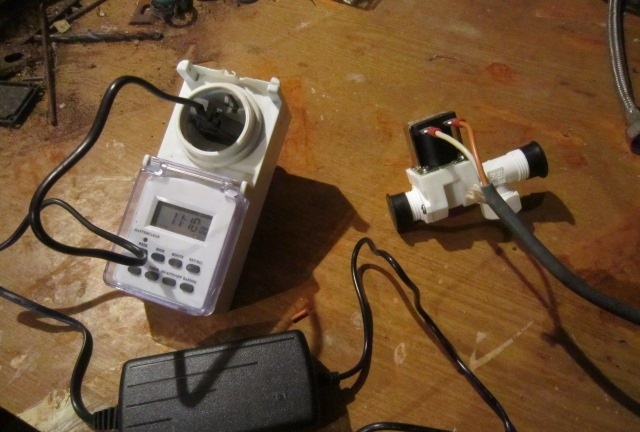
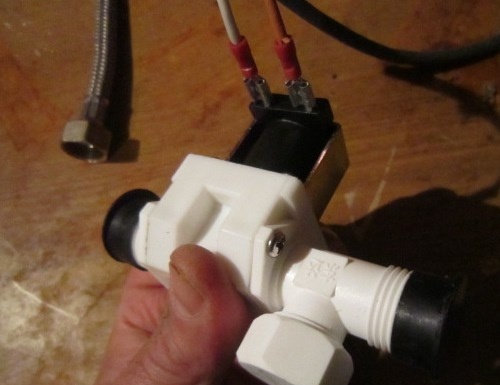
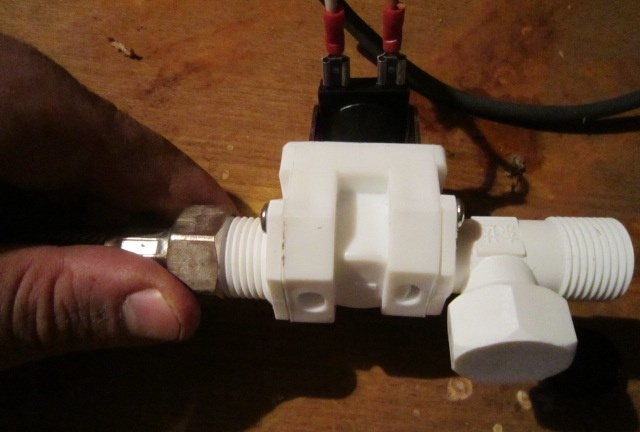
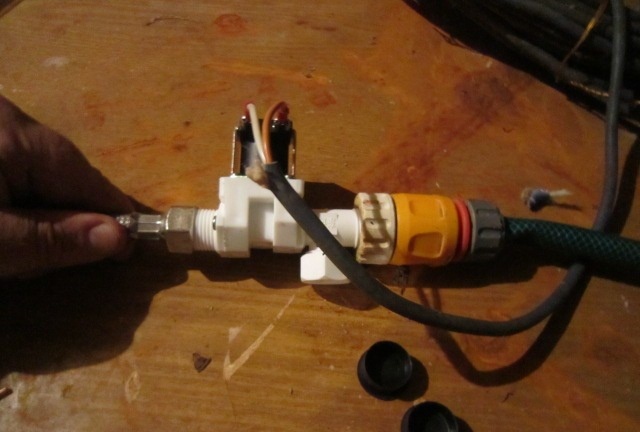
Then, I screw the adapter to the water supply.
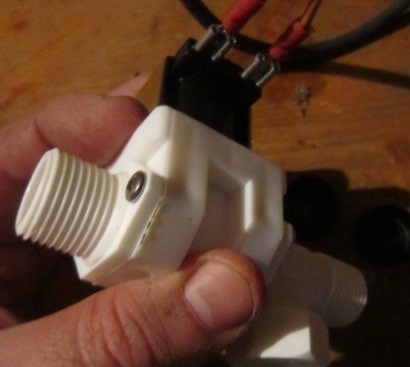
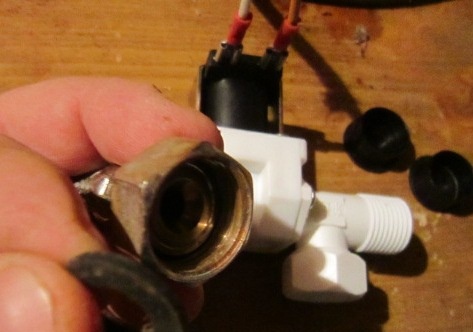
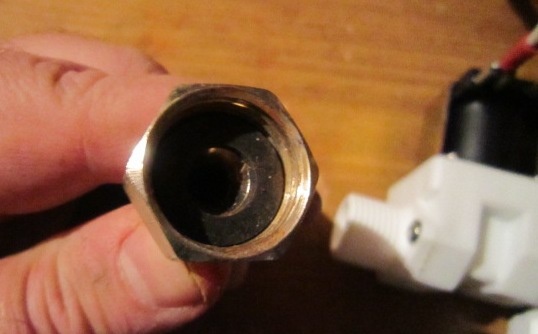
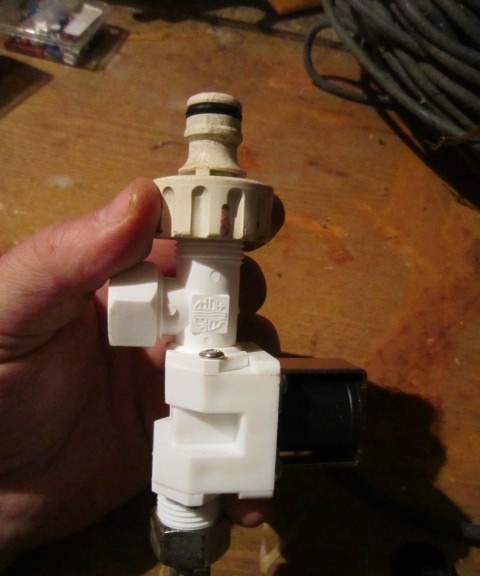
I screw the adapter onto the garden hose to the second end.
It is advisable to provide an additional ball or valve valve between the valve and the water supply system so that the water supply system can be shut off in case of unforeseen circumstances.
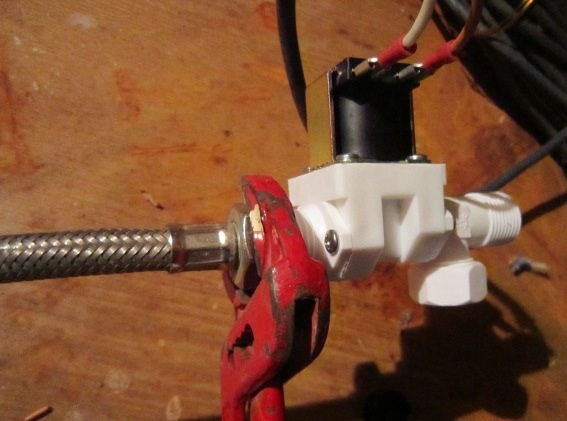
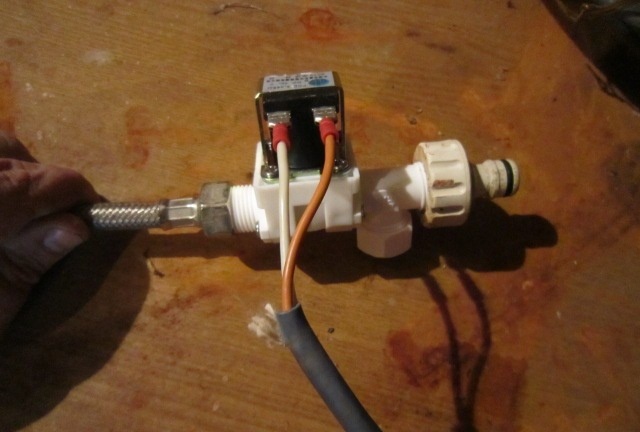
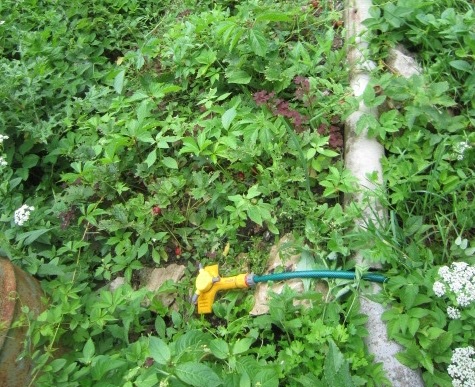
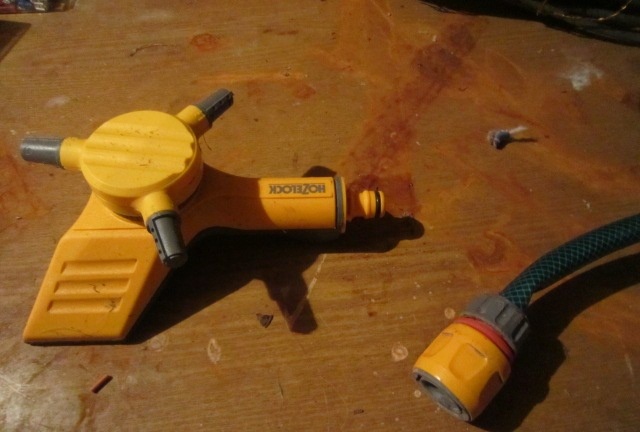
We unwind the hose, connect it to the sprinkler and install it on the watering area.
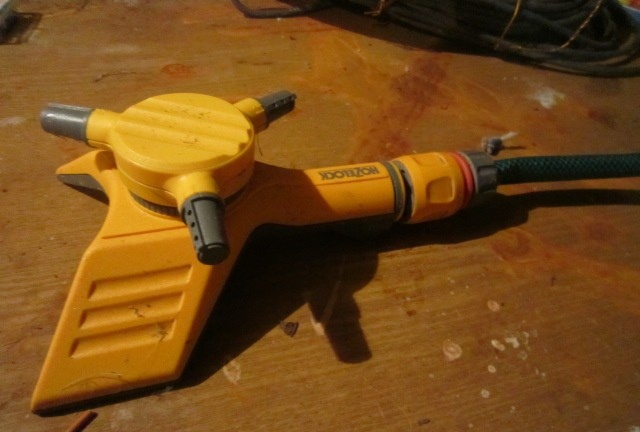
The system is ready. Let's move on to setting the timer.
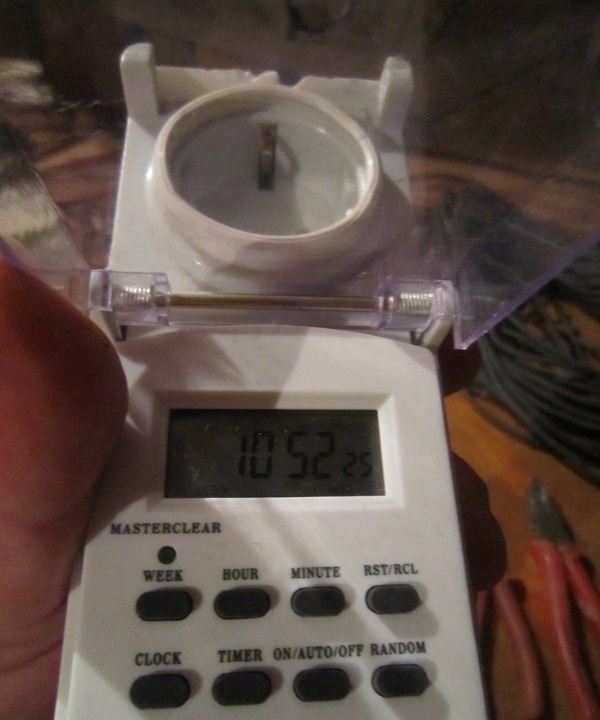
We need to water our beds in the morning and evening, before and after the heat. I set the timer for 5am when the sun is still low and 10pm when the sun has already set. Watering time depends on the water pressure and can range from 15-40 minutes.
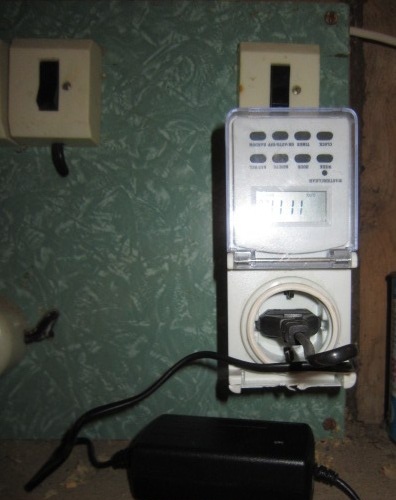
As a result, it did not take much time and labor to assemble and configure. If, after reading this article, you also decided to build this miracle, then ready-made timers with built-in valves and autonomous power supply appeared on sale, which I, of course, did not know about when I assembled the system.
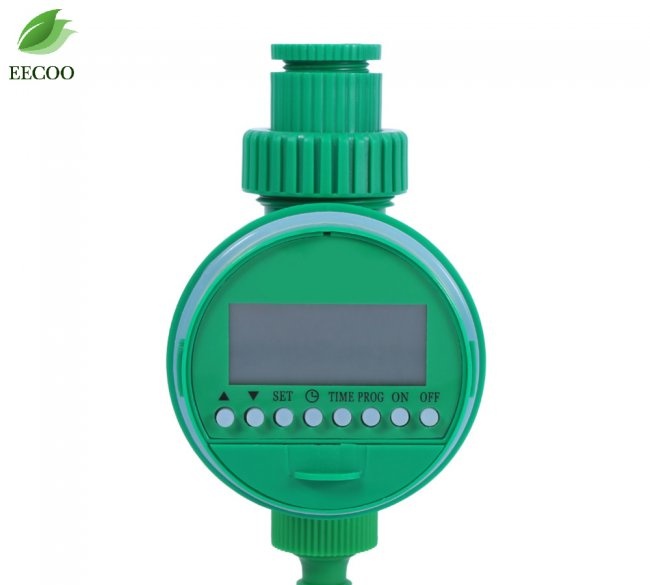
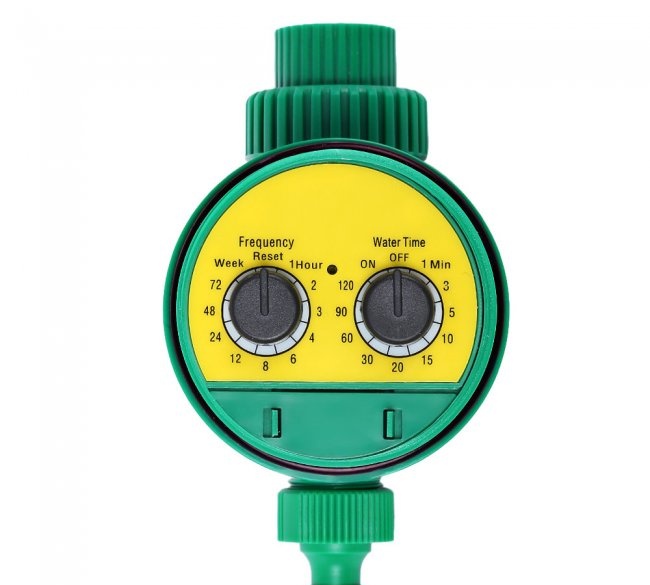
Here they are. Powered by batteries.
But my homemade system has its advantages: you can control the irrigation from the house, and not from the basement, where the timer is usually set.
Any of the presented systems has a drawback: the system still needs to be controlled, since if it rains heavily, it will still turn on and flood the beds even more.
The system is simple, automatic, cheap, expandable, complementable. For example, you can add a pump to the system and water the plants not with tap water, but with rainwater from a barrel or other container.

This simple innovation can be assembled in no more than one hour, but for this you need to order or buy all the elements of the system.
Advantages of an automatic watering system
- - Simplicity, which means reliability.
- - Quite low cost in comparison with industrial analogues.
- - Isolated system with galvanic voltage isolation. That is, if water gets on the valve and you touch the hoses, an electric shock will not occur.
- - It is possible to power the entire system from 12 volts (and not from 220 V as now). And everything is powered autonomously from a battery. And the battery can be charged with solar panels or a wind generator, but this is all in the future in my plans...
I used a solenoid valve in the system. There are some advantages here:
- In the event of a sudden power outage, your area will not be flooded with water, since the valve will close, unlike an electromechanical one.
- Ease of Management. There is voltage - the valve is open, no voltage - the valve is closed. It's simple. And you also need to be able to control electromechanical ones.
For the system to operate, you need: a free socket with a voltage of 220 V and running water.
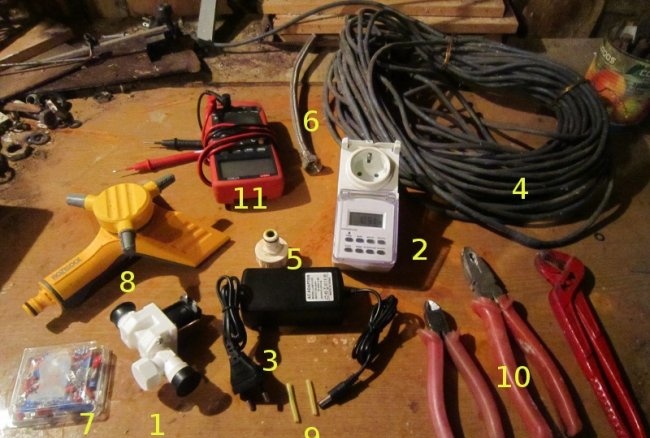
Materials:
- Electronic timer - aliexpress
- Solenoid valve - aliexpress
- AC adapter for 12 V with a current of at least 0.5 A - aliexpress
- Adapter from 1/2 thread to garden hose - aliexpress
- Hose - adapter from the line to the valve - in a plumbing store.
- Crimp terminals - aliexpress
- Double insulated wire for extending the valve circuit - any electrical store.
- Water sprinkler - aliexpress or at a garden store.
- Garden hose - aliexpress or at a garden store.
Solenoid valve 12 V.

All system components and necessary tools
garden hose

Assembling a system for automatically watering plants according to a schedule
The operation of the system is as follows: that the timer is connected to a 220 V AC network. It controls the operation of the adapter included in it. And according to a given schedule, it turns on or off the power adapter, the load of which in turn is the solenoid valve. A central water supply is connected to the valve and as soon as the valve opens, all the pressure rushes into the garden hose and is sprayed through the sprayer onto the area. You can connect several more of these sprinklers via a tee if you need to water a large area of the garden plot.
Now let's move directly to the assembly
In fact, it consists of placing a valve between the soda hose and the water supply, connecting the power supply to the valve and plugging everything into the network. Everything is simple, without unnecessary hassle.
You can, of course, cut the wire from the adapter and immediately screw it to the valve, but I have a considerable distance from the valve and from the socket. Therefore, I will extend the 12 volt circuit.


I connect the wire to the power supply.
I connect the terminals to the second end and then connect it to the valve.


Then, I screw the adapter to the water supply.


I screw the adapter onto the garden hose to the second end.
It is advisable to provide an additional ball or valve valve between the valve and the water supply system so that the water supply system can be shut off in case of unforeseen circumstances.


We unwind the hose, connect it to the sprinkler and install it on the watering area.


Setting the timer
The system is ready. Let's move on to setting the timer.

We need to water our beds in the morning and evening, before and after the heat. I set the timer for 5am when the sun is still low and 10pm when the sun has already set. Watering time depends on the water pressure and can range from 15-40 minutes.

As a result, it did not take much time and labor to assemble and configure. If, after reading this article, you also decided to build this miracle, then ready-made timers with built-in valves and autonomous power supply appeared on sale, which I, of course, did not know about when I assembled the system.
Here they are. Powered by batteries.
- Electronic timer - aliexpress
- Timer with mechanical control, but also electronic - aliexpress
But my homemade system has its advantages: you can control the irrigation from the house, and not from the basement, where the timer is usually set.
Any of the presented systems has a drawback: the system still needs to be controlled, since if it rains heavily, it will still turn on and flood the beds even more.
The result of the automatic watering system
The system is simple, automatic, cheap, expandable, complementable. For example, you can add a pump to the system and water the plants not with tap water, but with rainwater from a barrel or other container.
Similar master classes
How to quickly make a 1000 liter watering container practically
The simplest scheme for automatic water level control

Creating a garden with an irrigation system
How to make an inexpensive watering tank
Watering system without the use of special containers

Homemade 12V submersible pump for irrigation
Particularly interesting
Comments (0)

