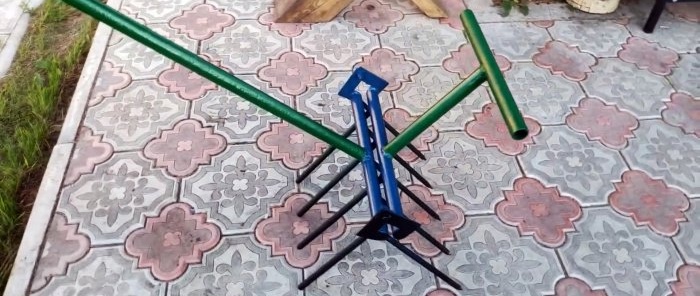
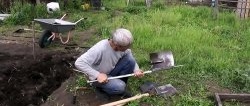
With this tool you can forget about a shovel for digging.
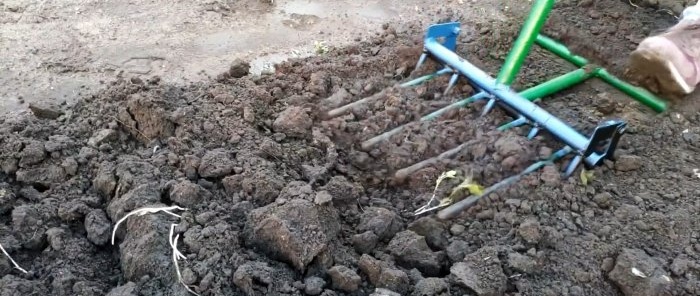
If you have to dig up your garden by hand every fall, you should make a wide ripper. It will allow you to reforge the area many times faster and easier than it can be done with a shovel. When working with such a tool, the back is less strained. In addition, it does not leave behind large dense lumps of soil, like after a shovel.
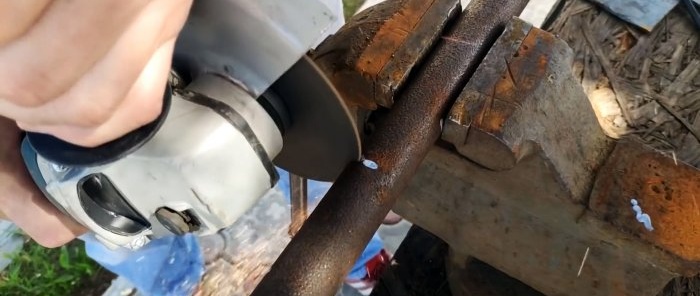
First you need to prepare 2 pieces of pipe with a diameter of 32 mm, approximately 40 cm long.
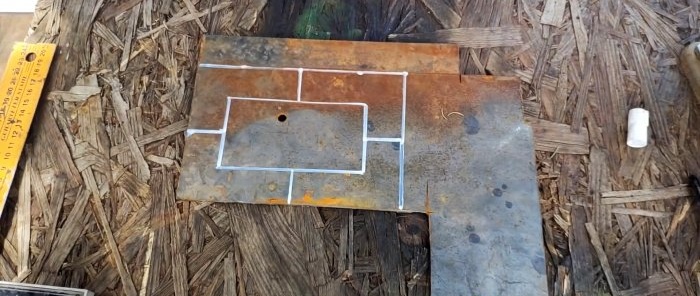
Then 4 L-shaped blanks with sides 90x60 mm and a width of 30 mm are cut out of sheet steel.
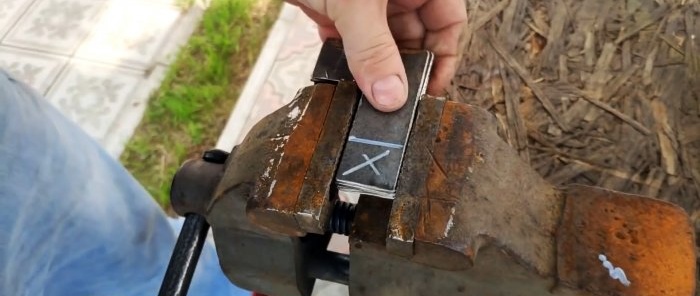
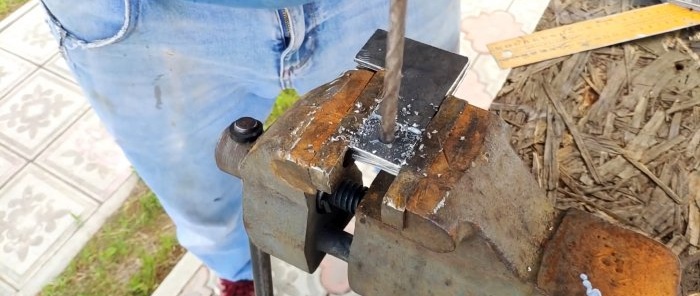
At the end of the long side of the workpieces, a hole with a diameter of 10 mm is drilled. To make everything symmetrical, it is better to put them together and drill at the same time.
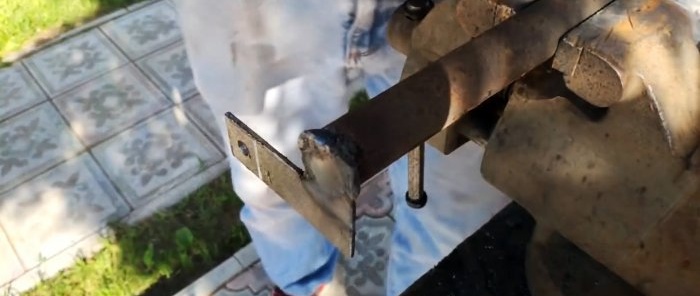
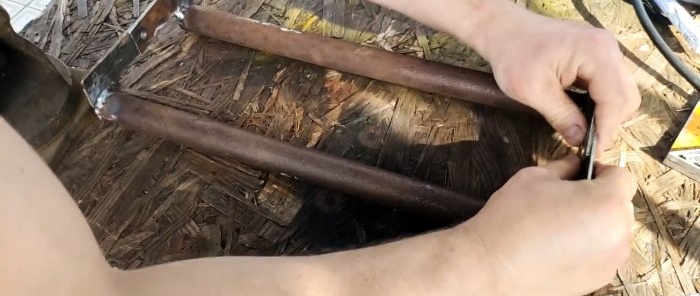
Next, you need to weld the blanks with their short sides to the ends of the pipes. After welding, the tubes are twisted together with bolts, but not tightly, and secured with locknuts to maintain mobility. Lock nuts are required.
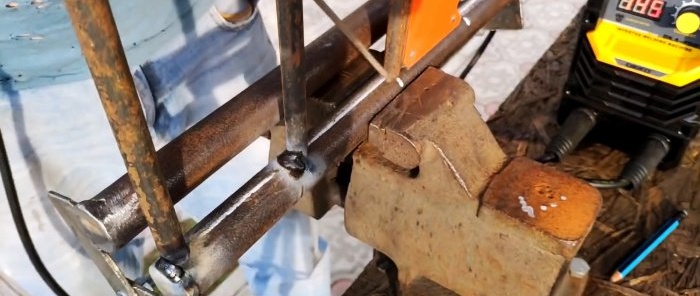
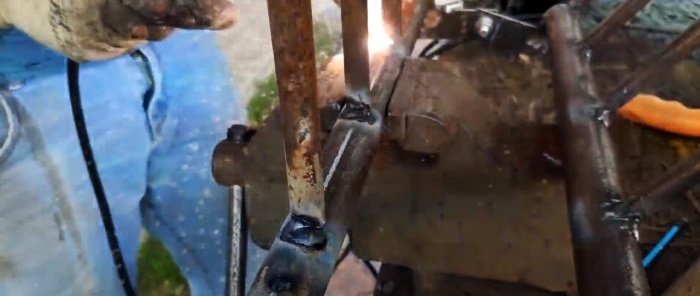
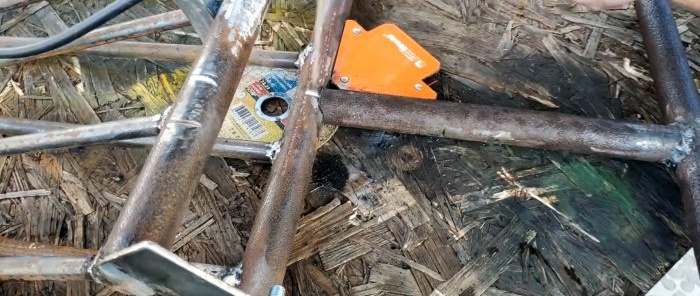
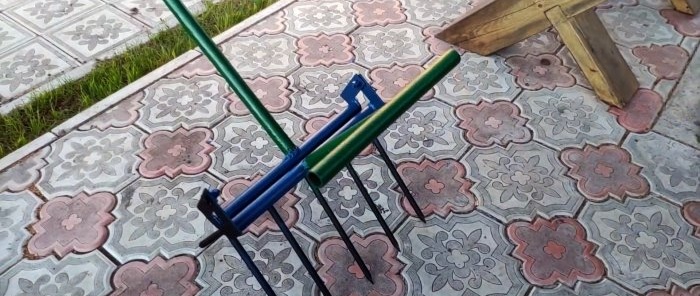
8 pieces 250-300 mm long are cut from 12 mm steel round timber. They are welded to the tubes on hinges, 4 to each. The pins are welded to one along the edges and with the same indentation to the center. They are welded to the second pipe with a shift to the side so that they are between the pins on the first tube. The result is double articulated forks.
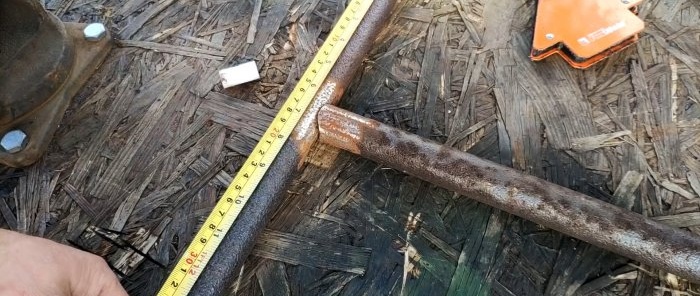
In the center, a T-shaped stop made of 32 mm pipe is welded to one of the tubes with pins. Its length and width should be approximately 300 mm each. The stop is welded in the same plane as the pins, but on the opposite side of the pipe.
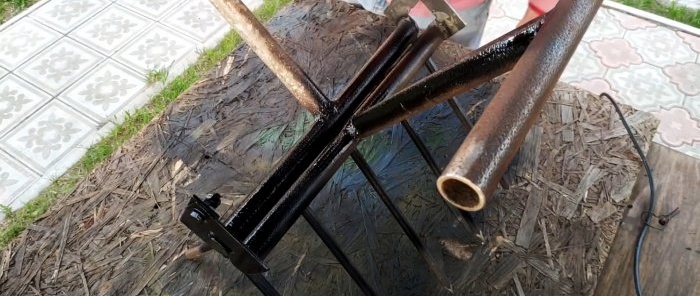
A tube handle of a convenient length is also welded onto the second pipe in one plane to its forks. Then you need to sharpen the pins and, if desired, paint the tool. Before using it, it doesn’t hurt to lubricate the hinges and check how the locknuts hold.
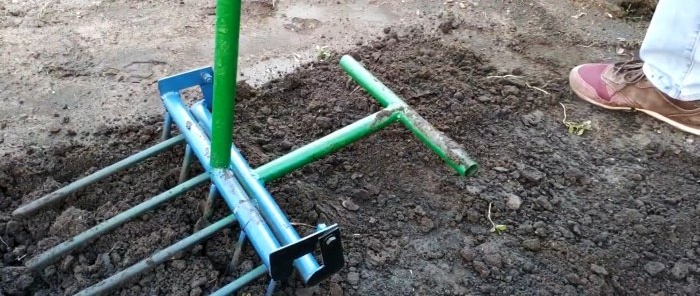
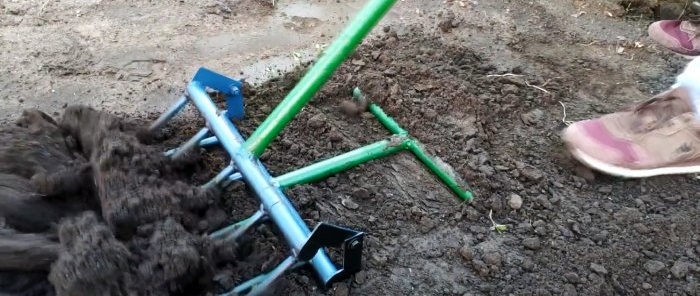
To use the tool, you need to drive the pitchfork into the ground, on which the handle is located. To do this, they are placed vertically and pressed by pressing the foot on the T-shaped stop of the second forks. Then you need to pull the handle towards you to overturn the soil and break the lumps against the duplicate forks. After this, the ripper moves towards itself by 150-250 mm and everything repeats. Thus, loosening the soil is done in strips, very quickly and without strain on the back.
Materials:
- sheet steel 3 mm;
- pipe 32 mm;
- M10 bolts – 2 pcs.;
- washers M 10 – 4 pcs.;
- nuts M10 – 4 pcs.;
- steel round timber 12 mm.
Ripper manufacturing process
First you need to prepare 2 pieces of pipe with a diameter of 32 mm, approximately 40 cm long.
Then 4 L-shaped blanks with sides 90x60 mm and a width of 30 mm are cut out of sheet steel.
At the end of the long side of the workpieces, a hole with a diameter of 10 mm is drilled. To make everything symmetrical, it is better to put them together and drill at the same time.
Next, you need to weld the blanks with their short sides to the ends of the pipes. After welding, the tubes are twisted together with bolts, but not tightly, and secured with locknuts to maintain mobility. Lock nuts are required.
8 pieces 250-300 mm long are cut from 12 mm steel round timber. They are welded to the tubes on hinges, 4 to each. The pins are welded to one along the edges and with the same indentation to the center. They are welded to the second pipe with a shift to the side so that they are between the pins on the first tube. The result is double articulated forks.
In the center, a T-shaped stop made of 32 mm pipe is welded to one of the tubes with pins. Its length and width should be approximately 300 mm each. The stop is welded in the same plane as the pins, but on the opposite side of the pipe.
A tube handle of a convenient length is also welded onto the second pipe in one plane to its forks. Then you need to sharpen the pins and, if desired, paint the tool. Before using it, it doesn’t hurt to lubricate the hinges and check how the locknuts hold.
To use the tool, you need to drive the pitchfork into the ground, on which the handle is located. To do this, they are placed vertically and pressed by pressing the foot on the T-shaped stop of the second forks. Then you need to pull the handle towards you to overturn the soil and break the lumps against the duplicate forks. After this, the ripper moves towards itself by 150-250 mm and everything repeats. Thus, loosening the soil is done in strips, very quickly and without strain on the back.
Watch the video
Similar master classes
Particularly interesting
Comments (0)

