How to make a screen and bracket for a projector
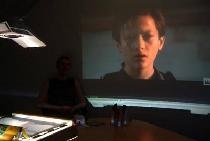
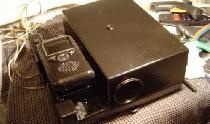
Buying a projector to watch movies and photos is only half the battle. The projector also requires such things as a screen and a tripod, which together cost almost more than the projector itself. If we can’t make a projector ourselves (I mean a real, powerful mini-projector, and not a shoebox with a magnifying glass inside), then a screen and a holder for it are fine! There is nothing complicated here. If everything is more or less clear with the screen, then with the stand-holder it’s not so clear. If you make a tripod, then not everyone in the room may have a suitable piece of floor space from which they can watch the projector without distortion.
And a tripod in the middle of the room is too troublesome. You need to constantly remove it after viewing, so that you can move freely around the room in the future, and reinstall it later, for the next session. Another thing is the wall! There is always a free piece on it for a folding bracket, which in one motion extends to the required distance and is just as easily removed. The bracket, and at the same time the screen, can be made independently, and quite simply and quickly.
Will need
For screen:
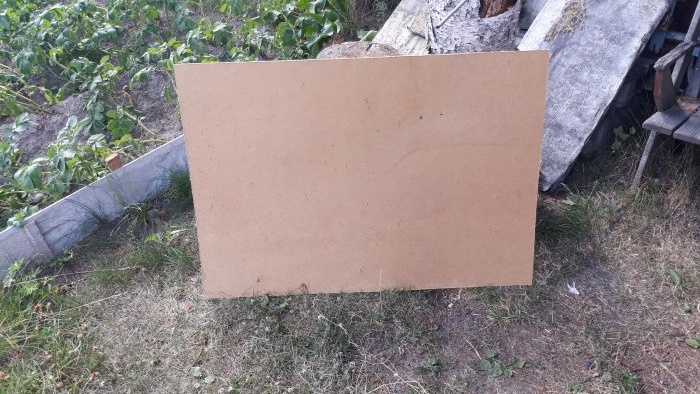
- A piece of fiberboard, the size you need, for the screen.
- Matte white paint, 1 can.
- Sandpaper for wood.
- Hacksaw.
For bracket:
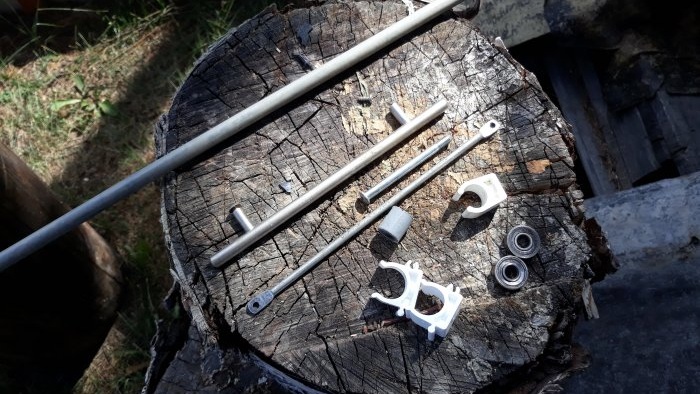
- The tube is metal, with a diameter of 10-15 mm and a length of 60-80 cm.
- Metal hairpin, with ears for fastening at the ends.
- Roller or skate bearings (or others of the same size) 2 pcs.
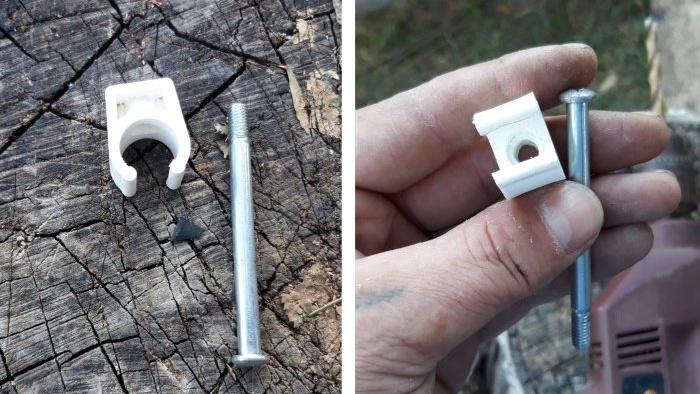
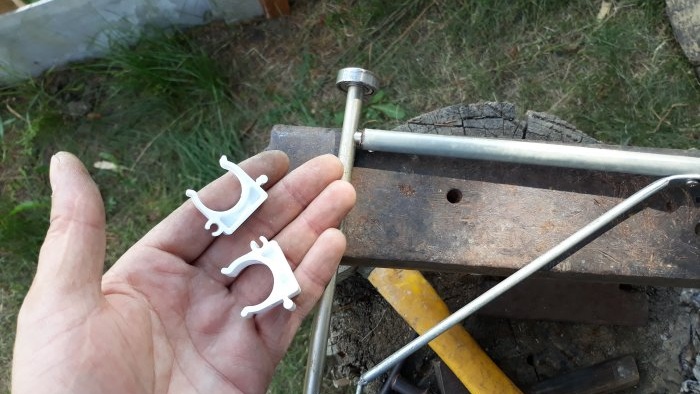
- Clips for 20th pipe. 2 pieces for 20, and 1 piece for 15.
- The handle is from an old bedside table, the same shape as in the photo.
- The bolt is 100mm, with a thread that matches the thread for the holder in the projector.
Screen making
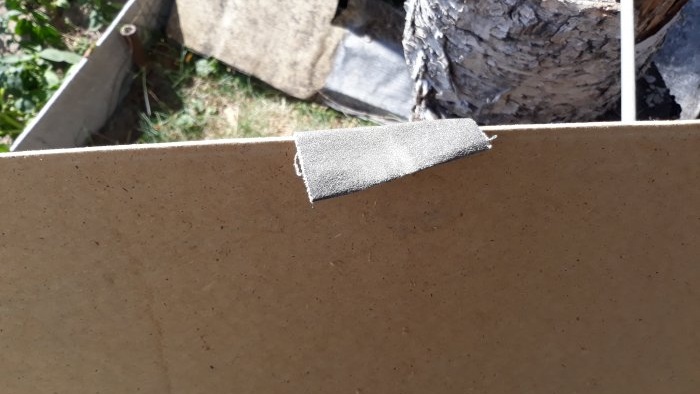
First, you need to saw off a piece of fiberboard of the size you need.
Next, you need to process the edges sawn off with a hacksaw and sandpaper.
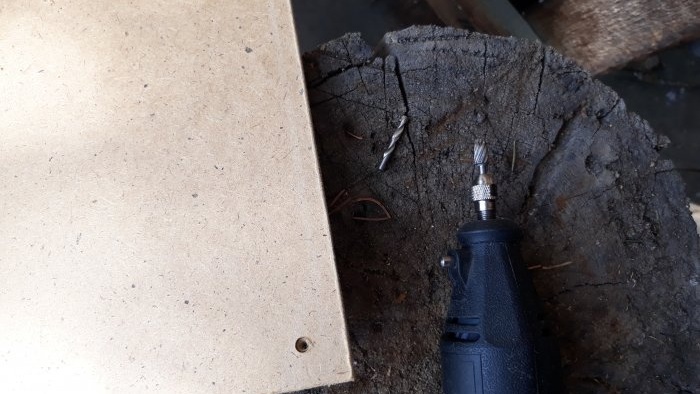
We drill holes in the corners for mounting to the wall.
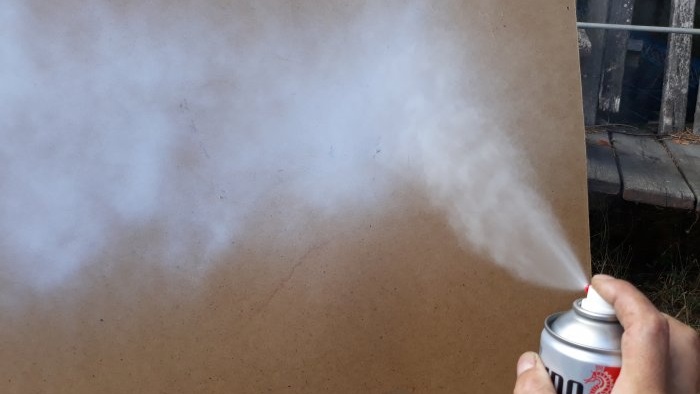
Now the most important part of this job is painting. The paint needs to be matte so that the reflections of the glossy paint do not distort the image.
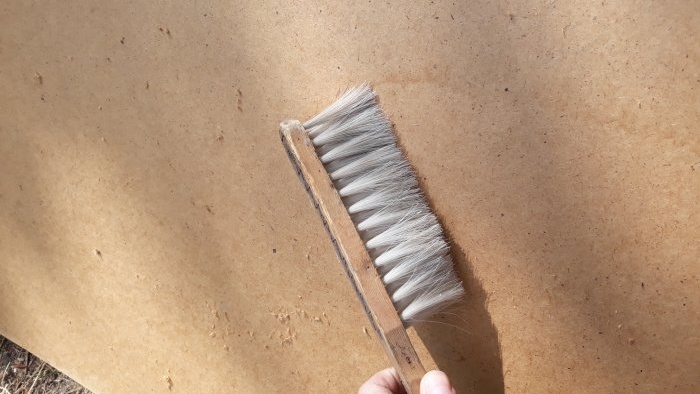
Using a brush or soft broom, clean the smooth surface of the canvas from sawdust and dust, and carefully apply the paint. In two layers.
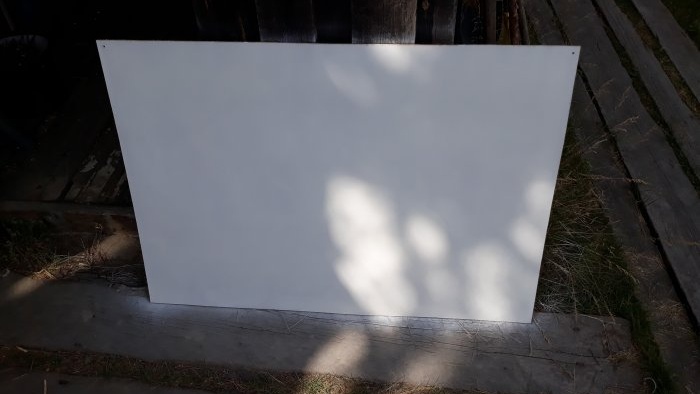
After applying the first layer, let the coating dry. The paint from such cylinders dries quickly. 15-20 minutes. After the specified time has passed, apply the second layer. Here's what you end up with:
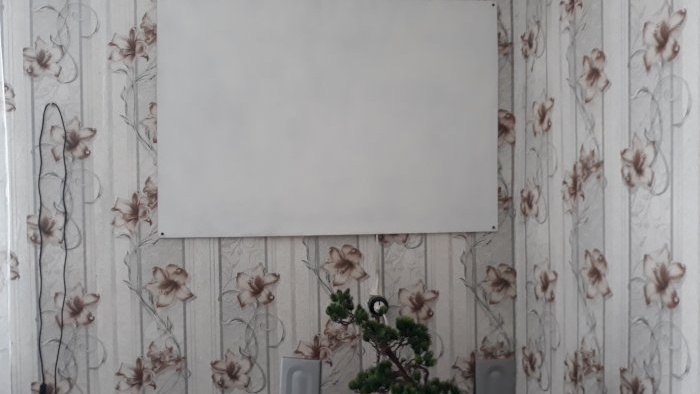
This completes the work with the screen. We wait half an hour for the paint to dry completely, and install the screen in the right place. But in such a way that a bracket could be attached nearby to the wall.
Making a movable bracket
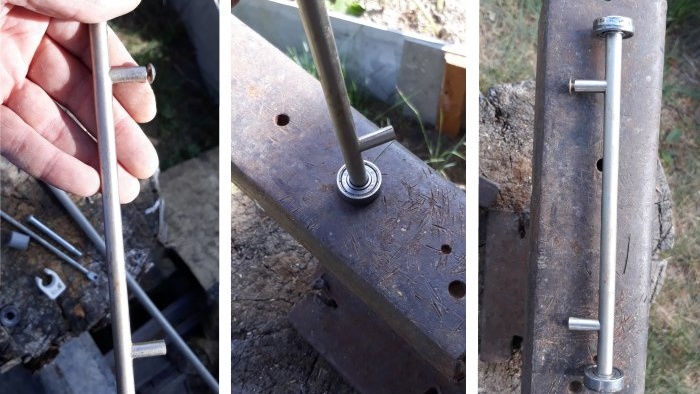
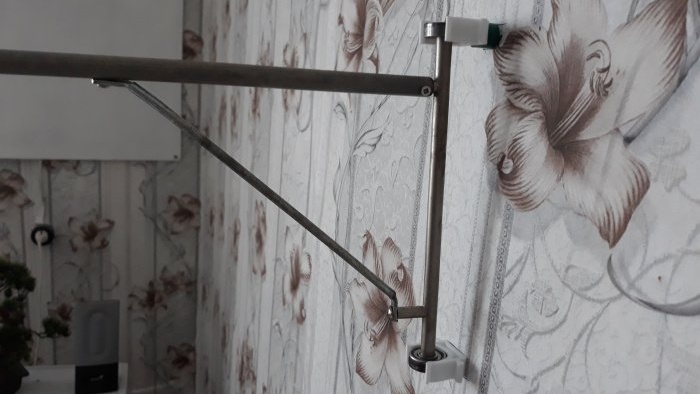
For this purpose, it is best to use the handle from the bedside table as a basis. The same as in the photo. Well, or something similar. It's simple. Using a hammer, secure the bearings to the ends of the handle.
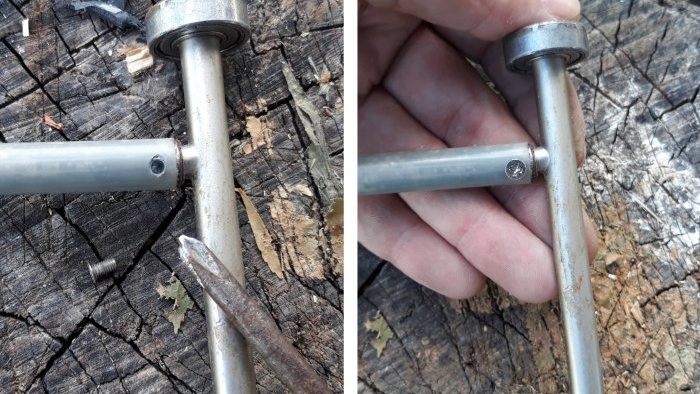
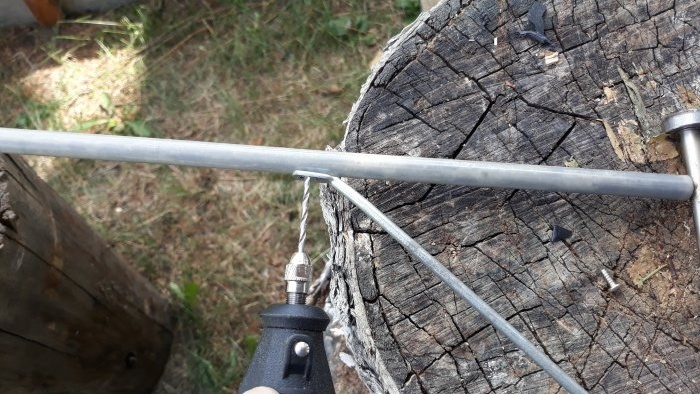
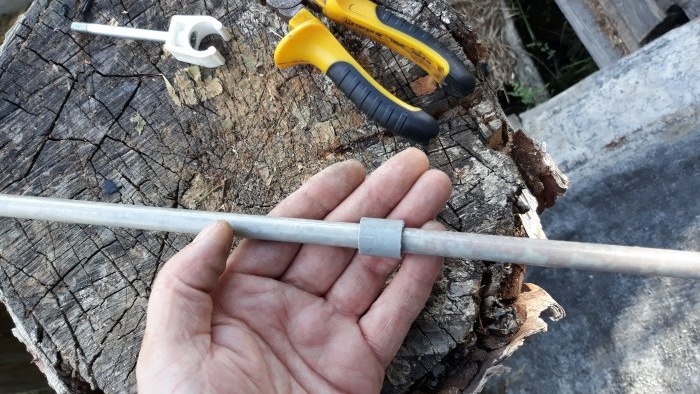
Next, install a long metal tube in one of the threaded holders.We drill a non-through hole and screw in a bolt or screw, thus fastening the tube and handle together.
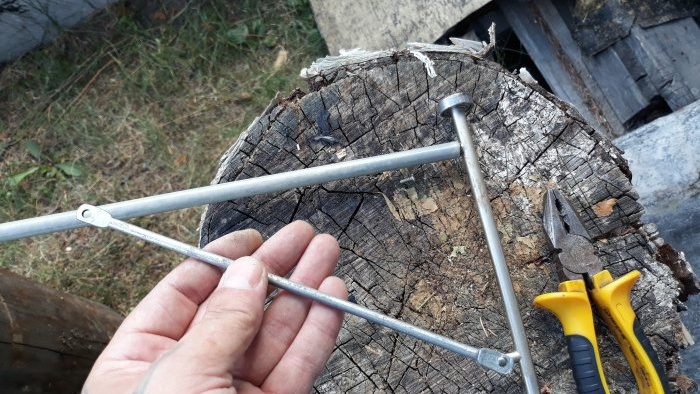
Now, as a jumper and support, we will need a steel pin with ears for fastening at the ends. I also took it from an old bedside table, from the door closer. We bend the ears to the desired degree, and fasten the handle to the tube.
If the handle has a thread with a bolt, then you need to drill a hole in the tube for the corresponding screw.
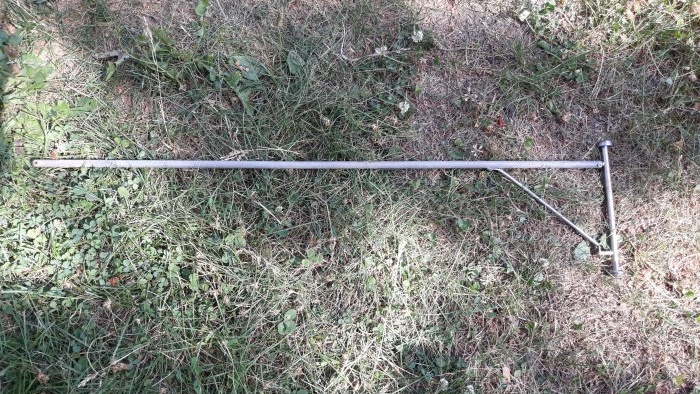
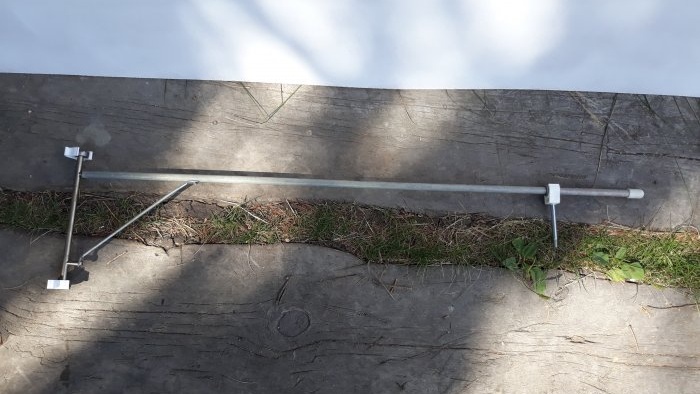
This is what you should get:
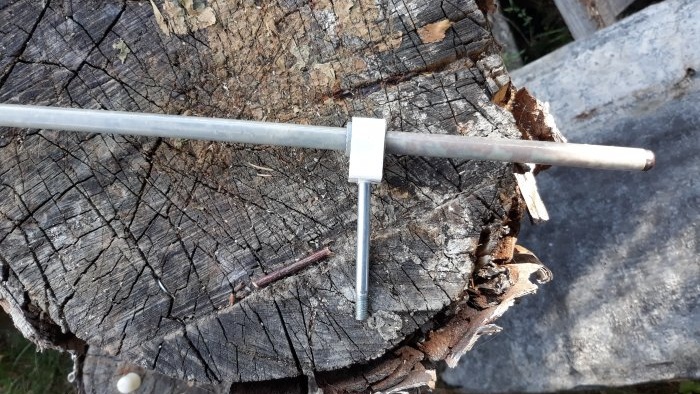
Now let's move on to the projector holder itself. To do this, take a 15mm clip and expand the hole in it for the prepared bolt, with a thread for the projector.
We snap the clip with the bolt onto the tube. If the diameter of the tube is smaller, then you can install a seal in the form of a piece of hose. Like this:
Next, we snap the 20th clips onto the bearings. They fit like a glove! They will easily support the weight of the bracket along with the weight of the projector.
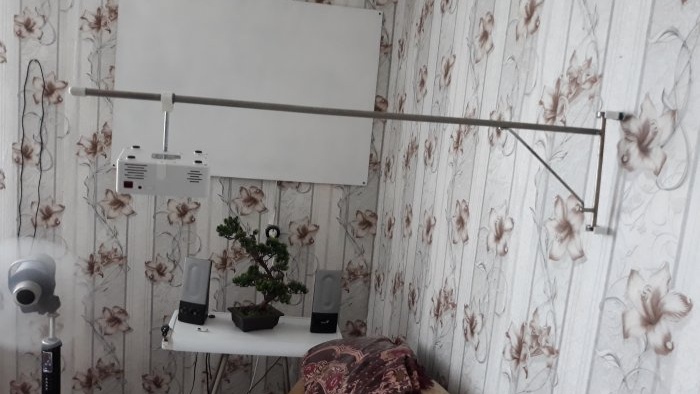
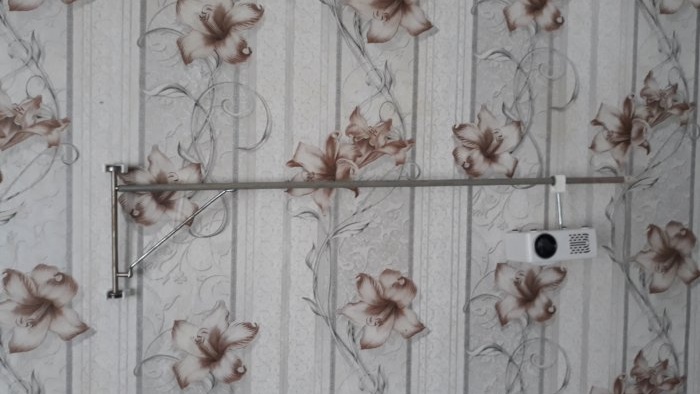
Well, here the bracket is ready:
We try on the bracket to the desired location on the wall, make marks with a pencil, and screw the clips for the bearings onto the self-tapping screws to the wall. We insert the bracket bearings into the clips.
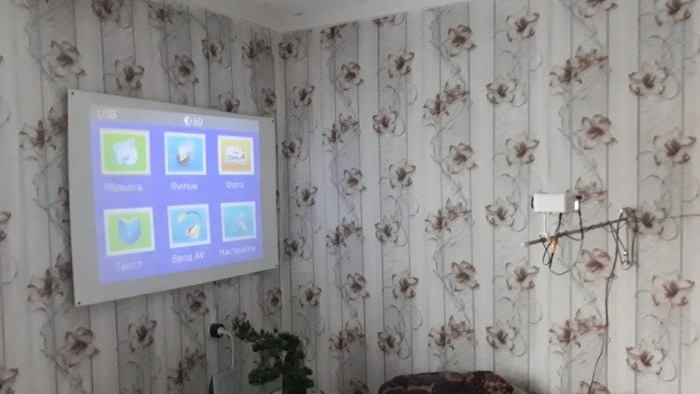
This is what you should end up with:
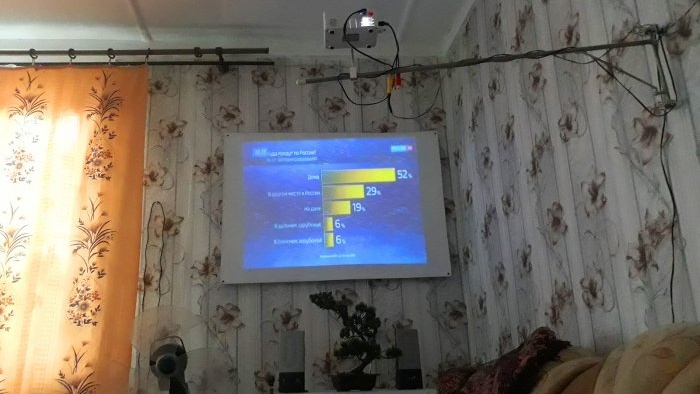
Next are the standard procedures - connect the power, configure, and watch with pleasure!
I think I don’t need to explain to anyone how to connect the power and TV cables and connect sound through a Bluetooth speaker...
Watch the video
Similar master classes
Particularly interesting
Comments (1)

