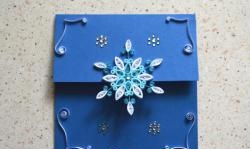
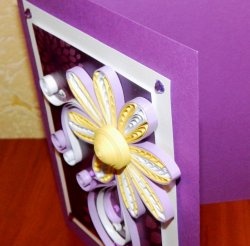
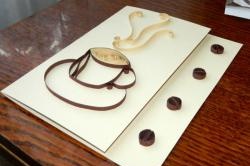
Cake card
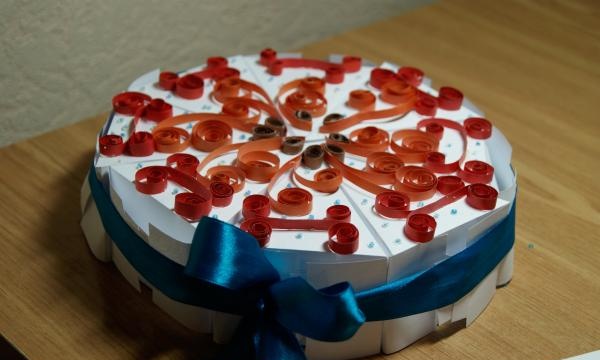
Sometimes you want to pleasantly surprise a loved one and once again demonstrate your feelings for him. You can do this with the help of an unusual handmade postcard/gift packaging.
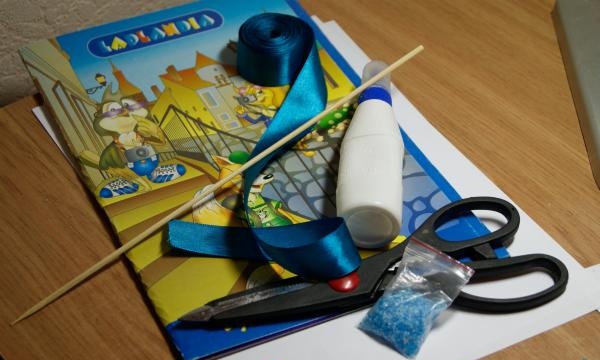
To make a fake you will need the following materials and tools:
• white cardboard (A4 format);
• double-sided colored paper;
• satin ribbon;
• ruler;
• pencil;
• scissors;
• wooden stick;
• glue;
• beads.
1. On cardboard you must make the drawing shown in the photograph.
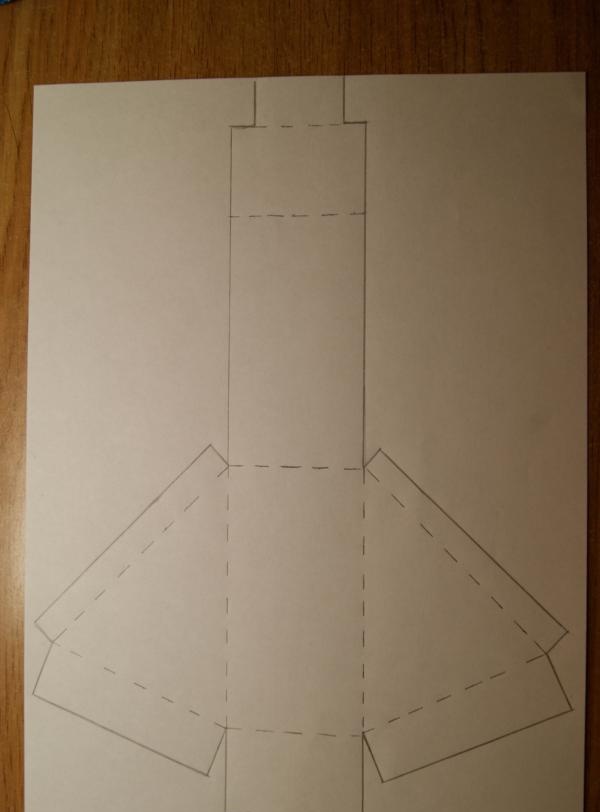
2. The part must be cut out and then bent along the dotted lines.
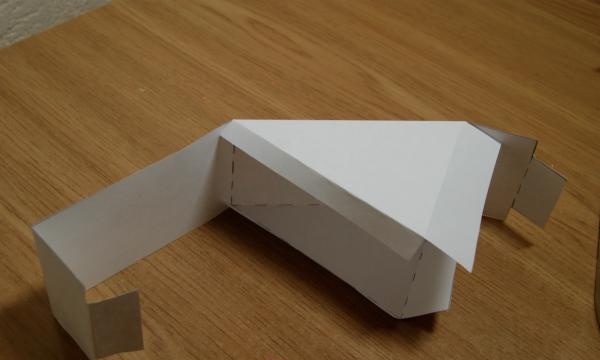
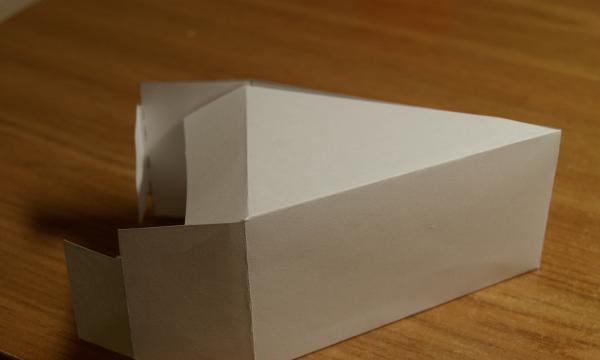
3. A thin layer of glue is applied to the side indents of the workpiece, after which they are connected to the side surface.
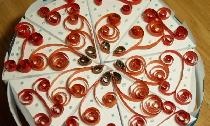
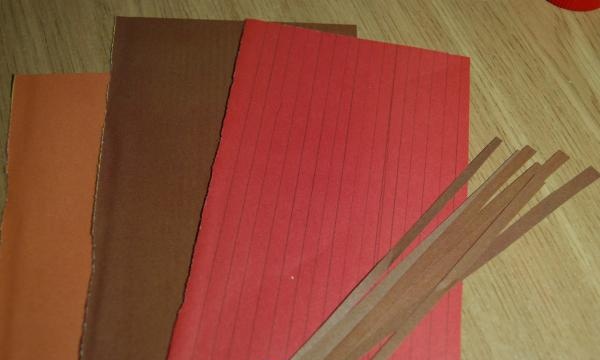
4. On sheets of colored paper (brown, red and orange), you need to make markings: draw parallel lines, the interval between which is five millimeters. In accordance with the drawn lines, you need to cut even strips.
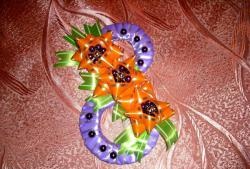
5. Using a wooden stick (you can use a skewer for canapés or a manicure stick), blanks are made from strips of paper.Holding the tip of the strip, you need to carefully wind the strip onto the stick, and then remove the workpiece from the stick without disturbing the integrity of the curl. For one “piece of cake” you should make one curl from brown paper, two curls from orange paper and two curls from red paper.
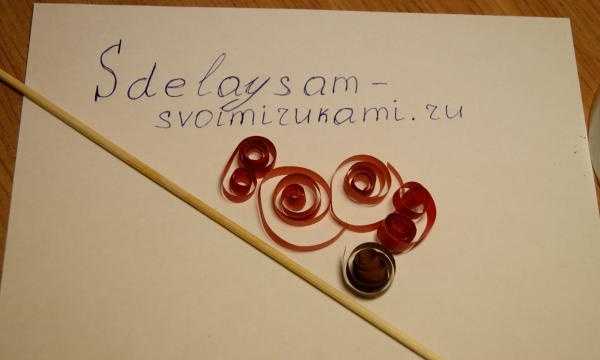
6. The two red curls are glued together.
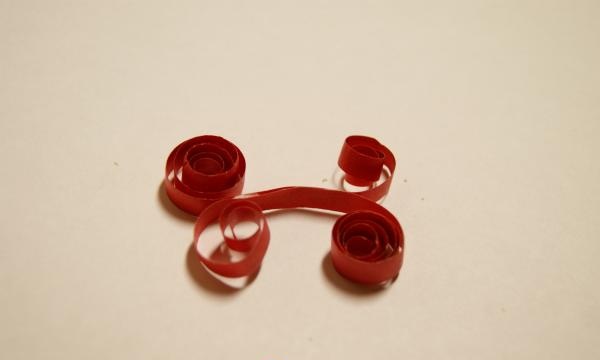
7. A pattern of prepared curls is laid out on the surface of the cardboard piece, which are attached with glue.
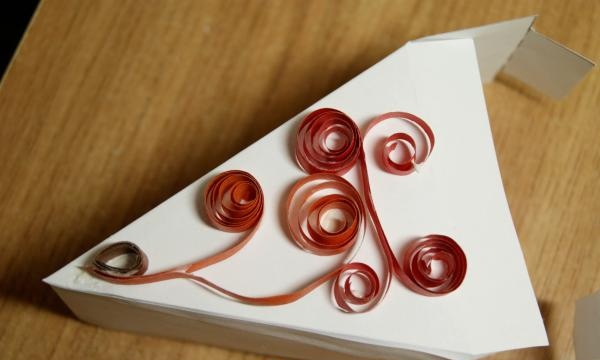
8. Cuts are made at the free ends of the cardboard piece so that the box can be opened and closed.
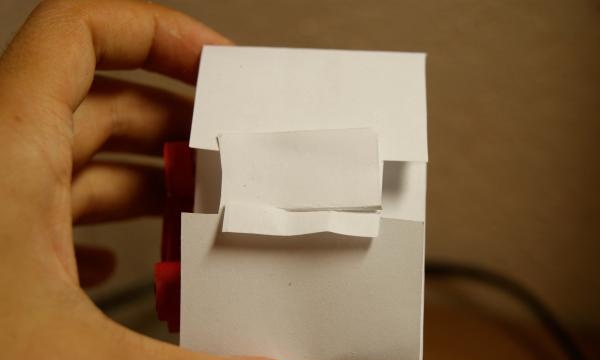
9. In accordance with the scheme described above, you need to make seven more “pieces”.
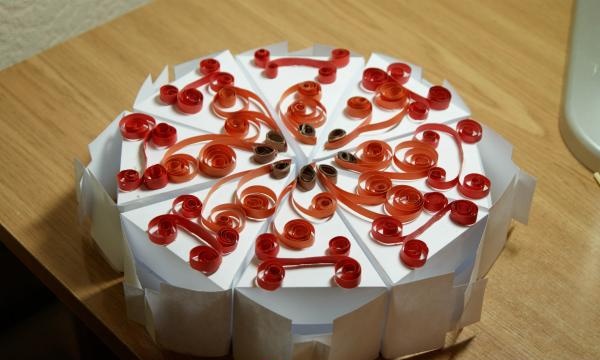
10. Eight finished parts are folded together and tied with a satin ribbon.
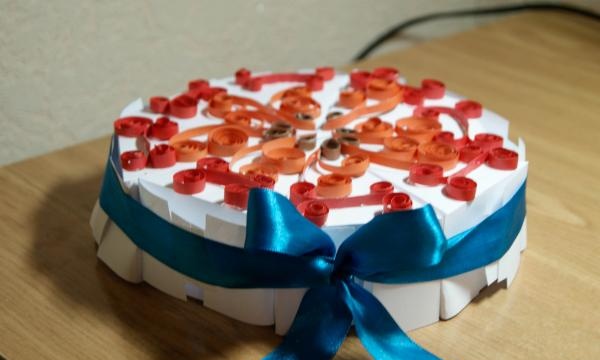
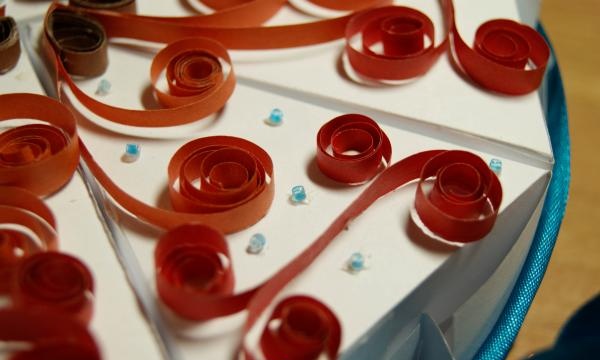
11. The top part of the “cake” can be additionally decorated with beads. To do this, place a few drops of glue on the cardboard, into which the beads should be immersed.
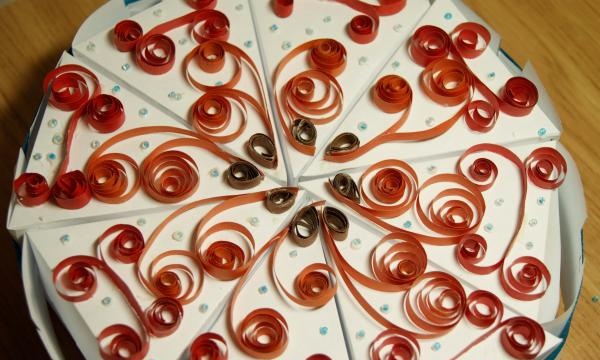
The work is done! In each “piece of cake” you can place a piece of paper with a wish or present.
To make a fake you will need the following materials and tools:
• white cardboard (A4 format);
• double-sided colored paper;
• satin ribbon;
• ruler;
• pencil;
• scissors;
• wooden stick;
• glue;
• beads.

1. On cardboard you must make the drawing shown in the photograph.

2. The part must be cut out and then bent along the dotted lines.

3. A thin layer of glue is applied to the side indents of the workpiece, after which they are connected to the side surface.

4. On sheets of colored paper (brown, red and orange), you need to make markings: draw parallel lines, the interval between which is five millimeters. In accordance with the drawn lines, you need to cut even strips.

5. Using a wooden stick (you can use a skewer for canapés or a manicure stick), blanks are made from strips of paper.Holding the tip of the strip, you need to carefully wind the strip onto the stick, and then remove the workpiece from the stick without disturbing the integrity of the curl. For one “piece of cake” you should make one curl from brown paper, two curls from orange paper and two curls from red paper.

6. The two red curls are glued together.

7. A pattern of prepared curls is laid out on the surface of the cardboard piece, which are attached with glue.

8. Cuts are made at the free ends of the cardboard piece so that the box can be opened and closed.

9. In accordance with the scheme described above, you need to make seven more “pieces”.

10. Eight finished parts are folded together and tied with a satin ribbon.

11. The top part of the “cake” can be additionally decorated with beads. To do this, place a few drops of glue on the cardboard, into which the beads should be immersed.


The work is done! In each “piece of cake” you can place a piece of paper with a wish or present.

Similar master classes
Particularly interesting
Comments (1)

