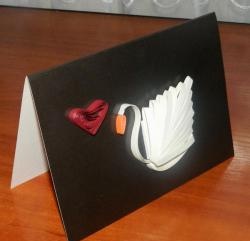
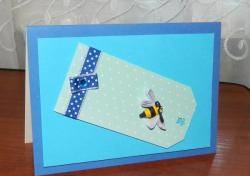
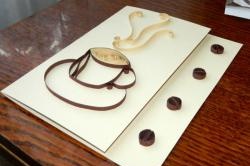
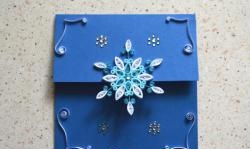
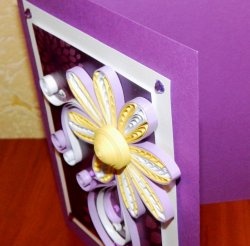
Postcard with quilling elements
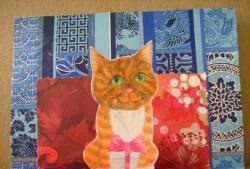
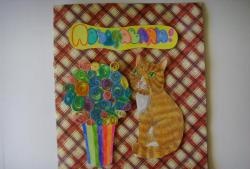
It is customary to give postcards to your closest friends and relatives, as well as to work colleagues. It’s especially nice to give a card made by yourself. A cute postcard with a cat and a bouquet of flowers will be an appropriate gift for almost any occasion, from birthdays to housewarmings.
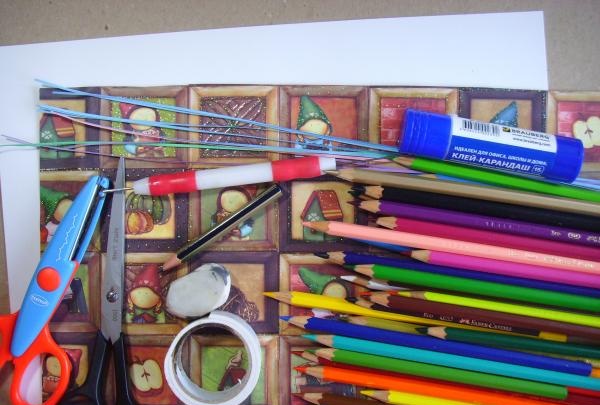
First you need to prepare everything you need:
- colour pencils;
- paper;
- scissors;
- curly scissors;
- eraser;
- a simple pencil;
- paper intended for quilling;
- double-sided tape;
- paper rolling tool;
- double-sided scrapbooking paper;
- glue stick.
Now you can start drawing:
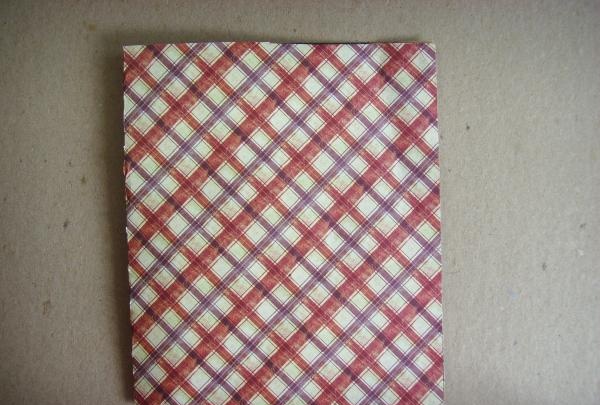
1. Carefully bend a sheet of scrapbooking paper in half;
2. Using a simple pencil on one half of a sheet of paper, draw a sitting cat and a vase of flowers;
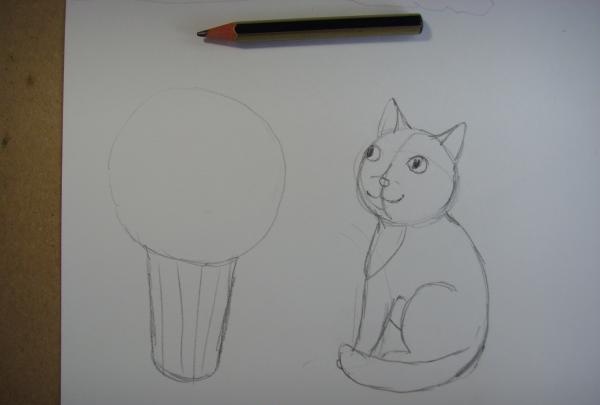
3. Use an eraser to erase the pencil lines and color both drawings with colored pencils;
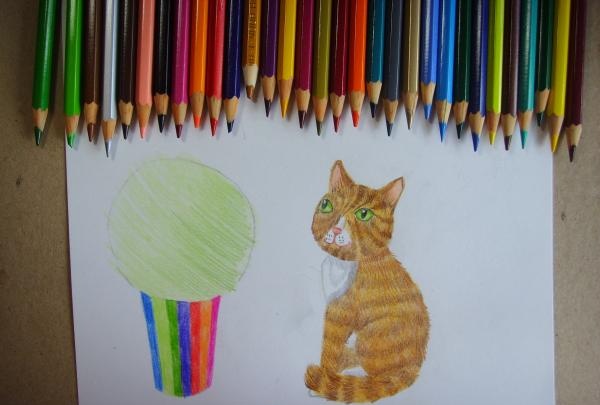
4. Use scissors to cut out the cat and vase;
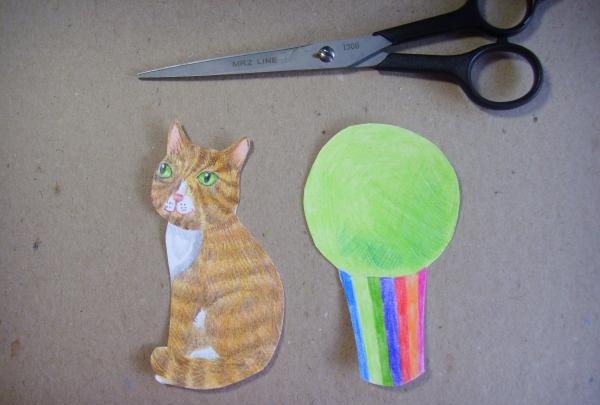
5. Using a rolling tool, make several quilling elements, securing each of them with glue;
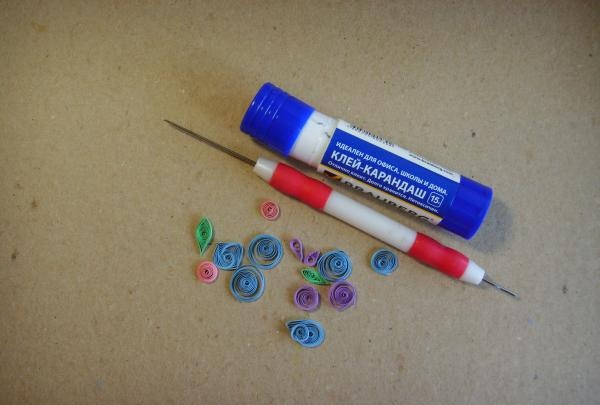
6. Apply glue to the place on one of the drawings where the flowers should be located.Glue quilling elements to this place. If there are not enough elements, make a few more pieces;
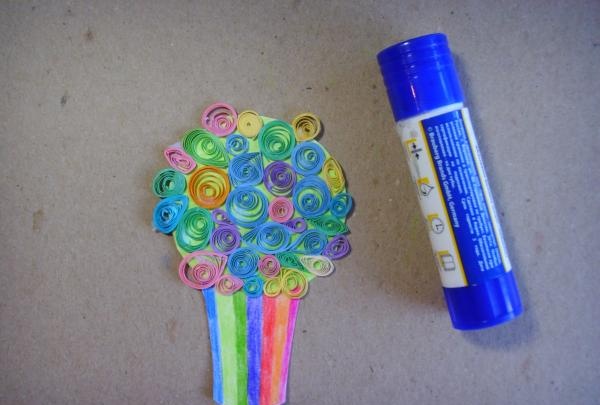
7. Turn both drawings over and stick a piece of double-sided tape on them. After this, glue both designs onto the front side of the card;
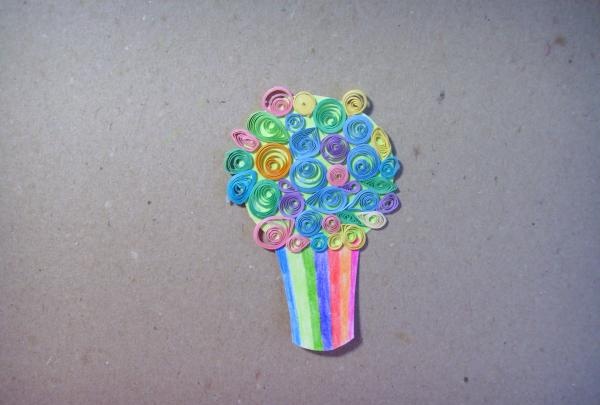
8. On the remaining half of the white sheet of paper, use a simple pencil to mark a congratulatory inscription;
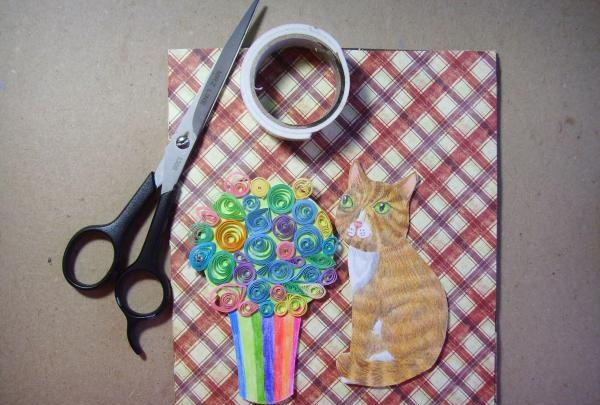
9. Erase the pencil lines and color the letters with colored pencils. Make the background yellow;
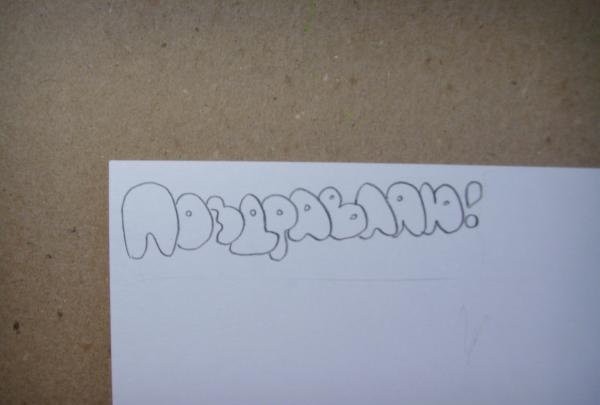
10. Cut out the inscription with scissors;
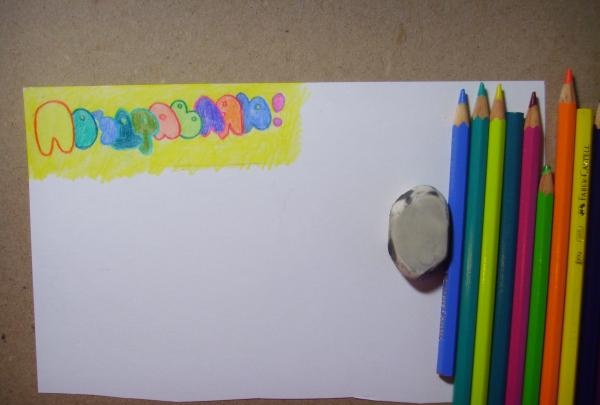
11. Turn the inscription over and stick several pieces of double-sided tape on its reverse side;
12. Glue the inscription above the cat and bouquet;
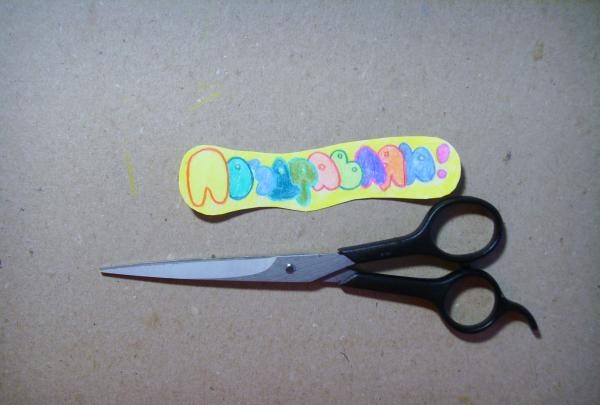
13. Cut a small rectangle from the remaining piece of paper using curly scissors;
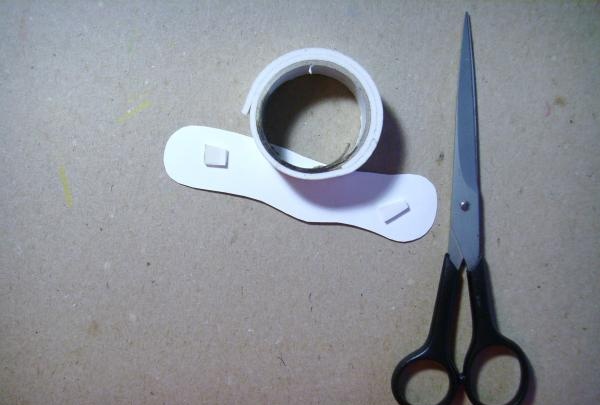
14. Using double-sided tape, stick a rectangle inside the card. You can write your wishes on it.
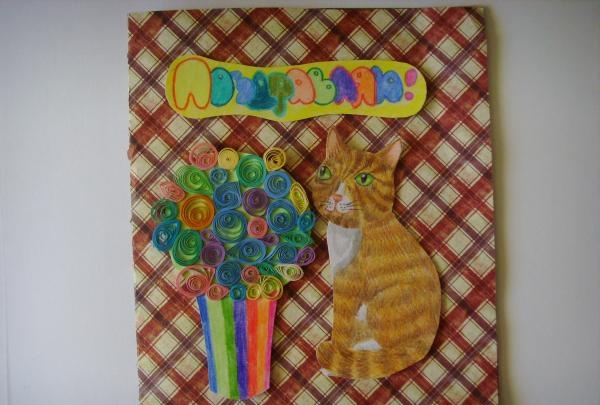
Now the original card with quilling elements is ready! It will be a wonderful gift for almost any holiday. All you have to do is write good wishes inside it.
First you need to prepare everything you need:
- colour pencils;
- paper;
- scissors;
- curly scissors;
- eraser;
- a simple pencil;
- paper intended for quilling;
- double-sided tape;
- paper rolling tool;
- double-sided scrapbooking paper;
- glue stick.

Now you can start drawing:
1. Carefully bend a sheet of scrapbooking paper in half;

2. Using a simple pencil on one half of a sheet of paper, draw a sitting cat and a vase of flowers;

3. Use an eraser to erase the pencil lines and color both drawings with colored pencils;

4. Use scissors to cut out the cat and vase;

5. Using a rolling tool, make several quilling elements, securing each of them with glue;

6. Apply glue to the place on one of the drawings where the flowers should be located.Glue quilling elements to this place. If there are not enough elements, make a few more pieces;

7. Turn both drawings over and stick a piece of double-sided tape on them. After this, glue both designs onto the front side of the card;

8. On the remaining half of the white sheet of paper, use a simple pencil to mark a congratulatory inscription;

9. Erase the pencil lines and color the letters with colored pencils. Make the background yellow;

10. Cut out the inscription with scissors;

11. Turn the inscription over and stick several pieces of double-sided tape on its reverse side;
12. Glue the inscription above the cat and bouquet;

13. Cut a small rectangle from the remaining piece of paper using curly scissors;

14. Using double-sided tape, stick a rectangle inside the card. You can write your wishes on it.

Now the original card with quilling elements is ready! It will be a wonderful gift for almost any holiday. All you have to do is write good wishes inside it.
Similar master classes
Particularly interesting
Comments (0)

