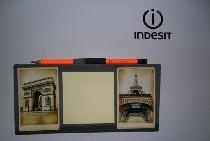
Magnetic note pad
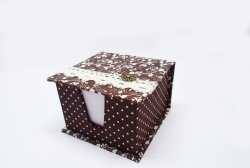
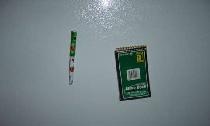
To be able to make a short recording, place a magnetic block on your refrigerator. You can make it in half an hour from materials that can be found in any home.
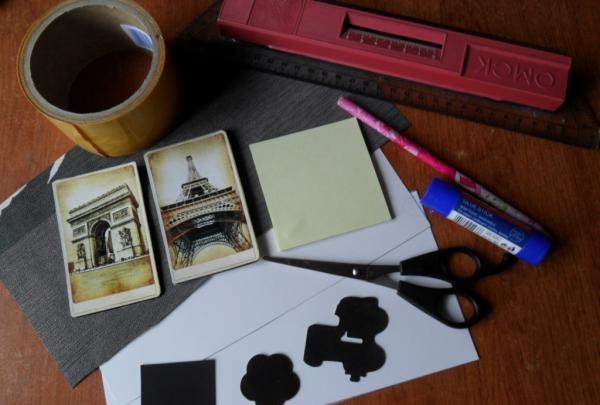
You will need:
1. Ordinary stationery cardboard.
2. A piece of attractive wallpaper or not very thick paper.
3. A beautiful picture or photograph, a magazine clipping.
4. Paper block for notes.
5. One large or several small magnets.
6. Double-sided tape.
7. Scissors, glue stick, ruler, simple pencil.
Stages of work.
1. Cut out a rectangle of the required size from cardboard. A block for notes and pictures will be placed on its surface.
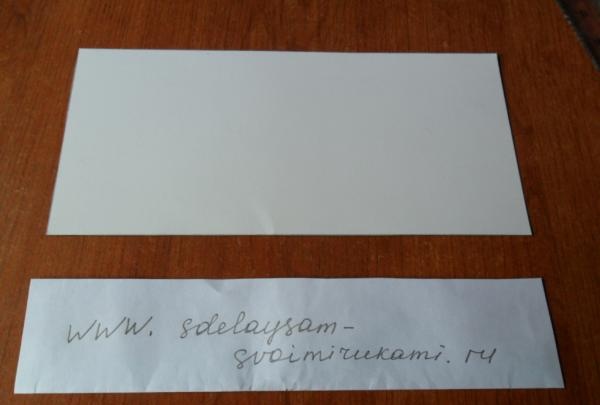
2. Cut out a piece of wallpaper that is larger than our cardboard blank.
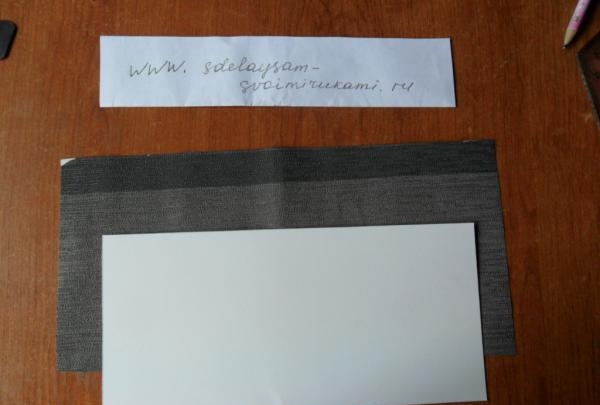
3. Cover the cardboard with wallpaper. Be sure to put the product under the press for at least a few minutes.
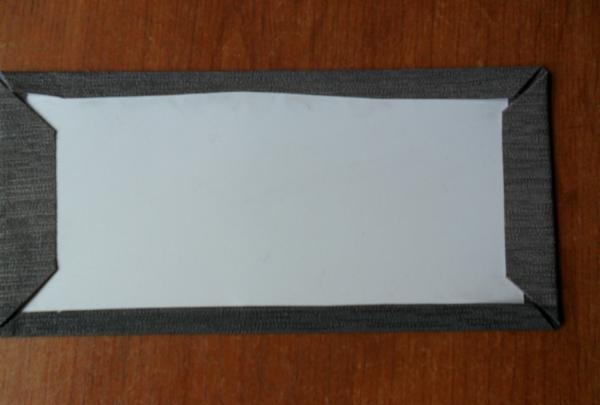
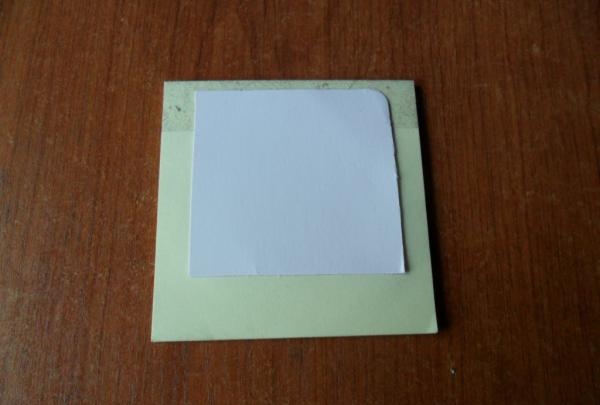
4. While the future product is under the press, glue a small piece of cardboard to the back side of the paper block. This will help the block to stick firmly to the base and will not allow it to come off in a vertical position.
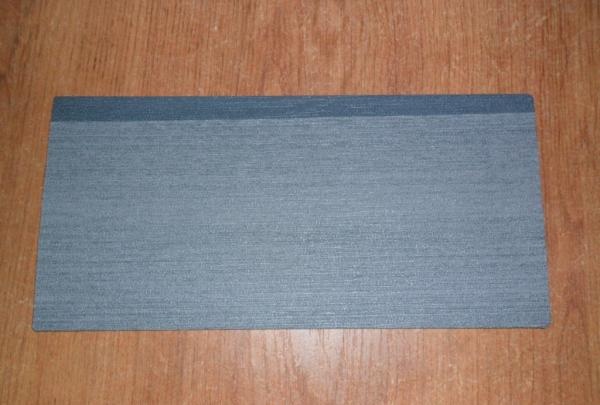
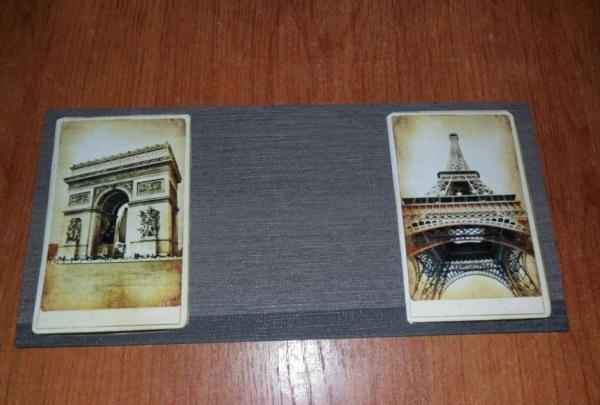
5. We take out the cardboard blank from under the press and decorate it with pictures.Let's put it under the press again.
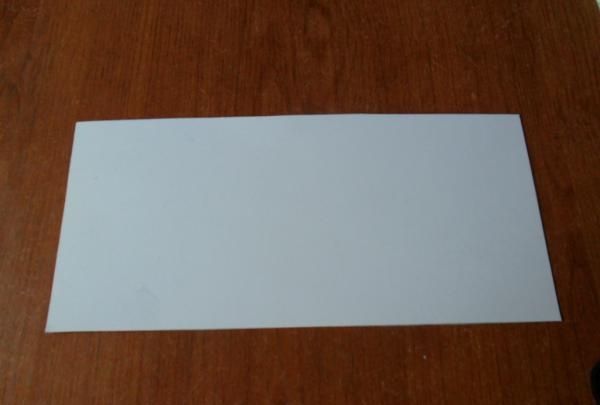
6. At this time, cut out another rectangle from cardboard for the back wall of the product. It should be approximately 2 mm smaller than the base on each side.
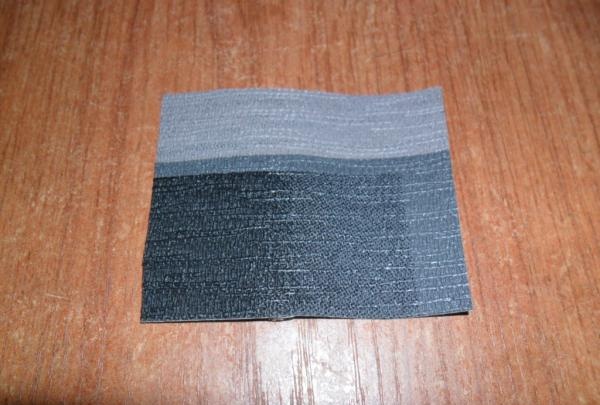
7. Cut out a small rectangle from the wallpaper. Fold it in half and glue it so that you can insert a pencil into it.
8. Glue the pencil holder to the product on the back side.
9. Glue the back wall. We send it under the press.
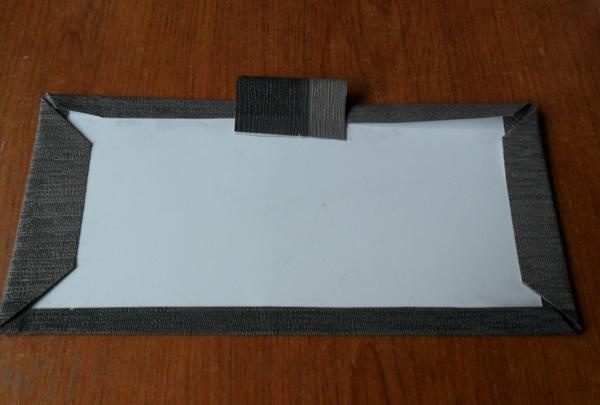
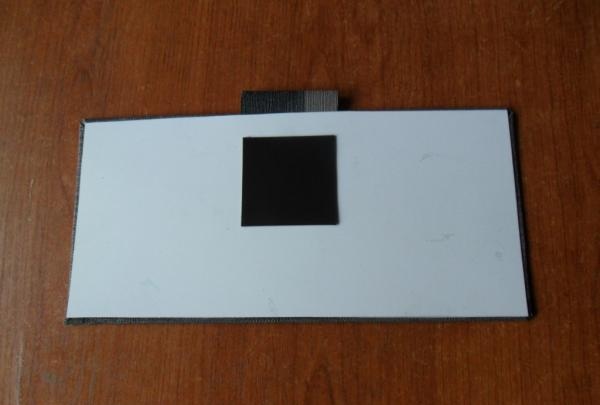
10. Place double-sided tape on the magnet and fix the magnet to the back wall of the product.
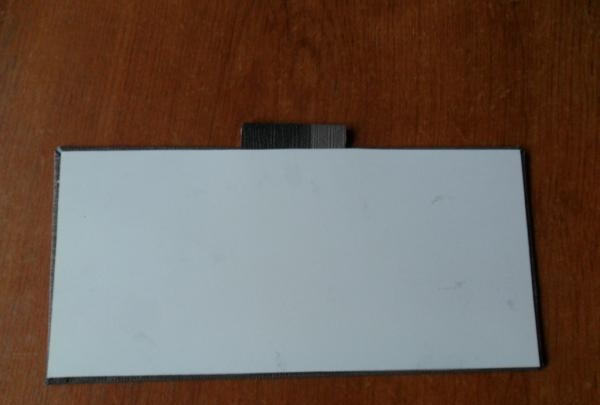
11. Glue a paper block to the front side. We put it under the press for the last time.
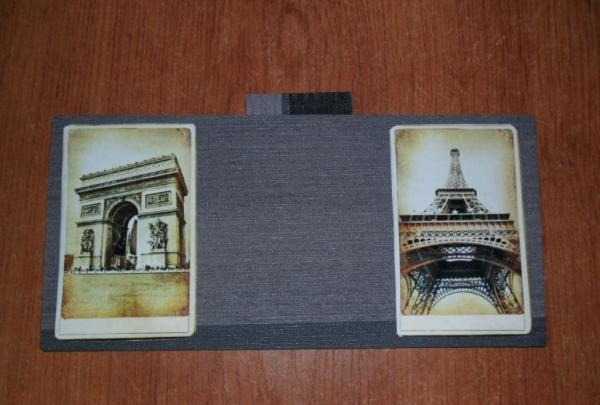
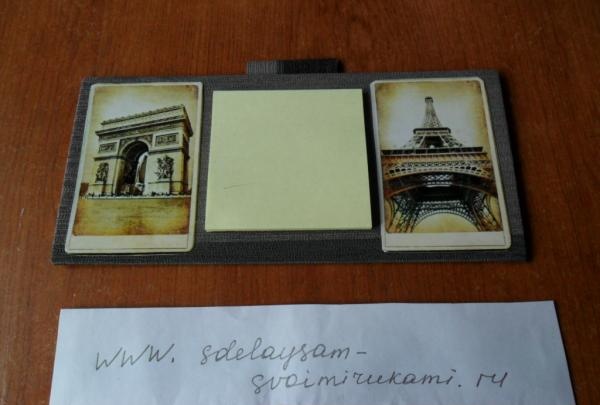
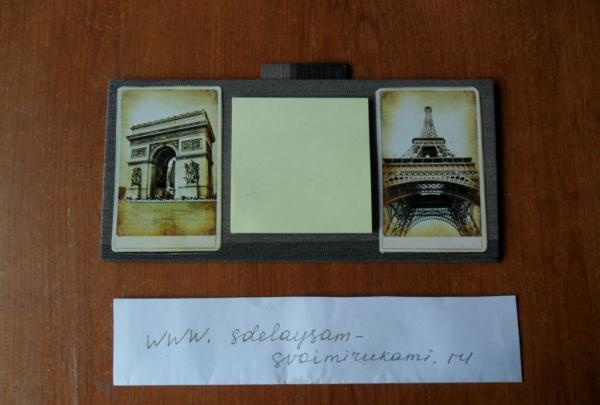
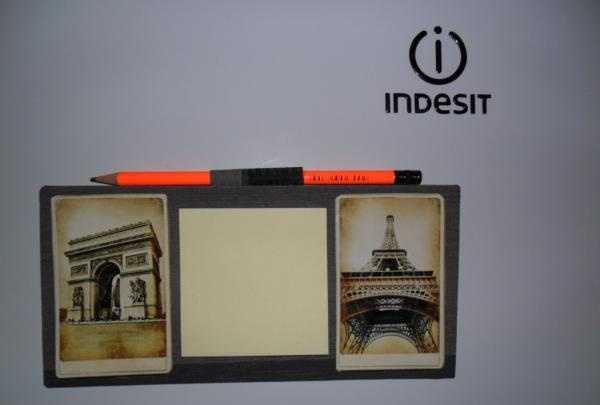
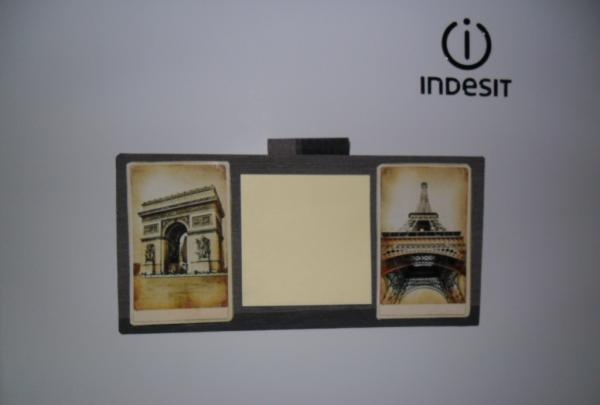
Our magnetic note block is ready. We place a pencil in the holder and attach the block to the refrigerator.
You will need:
1. Ordinary stationery cardboard.
2. A piece of attractive wallpaper or not very thick paper.
3. A beautiful picture or photograph, a magazine clipping.
4. Paper block for notes.
5. One large or several small magnets.
6. Double-sided tape.
7. Scissors, glue stick, ruler, simple pencil.

Stages of work.
1. Cut out a rectangle of the required size from cardboard. A block for notes and pictures will be placed on its surface.

2. Cut out a piece of wallpaper that is larger than our cardboard blank.

3. Cover the cardboard with wallpaper. Be sure to put the product under the press for at least a few minutes.

4. While the future product is under the press, glue a small piece of cardboard to the back side of the paper block. This will help the block to stick firmly to the base and will not allow it to come off in a vertical position.

5. We take out the cardboard blank from under the press and decorate it with pictures.Let's put it under the press again.

6. At this time, cut out another rectangle from cardboard for the back wall of the product. It should be approximately 2 mm smaller than the base on each side.

7. Cut out a small rectangle from the wallpaper. Fold it in half and glue it so that you can insert a pencil into it.

8. Glue the pencil holder to the product on the back side.

9. Glue the back wall. We send it under the press.

10. Place double-sided tape on the magnet and fix the magnet to the back wall of the product.

11. Glue a paper block to the front side. We put it under the press for the last time.

Our magnetic note block is ready. We place a pencil in the holder and attach the block to the refrigerator.


Similar master classes
Particularly interesting
Comments (0)

