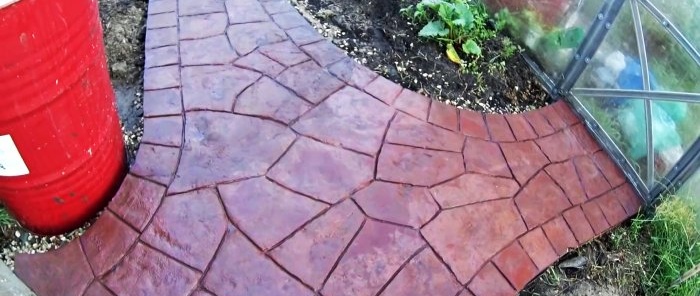
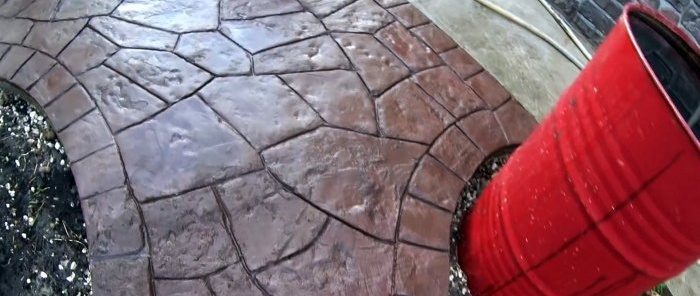
Making a concrete garden path under a stone with your own hands is not difficult
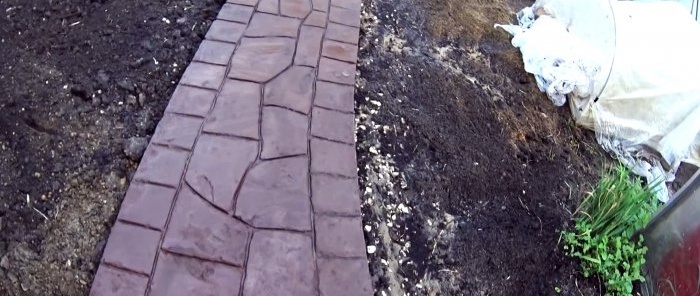
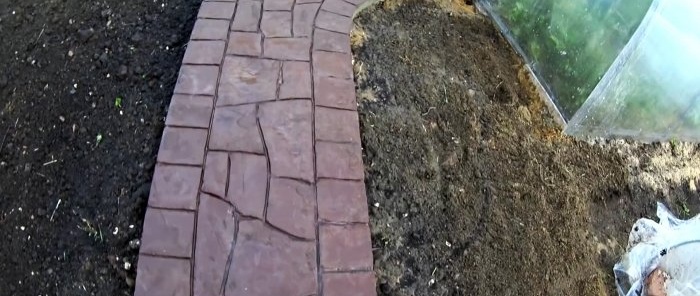
Thanks to the commercial availability of concrete dyes, it has become possible to pour decorative colored garden paths that skillfully imitate stone. They look no worse than paving slabs, but do not have the problem of weeds growing between the seams, and besides, they are cheaper.
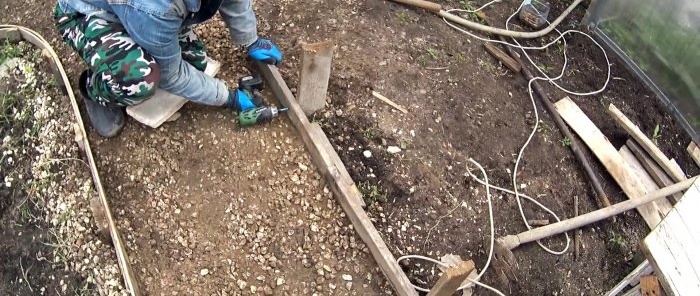
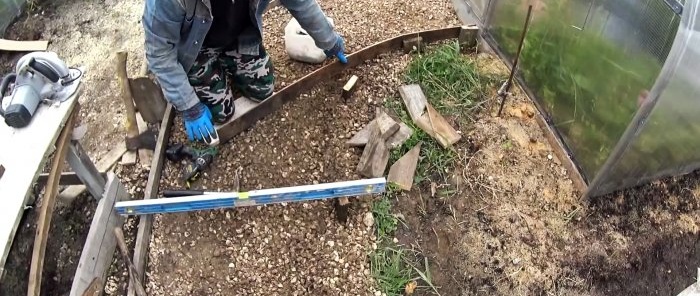
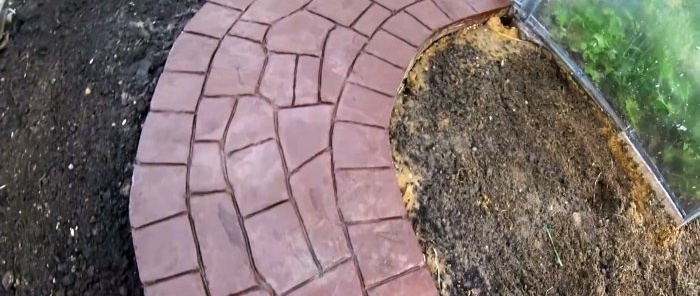
Markings are made on the site for the path, then formwork is installed around the perimeter. To do this, first, pegs are driven in and leveled with each other. It is necessary that the finished path has a pouring height of at least 70 mm. Boards are attached to the pegs from the inside. It is important that their tops coincide with the tops of the pegs. In places of turns, instead of planks, you need to use plywood soaked in water. It bends very well. In order for the plywood to hold, it must be screwed to the stakes with self-tapping screws.
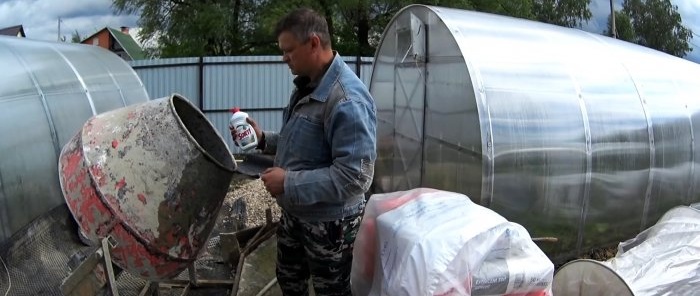
Having finished with the formwork, you need to lay roofing material or film on the bottom of the path. This will prevent water from draining out of the concrete, allowing it to mature better. Next, the concrete is mixed. For a garden path, the M250 or M300 brand is sufficient. Mixing proportions depend on the cement used. You need to follow the recommendations on its packaging. Crushed stone must be used. A plasticizer will also help to reduce water consumption, which will increase the strength of the set concrete. You can use dishwashing detergent instead. It is necessary to fill the path slightly above half the height, then drown the reinforcing mesh into the concrete. After this, the path is protected from the sun and precipitation.
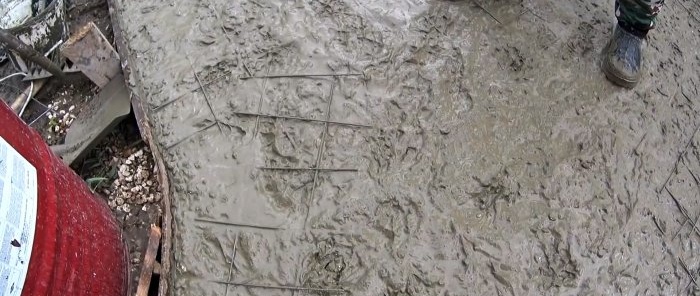
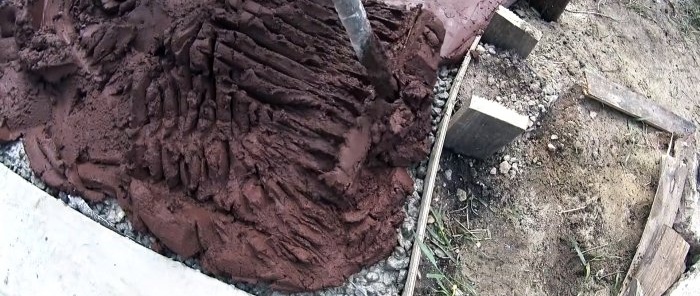
On the second day, when the substrate has set, painted concrete is poured on top without crushed stone. It is important that it contains a small amount of water, so a plasticizer or detergent must be added. Painted concrete is leveled using a rule placed against the formwork.
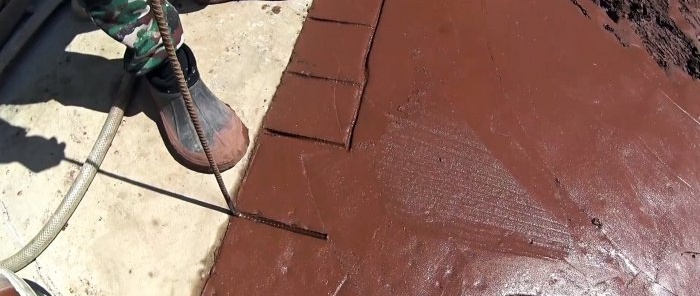
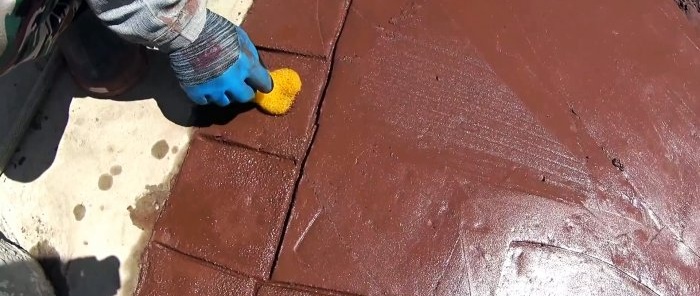
Before the colored concrete has set, it is necessary to draw stones on it. It is convenient to do this with a bent piece of reinforcement. It is embedded in concrete with little vibration. Long lines are drawn simply by drawing reinforcement. Since there is little water in concrete, the seams do not swim.
Having laid out the concrete onto the stones, it is necessary to create roughness on them. A porous sponge is used for this. You just need to lightly press it onto the track from above.
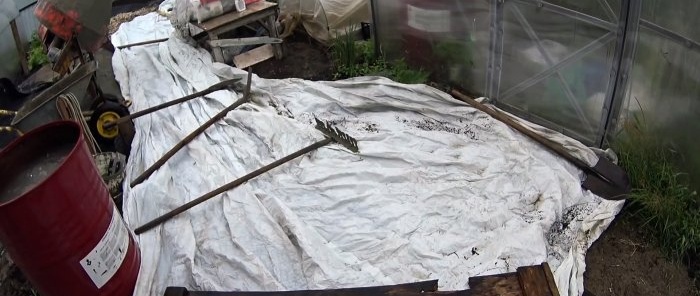
Having finished with the texture, you need to cover the concrete for a couple of days so that the moisture does not evaporate from it and it can set properly.
Materials:
- roofing felt or film;
- cement;
- sand;
- water;
- crushed stone;
- plasticizer or dishwashing detergent;
- reinforcing mesh;
- dye for concrete.
The process of pouring a garden path under stone
Markings are made on the site for the path, then formwork is installed around the perimeter. To do this, first, pegs are driven in and leveled with each other. It is necessary that the finished path has a pouring height of at least 70 mm. Boards are attached to the pegs from the inside. It is important that their tops coincide with the tops of the pegs. In places of turns, instead of planks, you need to use plywood soaked in water. It bends very well. In order for the plywood to hold, it must be screwed to the stakes with self-tapping screws.
Having finished with the formwork, you need to lay roofing material or film on the bottom of the path. This will prevent water from draining out of the concrete, allowing it to mature better. Next, the concrete is mixed. For a garden path, the M250 or M300 brand is sufficient. Mixing proportions depend on the cement used. You need to follow the recommendations on its packaging. Crushed stone must be used. A plasticizer will also help to reduce water consumption, which will increase the strength of the set concrete. You can use dishwashing detergent instead. It is necessary to fill the path slightly above half the height, then drown the reinforcing mesh into the concrete. After this, the path is protected from the sun and precipitation.
On the second day, when the substrate has set, painted concrete is poured on top without crushed stone. It is important that it contains a small amount of water, so a plasticizer or detergent must be added. Painted concrete is leveled using a rule placed against the formwork.
Before the colored concrete has set, it is necessary to draw stones on it. It is convenient to do this with a bent piece of reinforcement. It is embedded in concrete with little vibration. Long lines are drawn simply by drawing reinforcement. Since there is little water in concrete, the seams do not swim.
Having laid out the concrete onto the stones, it is necessary to create roughness on them. A porous sponge is used for this. You just need to lightly press it onto the track from above.
Having finished with the texture, you need to cover the concrete for a couple of days so that the moisture does not evaporate from it and it can set properly.
Watch the video
Similar master classes

How to make imitation flat cobblestones from cement

Do-it-yourself concrete tabletop is easy
How to lay stamped concrete so that it is indistinguishable from tiles

DIY concrete pad

How to make a magnificent garden figure from ordinary concrete

A cheap product will 100% get rid of grass between the tiles
Particularly interesting

How to install a socket if there are short wires left

How to eliminate gaps between the chimney and slate

How to mix an ultra-reliable solution for the oven that does not give

There will be no more cracks: What to add to concrete to make it

Never buy ball valves without checking with me

New technology for floor insulation with penoplex
Comments (0)

