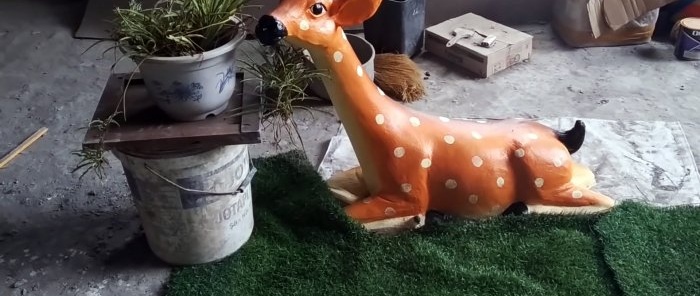
How to make a magnificent garden figure from ordinary concrete
Having successful childhood experience in modeling from plasticine, you can try yourself in making simple concrete sculptures to decorate the garden. You don't have to be Michelangelo to do this, although a certain amount of talent is still required. You can first practice on clay, and once you have the skills, move on to serious concrete projects.
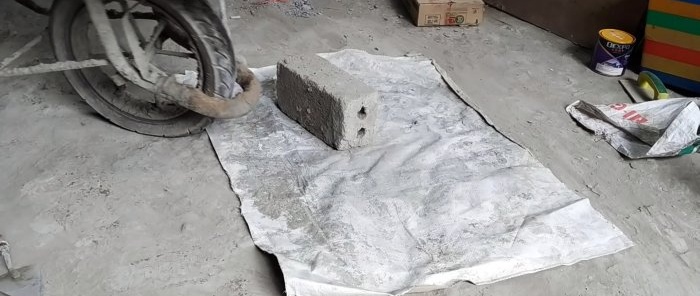
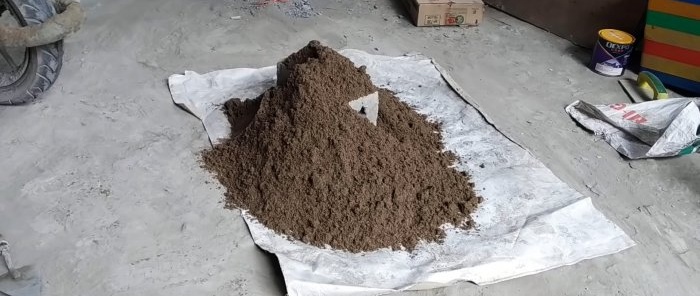
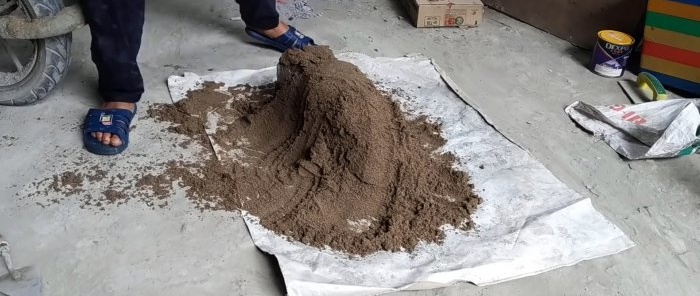
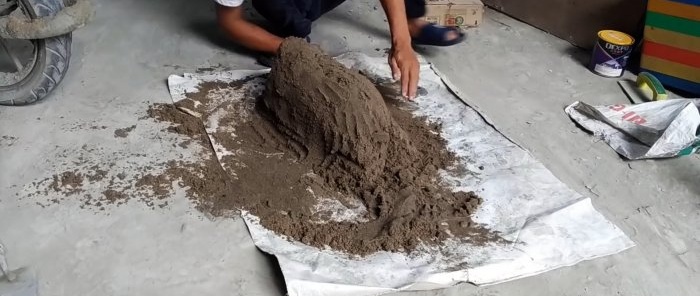
In order for a concrete garden figure to be liftable, it must be hollow inside. To do this, a brick or cinder block is laid on the modeling substrate and covered with wet sand.
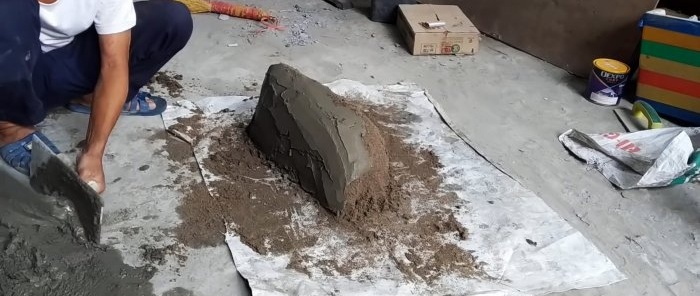
Concrete is placed on top of the sand pile. It is prepared from 1 part cement and 3 parts sand. The concrete should be thick, so add minimal water. Be sure to fill in the plasticizer according to the instructions; instead, you can use PVA glue.
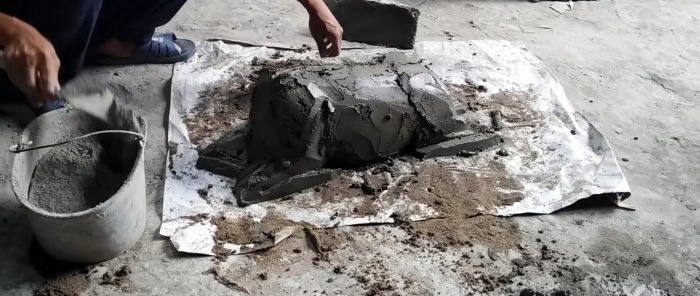
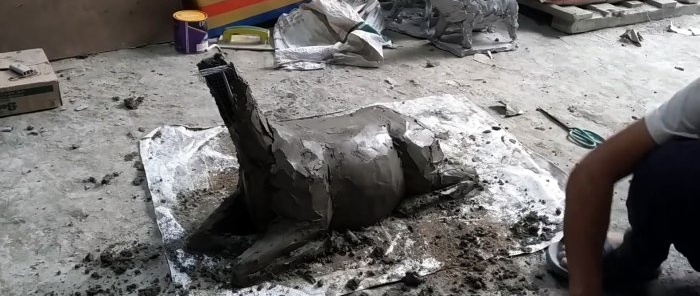
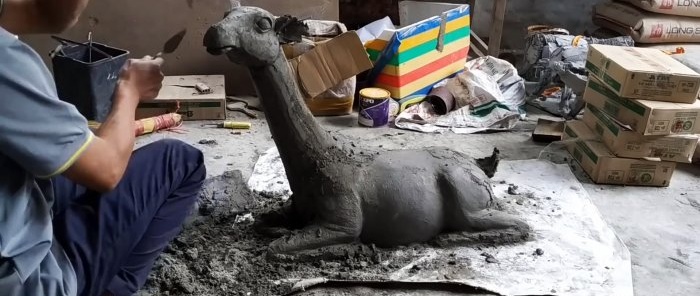
The concrete is spread over the sand with a small trowel. You need to form the body of a lying deer.Next, the legs are bent and a tube of plaster mesh is installed to form the neck. A coating of pure cement should be applied to the loaded parts of the sculpture.
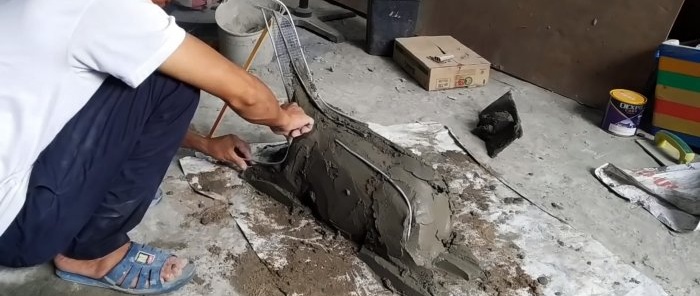
The legs, neck, transition to the head and back of the deer are reinforced with thin bent rods. The top of the reinforcement is covered with concrete and sprinkled with cement. A plaster mesh is laid and recessed on the sides.
Then a tail is formed around the reinforcing insert.
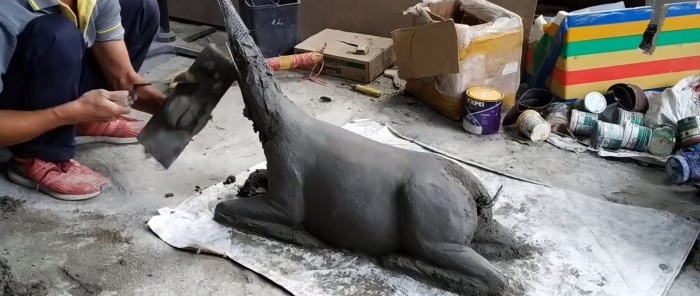
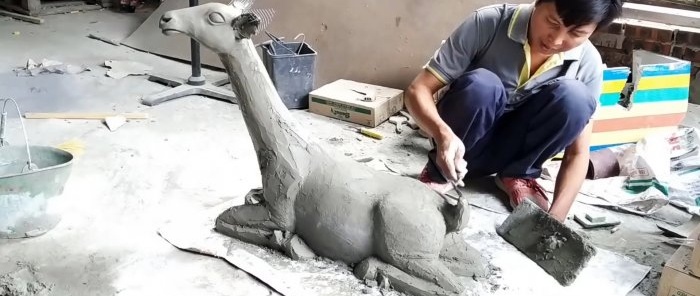
The solution is applied in thin layers evenly over all surfaces of the sculpture so that its individual parts do not have time to dry out, as then adhesion will be worse. The process is lengthy, so concrete is prepared in small portions and not at once.
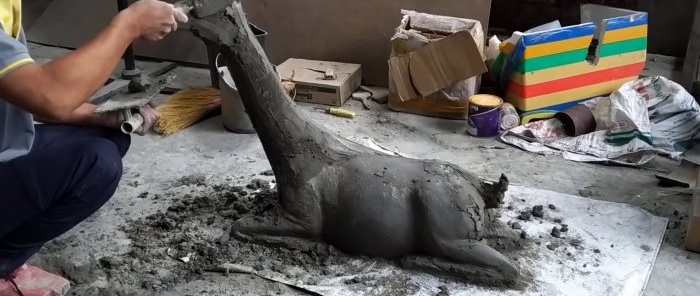
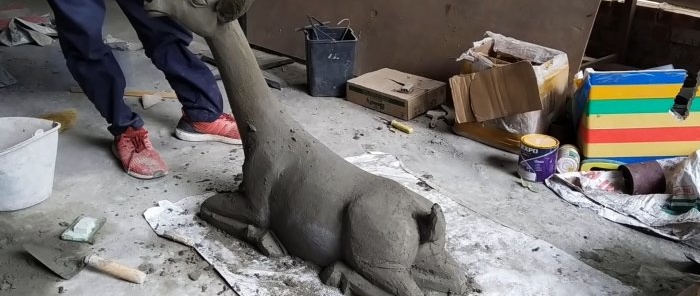
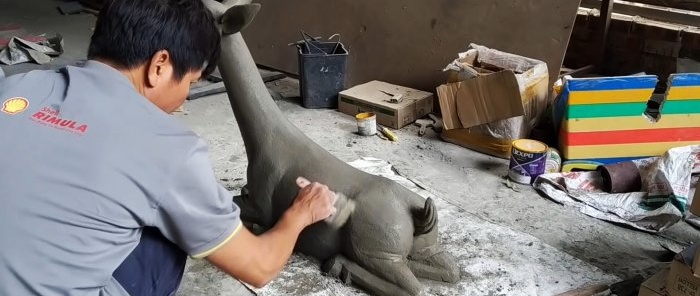
Finished surfaces need to be smoothed. It is convenient to do this by hand using a sanding mesh for plaster. Once the body of the deer is ready, you can move on to the neck and head. This should not be done earlier, so that the sculpture is not overweight and it does not topple. Concrete is also applied in thin layers and sprinkled with cement.
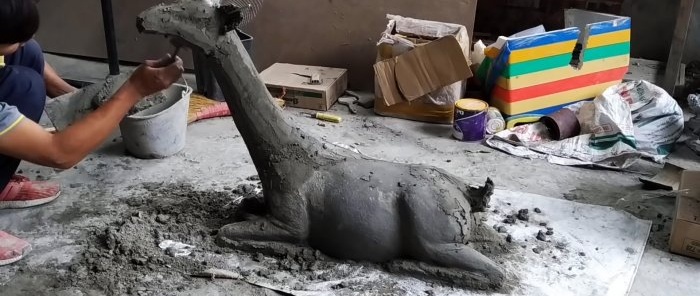
Having received the rough contours of the head, you need to insert reinforcement and mesh to reinforce the ears. To work with the head, a sculptural stack is used; it can simply be cut from a stick.
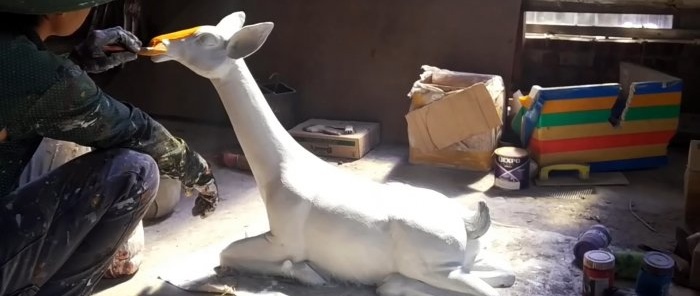
Having formed the ears, nostrils and eyes, you need to let the sculpture dry. It is then covered with a white base.
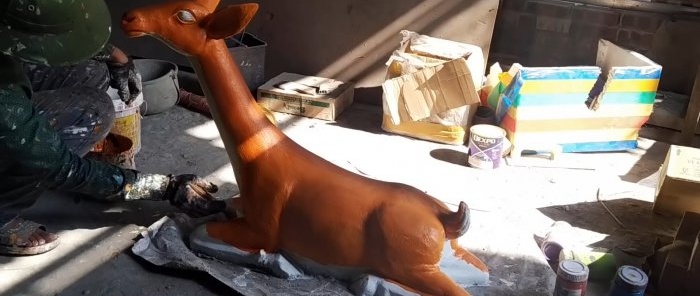
After it sets, brown paint is applied to the back, head and legs.
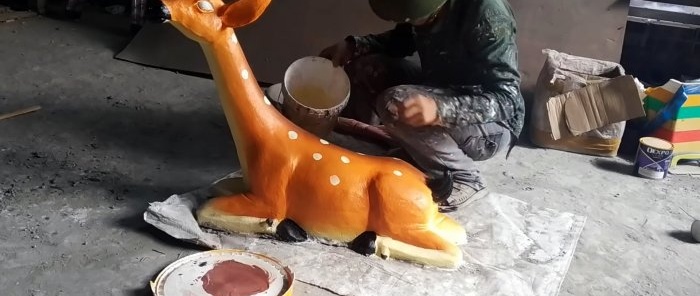
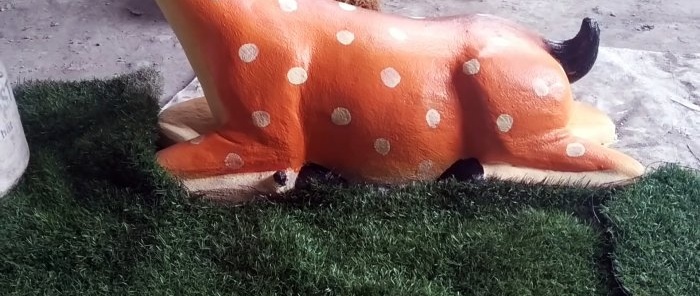
The abdomen and bottom of the legs should remain light. Then the hooves, nose, eyes and tail are painted black. White specks are drawn on the back.
Materials:
- sand;
- cement;
- plasticizer or PVA;
- reinforcement 4-6 mm;
- plaster mesh;
- paint for concrete.
The process of sculpting a garden figurine using the example of a fawn
In order for a concrete garden figure to be liftable, it must be hollow inside. To do this, a brick or cinder block is laid on the modeling substrate and covered with wet sand.
Concrete is placed on top of the sand pile. It is prepared from 1 part cement and 3 parts sand. The concrete should be thick, so add minimal water. Be sure to fill in the plasticizer according to the instructions; instead, you can use PVA glue.
The concrete is spread over the sand with a small trowel. You need to form the body of a lying deer.Next, the legs are bent and a tube of plaster mesh is installed to form the neck. A coating of pure cement should be applied to the loaded parts of the sculpture.
The legs, neck, transition to the head and back of the deer are reinforced with thin bent rods. The top of the reinforcement is covered with concrete and sprinkled with cement. A plaster mesh is laid and recessed on the sides.
Then a tail is formed around the reinforcing insert.
The solution is applied in thin layers evenly over all surfaces of the sculpture so that its individual parts do not have time to dry out, as then adhesion will be worse. The process is lengthy, so concrete is prepared in small portions and not at once.
Finished surfaces need to be smoothed. It is convenient to do this by hand using a sanding mesh for plaster. Once the body of the deer is ready, you can move on to the neck and head. This should not be done earlier, so that the sculpture is not overweight and it does not topple. Concrete is also applied in thin layers and sprinkled with cement.
Having received the rough contours of the head, you need to insert reinforcement and mesh to reinforce the ears. To work with the head, a sculptural stack is used; it can simply be cut from a stick.
Having formed the ears, nostrils and eyes, you need to let the sculpture dry. It is then covered with a white base.
After it sets, brown paint is applied to the back, head and legs.
The abdomen and bottom of the legs should remain light. Then the hooves, nose, eyes and tail are painted black. White specks are drawn on the back.
Watch the video
Similar master classes
Concrete baskets
You won't believe how cool things can be made from bottles and

There will be no more cracks: What to add to concrete to make it
How to make reinforced concrete pillars for garden and household needs

How to make imitation flat cobblestones from cement

Do-it-yourself concrete tabletop is easy
Particularly interesting
Comments (0)

