Dried bream: simple and tasty
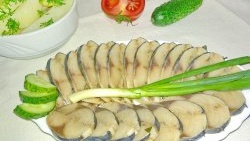
Dried fish is a product intended not only for a beer feast, but it is also suitable for dinner and goes well with mashed potatoes, peas or beans, as well as simple fried potatoes. Dried bream, roach, pike or even crucian carp prepared according to this recipe can replace the usual herring or lightly salted mackerel, as well as diversify the menu and surprise guests. This dish will interest lovers of fish in general and, in particular, anything salty.
Ingredients:
- This time I have about five kilograms of fresh bream;
- no more than one kilogram of rock salt;
- up to one meter of silk thread or other strong twine for tying the carcass.
The total preparation time is 10-15 days. Storage of prepared dried bream is allowed in the freezer for up to 10 months.
How to dry bream correctly
Step 1.
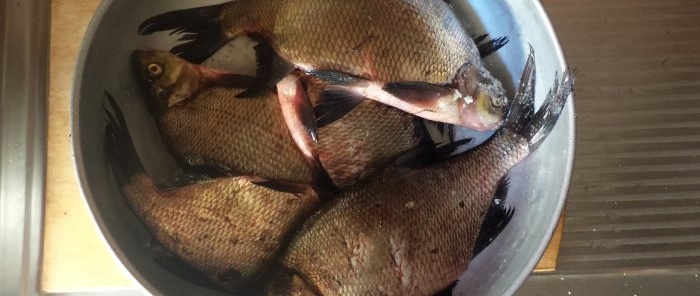
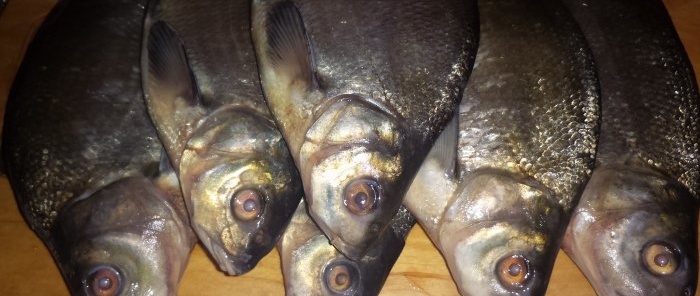
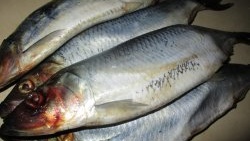
I wash fresh fish under running water as a sanitary measure. I don’t gut bream up to the elbow size, because they are already well salted and dry easily, retaining their natural fat and juiciness inside. Large specimens of around three kilograms or more need gutting.Otherwise, we get long and poor-quality drying.
Step 2.
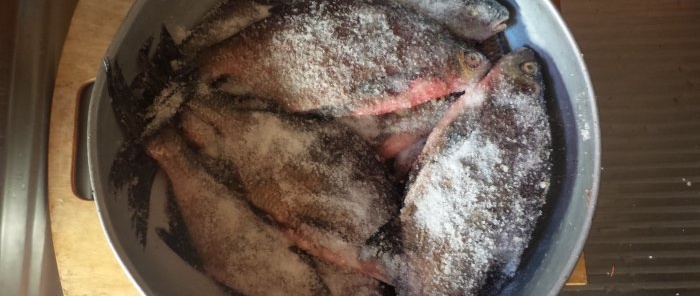
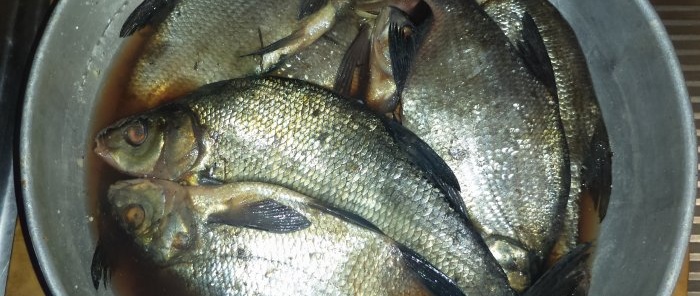
I generously sprinkle each carcass with salt.
Important! The gills of river fish, which filter all the water and retain microbes, are subject to special careful treatment with salt. Therefore, I definitely pour a teaspoon of salt into the gills separately, without sparing them, to disinfect them and prevent infection. I put a little salt on the bottom of a container of suitable size and lay out the prepared fish.Step 3.
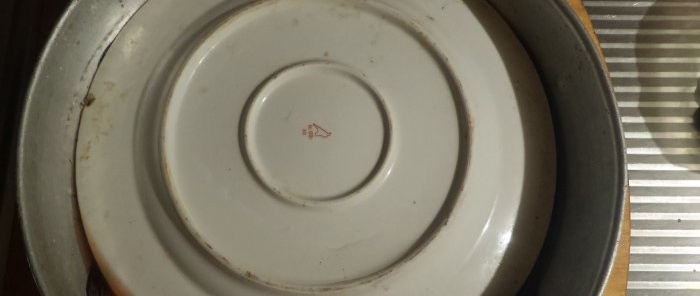
I put the bream sprinkled with salt under pressure, covering the bowl with a large dish, weighing it down with weights or bottles of water. At this stage, I leave the fish to salt in a cool place for three days.
Step 4.
On the third day, I check what juice the bream have released and, if necessary, move the lower carcasses to the top so that the upper ones are also immersed in brine and salted evenly.
Step 5.
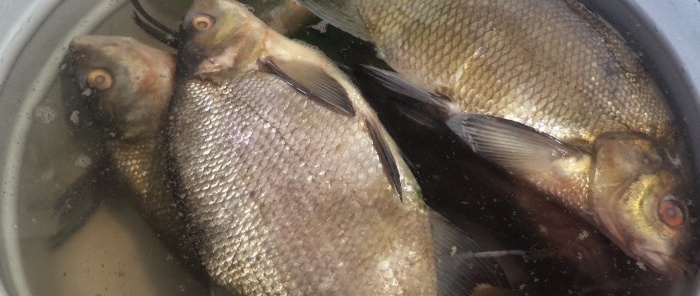
After another 2 days of complete aging in the liquid, that is, on the fifth day after the start of salting, I take out the fish and soak it for 24 hours. To do this, fill the container with clean, cold tap water and drain it several times, stirring the contents. The main thing is that the fish does not become acidic in the water and the meat does not spread. In general, this will not happen with large carcasses. The important thing here is to rinse off all excess salt. I leave it in cold water for about three hours, changing the water throughout the day as much as possible. Sometimes I leave it on from night until morning.
Step 6.
At this stage, you should make sure that the fish has been soaked well enough. A proven method will help here. I taste the inside of the fin at the base of the head on my tongue; if the meat is more fresh than salty, then it’s time to move on to the next step. The fact is that drying the product will cause the concentration of salt to taste to increase, which means I make the fish very bland.Even a completely bland taste is allowed. If raw meat is already similar in salinity to ready-made dried fish, soaking should be continued.
Step 7
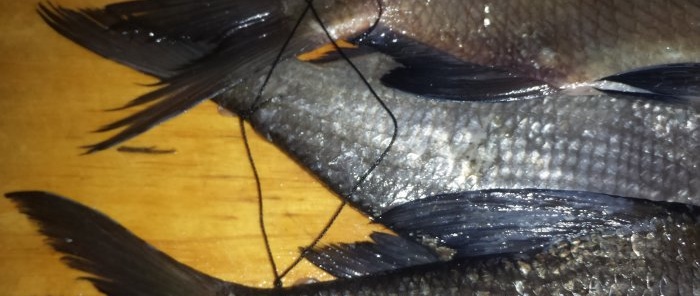
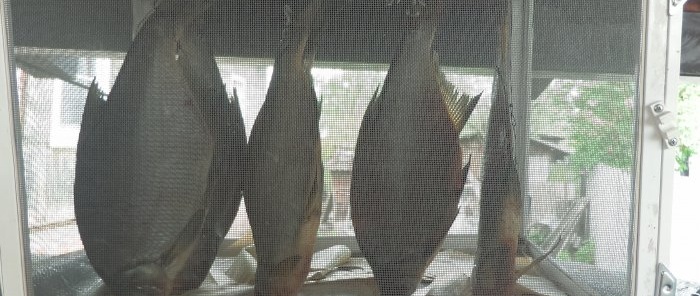
The process of stringing bream goes quite quickly with experience. It is important that the thread is strong, and I make several loops. I pierce the carcass at the tail with a needle, then it will hang upside down, unfit for consumption and capable of collecting all the bitter and harmful liquids. Depending on the amount of fish, I distribute it into several strands.
Important! Do not string any fish to dry by the eye holes, as this is not correct and may negatively affect the taste of the finished dish.Step 8
I dry the fish for at least five days. A place for drying bream must be selected in advance. This could be a balcony, garage or garden. It is important to prevent insects and other animals from accessing the carcasses, but also to ensure good ventilation and temperature conditions that can bring the product to condition. I have a special plastic box with hooks for drying. I place it under a canopy and in a draft. Some craftsmen use electric fans, dry them in special household drying cabinets, or simply wrap the fagots in several layers of gauze. Whoever likes it. Here I act based on the surrounding weather conditions and technical capabilities.
Step 9
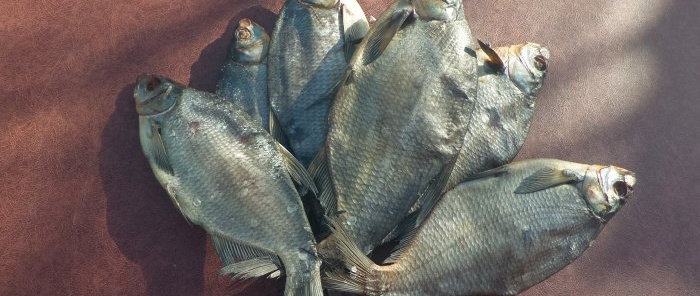
At this stage, you can already try the dried bream; they have dried out enough, but they have not lost any fat. At the same time, I often continue the freeze drying process. I keep the bream in the freezer for five days. This helps to remove some of the moisture from the fish, kills possible bad microorganisms, brings the caviar to the desired taste if the bream came with caviar, and stops drying out.
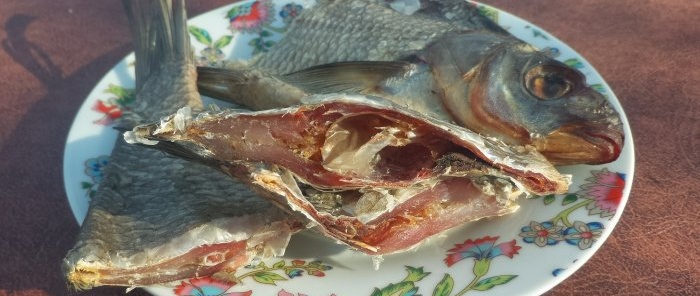
As a result, in just 15 days, if the drying is of high quality, you get bream worthy of any store sample.
In our family, such bream are given as valuable gifts to distant relatives or friends, and they are eaten with pleasure themselves.

