5 accessories that can be made for a drill and expand its capabilities
If your workshop equipment is limited to just a drill and other basic power tools, you can collect a lot of accessories that will allow you to do much more with it than just drill. Let's look at how to make 5 such structures that will partially replace various machines and tools.
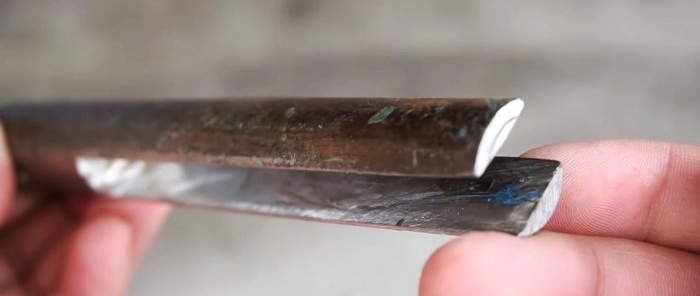
Milling cutter for making cuttings
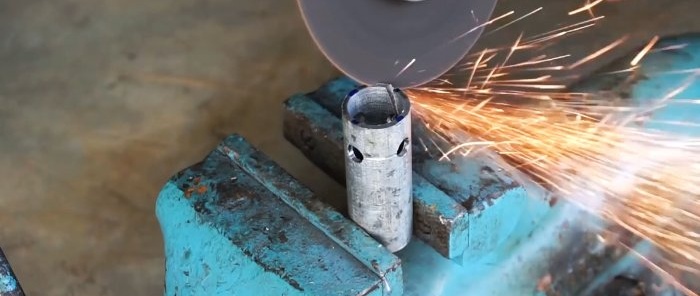
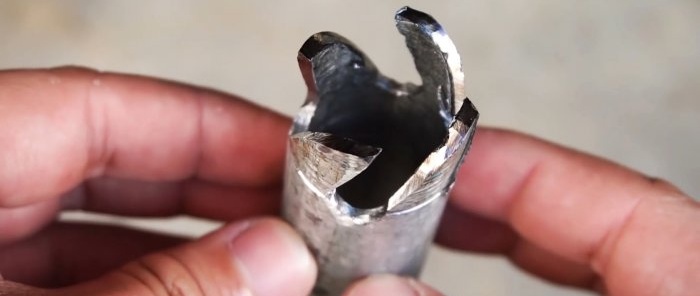
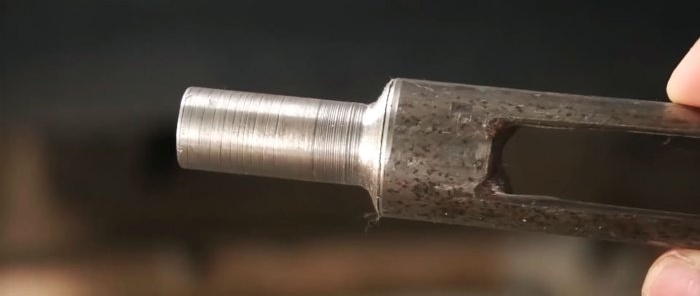
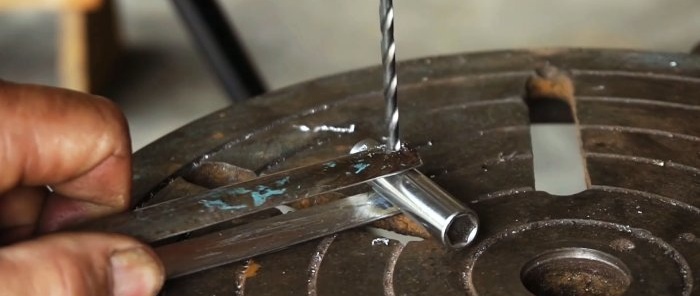
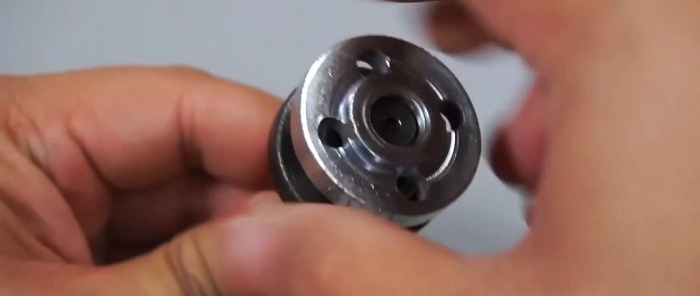
You need to take a piece of pipe 7-10 cm with an internal diameter equal to the desired thickness of the cutting. 4 holes are drilled into it on the side at the same level. Then 4 oblique teeth are cut in the direction of them.
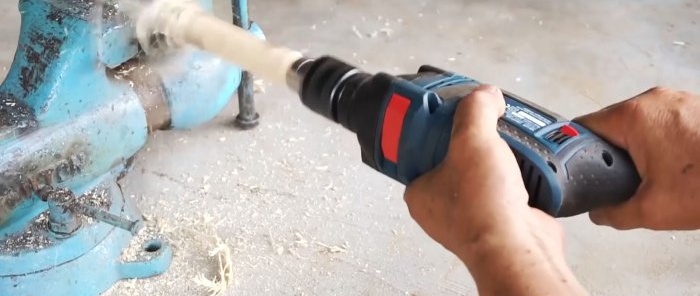
The cutter is inserted into a vice. Then a block or stick is taken and clamped into the drill chuck. After this, due to its revolutions, the workpiece is driven through the cutter. Removing excess wood with teeth will result in a rough cutting. You can bring it to perfection by sanding it with sandpaper.
Device for cleaning rusty external threads
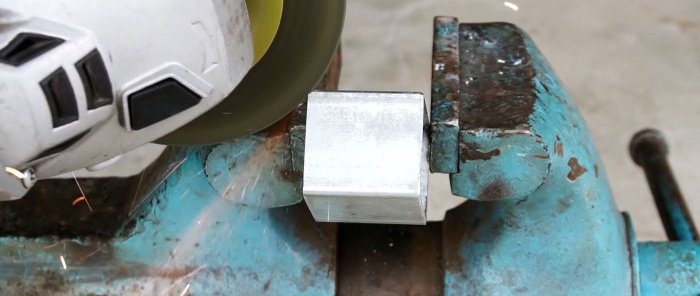
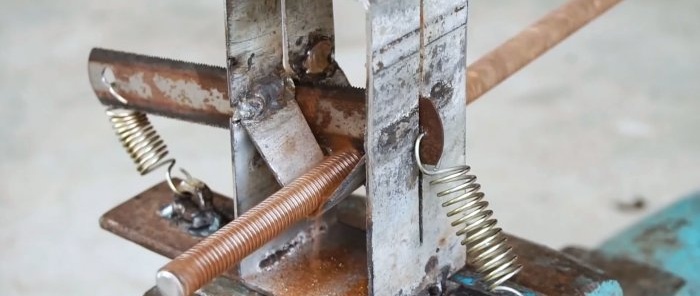
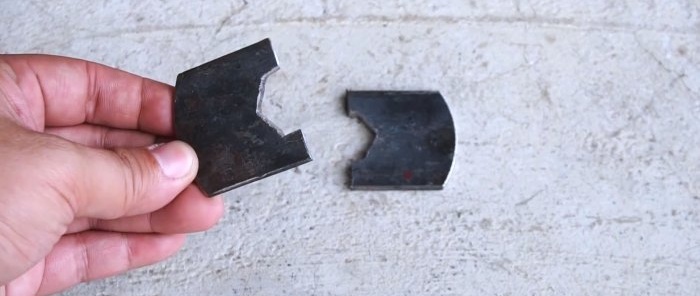
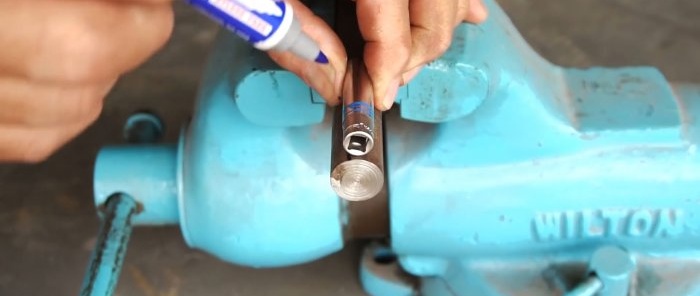
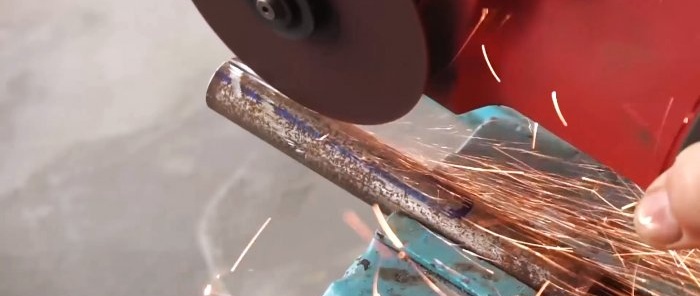
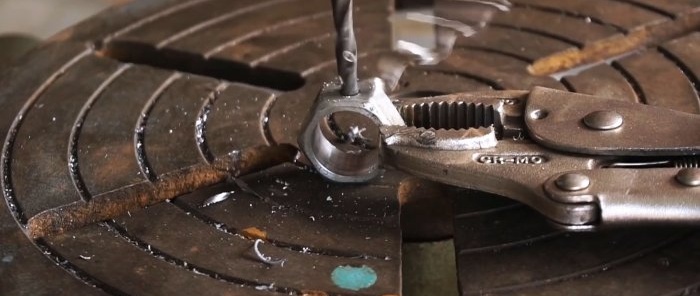
A 20-30 mm piece of square profile pipe is cut diagonally.
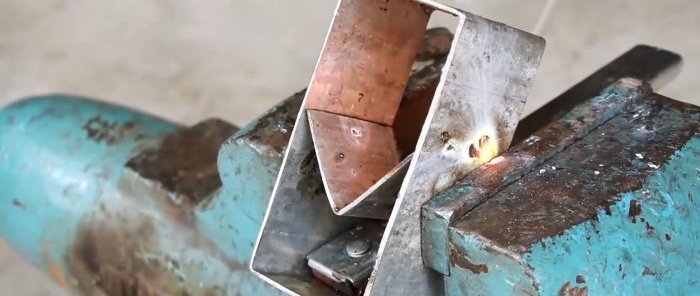
The resulting corner is welded inside a piece of a large rectangular pipe.
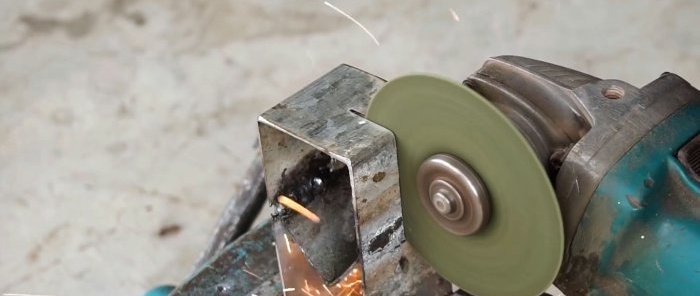
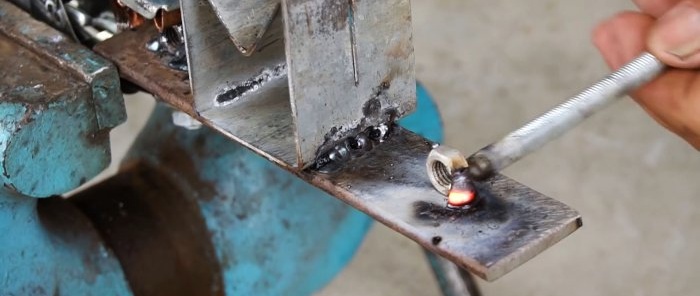
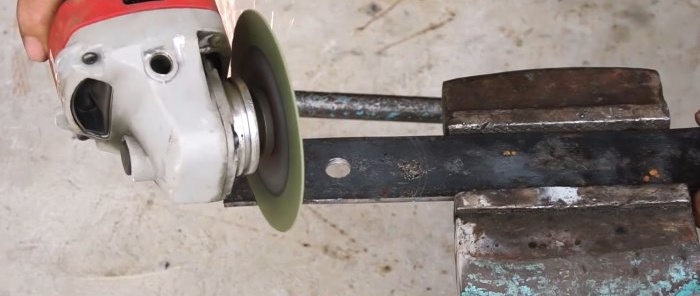
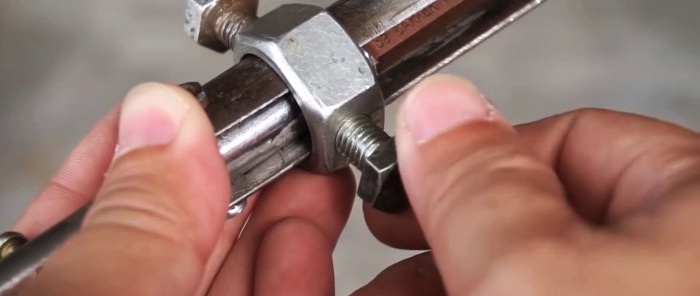
The workpiece is partially dissolved in half lengthwise. It is then welded onto a piece of strip. Nuts are welded on the sides of it.
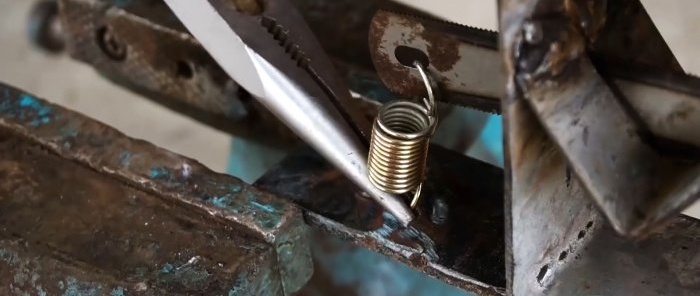
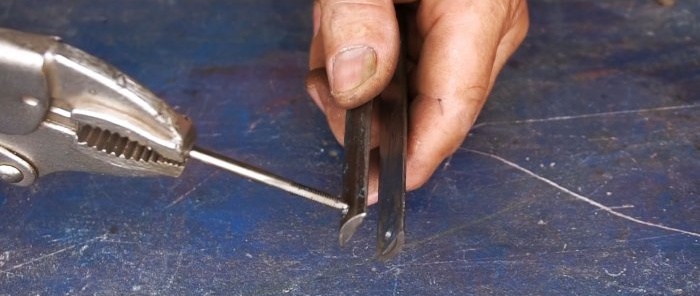
After this, a piece of a metal saw blade with holes along the edges is inserted into the cut of the workpiece. It is attracted to the welded nuts by springs.
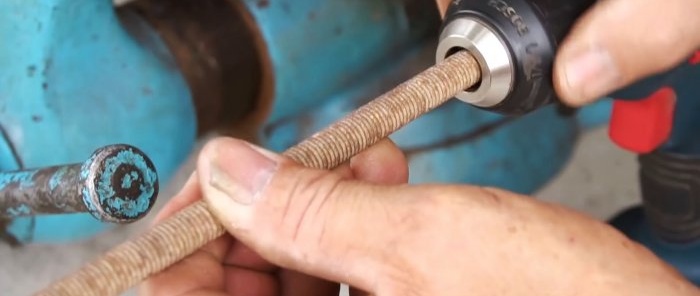
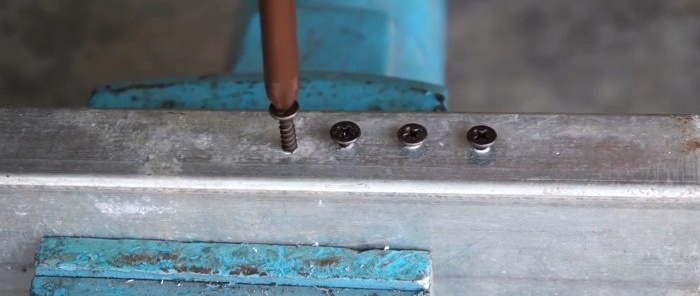
Now by inserting a rusty pin between the corner and the blade and rotating it with a screwdriver, you can clean the threads from corrosion.
Performance water pump
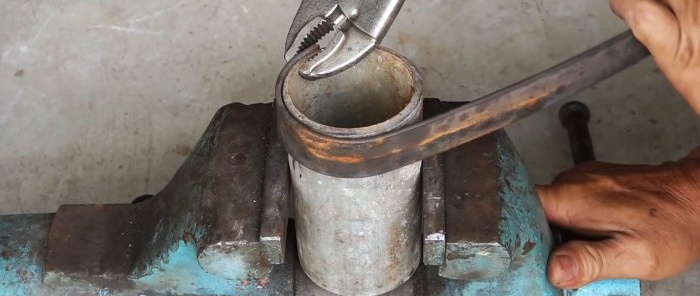
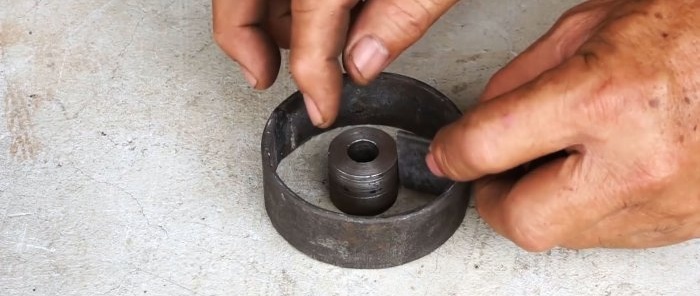
A ring of such a diameter is bent from the strip so that it fits tightly inside the 90 mm sewer pipe.
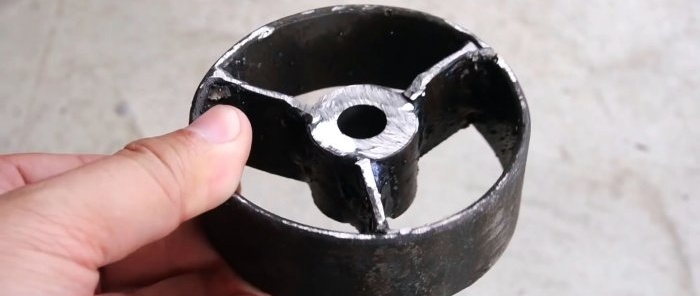
A bushing with an 11 mm hole is placed in its center. It is welded into the ring through 3 strip inserts.
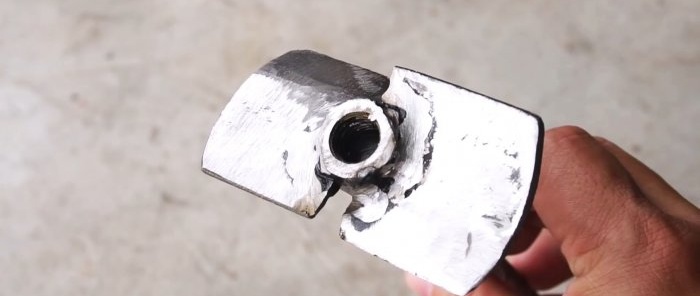
2 propeller blades are made from the same strip. They are welded to the M10 nut. The screw should be slightly smaller for the internal diameter of the pipe 90 mm.
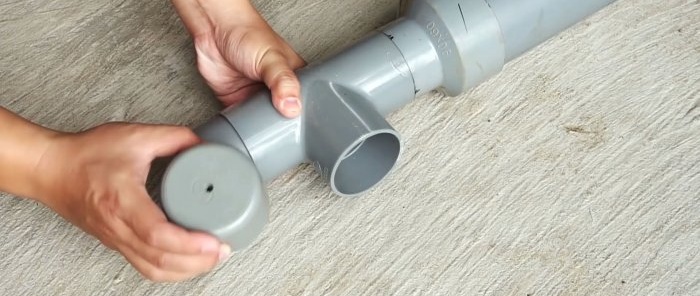
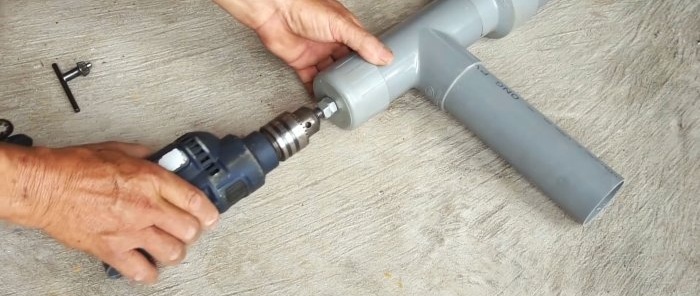
An adapter for 60 mm is put on a 90 mm piece of PVC pipe. Then a piece of 60 mm tube is inserted and the tee is closed with a plug through the insert.
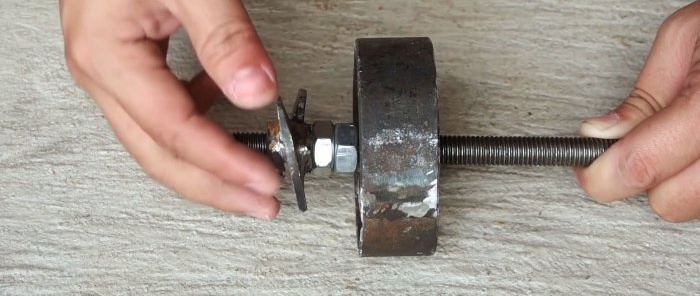
An 11 mm hole is drilled in the plug. Next, a sleeve welded into the ring is put on the M10 stud. Then screw on 2 nuts for the stop, and screw the screw close to them.
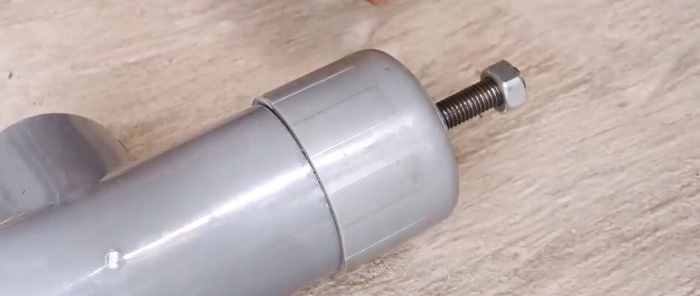
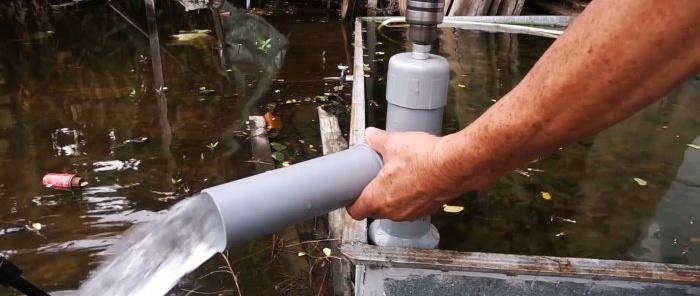
This structure is inserted into the connected pipes from the open edge. The end of the stud comes out through the plug and is secured with a pair of nuts. A 60 mm piece of pipe for spout is put on the outlet of the tee. Now, when connected to the drive pin of the drill screw, the pump will pump water.
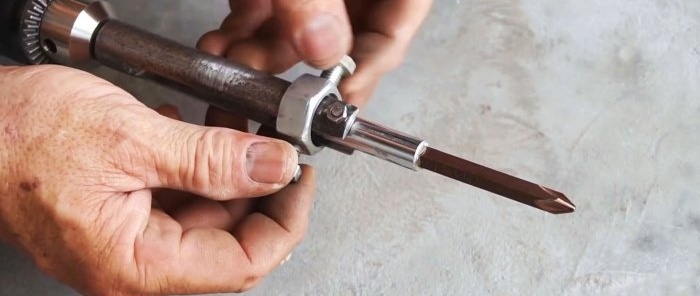
Reversible attachment for drilling and tightening screws
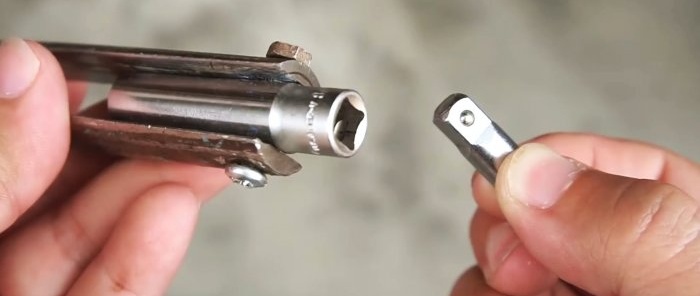
A wide longitudinal cut is made in a piece of round timber, sufficient for inserting an elongated end head.The solid part of the workpiece is ground to the diameter of the drill chuck.
The workpiece is illuminated from the side of the cut along with the socket head. They are then connected by an axis.
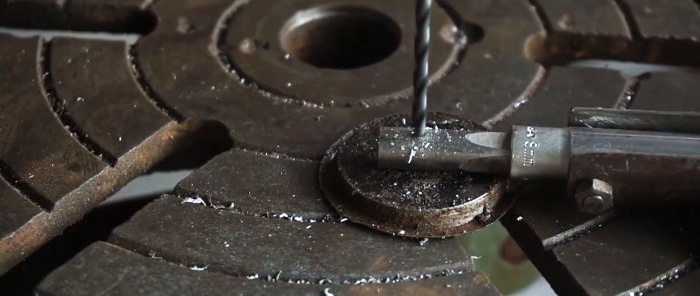
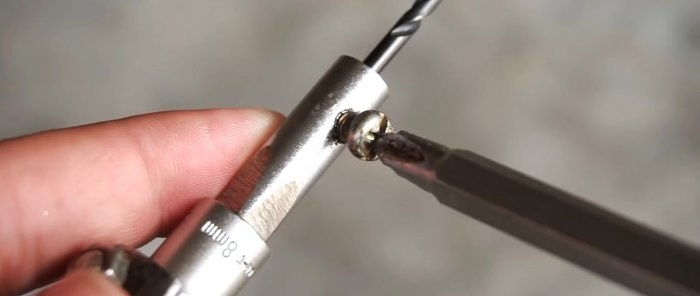
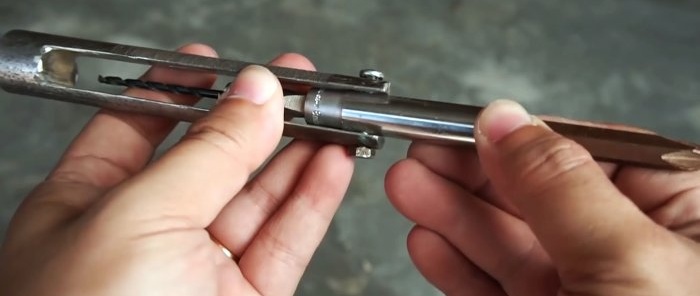
A longitudinal and transverse hole is drilled in the section of the driver for the heads. The latter is threaded. As a result, the drill can be clamped in the driver. This adapter is inserted into one part of the head, and the bit is placed into the second.
A clamp is made from a nut bored out from the inside. To do this, 2 holes are drilled in the side. Threads are cut into them and bolts are screwed in.
Now, if necessary, you can quickly turn the drill or bit without having to unclench the matrons. To do this, simply release and move the latch to the side.
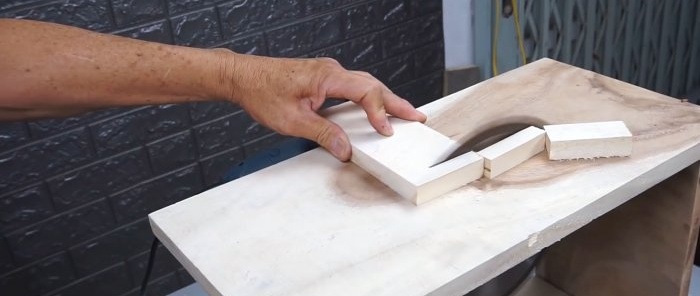
Circular table
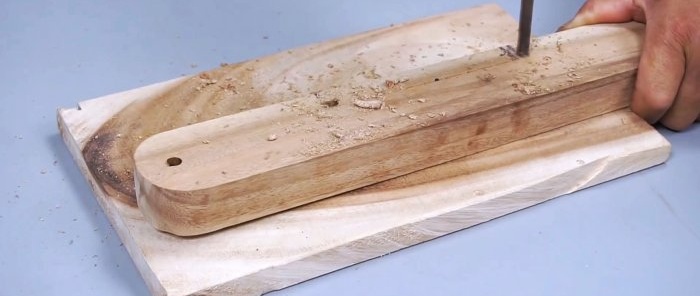
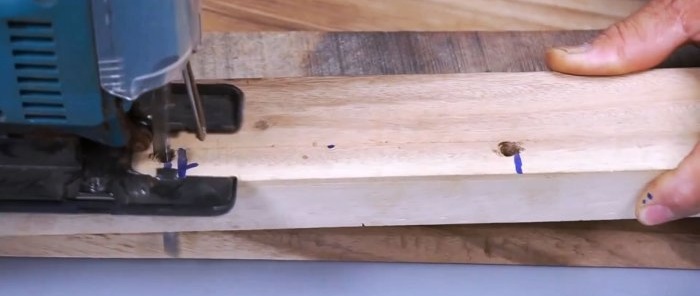
A hole is drilled in a block with a rounded end closer to the edge. Then a side cut is made in it.
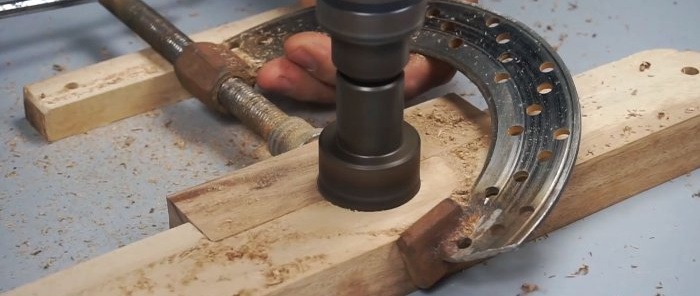
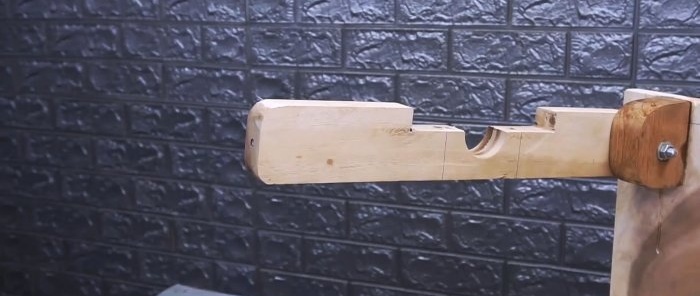
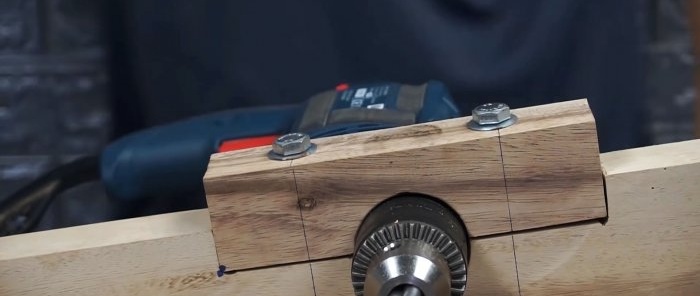
A short block is inserted into it. The parts are tightened with a clamp, and a hole is drilled along the line of their abutment for the drill body at the location where the handle is installed.
Additionally, the blanks are drilled on the sides of the main hole and tightened with bolts.
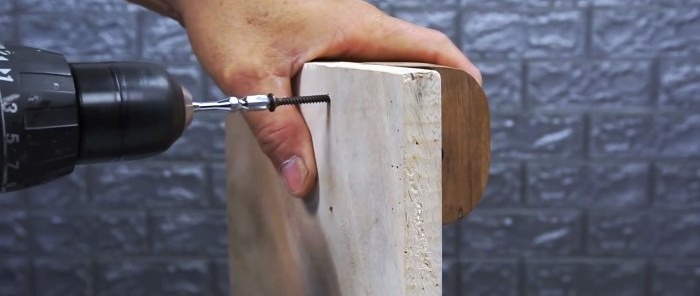
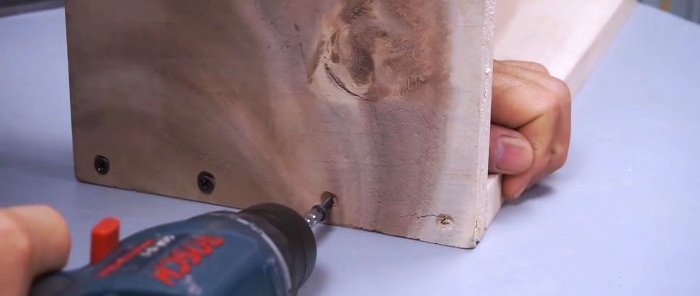
Part of the circular box is assembled from the board in the form of a corner. A short eye made of timber is screwed to it with self-tapping screws. The previously made drill mount is attached to it with a bolt.
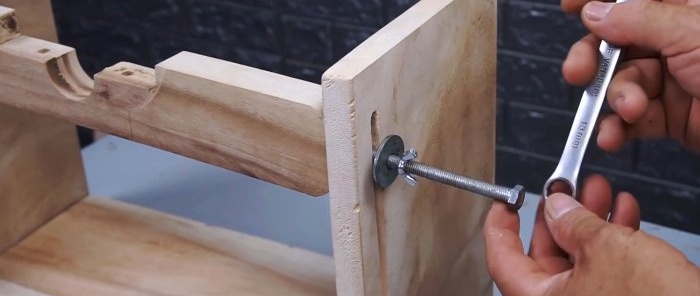
Next, the part of the box opposite to the eyelet is prepared. A long cut is made in it. Next, a hole is drilled at the end of the drill mount. The side wall of the box is screwed to the sole. Through a cut in it, a pin with an attached wing nut is screwed into the holder.
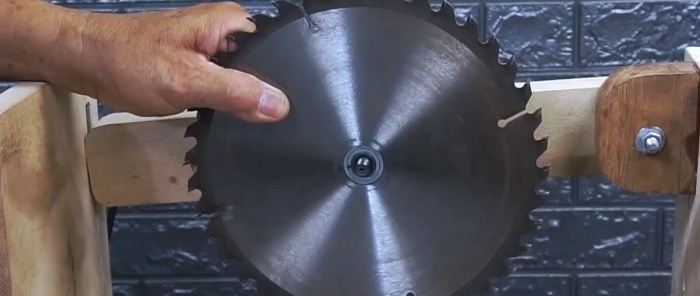
A drill is installed in the holder. A saw blade is connected to it through an adapter.
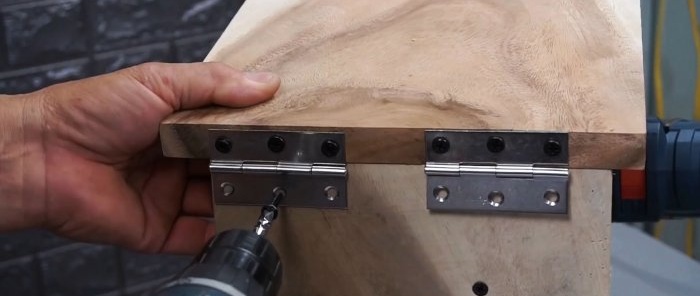
Using a pair of hinges, the tabletop is screwed onto the box.Having started the drill, you need to lower it so that the disc makes a cut for itself. The result is a circular saw with the ability to adjust the height of the disc reach. This is done by lowering or raising the drill mounting bar.
Watch the video
Similar master classes
5 devices to expand the functionality of a screwdriver and
How to make a shovel handle using an electric drill
Wood cutter for through and blind holes made of bolts
How to make a milling cutter from a bolt for working in hard-to-reach places
We make decorative twisting of wire without tools and
Drill stand for drill from old shock absorbers
Particularly interesting
Comments (2)

