How to make cool tuning of car headlights yourself
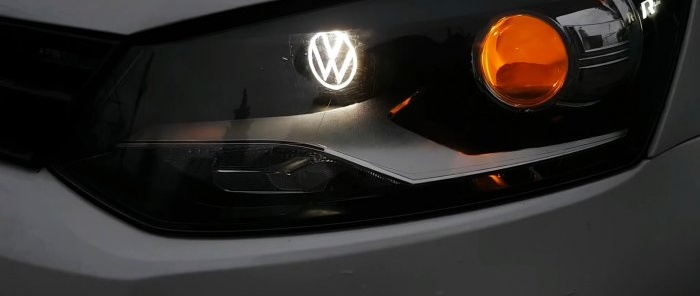
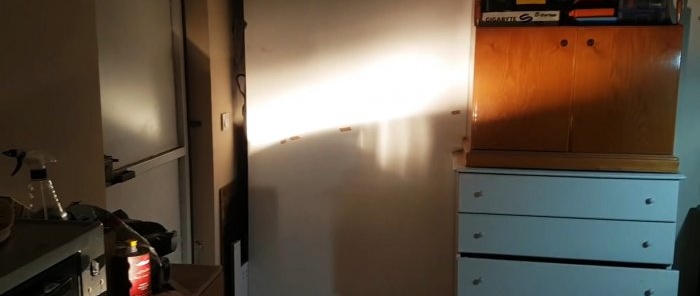
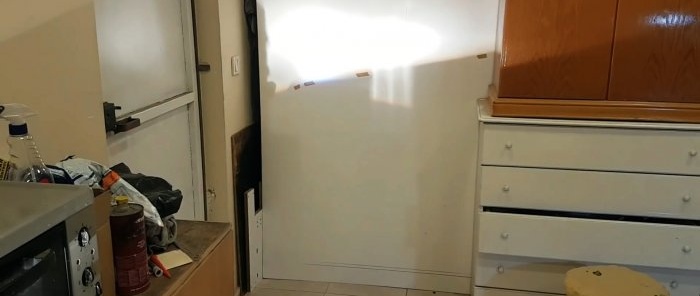
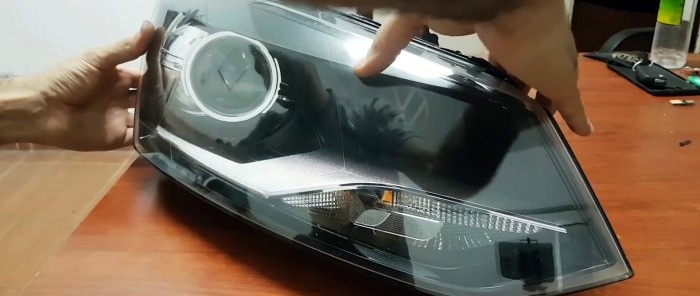
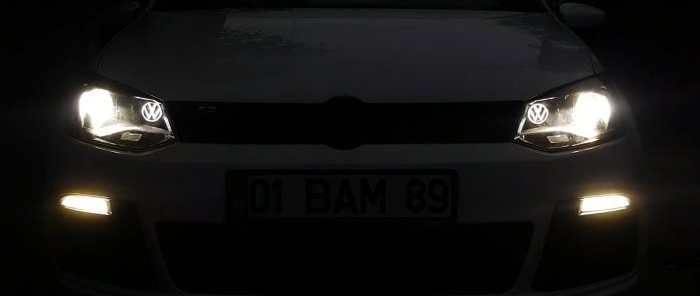
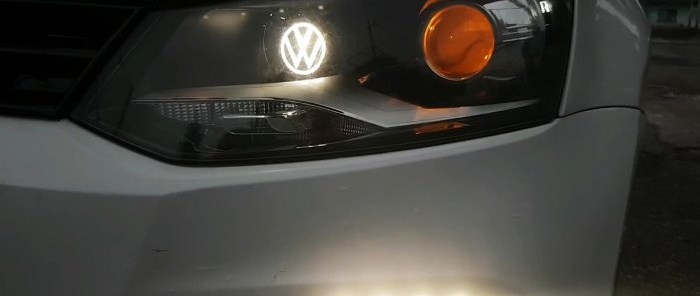
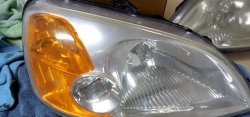
Perhaps one of the most spectacular ways of tuning a car is modifying the headlights. If you put bi-xenon on the low beam, then the high beam reflector can be used as a projector of a logo, picture or inscription. With this modification, the quality of illumination in front of the car will improve, and the headlights themselves will look incredibly cool when the side lights are turned on.
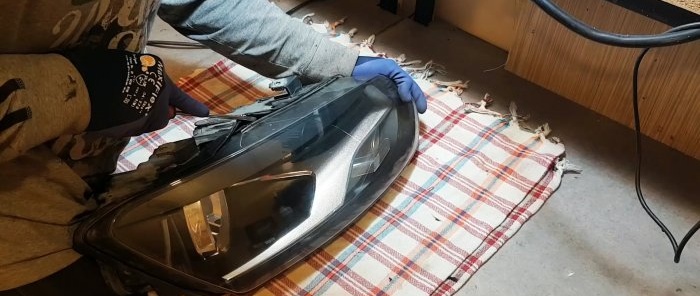
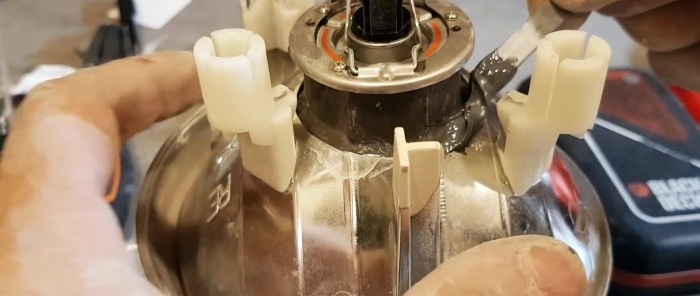
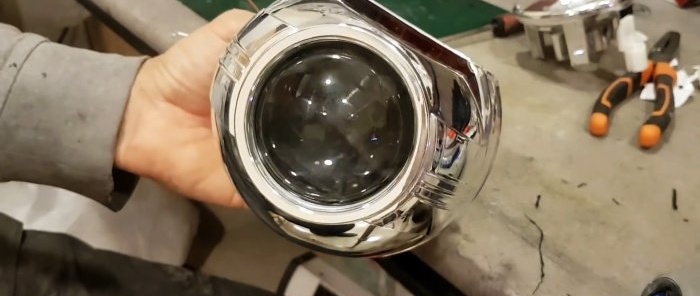
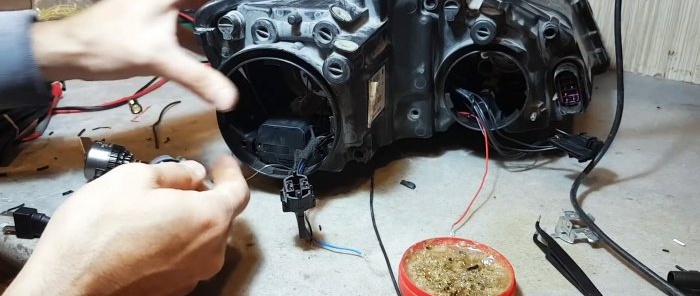
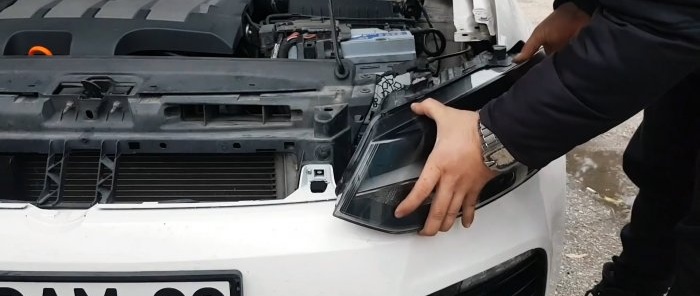
The headlights are removed and disassembled.
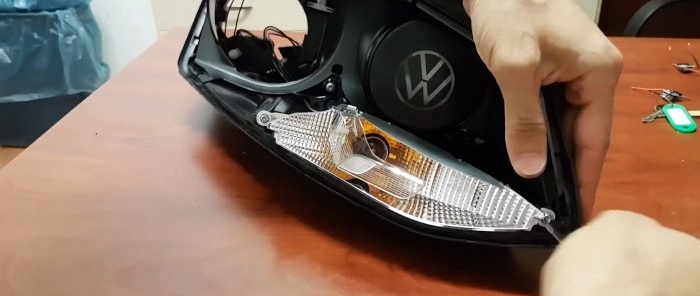
To do this, they need to be placed one by one in a lockable box with a hole. An installation hair dryer is inserted into it, and each headlight heats up for about 15 minutes. During this time, the sealant will soften and the glass can be removed. When everything cools down, the remaining seal comes off.
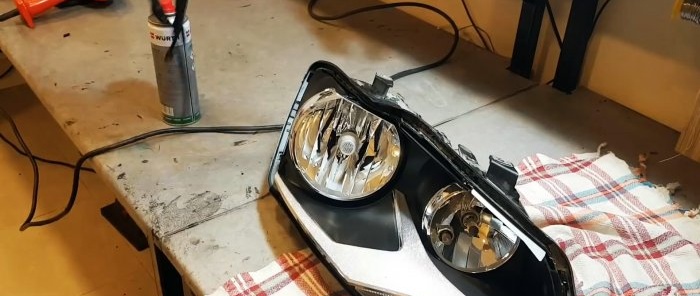
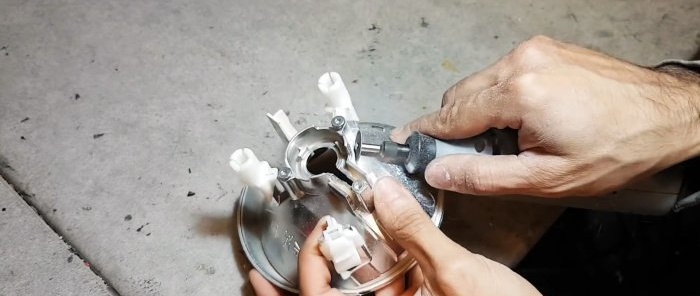
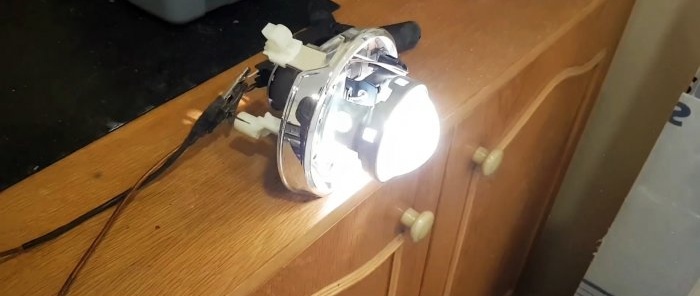
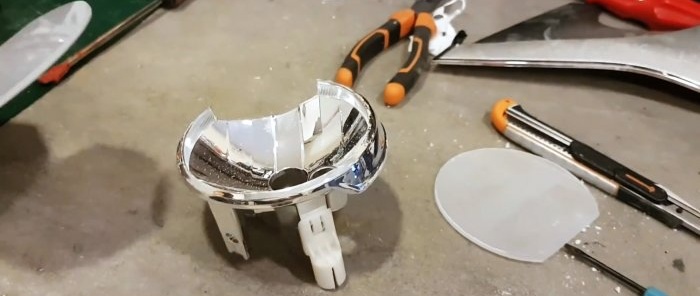
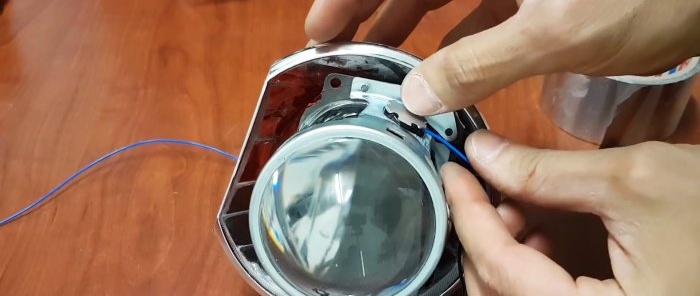
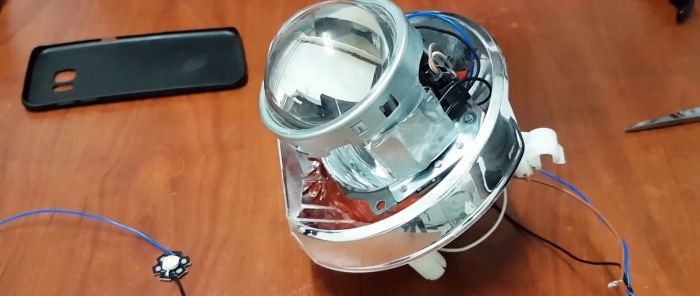
Farah understands. A hole is cut in the low beam reflector and a bi-xenon lens is glued into it. It will work for low and high beam.
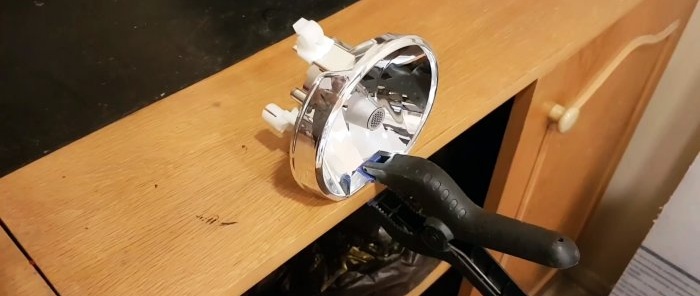
The front rim of the high beam reflector needs to be cut off.
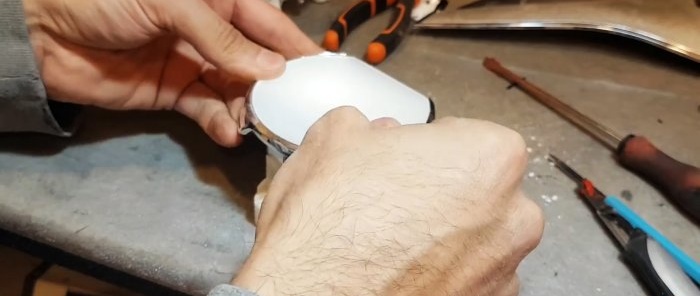
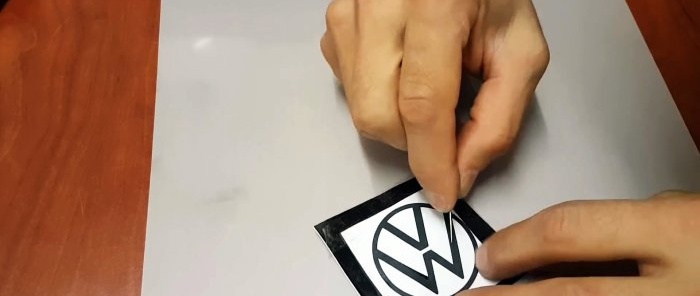
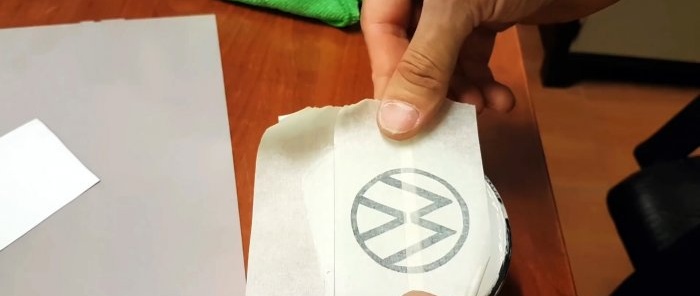
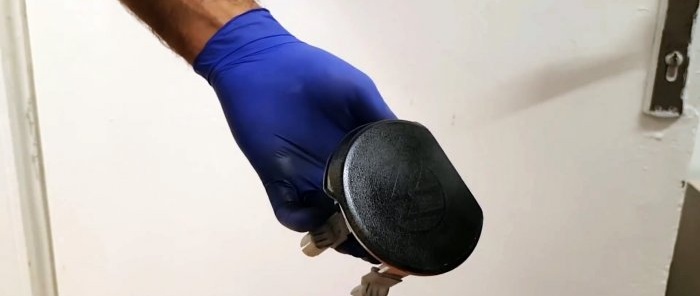
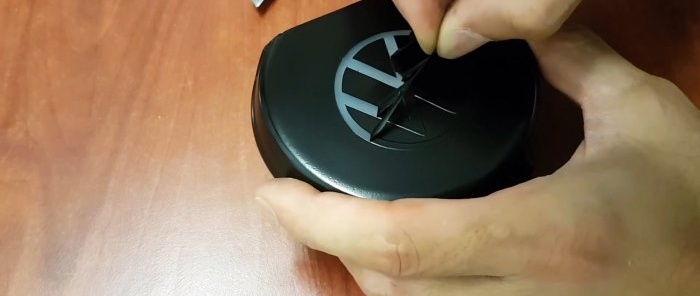
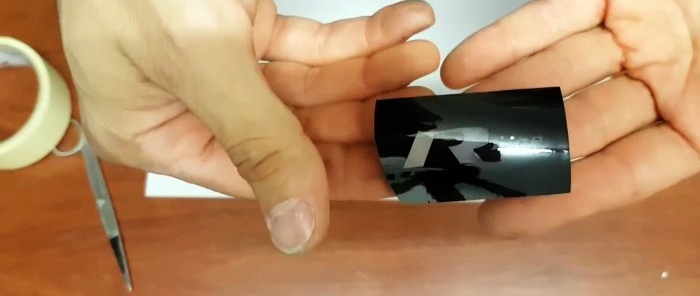
Next, a cover for the reflector is cut out of frosted plexiglass and glued to it. A stencil with a logo or design is installed on the plexiglass. It is then painted black and the template is torn off.
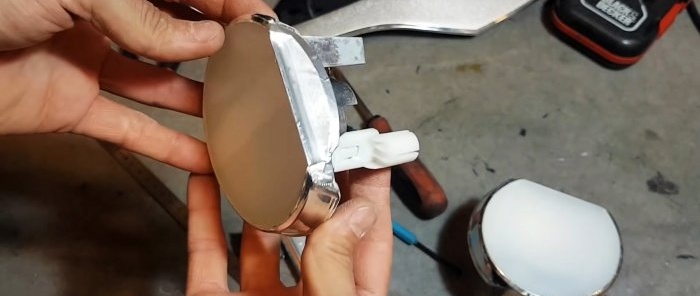
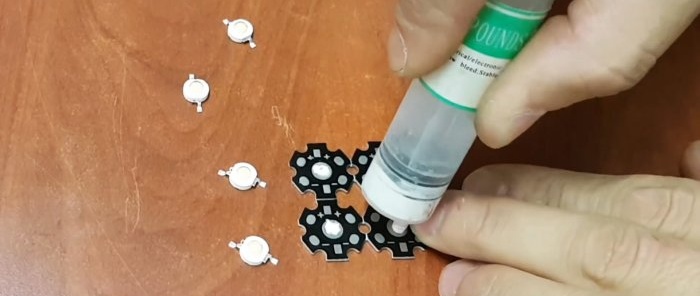
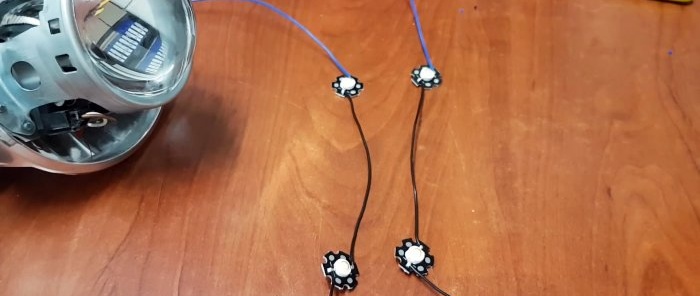
2 yellow powerful ones are glued to the side of each bi-xenon LED. They will illuminate the lenses when the side lights are turned on. This will create the “devil eyes” effect. LEDs glued with sealant, then covered from the outside with reflective aluminum tape.
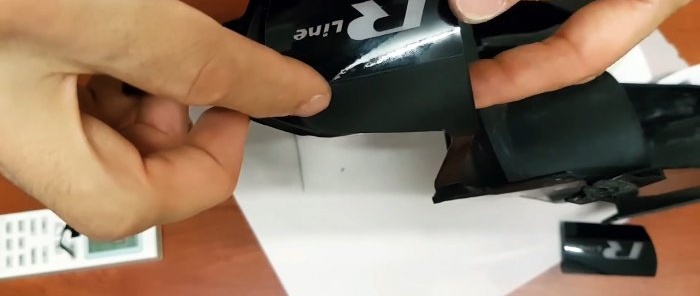
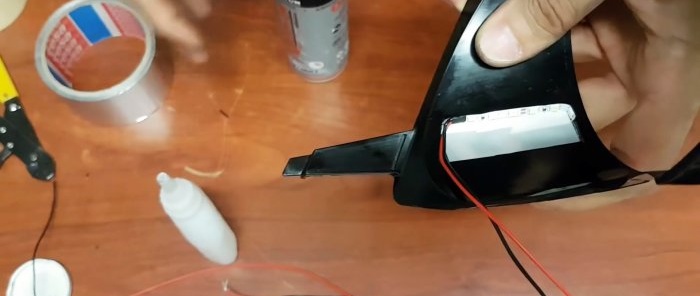
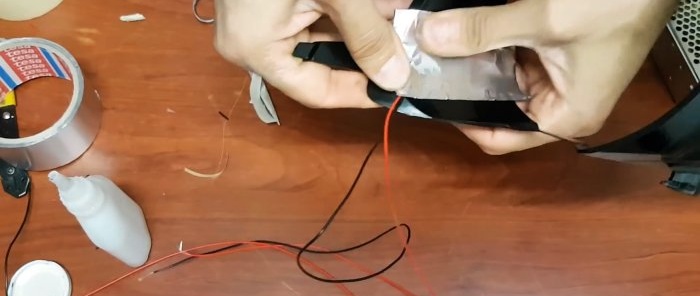
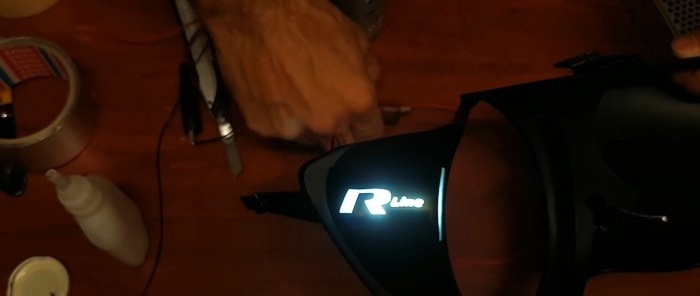
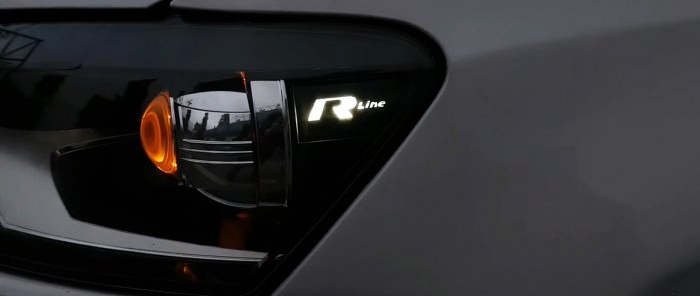
You can make some kind of inscription on the side of the inner panel of the headlights, which will also glow. To do this, the stencil is glued to plexiglass and it is painted over. Next, a window is cut into the panel and the insert is glued into it. 2 strips of LED strip are attached to it from the inside. They must be covered with reflective tape. If the panel has a bend, then the plexiglass should first be heated and bent so that it fits neatly.
Then everything is wiped down, degreased and put back together. The glass is installed with fresh sealant.
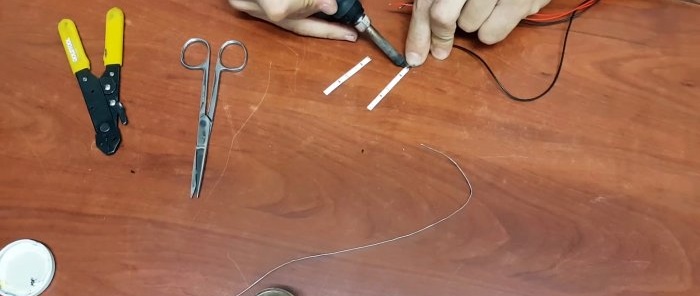
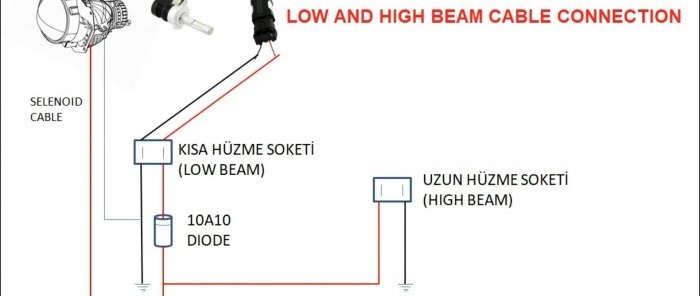
Since the headlight has been modernized, its further connection is made according to the proposed scheme with the installation of a 10A10 rectifier diode and a 3W MR16 300mA driver. As a result, the logo on the old high beam, the side lettering and the yellow lens illumination should only light up as parking lights.
Also read how to make cool taillight tuning - https://home.washerhouse.com/en/6113-tjuning-zadnih-far-svoimi-rukami.html
Basic materials:
- bi-xenon lenses – 2 pcs.
- frosted plexiglass;
- black paint;
- heat-resistant sealant;
- epoxy adhesive;
- narrow LED strip 12V;
- super bright LEDs 3 W – 4 pcs.
- rectifier diodes 10A10 – 2 pcs.
- pulse drivers 3W MR16 300mA – 2 pcs -
Headlight tuning process
The headlights are removed and disassembled.
To do this, they need to be placed one by one in a lockable box with a hole. An installation hair dryer is inserted into it, and each headlight heats up for about 15 minutes. During this time, the sealant will soften and the glass can be removed. When everything cools down, the remaining seal comes off.
Farah understands. A hole is cut in the low beam reflector and a bi-xenon lens is glued into it. It will work for low and high beam.
The front rim of the high beam reflector needs to be cut off.
Next, a cover for the reflector is cut out of frosted plexiglass and glued to it. A stencil with a logo or design is installed on the plexiglass. It is then painted black and the template is torn off.
2 yellow powerful ones are glued to the side of each bi-xenon LED. They will illuminate the lenses when the side lights are turned on. This will create the “devil eyes” effect. LEDs glued with sealant, then covered from the outside with reflective aluminum tape.
You can make some kind of inscription on the side of the inner panel of the headlights, which will also glow. To do this, the stencil is glued to plexiglass and it is painted over. Next, a window is cut into the panel and the insert is glued into it. 2 strips of LED strip are attached to it from the inside. They must be covered with reflective tape. If the panel has a bend, then the plexiglass should first be heated and bent so that it fits neatly.
Then everything is wiped down, degreased and put back together. The glass is installed with fresh sealant.
Since the headlight has been modernized, its further connection is made according to the proposed scheme with the installation of a 10A10 rectifier diode and a 3W MR16 300mA driver. As a result, the logo on the old high beam, the side lettering and the yellow lens illumination should only light up as parking lights.
Also read how to make cool taillight tuning - https://home.washerhouse.com/en/6113-tjuning-zadnih-far-svoimi-rukami.html
Watch the video
Similar master classes
Particularly interesting
Comments (0)

