Colorful butterflies
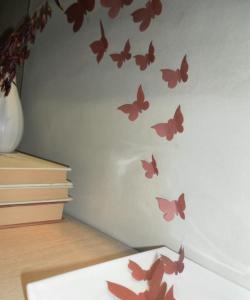
On cold winter days, when a snowstorm is blowing outside the window, as well as in the evenings, when snow is falling outside the window, you really want to return to summer - hot, bright, sunny. One of the components of this wonderful time of year is the airy, colorful butterflies, which on their wings bring warmth, harmony and comfort. It’s very easy to create a piece of summer in your home by decorating any plain wall with a rainbow of butterflies.
For work we will need:
- double-sided colored paper (you can use colored cardboard), I made it from 9 different colors;
- white sheet or cardboard for the template;
- double sided tape;
- scissors.
We start by creating a template for future butterflies. Draw the outline of a butterfly on a regular white sheet and cut it out. If you don’t have drawing skills, you can find a template on the Internet and print it, or simply open the picture, attach the sheet to the monitor and trace the outline of the drawing. This way you can make butterflies of various shapes, with patterned wings. I made butterflies of the most common shape, in three sizes.
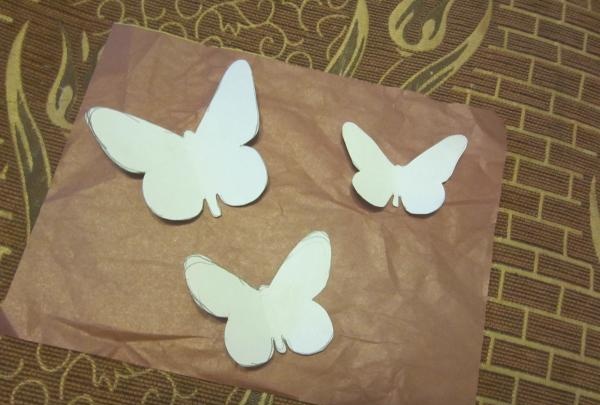
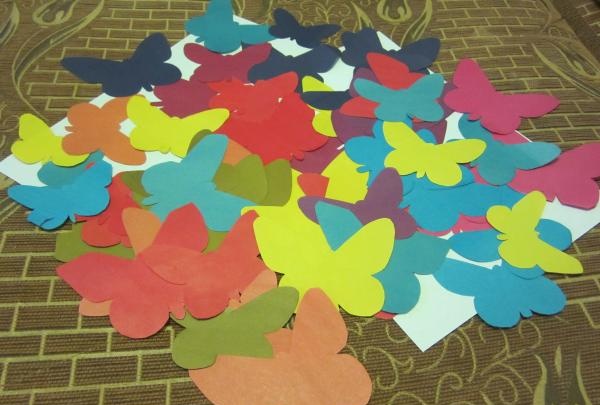
Next, we put the templates on colored paper, trace and cut out the required number of butterflies.In order to save time, you can fold a sheet of colored paper several times and then cut it out - you will get several figures at once.
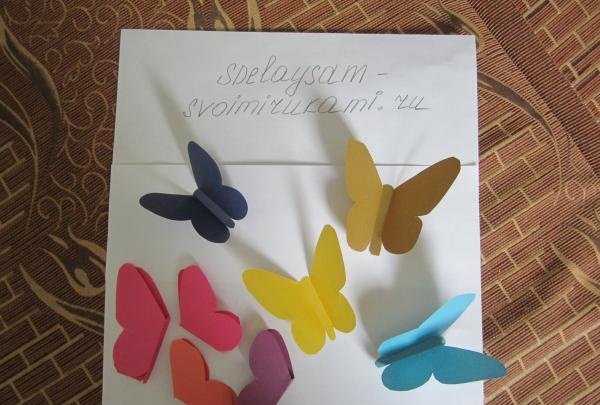
The next step is to bend the butterflies in the middle along two lines - select the body for which they will be attached to the wall. On the outside of the body you can stick various patterns from paper of a different color, it will turn out unusual and very colorful. My butterflies have no patterns, but are no less attractive.
We turn the butterflies over and glue double-sided tape to the back of the “body”.
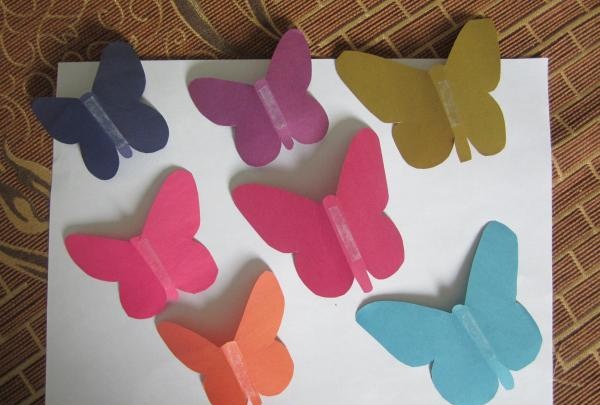
Now the butterflies are ready to settle on the wall, we attach them with tape.
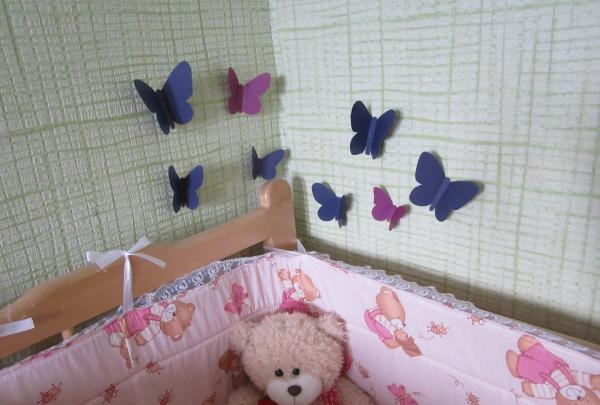
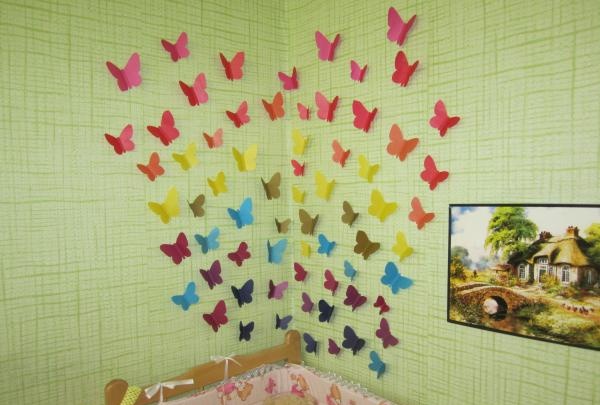
You can use any color combinations and arrange the butterflies as inspiration dictates. The end result is a very nice summer memory. It's fun for adults and entertaining for children - you can learn colors and count butterflies.
For work we will need:
- double-sided colored paper (you can use colored cardboard), I made it from 9 different colors;
- white sheet or cardboard for the template;
- double sided tape;
- scissors.
We start by creating a template for future butterflies. Draw the outline of a butterfly on a regular white sheet and cut it out. If you don’t have drawing skills, you can find a template on the Internet and print it, or simply open the picture, attach the sheet to the monitor and trace the outline of the drawing. This way you can make butterflies of various shapes, with patterned wings. I made butterflies of the most common shape, in three sizes.

Next, we put the templates on colored paper, trace and cut out the required number of butterflies.In order to save time, you can fold a sheet of colored paper several times and then cut it out - you will get several figures at once.

The next step is to bend the butterflies in the middle along two lines - select the body for which they will be attached to the wall. On the outside of the body you can stick various patterns from paper of a different color, it will turn out unusual and very colorful. My butterflies have no patterns, but are no less attractive.

We turn the butterflies over and glue double-sided tape to the back of the “body”.

Now the butterflies are ready to settle on the wall, we attach them with tape.

You can use any color combinations and arrange the butterflies as inspiration dictates. The end result is a very nice summer memory. It's fun for adults and entertaining for children - you can learn colors and count butterflies.

Similar master classes
Particularly interesting
Comments (4)

