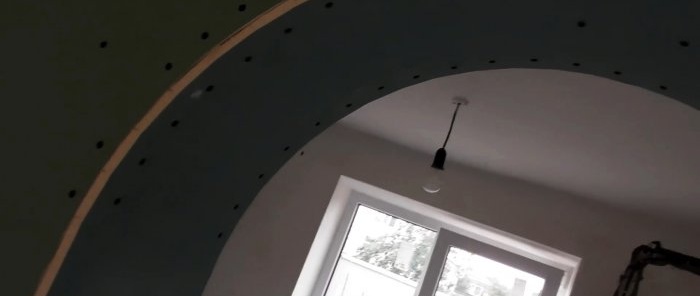
How to make an arch from plasterboard
Arches can be used to create openings between rooms without doors. They are made from plasterboard, after which they are puttied with reinforcing tape, painted or covered with wallpaper. At first glance, the task is simple, but still has a lot of nuances.
What you will need:
- wall plasterboard;
- UD profile;
- self-tapping screws;
- gypsum plaster.
Arch manufacturing process
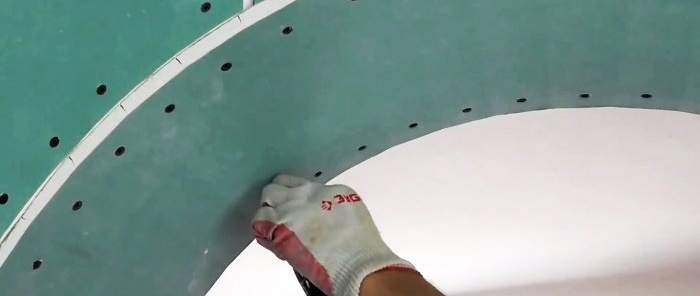
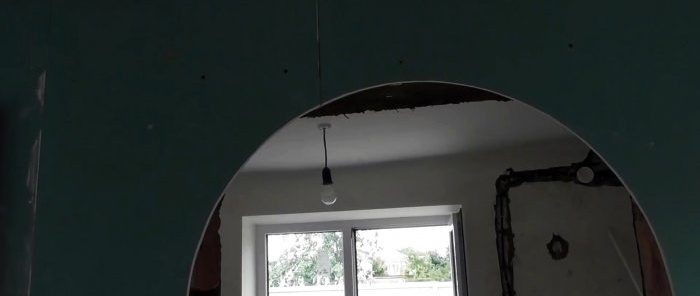
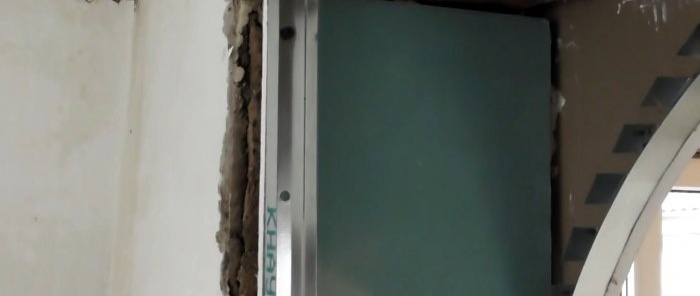
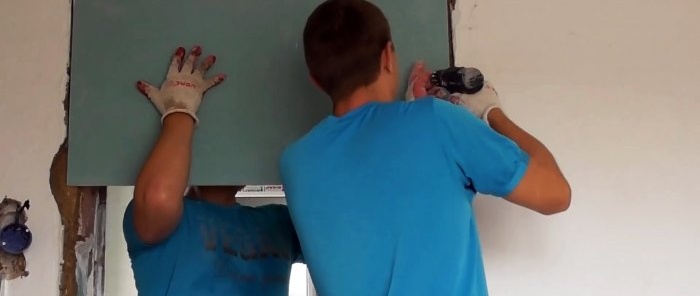
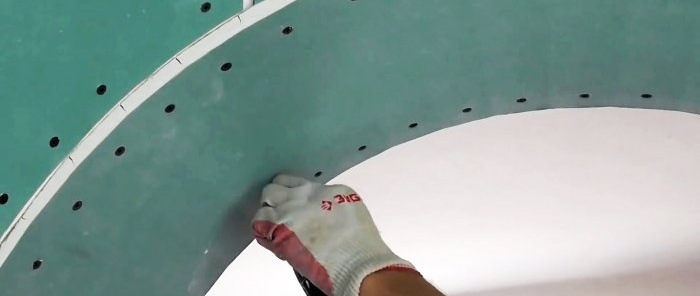
On one side of the wall, a plasterboard sheet with a cut out arch is glued or screwed onto the sheathing. It is important to do everything level, as this will serve as a starting point for assembling the rest of the structure.
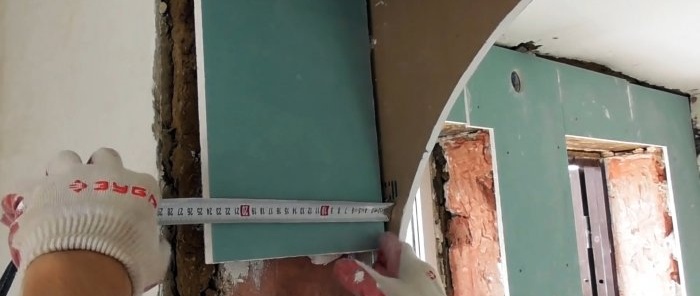
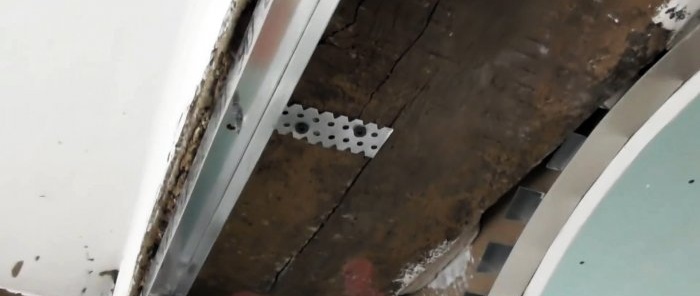
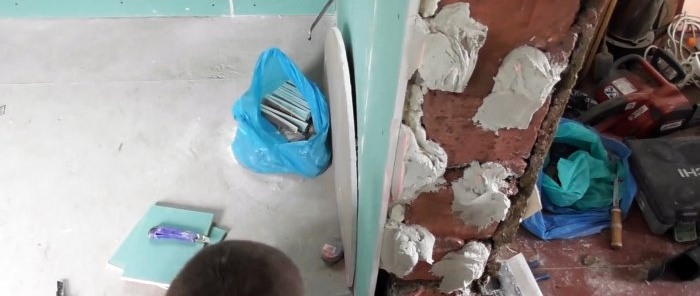
If, on the other side of the opening, the second sheet is applied flush with the wall, and not on it, then it is necessary to prepare a base for attaching the UD profile. To do this, if the opening is crooked, pieces of drywall are glued to it and leveled.
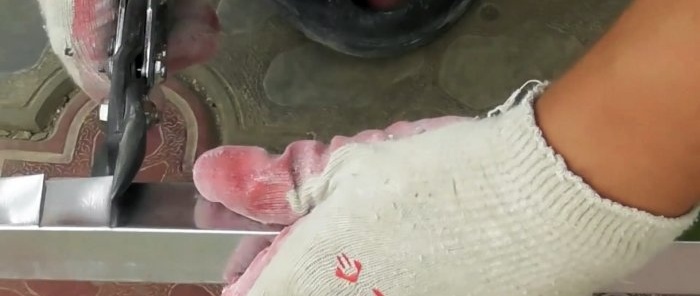
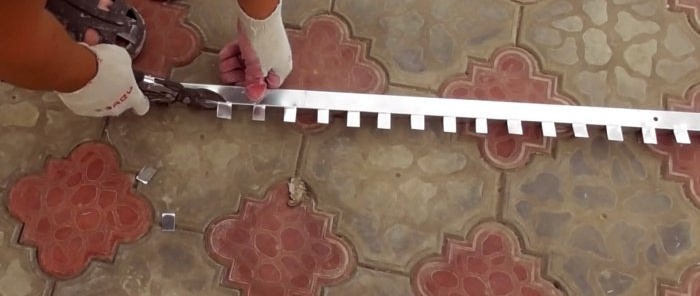
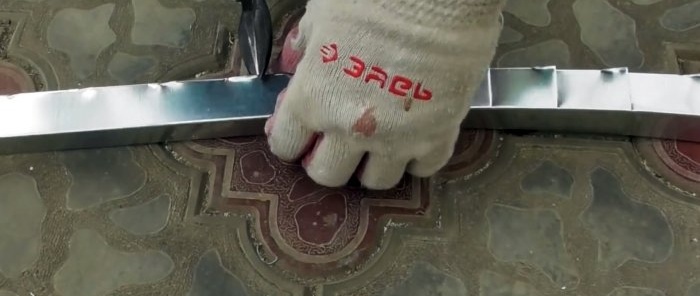
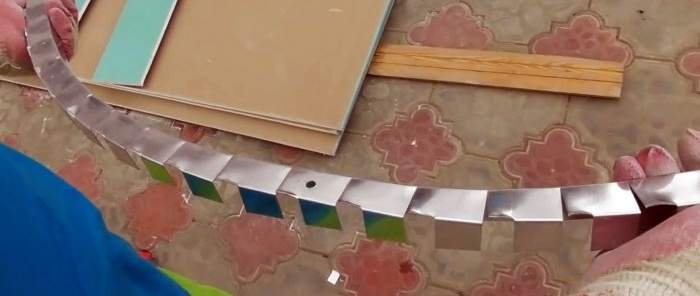
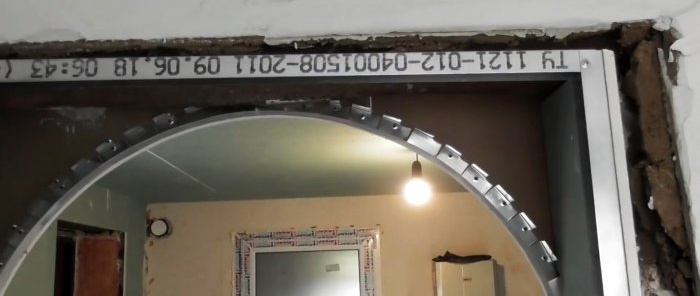
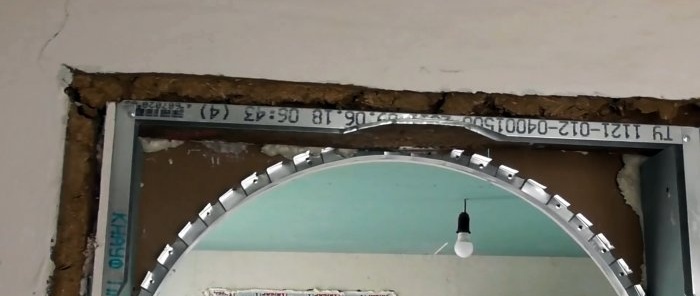
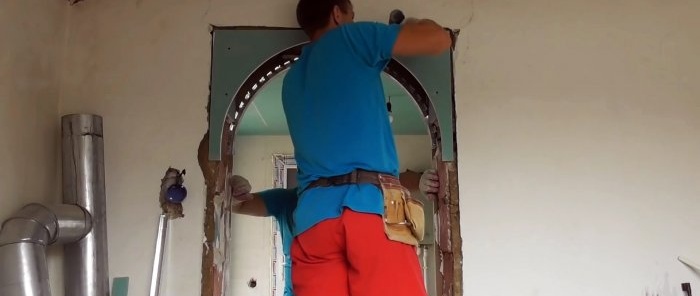
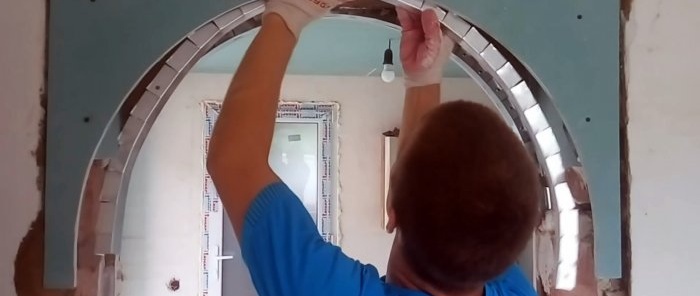
Next you need to make notches on the shelves of the UD profile, remove pieces of metal through one, and bend it to screw it onto the drywall from the inside of the arch.
Pieces of UD profile are screwed onto previously glued pieces of drywall in the opening. Between them, the upper part of the frame expands at the top. If necessary, the protruding parts of the profile are trimmed.It is important to recess everything into the opening so that when applying the sheet is flush with the plastered wall.
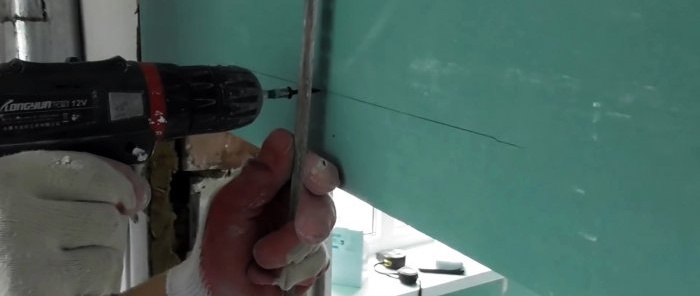
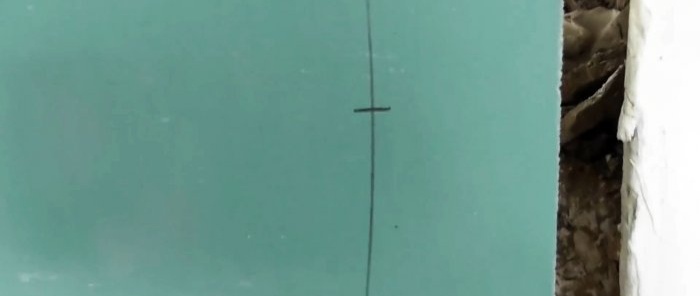
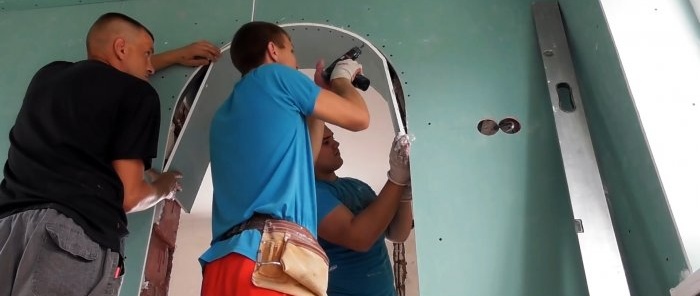
Next, a piece of drywall is screwed onto the base, not yet cut to fit the arch, since otherwise it can be accidentally broken during installation. Then markings are made on it and the excess is cut out.
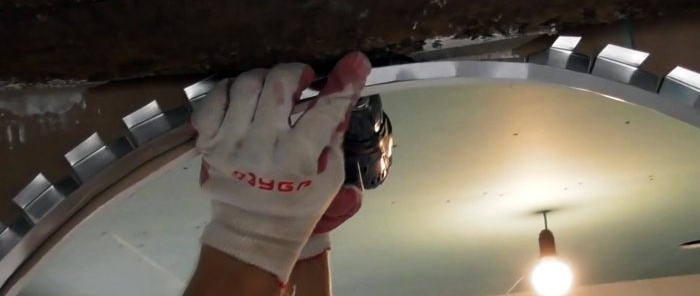
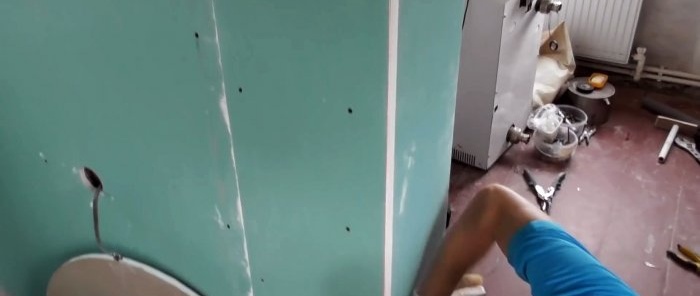
A trimmed and bent UD profile is screwed to the second wall of the arch.
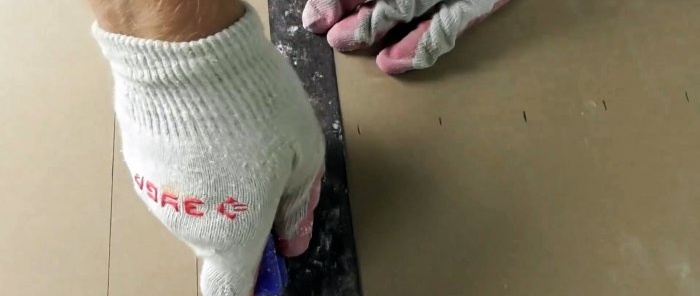
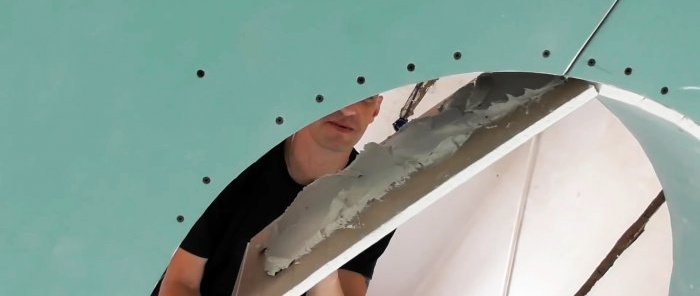
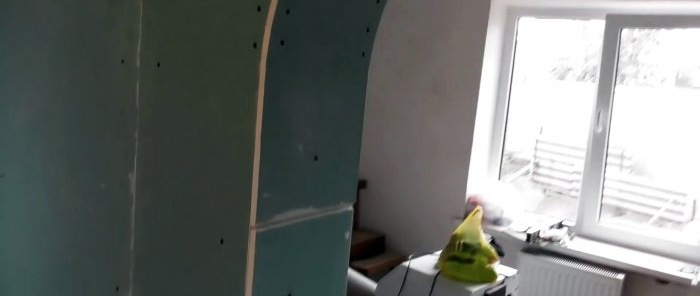
After this, you need to cut a strip of drywall to close the arch from the inside. On its back, transverse notches are made with a knife. You can also wet the sheet. Then it is screwed on. To prevent the arch from rattling, plaster should be applied to it. It is required to connect the strip to the closing rough opening.
It is important when working not to spare the screws and tighten them in increments of a couple of centimeters, then everything will hold securely. After installation, the plasterboard joints are reinforced and puttied. A special bendable plastic or aluminum corner for arches is installed on the outer corners.
Watch the video
Similar master classes
Particularly interesting

How to install a socket if there are short wires left

How to eliminate gaps between the chimney and slate

How to mix an ultra-reliable solution for the oven that does not give

There will be no more cracks: What to add to concrete to make it

Never buy ball valves without checking with me

New technology for floor insulation with penoplex
Comments (0)

