How to build an outdoor toilet from blocks
Last year, I was faced with the task of replacing almost the entire sewer system connecting the bathroom of a private house with a septic tank. Due to the fact that the amount of work had to be large (it was necessary to dig up pipes located at a significant depth, change the configuration of the system, add a drain riser that did not exist before), using the drain system in the house became impossible for some time. The old street toilet, which had not been in use for several decades, had become unusable during this time, so before starting the work I planned, I decided to build a new toilet where my family could go while the sewer system was inoperative.
Initially, I was going to build a very ordinary wooden toilet. This construction It takes little time, effort and does not require essentially any specific skills. However, after calculating how much the material (boards and bars) would cost me, I thought about an alternative. The fact is that the price of wood in our region is considerable, and I could not shell out a decent amount of money for such material, given that the toilet would soon become unclaimed again.I immediately dismissed the brick option, not only as expensive, but also as requiring the construction of a good foundation, knowledge and skills in bricklaying. The blocks caught my attention. Assembling a small block building is much easier than a brick one. The foundation can be a lightweight strip type (in this case, even without reinforcement). The block is durable (if the facing side is properly processed), non-flammable material, not subject to rotting.
What needs to be purchased for construction
To build a house from blocks, I purchased the following material: a 240-liter barrel, 55 blocks, two bags of cement, several bars, two sheets of ondulin and boards for the door. And also some small things: mounting foam, anchors, screws, etc. I had pipes for ventilation and some other materials in stock.
How to build a toilet from blocks with your own hands
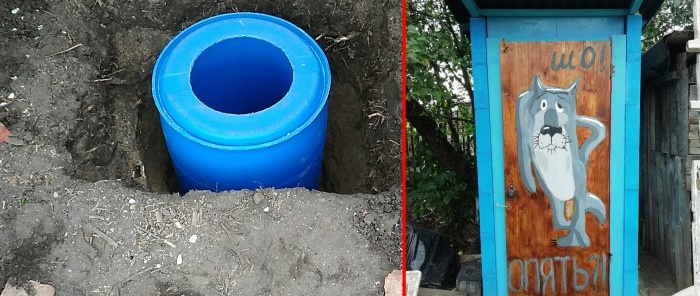
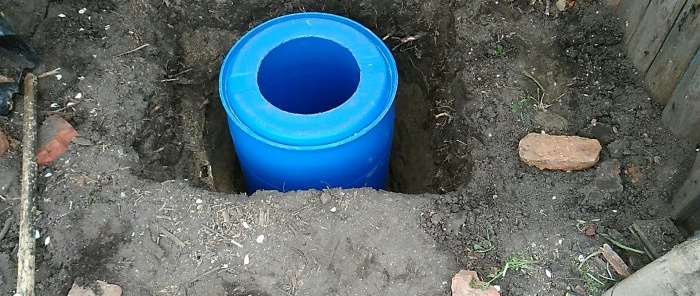
The first thing I did was dig a hole and put a barrel in it.
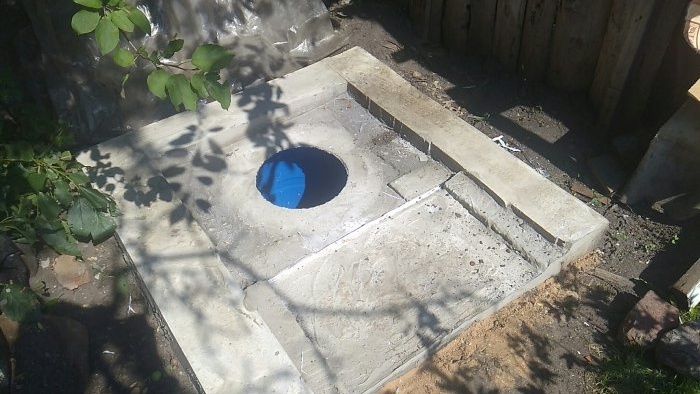
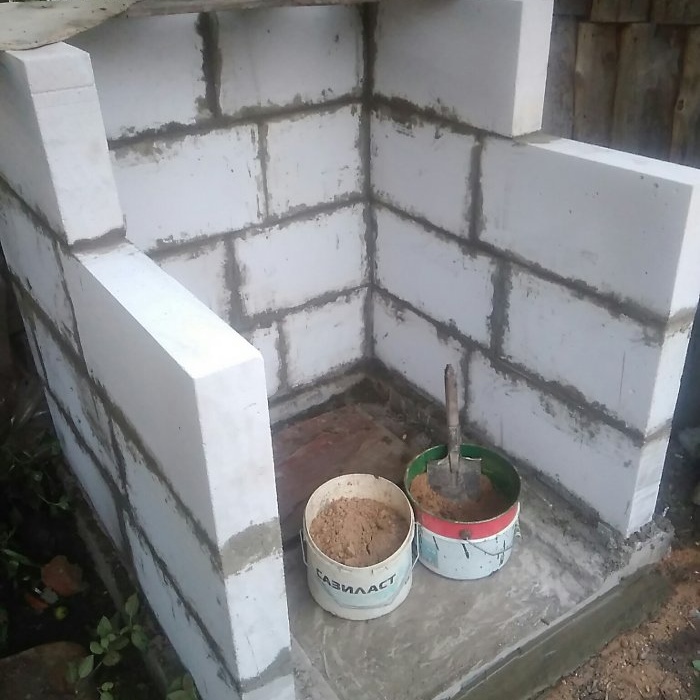
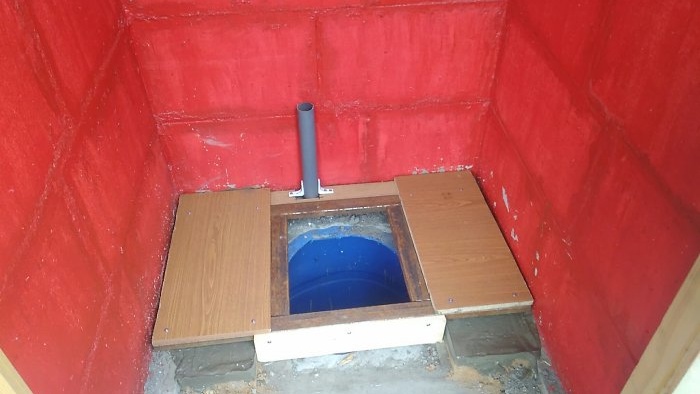
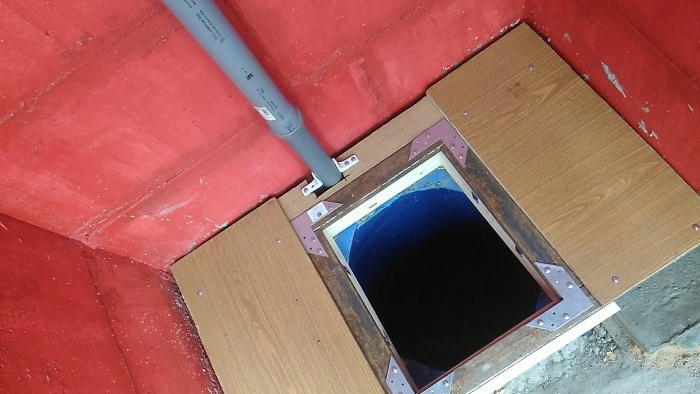
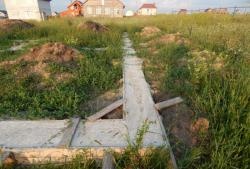
I covered it with sand all around. I made a hole in the top of the barrel. I built a U-shaped foundation around it, and filled the rest of the space inside the foundation with the remains of paving slabs and bricks and filled the whole thing with cement.
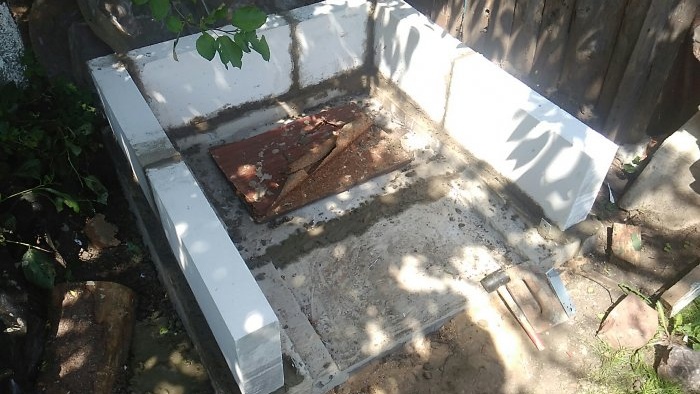
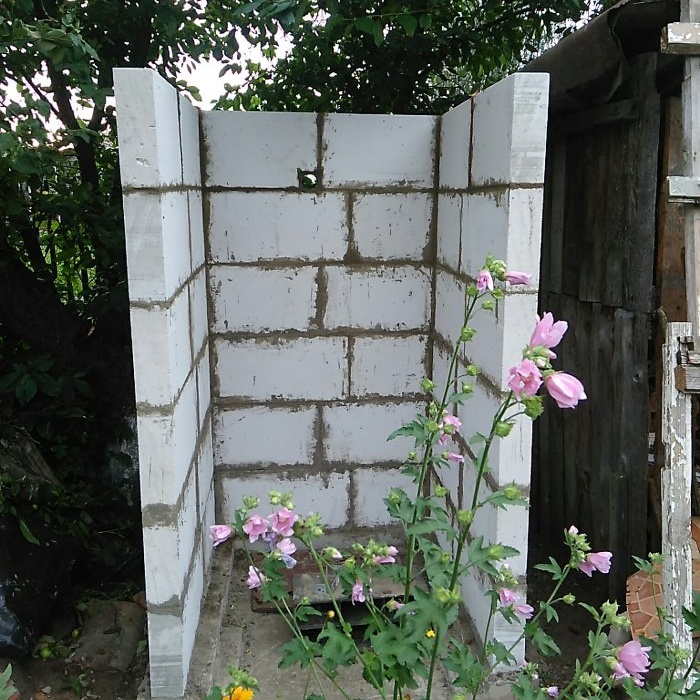
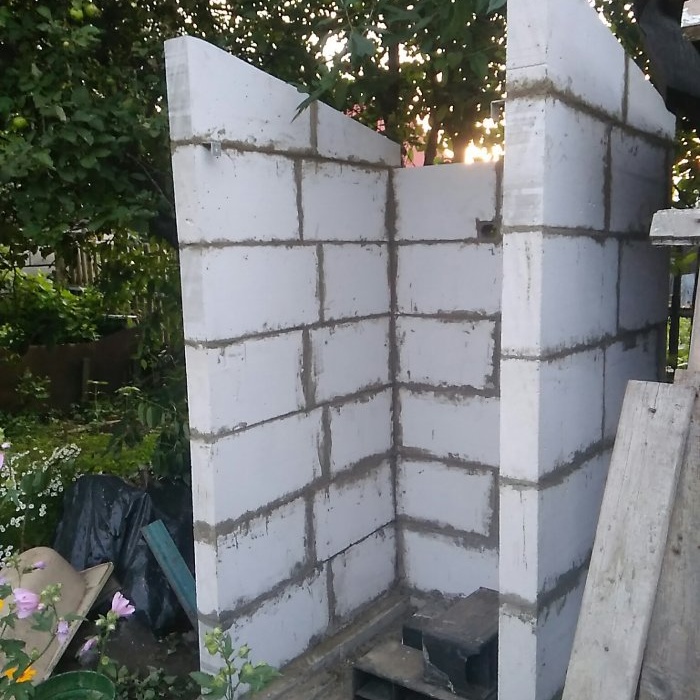
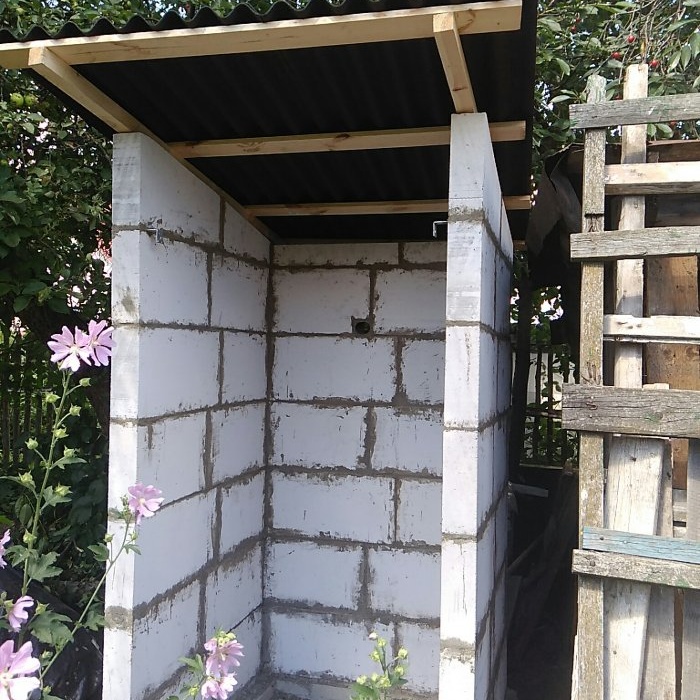
Next, I laid out the same U-shaped frame of the structure from the blocks, providing for trimming the height of the upper tier of the blocks (for the construction of a pitched roof).
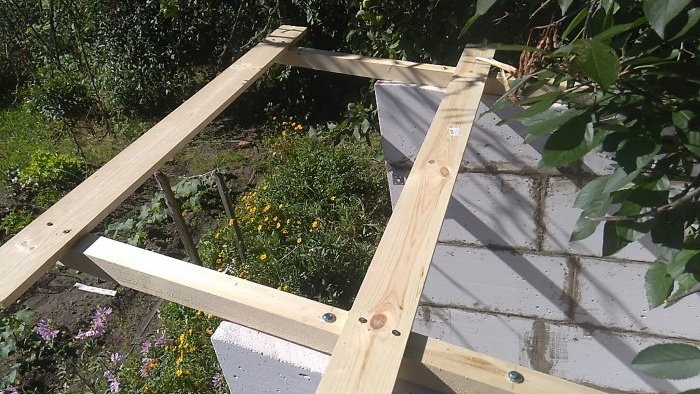
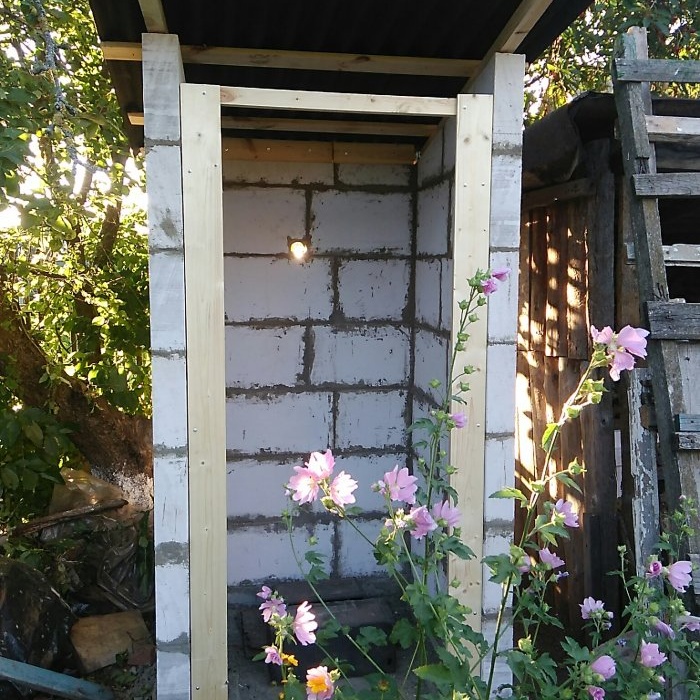
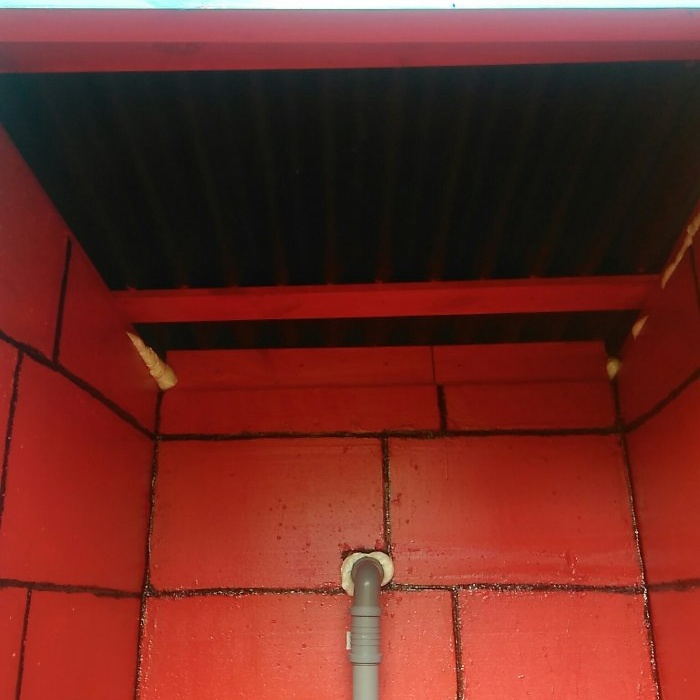
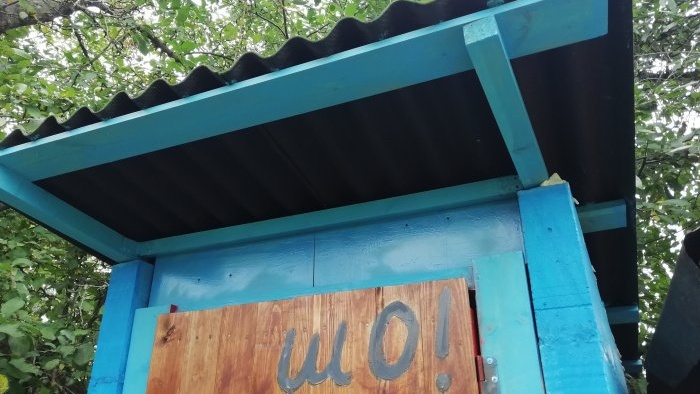
I attached two beams on top using anchors, made wooden jumpers between them and laid two sheets of ondulin, which I attached to the bars and jumpers. Thus, the roof turned out to be as lightweight as possible.
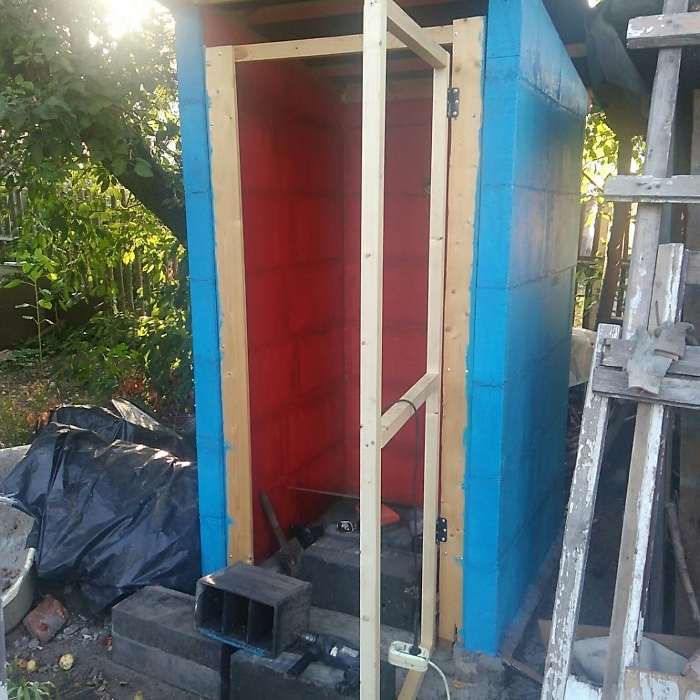
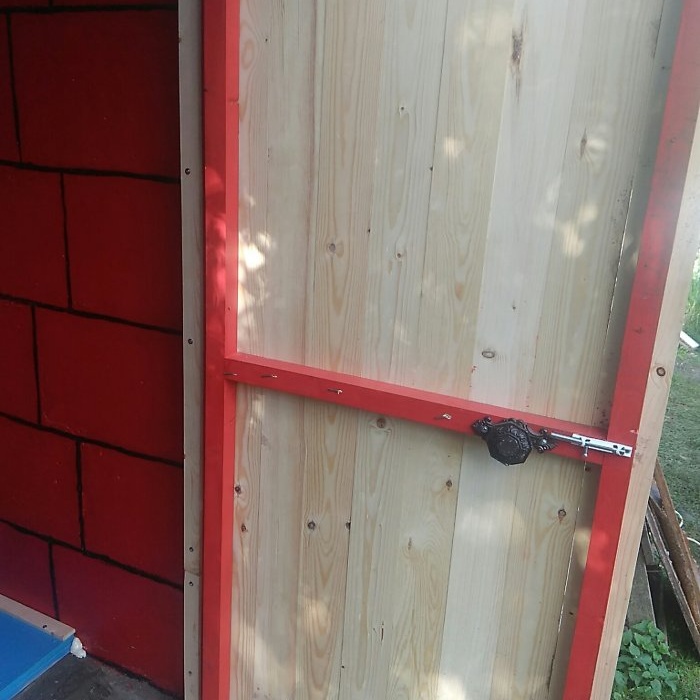
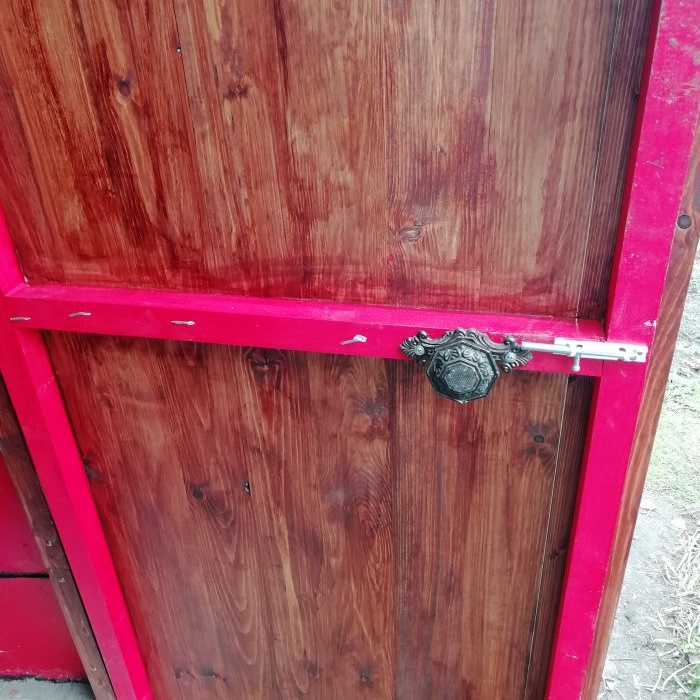
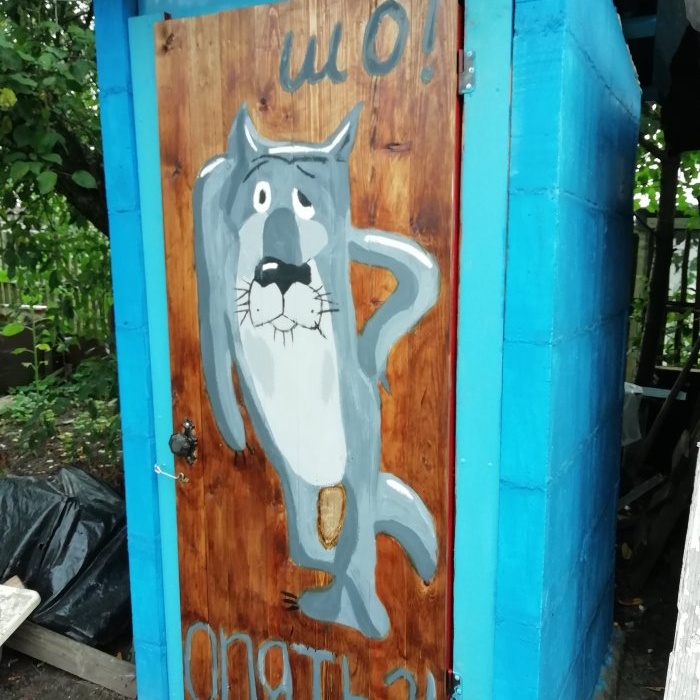
Then I attached two pieces of wood to the front of the toilet using screws and anchors to secure the door. I made a lightweight frame for it.
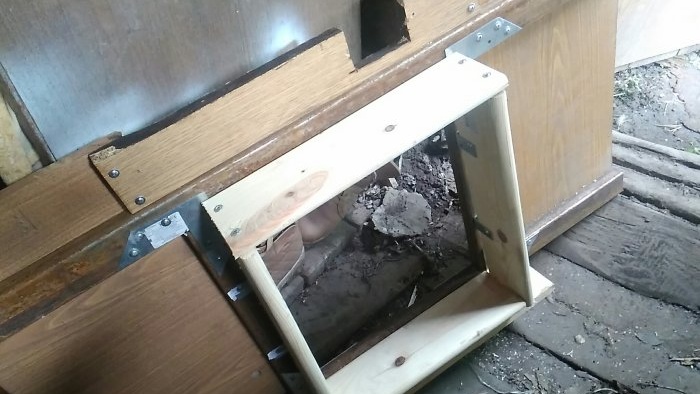
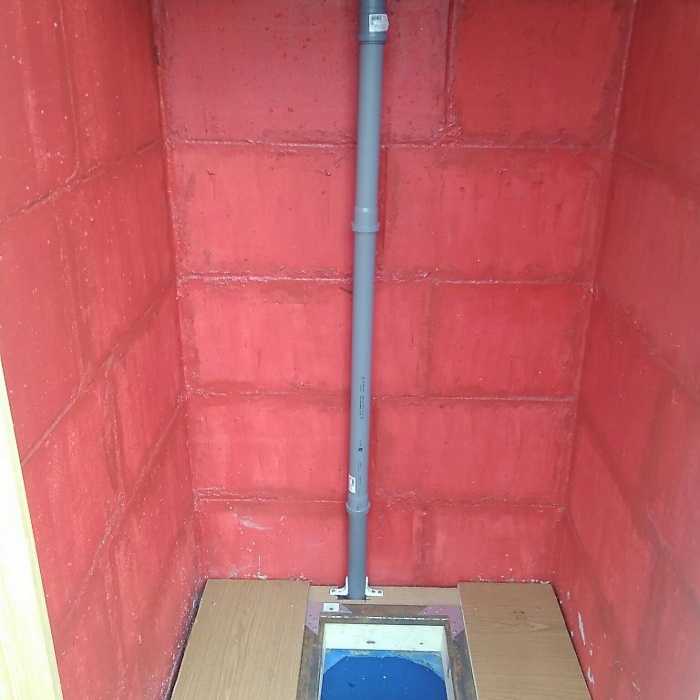
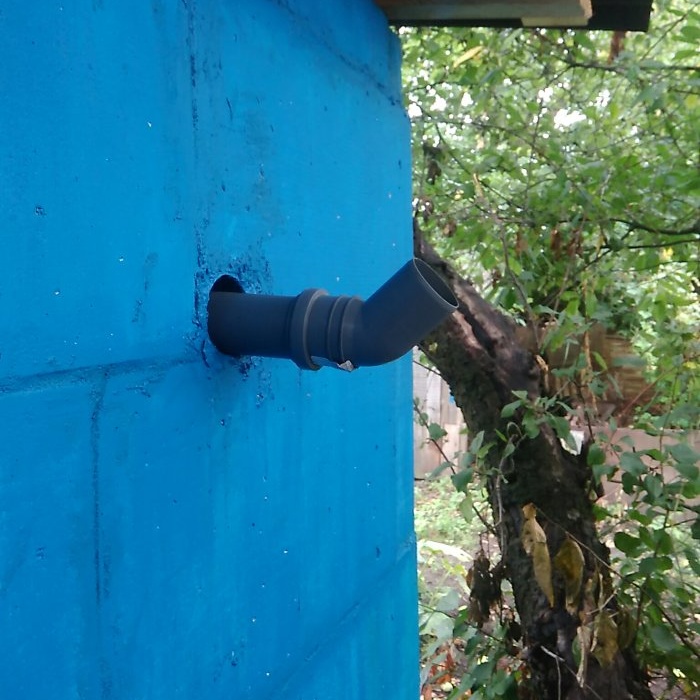
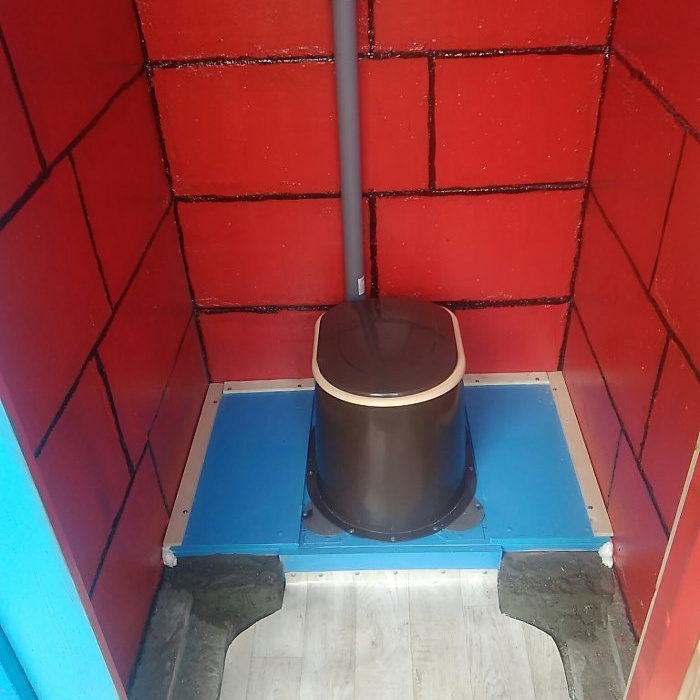
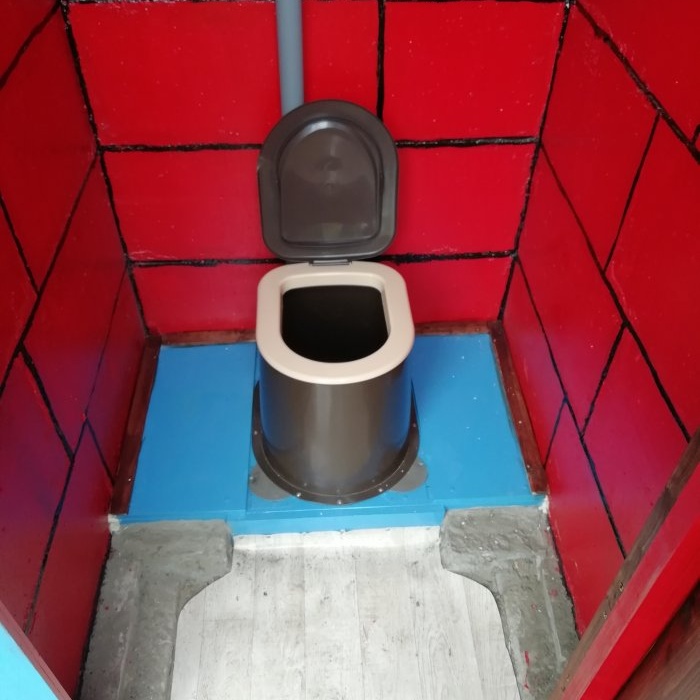
At the same time, I made a stand for the toilet seat, a ventilation hood, and painted everything with facade paint.
Once the door was ready, I began the final part of construction: filling all the holes with foam, installing the toilet seat, hanging hooks, etc.
The total cost of my toilet was about 1.5-2 times cheaper than I would have made its wooden counterpart (considering the fact that our prices for boards are high). You could save on onduline by using regular slate or corrugated sheets. It should also be taken into account that I already had some of the building material: sand (for the cement mixture), pipes for ventilation, frame elements for the toilet seat. The work took a total of several weeks, because I had to do everything in the evening after my main job. During this time, the cement just had time to set. The only thing I would recommend to people who dare to do the same experiment is to first plaster the structure and only then paint it. I was in such a hurry to start replacing the sewer system that I skipped this stage of the work. And perhaps I’ll come back to it later.
Also see how else you can build a toilet in the garden - https://home.washerhouse.com/en/1794-tualet-v-sadu.html
Or you might be interested in: How to make an outdoor shower? - https://home.washerhouse.com/en/4485-kak-sdelat-letniy-dush.html
Similar master classes
Particularly interesting


