How to make a flash drive with a combination lock
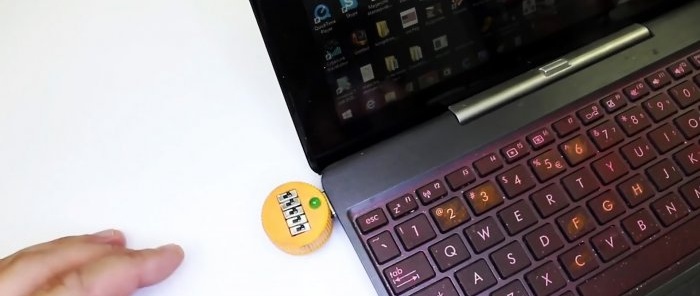
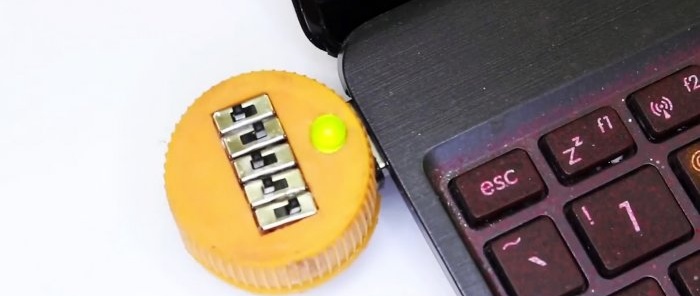
Making a flash drive with a combination lock from a regular one is very simple. In total, it will take no more than half an hour, if you do not take into account the curing time of the two-component glue. This sample is made in a PET bottle cap, but the design of the device can be more attractive to your taste.
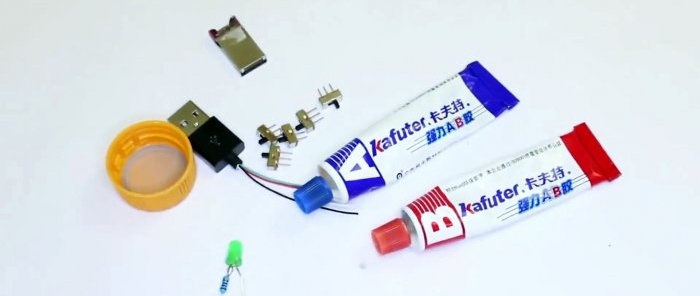
Will need
- Mini USB flash drive - http://alii.pub/5uun56
- USB plug.
- 5 microswitches - http://alii.pub/5nnu8o
- Light-emitting diode - http://alii.pub/5lag4f
- Resistor 1 kOhm - http://alii.pub/5h6ouv
- Two-component adhesive - http://alii.pub/5nl4g9
- PET bottle cap.
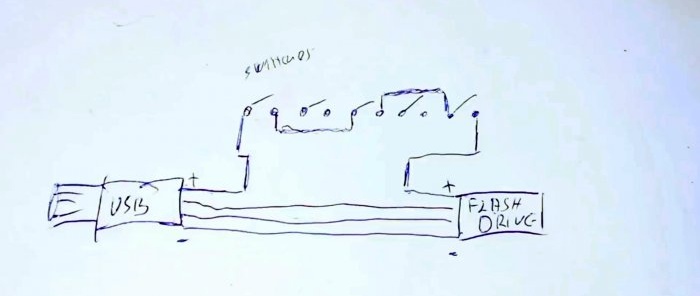
Scheme of a flash drive with a combination lock
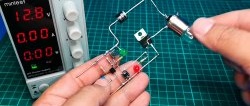
The scheme is very simple. There are 3 truths going from the plug directly to the flash card: “-”, “data+”, “data-”. And the power supply goes through series-connected switches.
The work is simple: as soon as the switches are set in the desired position, power will be supplied to the flash drive and it will be detected in the system.
Light-emitting diode will show that the code was entered correctly.
Making a flash drive with a combination lock
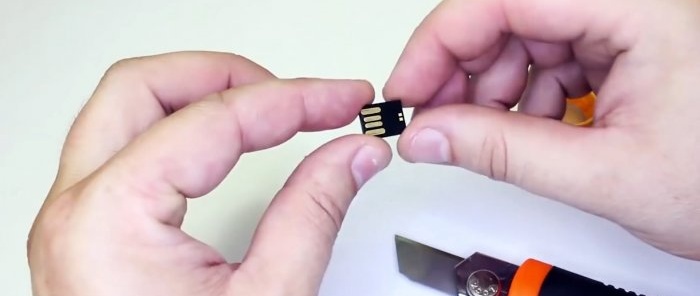
We disassemble the mini flash drive and take out the mini flash card.
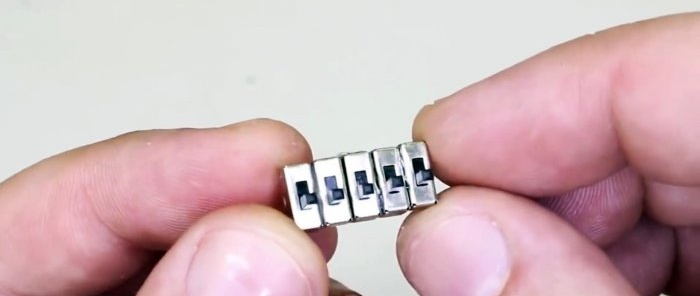
We glue the switches in a row with superglue. We connect their outputs in the sequence of “code (password)” that is needed.
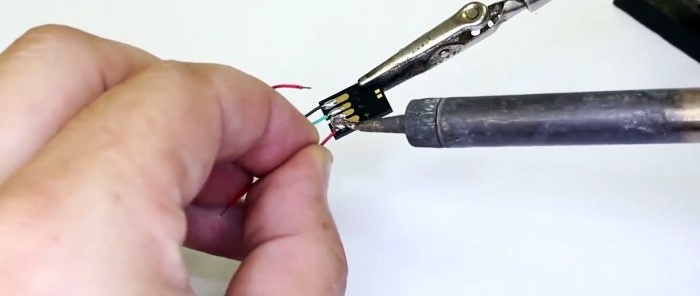
Solder the wires to the flash drive.
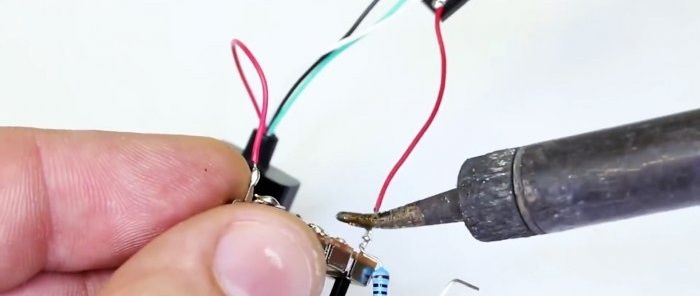
Solder the wires to the line of switches.
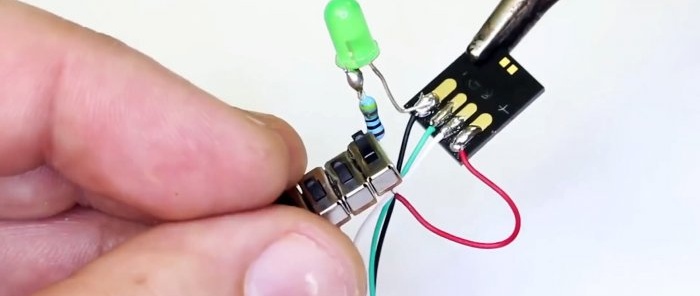
Solder Light-emitting diode with a resistor in parallel with the flash card.
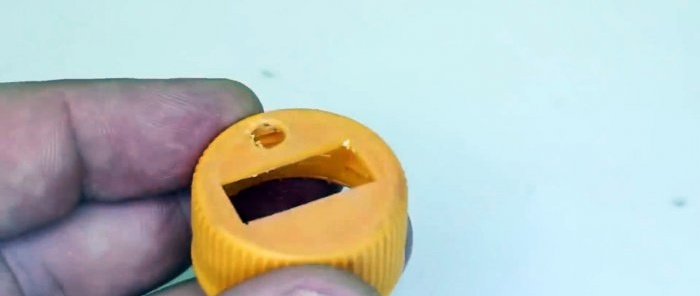
We make 3 slits in the lid: a hole for Light-emitting diode, a rectangle for switches, a slot for a USB plug.
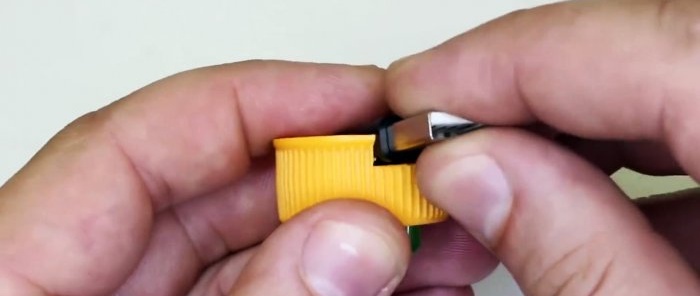
We install switches with an LED, a flash drive and a plug.
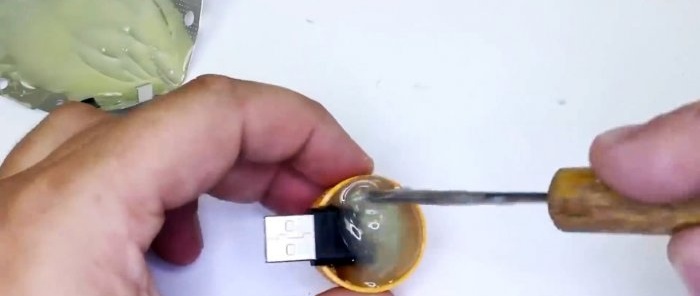
We dilute two-component glue and pour it into the voids of the lid.
After 24 hours you can use it.
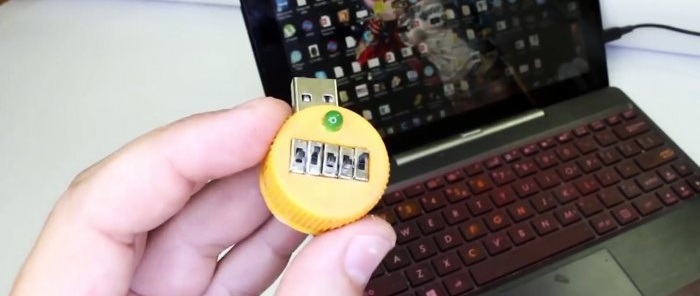
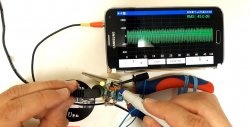
Insert the flash drive into the laptop.
And if the switches are in the correct position, it will light up Light-emitting diode and the flash drive will be detected in the computer system.

