How to make a wood lathe from an angle grinder
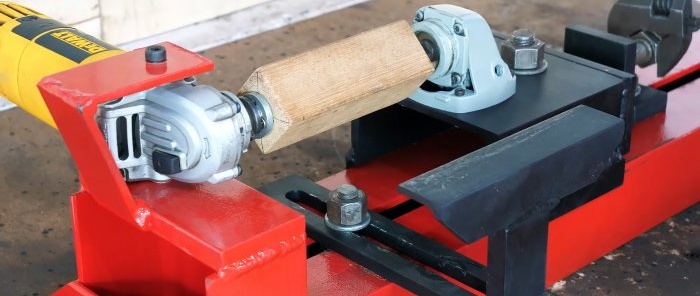
To turn beautiful handles for tools, chair legs, balusters for railings and other wooden products, a homemade lathe is enough. The cost of its production when purchasing materials from a metal receiving facility will be very low. As a drive, you can use a grinder, which almost everyone already has.
Materials:
- Channel;
- gearbox from a broken grinder;
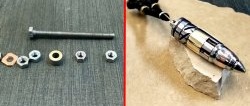
- bolts, nuts M14;
- corners 20x20 mm, 50x50 mm;
- strip or sheet steel with a cross-section of 6 mm or more
- working Bulgarian.
Wood lathe manufacturing process
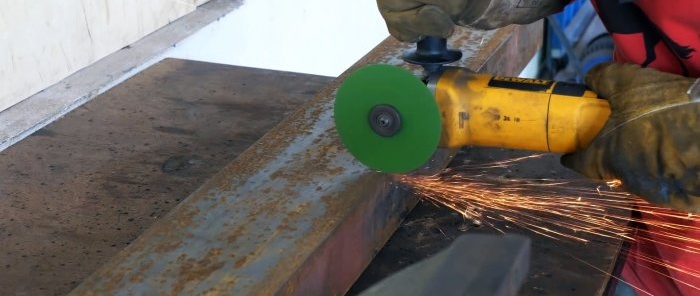
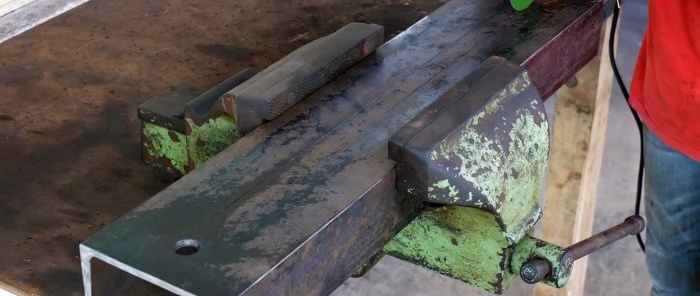
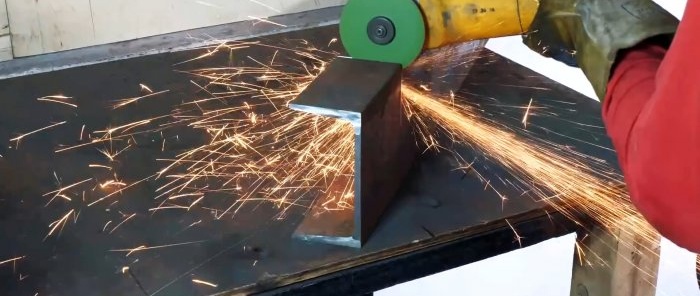
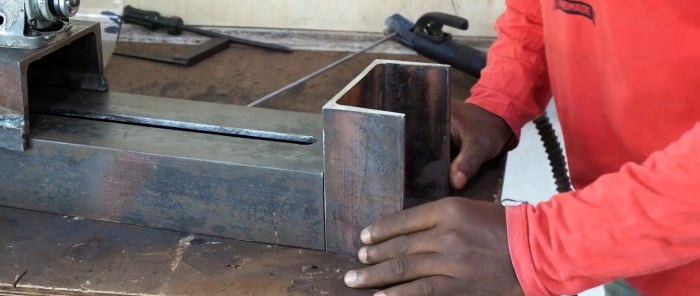
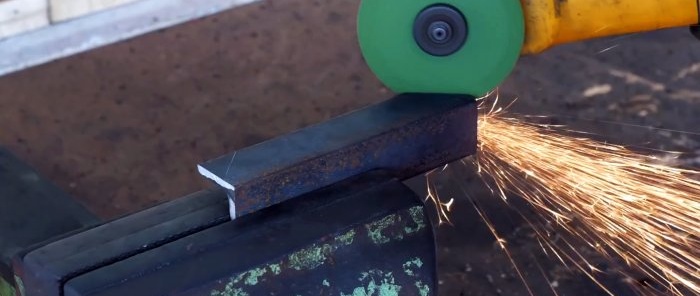
The machine bed is made of channel. It is cut to such length as to be able to process the workpieces you are interested in.
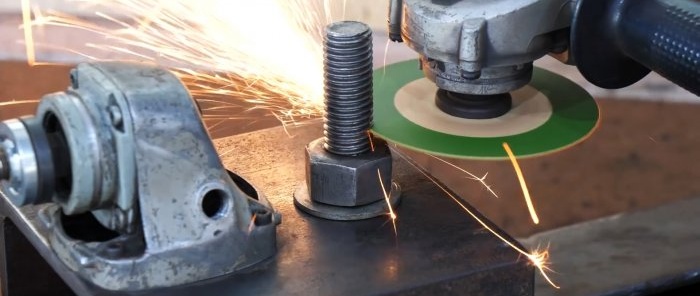
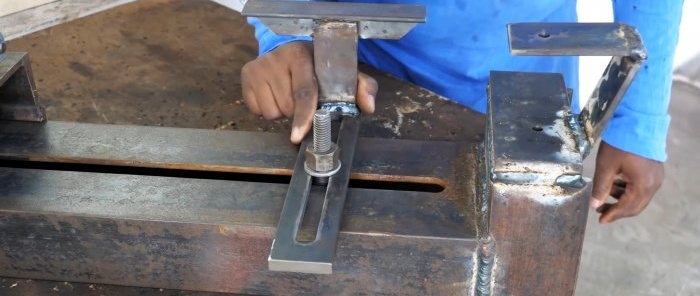
A longitudinal groove is cut into the channel for sliding M14 bolts. It should turn out smooth, so it won’t hurt to file it.
A section 20-25 cm long is prepared from the same channel.
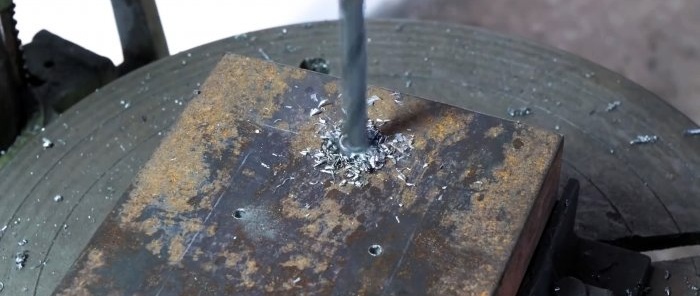
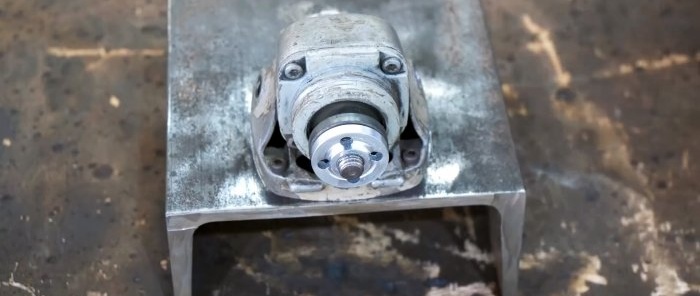
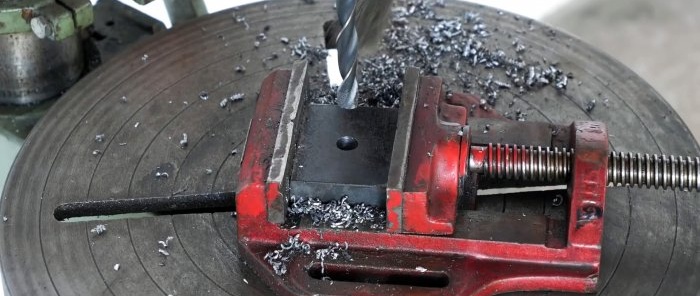
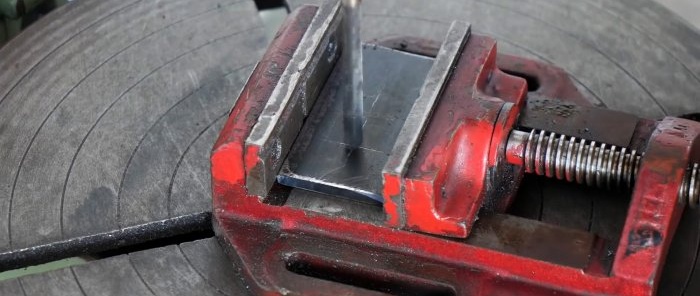
You need to drill holes in it to screw the gearbox from the broken angle grinder. In the center of this workpiece, offset to one edge, you will also need to make a 14 mm hole.
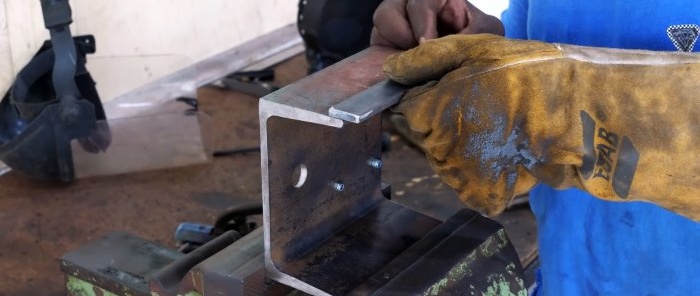
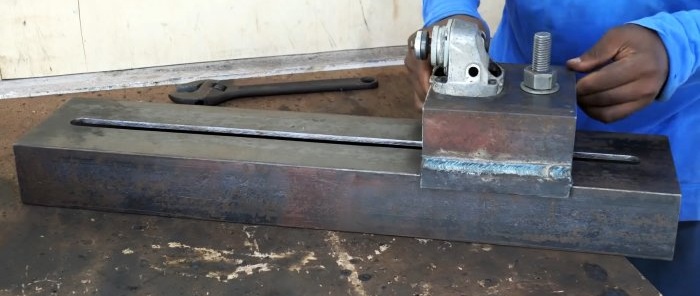
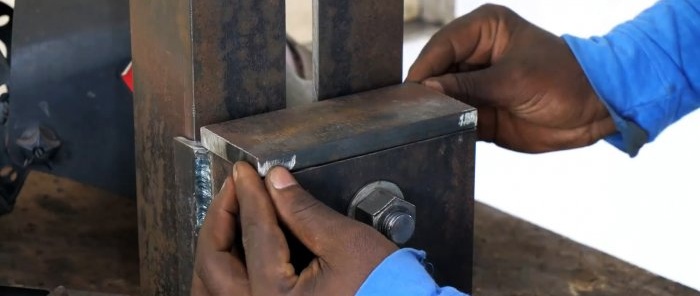
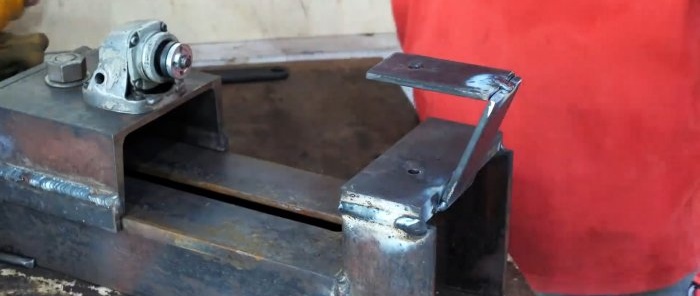
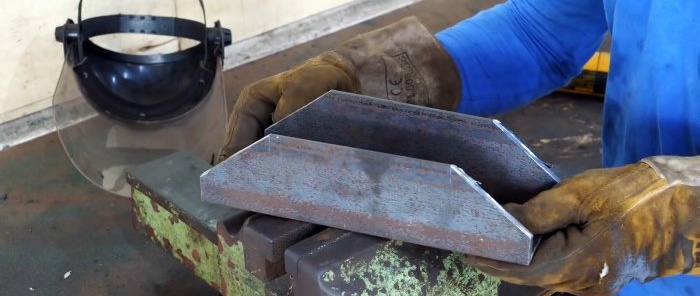
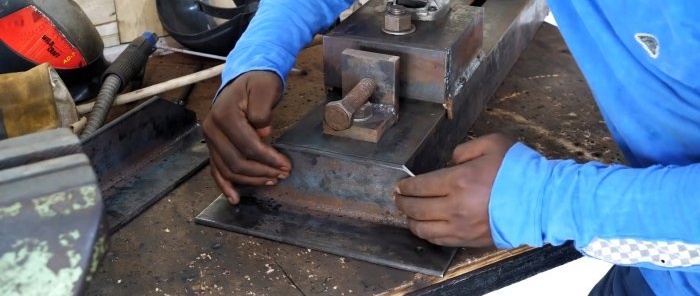
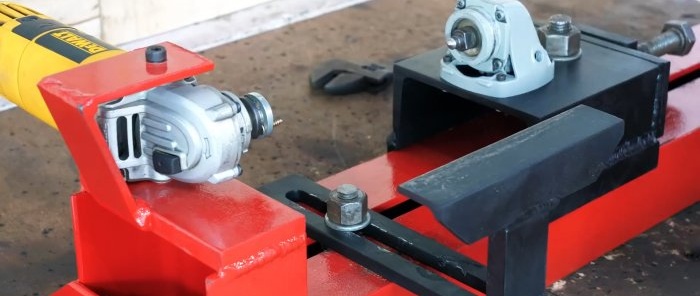
Corners are welded to the carriage with the gearbox so that it can slide along the frame. Then it needs to be secured to the last one with an M14 bolt.
The front part of the carriage is welded with a strip so that chips do not fall under it later during operation.
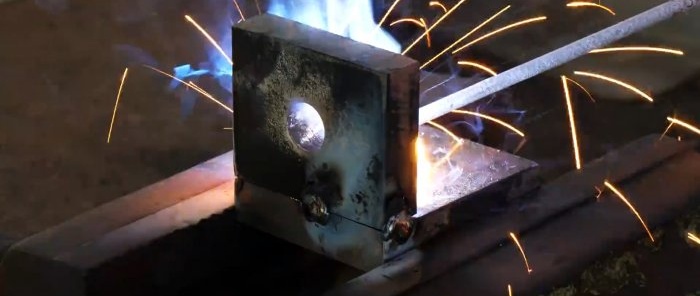
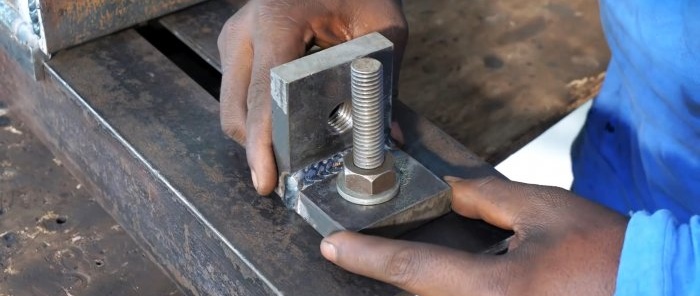
Now you need to make a clamp, which will later allow you to fix the workpieces. To do this, a corner is welded from a thick strip. On one side of it, a thread is cut for an M14 bolt, on the second, a hole is simply made to screw it to the machine bed through a groove.
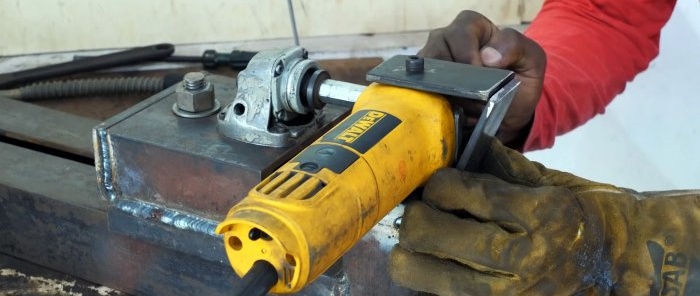
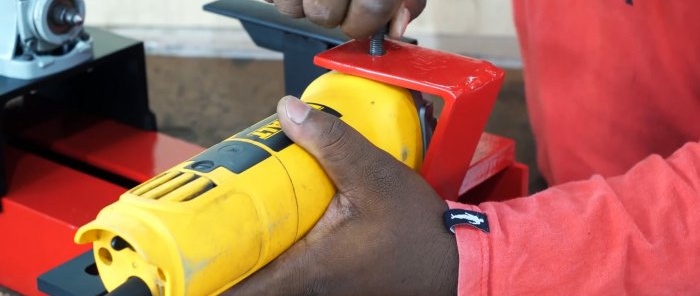
A section of channel is welded to the end of the frame. It needs to be sealed from above by welding a strip in which a hole is made for attaching the grinder.
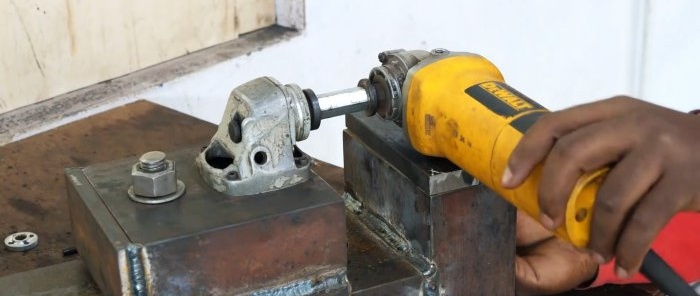
Now, using an extended M14 nut, you need to connect the gearbox spindle on the machine with the grinder. This will allow you to correctly align it and weld the mount from two plates. As a result, the angle grinder is screwed using standard holes for a removable handle. It will be held from below by a bolt screwed through a plug in the channel, and from above by a bolt screwed through a bracket made of strip.
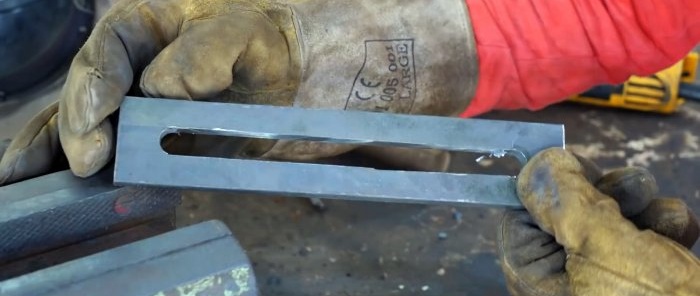
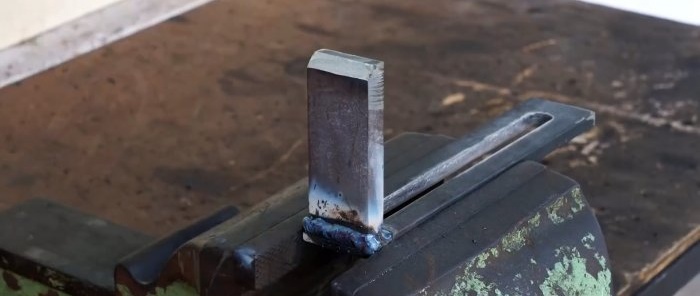
Next we need to make an adjustable sliding stop for the cutter. To do this, take a piece of strip in which a longitudinal through groove is cut. A short piece of strip is welded to it at a right angle. And the stop from the corner is welded onto the last one. The resulting part is screwed to the frame.
To attach the frame to the desktop, you need legs. To do this, from a 50x50 mm corner it is necessary to cut 2 blanks that are 10 cm longer than the width of the channel. Their corners are cut off on one side. The edges of the second side are drilled. Then the parts are welded to the frame.
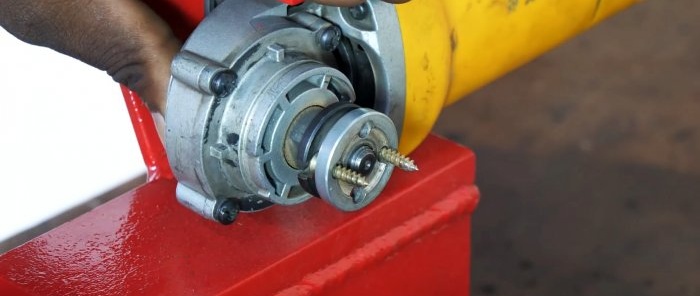
The gearbox spindle from the grinder needs to be sharpened to a cone. This cannot be done on the angle grinder itself.In order not to spoil it, you can simply screw one of its standard washer onto the spindle until it stops, and then clamp the second one, after inserting 2 self-tapping screws into it.
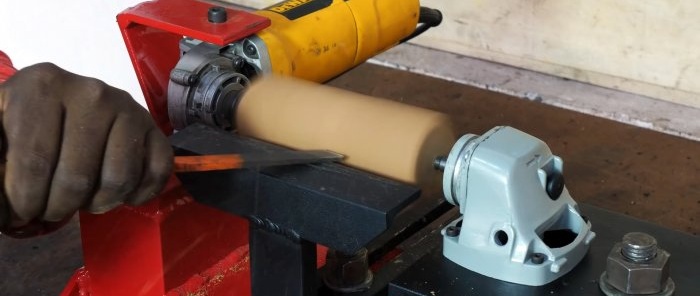
As a result, you can rest against the workpiece on one side with these screws, and on the other with a sharpened spindle. Everything is clamped very simply by screwing a bolt onto a welded square, which is placed behind the carriage with the gearbox.
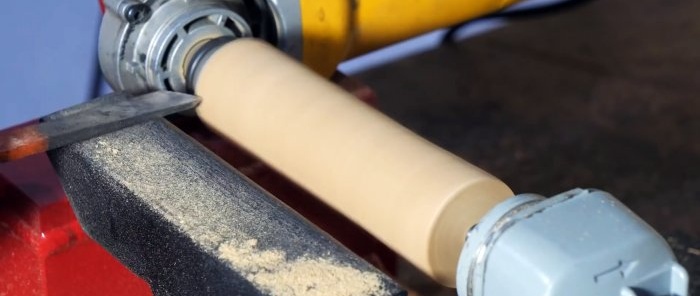
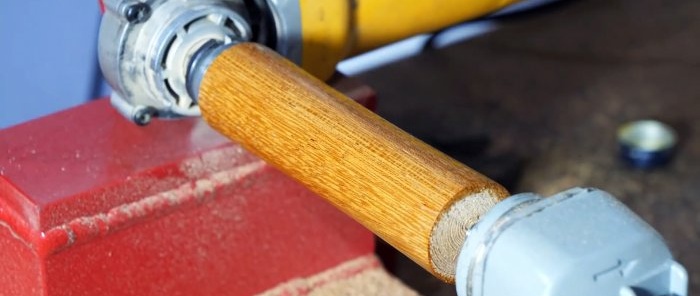
Now, by adjusting the stop for the cutter and starting the grinder, you can very quickly grind the workpiece. The productivity of such a lathe is very high. If the grinder has a speed controller, or is run through it, then it will be absolutely fine.

