How to make a belt grinder using a grinder without welding
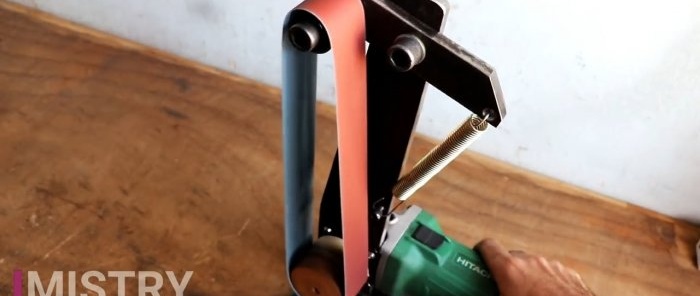
A belt sanding machine can be used for sharpening knives, axes, chisels, sharpening blades, turning workpieces, removing rust and solving dozens of other problems. This is an irreplaceable piece of equipment, but even it may be too large for a small workshop. Having a lack of free space in the workplace, you can make a homemade belt grinder based on a 125 mm angle grinder. Such a machine turns out to be very compact and inexpensive to manufacture, and the grinder used as its drive, if necessary, can be removed and used in normal mode.
The choice of materials and their quantity depends on what kind of sanding belt you plan to use. It’s better to make a grinder for tape of standard sizes available for sale, so that you don’t have to cut the paper and glue it yourself. For a grinder based on an angle grinder, a belt with a width of 40, 45, 50 mm is suitable.
Having decided on the tape, you can prepare other materials:
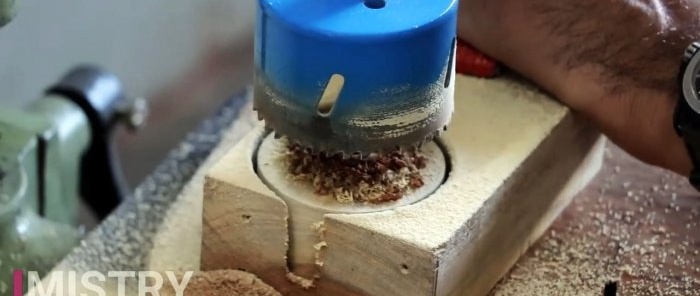
First you need to make a drive roller to rotate the belt. It can be drilled with a crown with a diameter of 40-50 mm from a block or board.
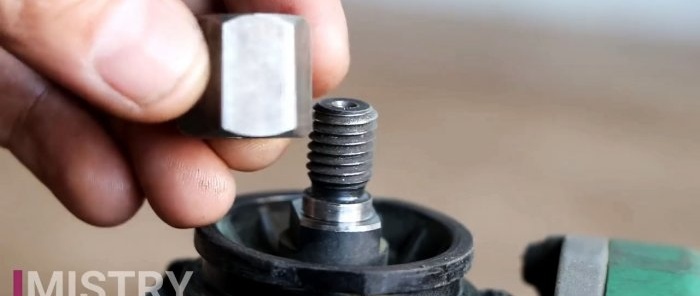
In this case, the width of the roller must be equal to or greater than the width of the belt. On one side, its central hole needs to be drilled out and an elongated M14 nut pressed into it using epoxy glue.
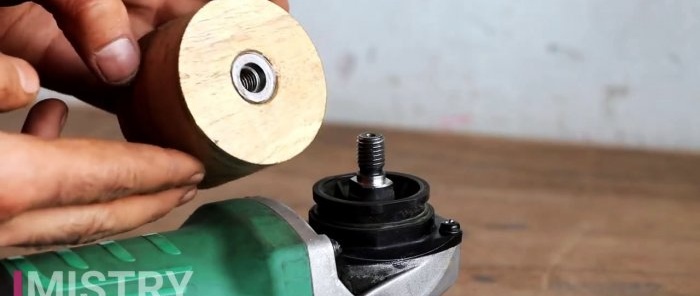
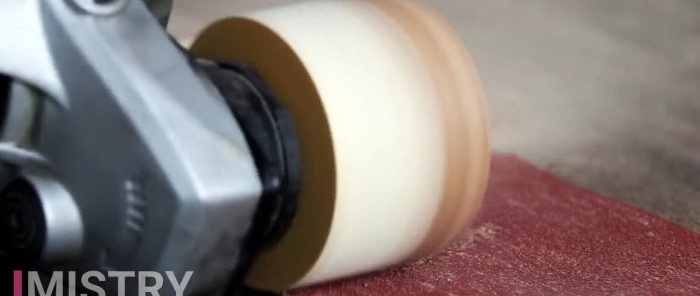
After the glue hardens, the roller is installed on the grinder. Next, you need to turn on the angle grinder and sand it, pressing it against sandpaper. You need to give it a barrel shape, slightly pressing the edges and leaving the central diameter. In this case, the tape will then fly off.
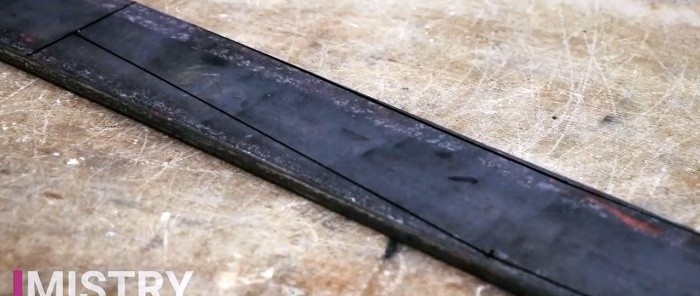
The grinder frame is cut out of a strip or steel plate. Its dimensions will depend on the length of the selected sanding belt standard.
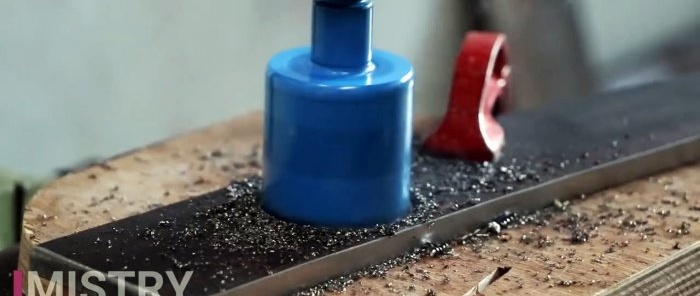
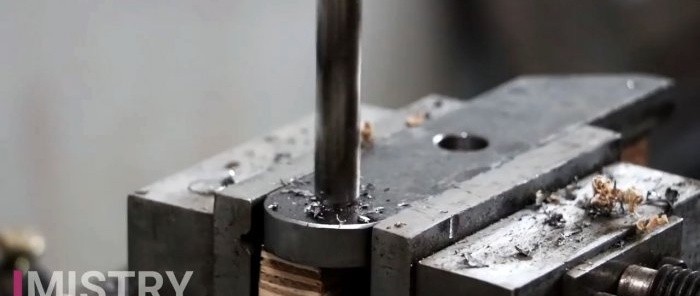
A hole with a diameter of 40-45 mm is made in the frame. The grinder gearbox will be inserted into it and the shaft will be removed.
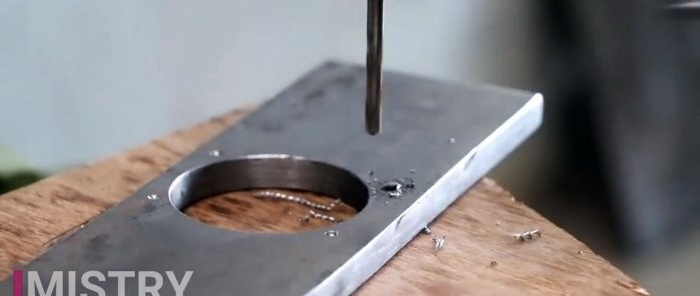
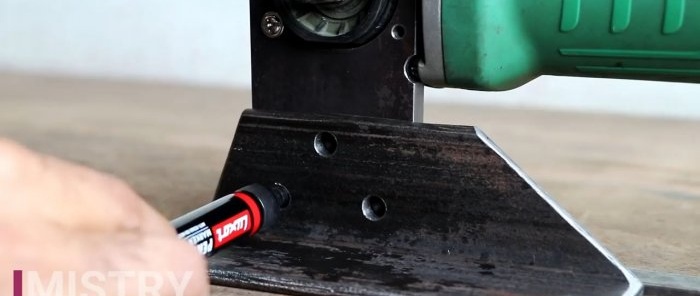
To mark the fasteners, you need to temporarily remove the gearbox, place it in place and mark the holes for the screws.
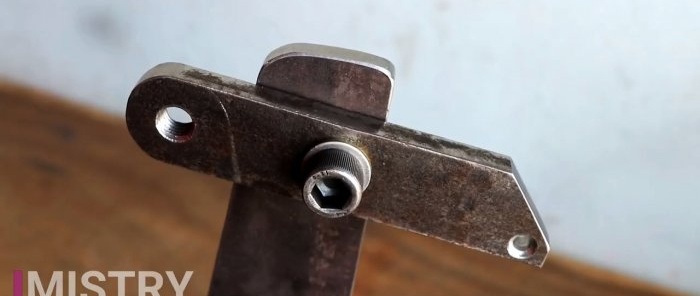
4 mounting holes and 2 grooves on the side are made in the frame so that when docking it does not interfere with the screws that press the gearbox to the angle grinder body.
The machine stand is made from two corner pieces.
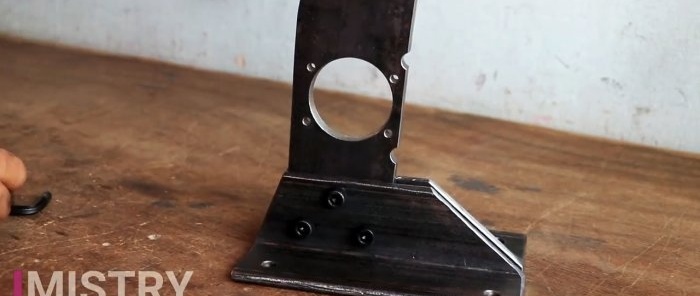
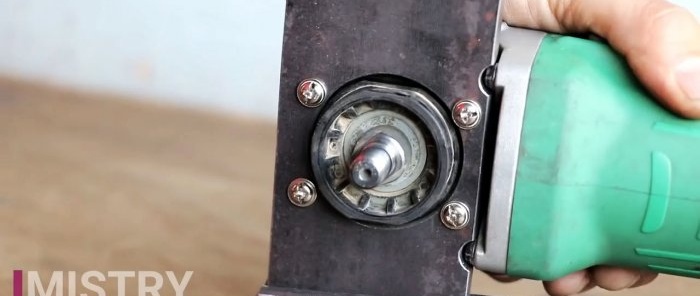
The frame is clamped between them with bolts in a vertical position. To do this, holes are made for 3 M6 bolts, in which threads are cut. You will also need holes in the bottom of the stand to screw the machine to the table.Having secured the frame, you can try on the angle grinder, but the standard screws on its gearbox need to be replaced with elongated ones.
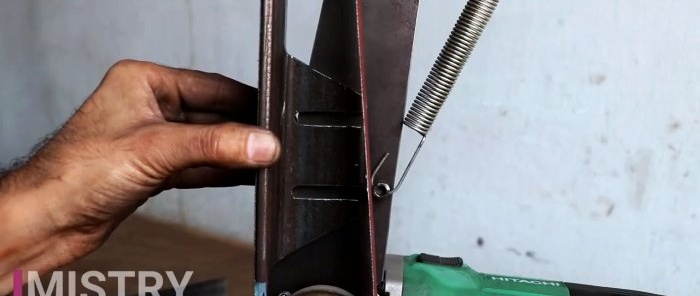
Next, a shoulder is cut out to tension the tape. It is attached to the frame in the center with an M10 bolt and nut.
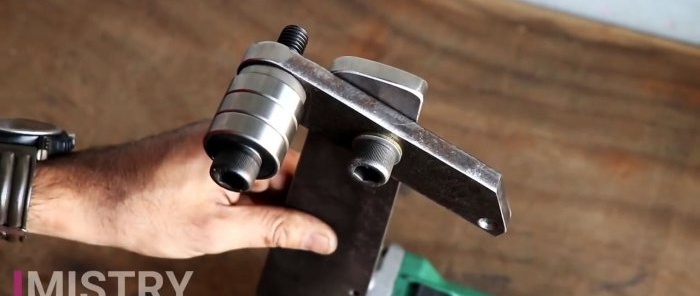
A second M10 bolt is placed at the end of the arm, pressing 3-4 bearings. It is necessary that the width of the bearing group corresponds to the width of the tape. They will perform the function of a driven tension roller.
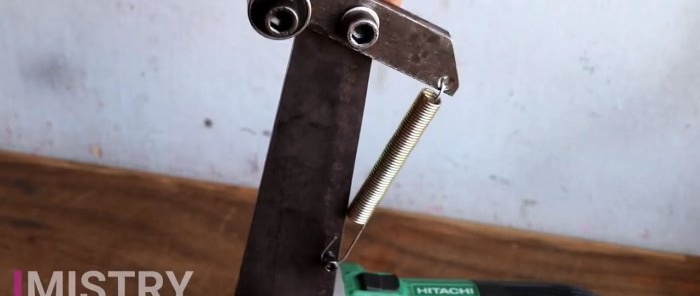
To tighten the resulting roller, a spring is placed on the second end of the arm, engaged at the bottom of the frame.
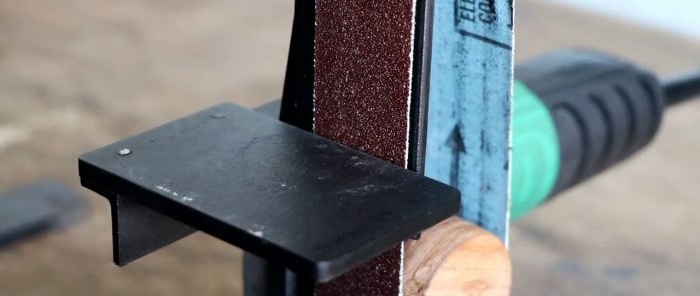
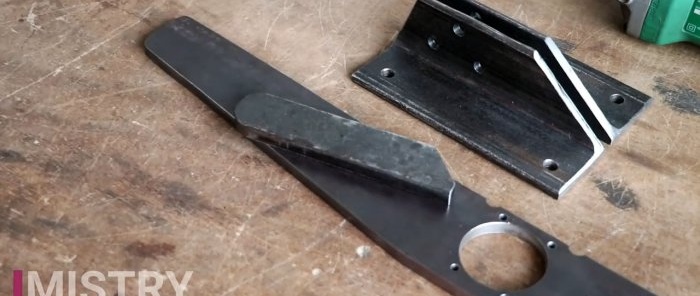
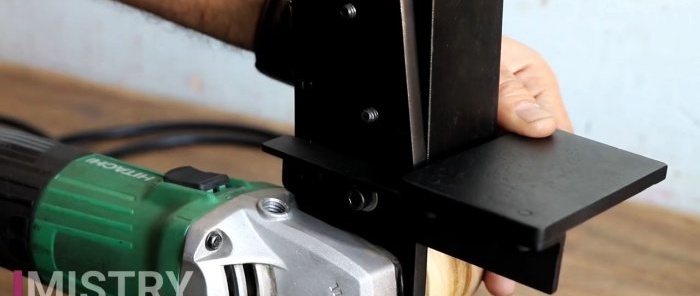
An adjustable stop plate is cut from the corner, as in the photo. It should have a groove to allow it to change position when clamped.
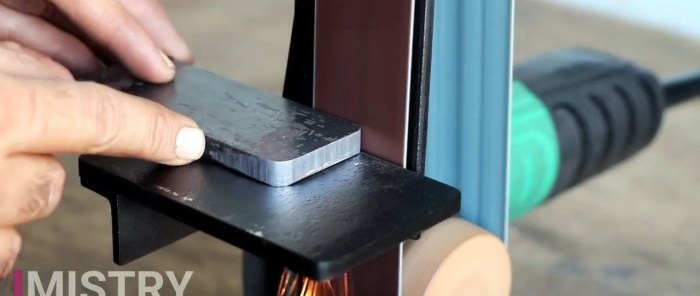
Also, a working platform is made from a steel plate and a small corner. You also need to make a groove in its corner to be able to adjust the position.
The stop and working platform are screwed to the frame with M6 bolts. After tensioning the sanding belt, the machine can be used for its intended purpose. It can perform absolutely the same tasks as a factory grinder. When not needed, the machine can be disassembled and folded compactly. The angle grinder used with it is not subject to design changes, so it can still be used for its main purpose.
Necessary materials
The choice of materials and their quantity depends on what kind of sanding belt you plan to use. It’s better to make a grinder for tape of standard sizes available for sale, so that you don’t have to cut the paper and glue it yourself. For a grinder based on an angle grinder, a belt with a width of 40, 45, 50 mm is suitable.
Having decided on the tape, you can prepare other materials:
- extended nut M12;
- timber or board with a thickness corresponding to the width of the tape;
- two-component epoxy adhesive;
- steel plate or wide strip with a thickness of 5 mm or more;
- steel corner 50x50 mm or larger;
- M6 bolts;
- M10 bolts;
- M10 nuts;
- bearings 3-4 pcs.;
- extension spring.
Making a Belt Sanding Machine
First you need to make a drive roller to rotate the belt. It can be drilled with a crown with a diameter of 40-50 mm from a block or board.
In this case, the width of the roller must be equal to or greater than the width of the belt. On one side, its central hole needs to be drilled out and an elongated M14 nut pressed into it using epoxy glue.
After the glue hardens, the roller is installed on the grinder. Next, you need to turn on the angle grinder and sand it, pressing it against sandpaper. You need to give it a barrel shape, slightly pressing the edges and leaving the central diameter. In this case, the tape will then fly off.
The grinder frame is cut out of a strip or steel plate. Its dimensions will depend on the length of the selected sanding belt standard.
A hole with a diameter of 40-45 mm is made in the frame. The grinder gearbox will be inserted into it and the shaft will be removed.
To mark the fasteners, you need to temporarily remove the gearbox, place it in place and mark the holes for the screws.
4 mounting holes and 2 grooves on the side are made in the frame so that when docking it does not interfere with the screws that press the gearbox to the angle grinder body.
The machine stand is made from two corner pieces.
The frame is clamped between them with bolts in a vertical position. To do this, holes are made for 3 M6 bolts, in which threads are cut. You will also need holes in the bottom of the stand to screw the machine to the table.Having secured the frame, you can try on the angle grinder, but the standard screws on its gearbox need to be replaced with elongated ones.
Next, a shoulder is cut out to tension the tape. It is attached to the frame in the center with an M10 bolt and nut.
A second M10 bolt is placed at the end of the arm, pressing 3-4 bearings. It is necessary that the width of the bearing group corresponds to the width of the tape. They will perform the function of a driven tension roller.
To tighten the resulting roller, a spring is placed on the second end of the arm, engaged at the bottom of the frame.
An adjustable stop plate is cut from the corner, as in the photo. It should have a groove to allow it to change position when clamped.
Also, a working platform is made from a steel plate and a small corner. You also need to make a groove in its corner to be able to adjust the position.
The stop and working platform are screwed to the frame with M6 bolts. After tensioning the sanding belt, the machine can be used for its intended purpose. It can perform absolutely the same tasks as a factory grinder. When not needed, the machine can be disassembled and folded compactly. The angle grinder used with it is not subject to design changes, so it can still be used for its main purpose.
Watch the video
Similar master classes
A very simple grinding machine made from available materials
Budget Belt Sanding Machine
How to make a super grinder yourself from an ordinary grinder
The simplest grinder without a lathe from a washing machine engine
How to make a drum sanding and calibrating machine for wood
The simplest grinder without welding and turning from a washing machine engine
Particularly interesting
Comments (3)

