How to update an old window sill without replacing it with a new one
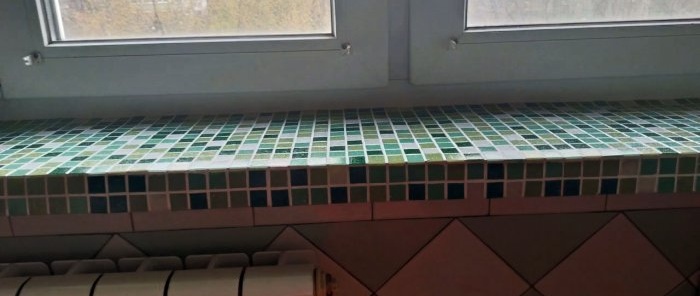
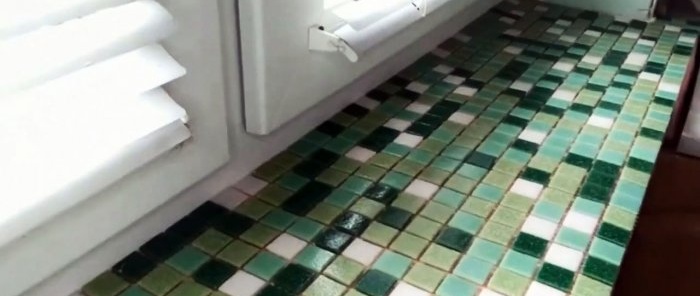
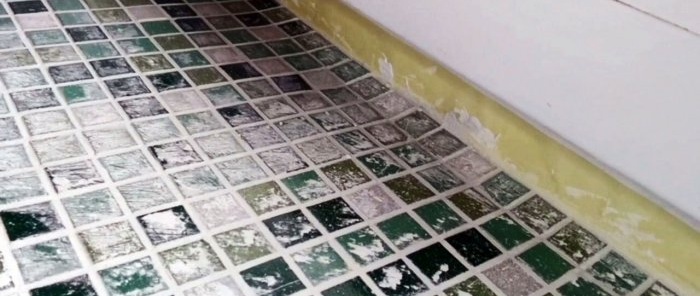
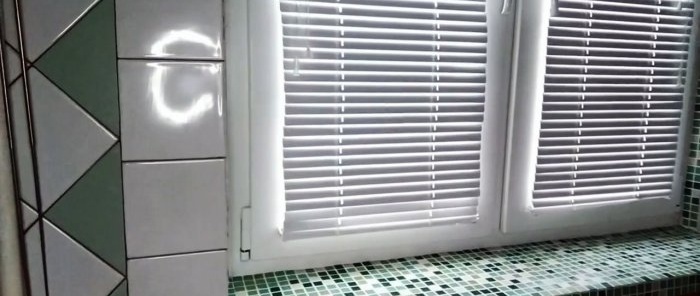
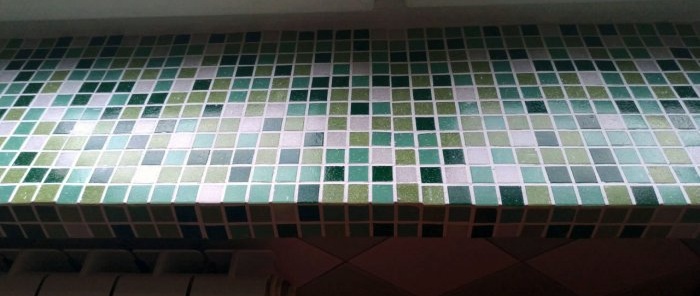
Older houses often have window sills made of concrete. They are durable, can withstand enormous loads, but already have a completely unsightly appearance. Replacing them with plastic ones requires destroying the slopes and part of the wall. It would be more practical to cover an old concrete window sill with mosaics. It's not as difficult as it might seem.
Materials:
- Mosaic tiles;
- concrete contact;
- tile adhesive;
- grout for tiles.
The process of gluing mosaics on the windowsill
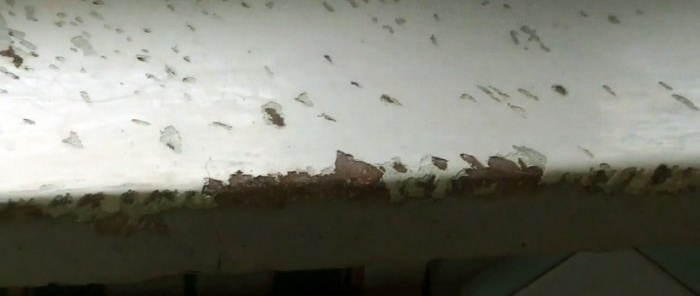
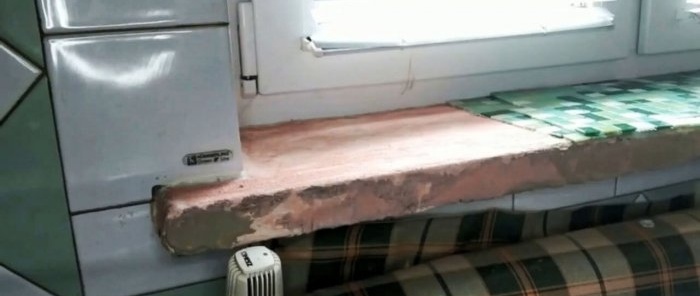
Before tiling work, you need to clean the old window sill.
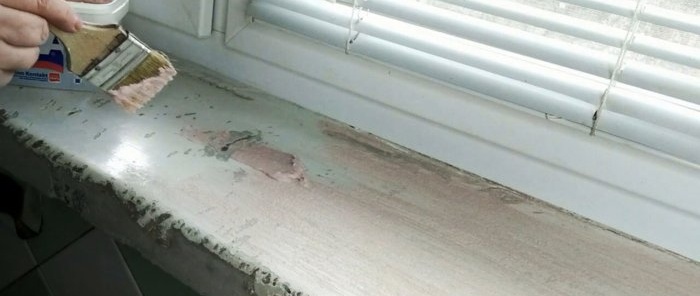
If there is peeling paint on it, it should be removed where possible. In order for tile adhesive to stick to the window sill, it should be covered with concrete contact. This is done in 1 layer with a regular brush.
Next, you need to cut the mosaic to the size of the window sill. The tiles are glued onto a mesh, so the sheets can be easily cut with a knife or scissors. If the slopes are beveled, then some of the tiles need to be cut off from the mesh. Then in such places they will be laid individually, rather than as a sheet. This will allow, by adjusting the width of the seams, to fill these bevels without cutting the ceramic or glass tile itself.
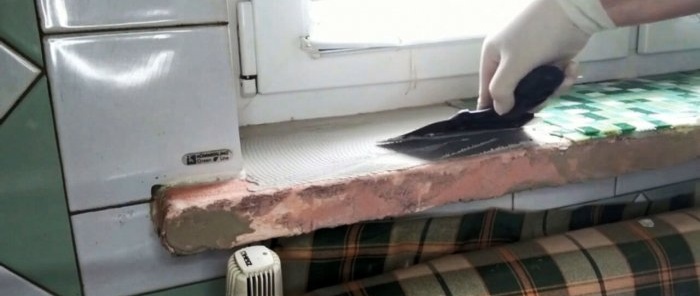
Then one sheet of tile is removed and tile adhesive is applied underneath it. It is very convenient to use ready-made acrylic rather than cement for mosaics. The glue is first applied with a regular spatula, and then it is evenly distributed with a comb to remove excess, thereby eliminating clogging of the tile joints.
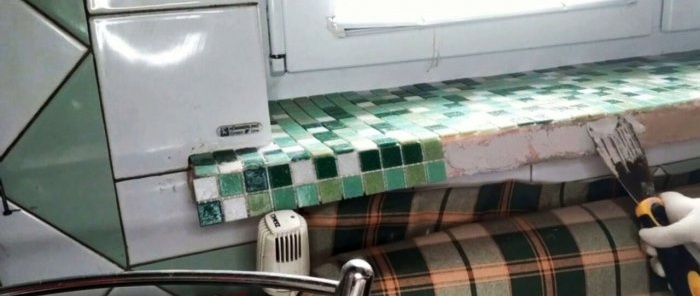
The tiles are glued in stages, sheet by sheet. You cannot apply glue to the entire window sill, as it sets quickly and you will not have time to level the mosaic. First, only the horizontal surface is pasted over.
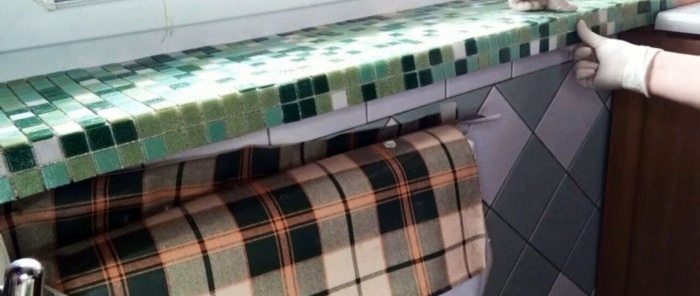
At the next stage, the end of the window sill is covered. Here it is advisable to use a square to maintain a right angle. The tiles need to be brought together closely so that the formed angle is neat.
Grouting of the tiles is carried out on the second day or at a longer interval, it all depends on the recommendations in the instructions for the adhesive used. The fugue is applied with a rubber or plastic spatula into the seams. You need to press it in to fill them completely. Excess grout is removed with a spatula.
After half an hour, the window sill is rubbed with a damp, well-wrung out sponge. It is necessary to ensure that the fugue in the seams is smoothed out and gets rid of potholes. The sponge will allow you to distribute the grout evenly, removing excess where necessary, and smearing it where there is not enough grout.
After waiting a little for the seams to dry, the window sill is wiped with a dry cloth. It will remove stains on fugue tiles in one go. If you do this with a wet rag or sponge, streaks will appear several times.
Watch the video
Similar master classes



Particularly interesting


