How to start and use the motor from a DVD drive
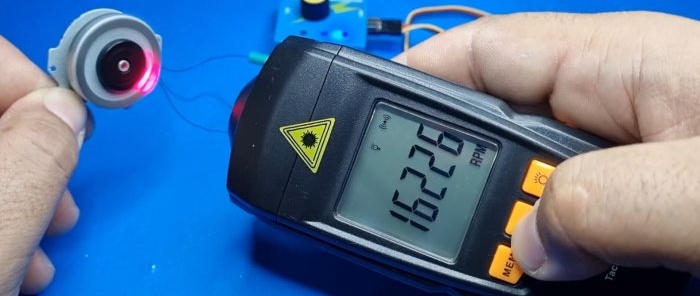
Many homemade devices require a powerful but compact electric motor. If you have an old DVD drive, then you can remove the motor from it and slightly upgrade it. After this, the engine torque will increase, and the rotation speed will be at 16 thousand rpm.
Materials:
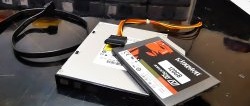
- drive unit;
- enameled copper wire 0.2 mm;
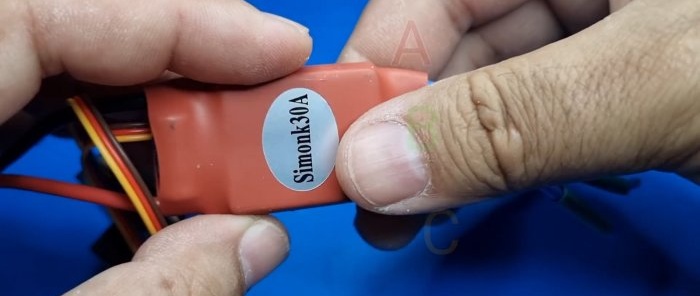
- speed controller Simonk 30A - http://alii.pub/61pqks
Manufacturing process of high-power brushless motor
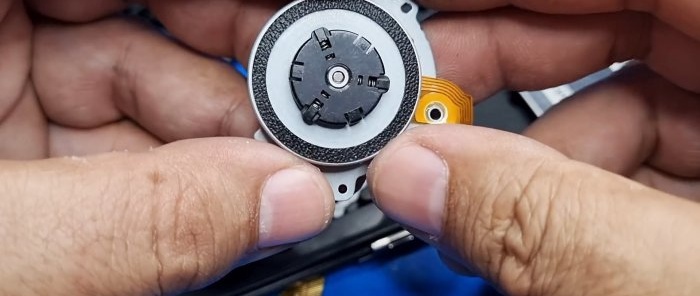
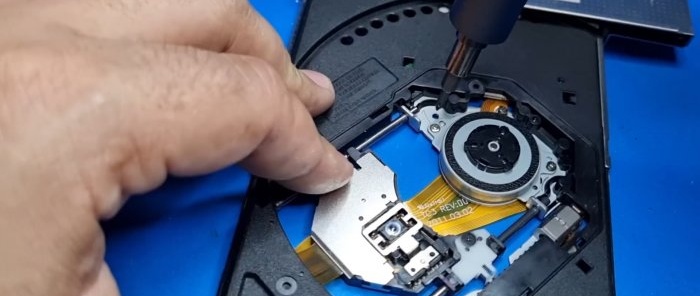
First you need to open the DVD drive to get to its motor. It needs to be dismantled. To do this, unscrew the lid and tear off the cable. To disassemble the motor, you need to pry it with a screwdriver, and it will open without any problems.
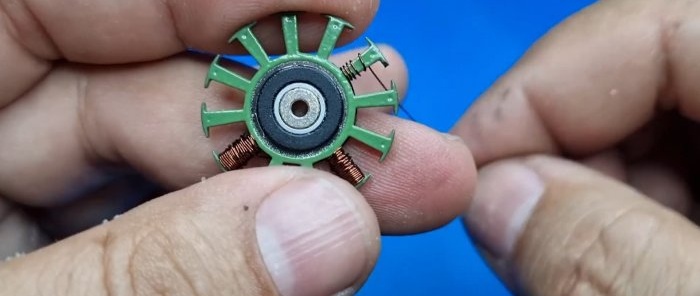
The core with winding is removed from the opened motor. After this, you need to remove the wire wound around it. It will no longer be needed, so special care is not needed.
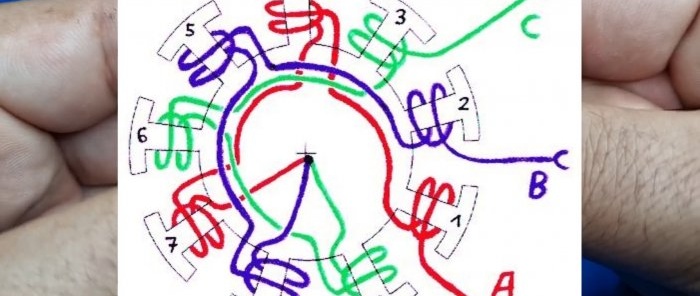
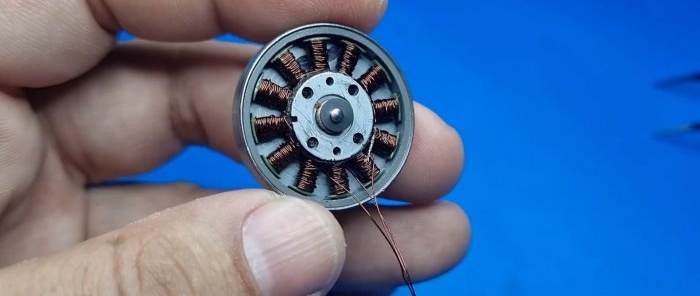
Next we need to make a new winding using wire with a cross section of 0.2 mm. To do this, it is wound on each tooth of the core turn to turn in 3 layers.
It is important to adhere to the presented winding pattern.A single piece of wire is wound onto the 1st, 4th and 7th teeth without breaks. Then the second on teeth 2, 5 and 8, and the third on 3, 6 and 9.
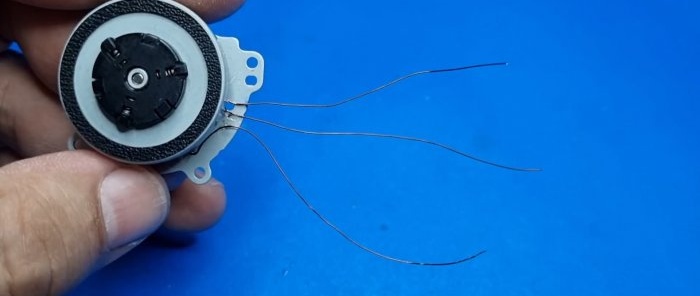
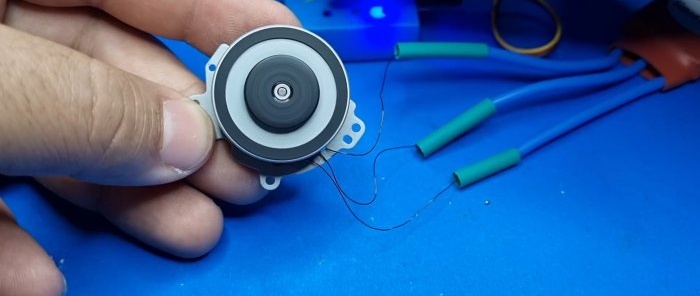
The beginnings of the windings need to be cleaned of enamel and soldered together. The engine is then put back together.
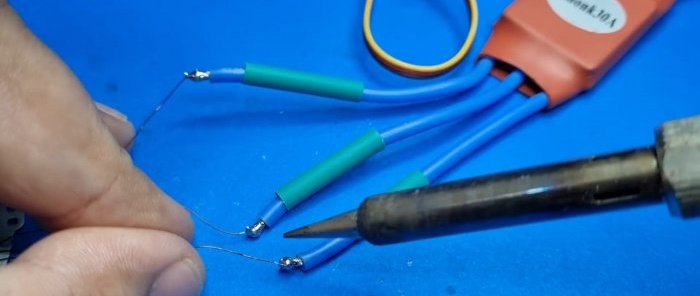
The speed controller is soldered to the remaining free three ends of the winding.
Now all that remains is to power the regulator from 12V and start the engine for testing. It's a cheap, easy way to get powerful, compact engines. The shape of the core allows you to rewind the wire manually without much effort and without following a complex pattern. Everything is done in an elementary way.
Watch the video
Similar master classes
