How to make an automatic dryer from a broken hair dryer
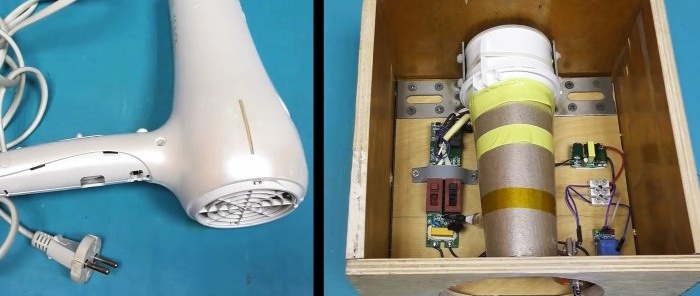
Often, a hair dryer fails due to cracks in the case or defective buttons, while its heating element and fan continue to work perfectly. In this case, these parts can be used to make an electric hand dryer. If the donor hair dryer is powerful, then in terms of performance it will not be inferior to commercial dryers.
Materials:
- Old hairdryer;
- thin plywood;
- self-tapping screws;
- mounting angles;
- plastic ties;
- step-down converter from 220 V to 5 V - http://alii.pub/66duq4
- relay module 5 V - http://alii.pub/66duu7
- IR obstacle sensor - http://alii.pub/66duvd
- terminal blocks.
Electric dryer manufacturing process
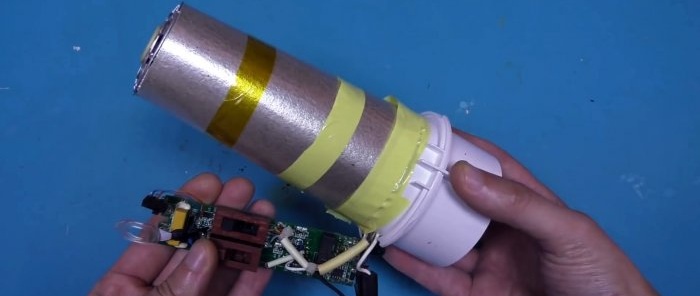
The hairdryer needs to be disassembled. The control board, fan and heating element are removed from it.
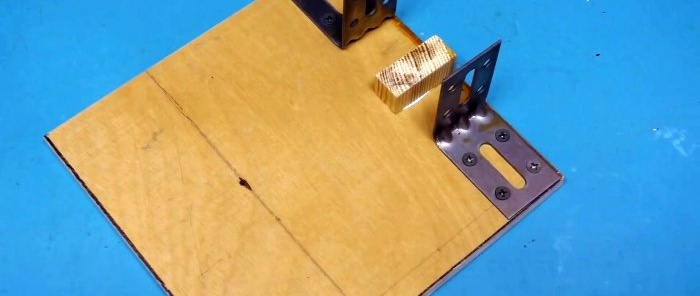
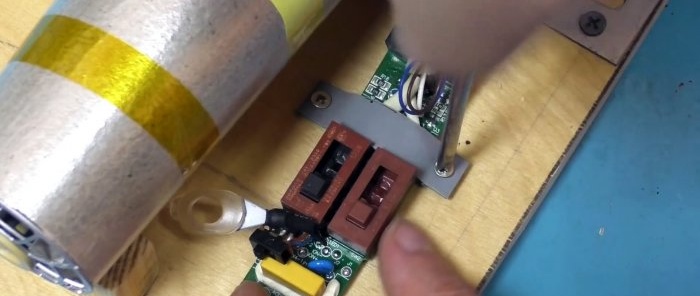
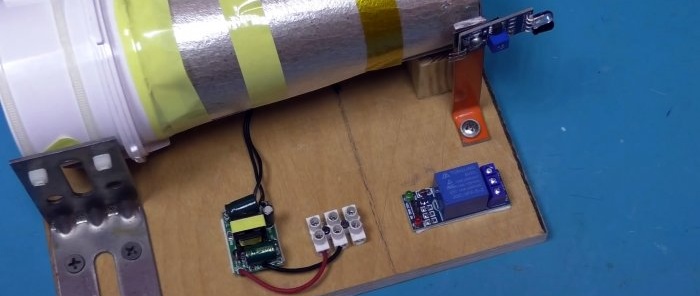
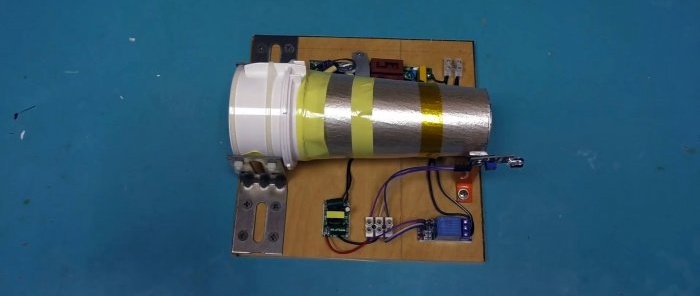
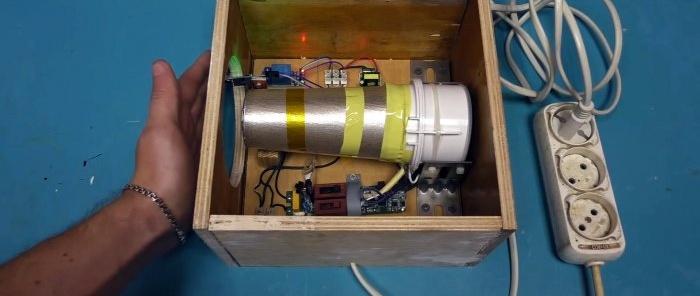
Next we make the body of the dryer. To do this, we screw the mounting corners to a piece of plywood 20x20 cm. A heater with a fan should be placed between them. To place the latter, you will need to glue 2 bars to the base, as in the photo.
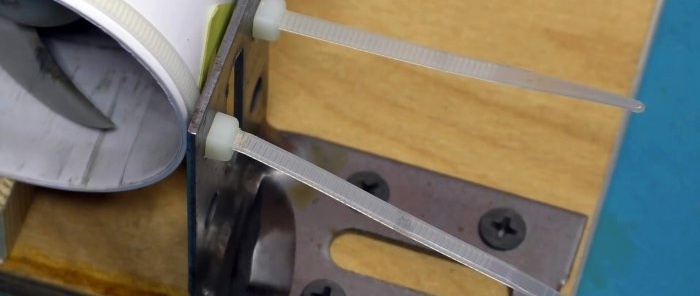
The heater and fan are placed on the blocks and then pulled together with ties passed through the holes in the corners.
The board is pressed to the side with a clamp made from a piece of plastic.
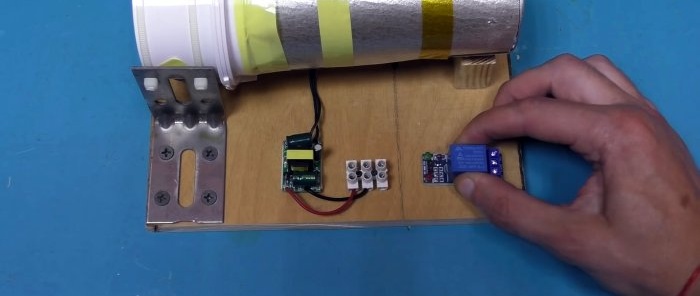
We glue a 5 V step-down converter with soldered wires onto the base with double-sided tape. We screw the wires through which 5 V will flow to the 3-pin terminal block and attach it to the side.
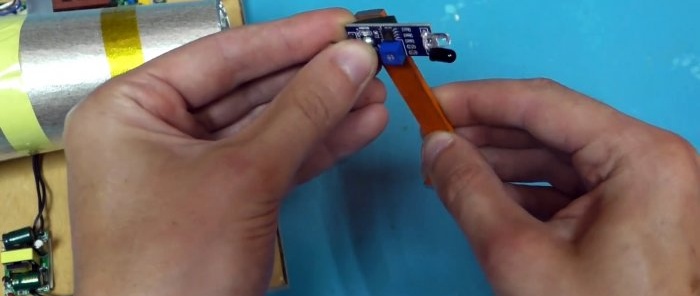
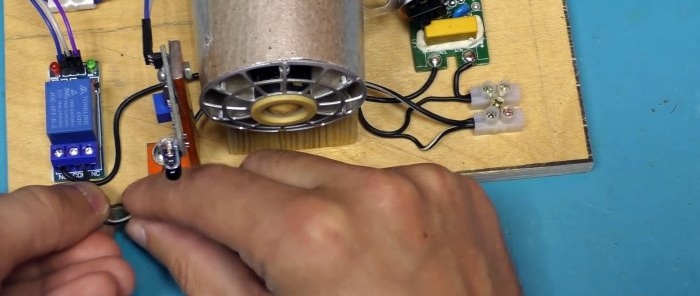
The relay module is also glued to the plywood with tape. Then you need to install an obstacle sensor. It is attached to a metal bracket through an insulating gasket. The bracket with the sensor is screwed to the plywood.
Next, the wires are connected. Using the terminal block, you need to connect the voltage converter to the obstacle sensor. One contact from the latter is connected to the currently free terminal on the block.
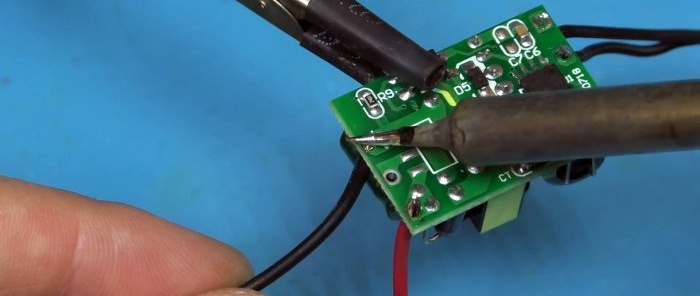
We clamp 3 more wires on the block and put them on the relay. At the relay output, we solder one wire to the standard board of the hair dryer. Then we attach another terminal block to the side with 2 contacts. In it you need to clamp a previously prepared drive that supplies 220V to the converter. One jumper from the terminal is connected to the standard board of the hair dryer. The remaining contact of the terminal must be connected to the relay.
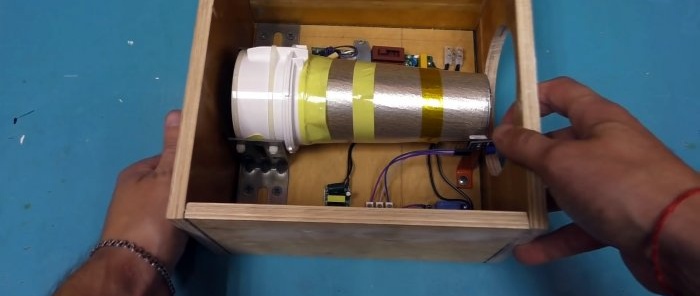
The assembled structure is placed in a plywood case with a hole for the outlet of heated air. A lead with a plug from the same hair dryer is connected to the last 2-pin terminal block.
Now, when your hand approaches the sensor, the hair dryer will start.
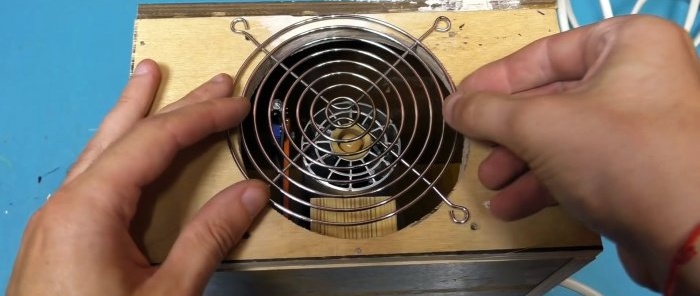
All that remains is to put the grille on the blower and paint the body.
Watch the video
Similar master classes
