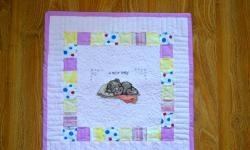
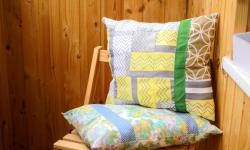
Patchwork style pillowcase with embroidery elements
Beautiful things always please the eye. Homemade things are especially pleasant to the soul. They are unique in that the soul of the person who created them is embedded in them. Naturally, many people want to make everything that surrounds their child more convenient and beautiful. After all, you want to give your children the best. At the same time, you want the item to be not just beautiful, but also unique, not like the others. In this case, the solution would be to create things of various themes with your own hands. You will definitely not find an exact copy of a handicraft item anywhere.
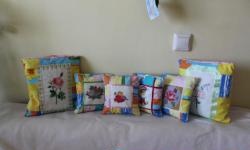
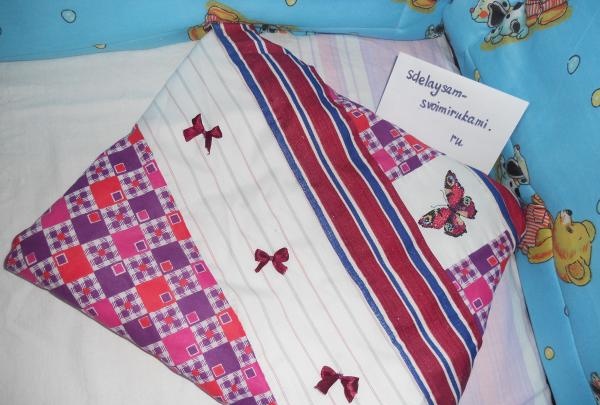
One of the options for decorating a children's room is creating bedding for a child. This master class describes the process of creating a beautiful patchwork style pillowcase with an embroidery element for a baby pillow.
For this you need:
- base fabric, plain or with a pattern (40x70 cm);
- several small pieces of fabric with different designs or patterns of approximately the same theme or color scheme;
- satin ribbon to match the pattern of the fabric cuts (20-30 cm);
- decorative insert -embroidery (if you don’t have it, you can take a piece of fabric with a bright, catchy pattern);
- threads to match the base fabric or to match the additional fabrics;
- sewing needle.
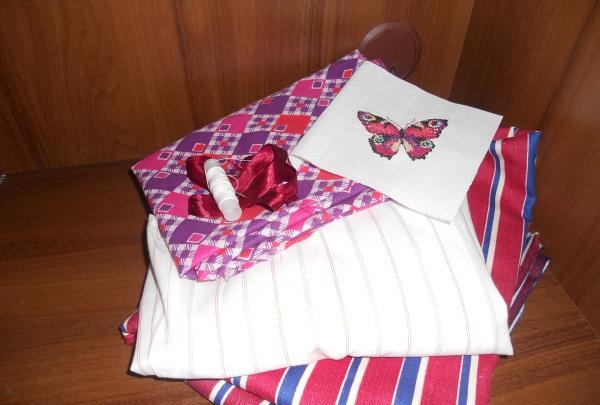
There are several ways to sew things in the patchwork style. This master class will describe a method in which fabrics will not just be stitched together, but sewn onto a base. This is the easiest way.
First, you need to think through a sketch of the future pillowcase, the location of the fabric scraps and decorative elements on the base. It's best to draw it on paper. Then cut out the necessary elements from the fabric and decide on the order of sewing them.
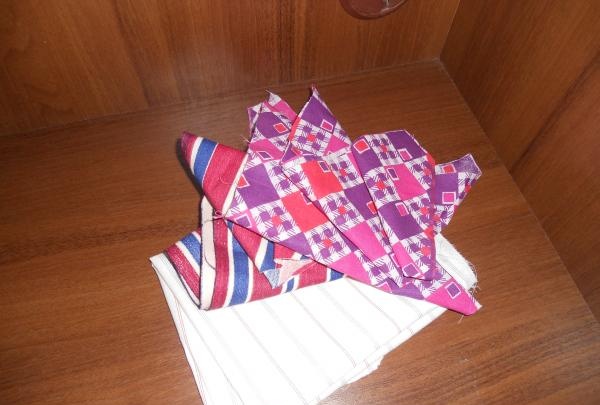
For convenience, some elements can be fastened with temporary threads, which will subsequently stretch out as the elements are sewn together.
The first piece to be sewn onto the base is a patch with an embroidered element or a pattern - a print. Then the remaining elements are sewn according to the previously planned sequence. The assembled elements are sewn together using a blind seam or a “back needle” seam. You can also sew them together using a sewing machine.
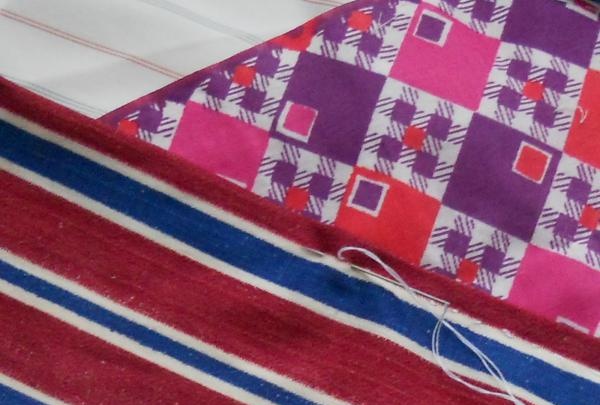
After the elements are sewn, you need to sew decorative bows onto the base. They are made from ribbon: a ribbon is tied to a pencil and a bow is formed, which is removed from the pencil and fixed with a thread in the area of the knot.
After the front part is completely formed, it is sewn from the wrong side to the back of the pillowcase. Then the pillowcase is turned right side out, ironed and becomes completely ready for use.
One of the options for decorating a children's room is creating bedding for a child. This master class describes the process of creating a beautiful patchwork style pillowcase with an embroidery element for a baby pillow.
For this you need:
- base fabric, plain or with a pattern (40x70 cm);
- several small pieces of fabric with different designs or patterns of approximately the same theme or color scheme;
- satin ribbon to match the pattern of the fabric cuts (20-30 cm);
- decorative insert -embroidery (if you don’t have it, you can take a piece of fabric with a bright, catchy pattern);
- threads to match the base fabric or to match the additional fabrics;
- sewing needle.

There are several ways to sew things in the patchwork style. This master class will describe a method in which fabrics will not just be stitched together, but sewn onto a base. This is the easiest way.
First, you need to think through a sketch of the future pillowcase, the location of the fabric scraps and decorative elements on the base. It's best to draw it on paper. Then cut out the necessary elements from the fabric and decide on the order of sewing them.

For convenience, some elements can be fastened with temporary threads, which will subsequently stretch out as the elements are sewn together.
The first piece to be sewn onto the base is a patch with an embroidered element or a pattern - a print. Then the remaining elements are sewn according to the previously planned sequence. The assembled elements are sewn together using a blind seam or a “back needle” seam. You can also sew them together using a sewing machine.

After the elements are sewn, you need to sew decorative bows onto the base. They are made from ribbon: a ribbon is tied to a pencil and a bow is formed, which is removed from the pencil and fixed with a thread in the area of the knot.
After the front part is completely formed, it is sewn from the wrong side to the back of the pillowcase. Then the pillowcase is turned right side out, ironed and becomes completely ready for use.

Similar master classes
Particularly interesting
Comments (3)


