Patchwork without a needle - “kinusaiga”: Butterfly
Many people know what patchwork or patchwork sewing is, and they know very well how labor-intensive it is, after all, sewing all the small pieces of fabric together, and even trying to assemble them into a harmonious mosaic and ironing the seams, it’s not so easy. But for those who don’t really like to sew, there is an excellent alternative using the Kinusaiga technique. This is a patchwork without a needle (on foam plastic or foam cardboard).
If you are interested in trying to do something in this wonderful, interesting, and not too complicated technique, then you can start with a panel on which there will be not so many different figures, a kind of minimalism, but this will be enough for the first time to feel all the beauty of this wonderful absorbing process.
To do this, prepare a piece of polystyrene foam, I happened to have a “coarse-grained” one on hand, but there is an even better structure, it’s called foam board, it’s also good to use, it’s just thinner, and it will need to be glued with an additional base.By the way, some people, having seen this idea on the Internet and got excited, try to use this technique on corrugated cardboard, I immediately warn you that nothing will work (tested personally).
In general you will need:
1. Foam plastic of any size,
2. Stencil, pen,
3. Small shreds of different colors and textures, especially with glitter, look beautiful,
4. Stationery knife,
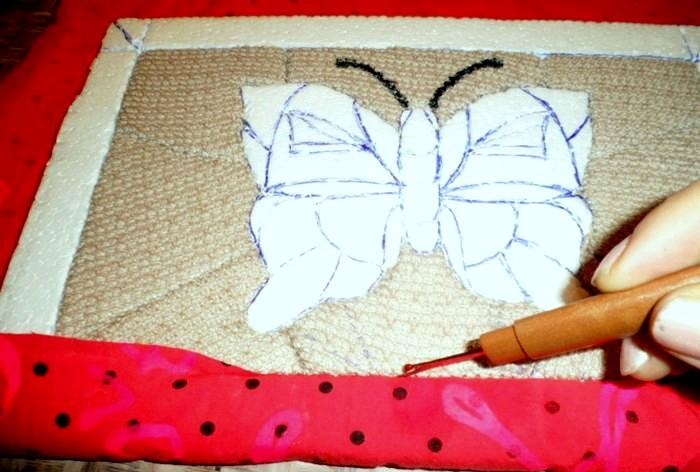
5. Some flat and blunt instrument, such as a nail file, or a seam ripper (stack), or a wooden stick, or even a blade from a stationery knife (the blunt side is needed).
6. One large piece of fabric will cover the back side of the picture, and at the same time frame it in front.
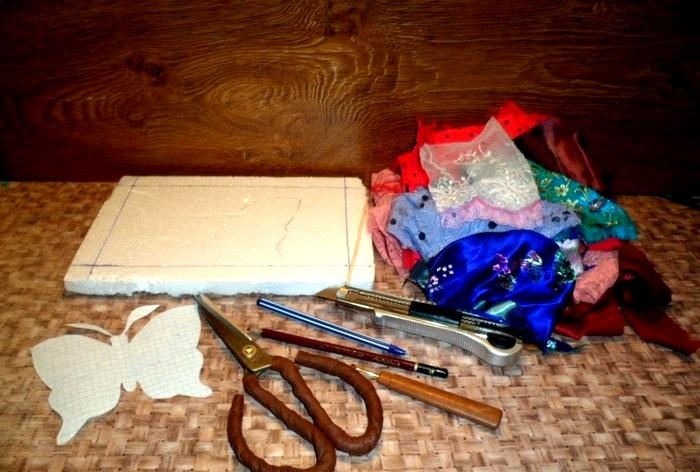
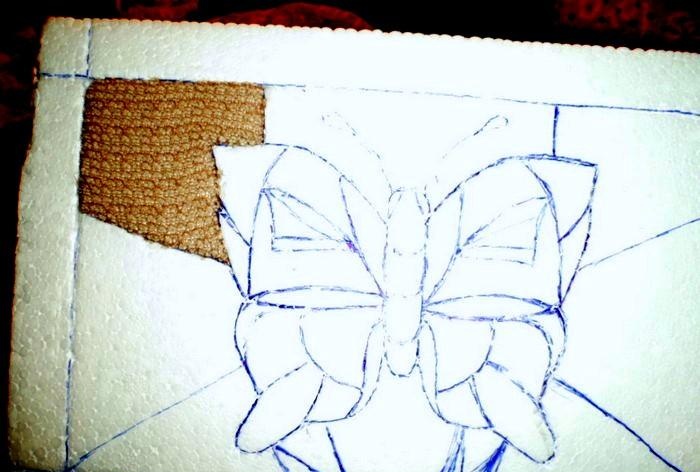
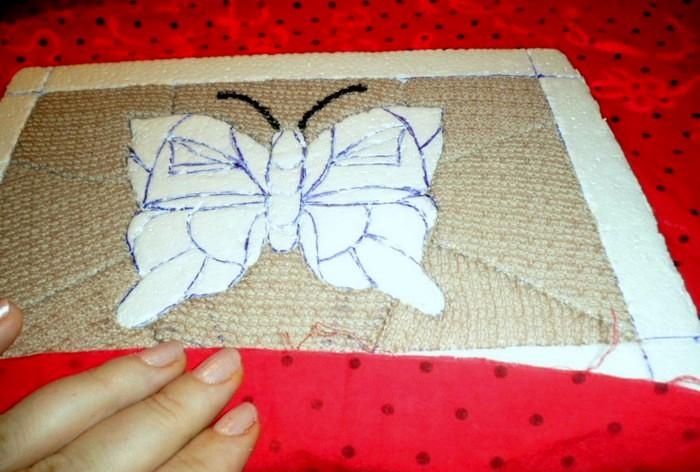
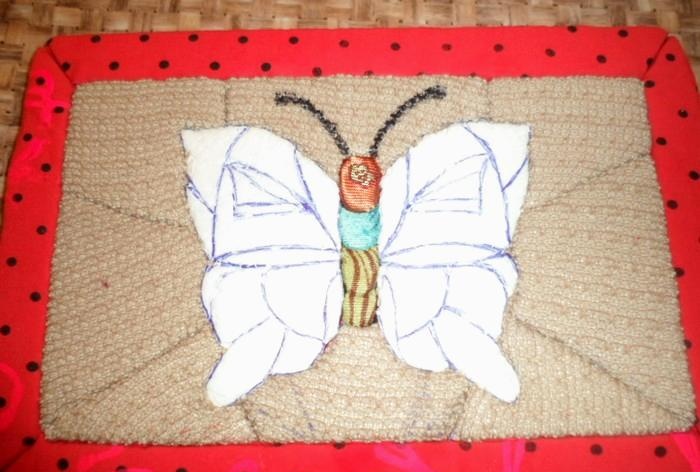
It seems like that’s all for now, but when you create, you yourself will feel how and how it’s more convenient to work. First of all, we apply the desired design, I cut out a butterfly on a sheet of paper and then simply traced it on the foam. Next, I had to break it down into different sized parts, it’s like a mosaic, at first I outlined a lot of small details, but then I realized that the panel would not be large in size, and the small details would simply not be noticeable. Therefore, in the further process, it was necessary to shorten and make the mosaic parts larger. Then draw a frame. Next, we take a stationery knife and begin to cut grooves right along the contour of the handle. It is not necessary to go too deep - about 3 mm.
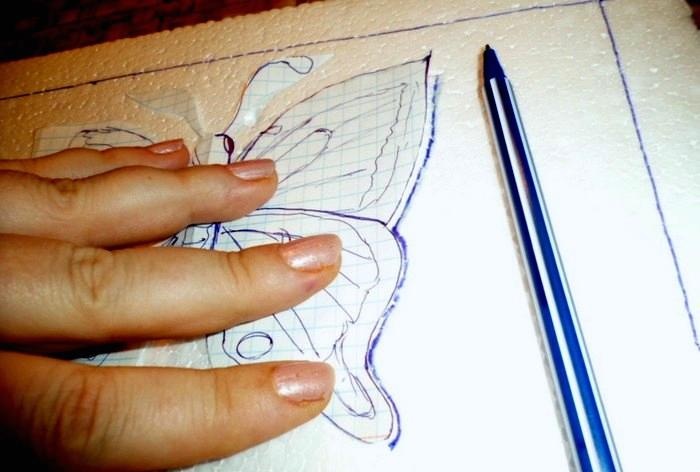
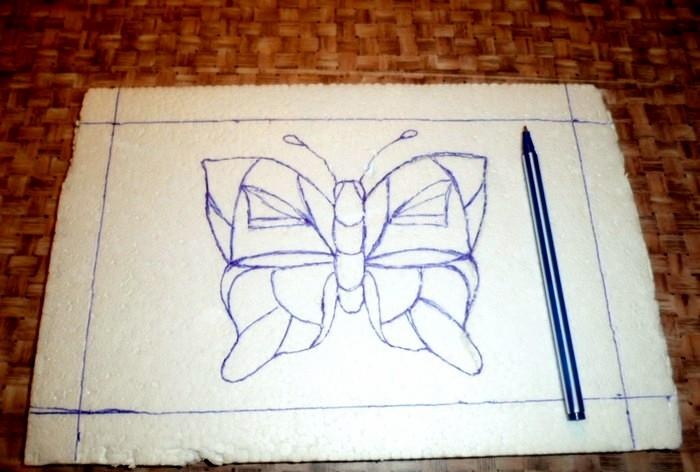
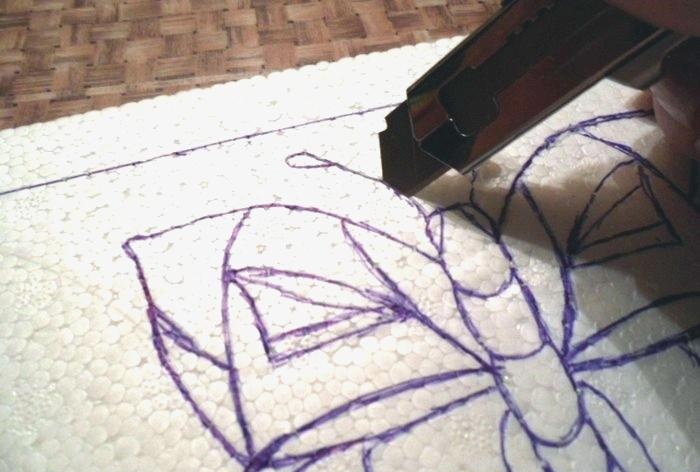
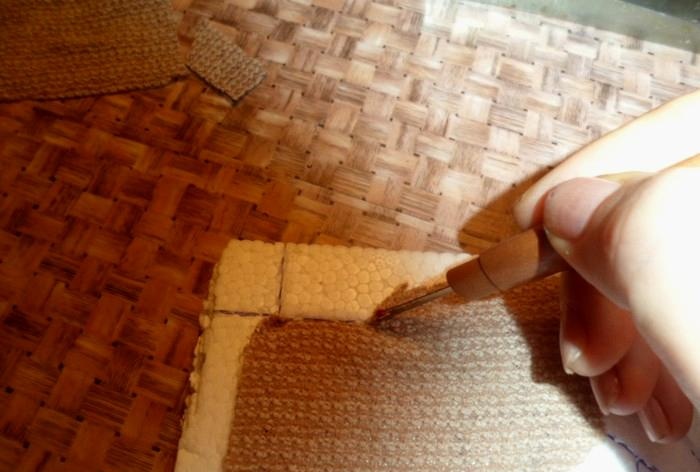
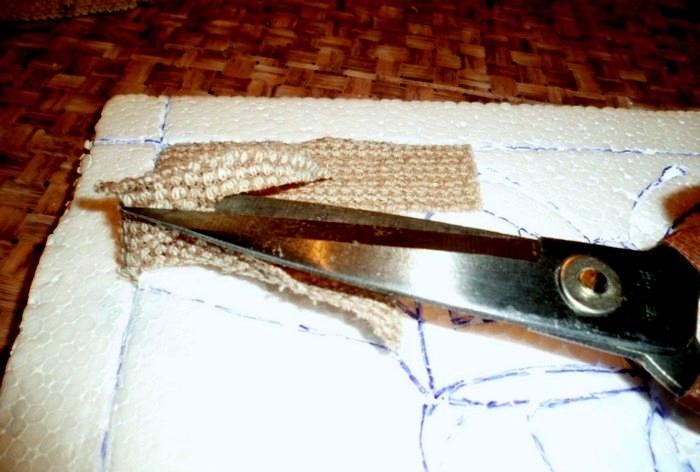
Now, to get a little more hands-on, it’s better to start with the background of the panel. It could have been made solid (beige), but I wanted to make it also broken into several parts, it would look more interesting. To do this, we bring the scraps to the selected area and, having tried on the size by eye, cut off a little more (in reserve), and begin to slowly tuck the fabric into our grooves. Here you can try out various refueling tools. But they should not be much thicker than the grooves.We trim off the excess with scissors, but if the fabric is loose, then you need to leave more reserve (you can also drip PVA into the groove). By the way, the antennae of the butterfly can be drawn with a marker or contour paints. Or you can glue the laces.
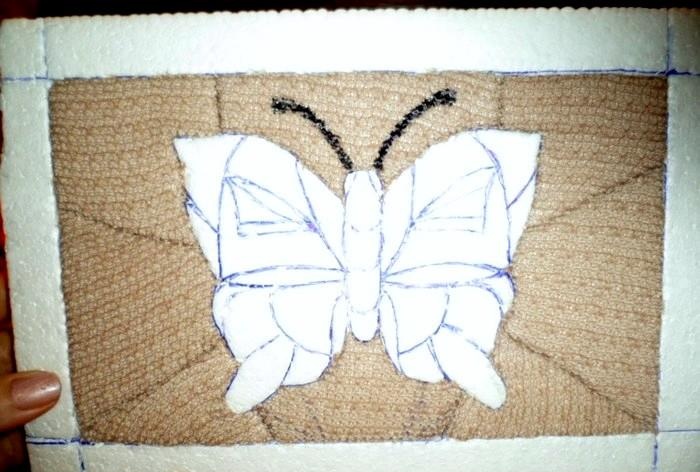
Now we can lay out our future panel on a large piece of fabric and begin tucking it into the frame from the front. It is advisable to tighten it slightly so that it does not bulge anywhere.
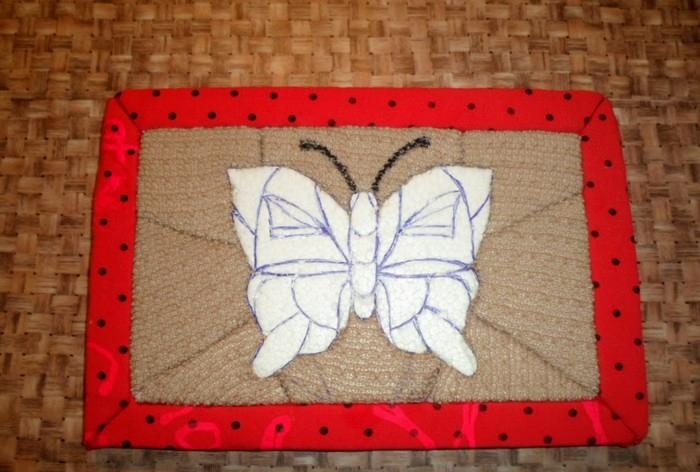
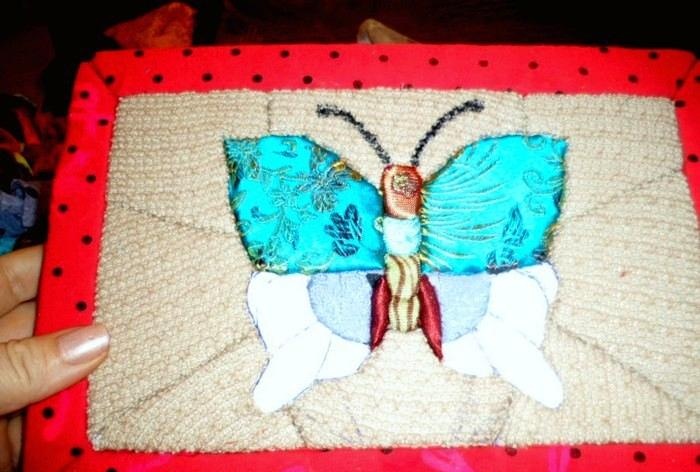
Well, consider that you have already practiced and felt all the nuances of this handiwork, so you can now proceed to the most delicious part, “dessert”. You need to select pieces that are more beautiful and richer in appearance, for example silk, brocade, velvet, satin, well, if such is available, of course, and begin to figure out how to arrange them more harmoniously with each other. Everything came to me along the way, as it came out of my head, that’s what I did.
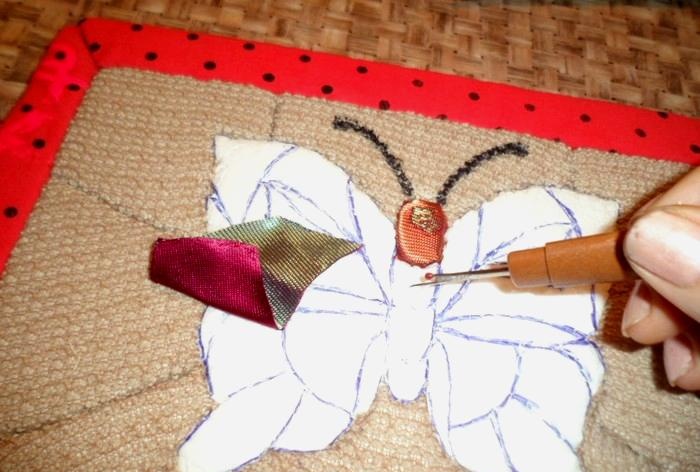
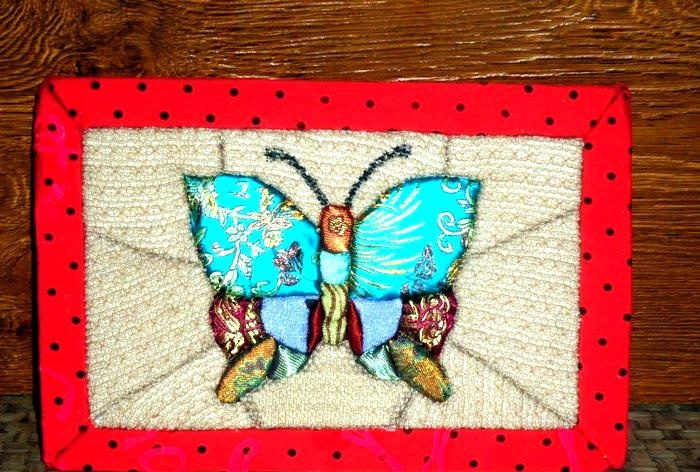
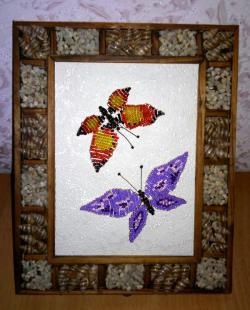
And this is how beautiful it turned out in the end. For the first time I really liked it. You can say that I fell in love with this
Kinusaiga technique. And if you liked it too, then I will be very glad that you also want to try something like this. So
try it - and everything will definitely work out!
If you are interested in trying to do something in this wonderful, interesting, and not too complicated technique, then you can start with a panel on which there will be not so many different figures, a kind of minimalism, but this will be enough for the first time to feel all the beauty of this wonderful absorbing process.
To do this, prepare a piece of polystyrene foam, I happened to have a “coarse-grained” one on hand, but there is an even better structure, it’s called foam board, it’s also good to use, it’s just thinner, and it will need to be glued with an additional base.By the way, some people, having seen this idea on the Internet and got excited, try to use this technique on corrugated cardboard, I immediately warn you that nothing will work (tested personally).
In general you will need:
1. Foam plastic of any size,
2. Stencil, pen,
3. Small shreds of different colors and textures, especially with glitter, look beautiful,
4. Stationery knife,
5. Some flat and blunt instrument, such as a nail file, or a seam ripper (stack), or a wooden stick, or even a blade from a stationery knife (the blunt side is needed).
6. One large piece of fabric will cover the back side of the picture, and at the same time frame it in front.

It seems like that’s all for now, but when you create, you yourself will feel how and how it’s more convenient to work. First of all, we apply the desired design, I cut out a butterfly on a sheet of paper and then simply traced it on the foam. Next, I had to break it down into different sized parts, it’s like a mosaic, at first I outlined a lot of small details, but then I realized that the panel would not be large in size, and the small details would simply not be noticeable. Therefore, in the further process, it was necessary to shorten and make the mosaic parts larger. Then draw a frame. Next, we take a stationery knife and begin to cut grooves right along the contour of the handle. It is not necessary to go too deep - about 3 mm.


Now, to get a little more hands-on, it’s better to start with the background of the panel. It could have been made solid (beige), but I wanted to make it also broken into several parts, it would look more interesting. To do this, we bring the scraps to the selected area and, having tried on the size by eye, cut off a little more (in reserve), and begin to slowly tuck the fabric into our grooves. Here you can try out various refueling tools. But they should not be much thicker than the grooves.We trim off the excess with scissors, but if the fabric is loose, then you need to leave more reserve (you can also drip PVA into the groove). By the way, the antennae of the butterfly can be drawn with a marker or contour paints. Or you can glue the laces.


Now we can lay out our future panel on a large piece of fabric and begin tucking it into the frame from the front. It is advisable to tighten it slightly so that it does not bulge anywhere.


Well, consider that you have already practiced and felt all the nuances of this handiwork, so you can now proceed to the most delicious part, “dessert”. You need to select pieces that are more beautiful and richer in appearance, for example silk, brocade, velvet, satin, well, if such is available, of course, and begin to figure out how to arrange them more harmoniously with each other. Everything came to me along the way, as it came out of my head, that’s what I did.


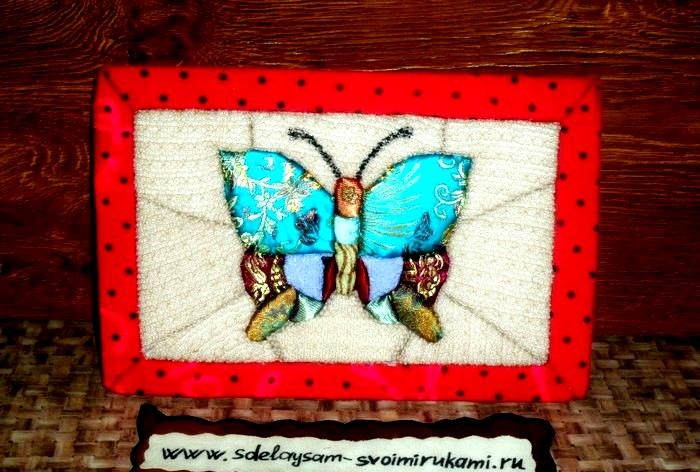
And this is how beautiful it turned out in the end. For the first time I really liked it. You can say that I fell in love with this
Kinusaiga technique. And if you liked it too, then I will be very glad that you also want to try something like this. So
try it - and everything will definitely work out!

Similar master classes
Particularly interesting
Comments (1)


