How to make a useful modification to the Li-ion charging module
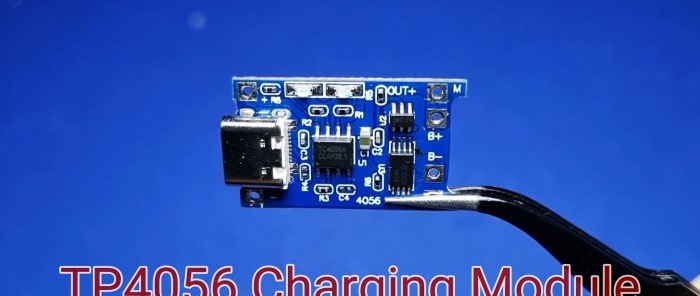
One of the most common controllers for charging 3.7 V Li-ion batteries is the TP4056 series module.
This is a fully automatic module with current protection and has a visual indication of charging progress on two multi-colored LEDs. If the red light is on, the battery is charging, and if the green light is on, charging is complete and the battery is fully charged.
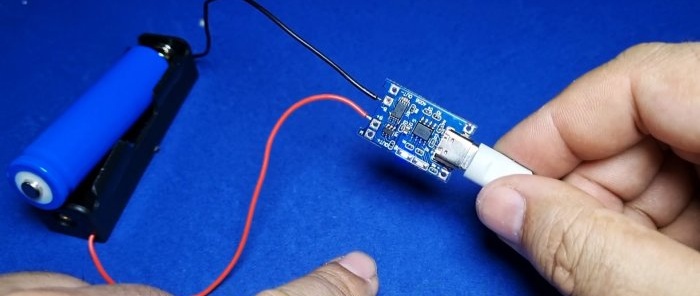
This module is powered by 5 V, which is very convenient.
But there is one useful modification that can expand the functionality of the charger - this is an audible alarm for the end of charging. Using it, you can promptly find out that your battery is fully charged and disconnect the charger from the network, thereby saving energy.
Will need
- Module TP4056 -
- Transistor 2N3906 - http://alii.pub/5l6vyg
- Resistor 2.2 kOhm - http://alii.pub/5h6ouv
- Active buzzer - http://alii.pub/67haid
Charging module modification process
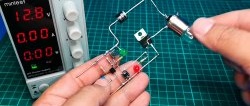
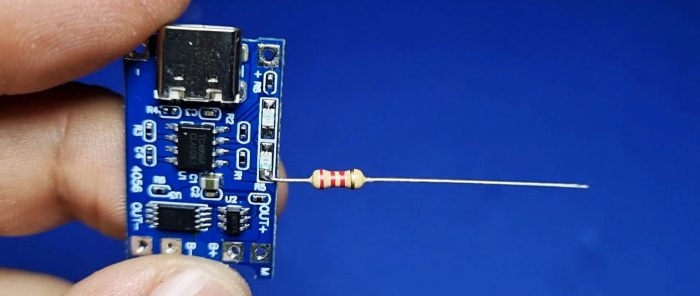
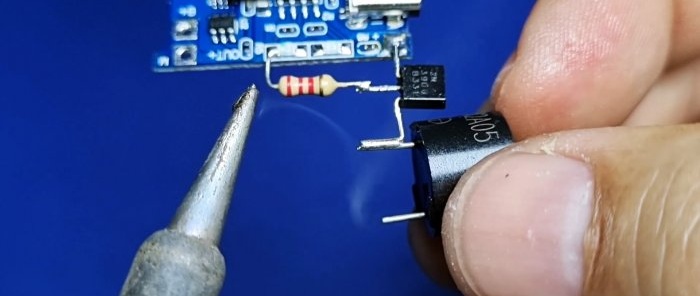
The modification is very simple and requires only 3 parts. Installation will be mounted. Solder a resistor to the LED, as in the photo.
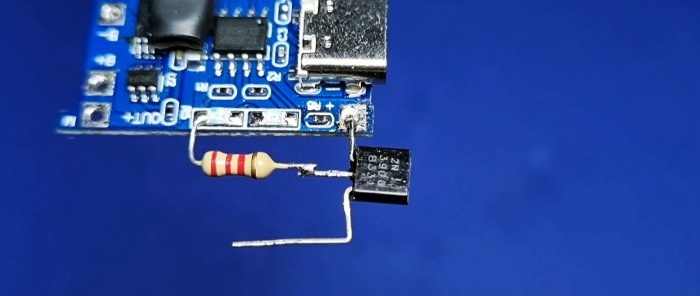
We cut off the emitter and base of the transistor, and form the collector.
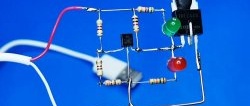
Solder the transistor with the emitter to the power supply positive. We cut off the long lead of the resistor and solder it to the base.
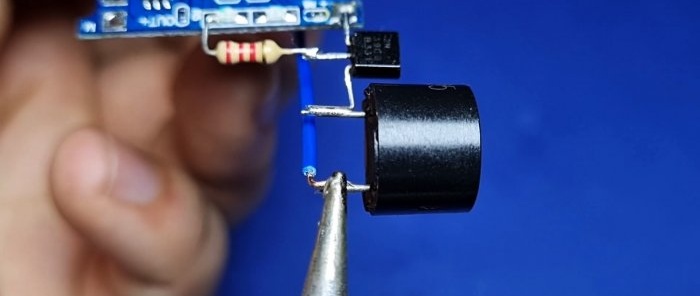
All that remains is to connect the buzzer plus to the collector of the transistor.
Using a conductor, we solder the negative from the buzzer to the negative of the power supply.
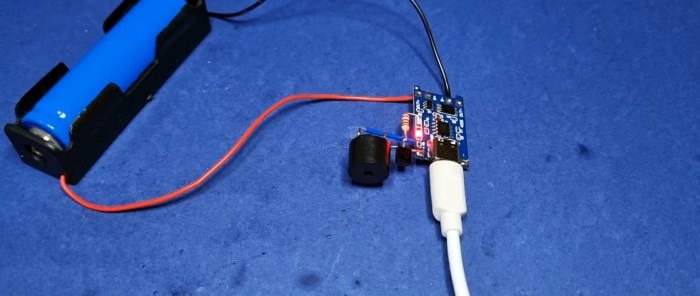
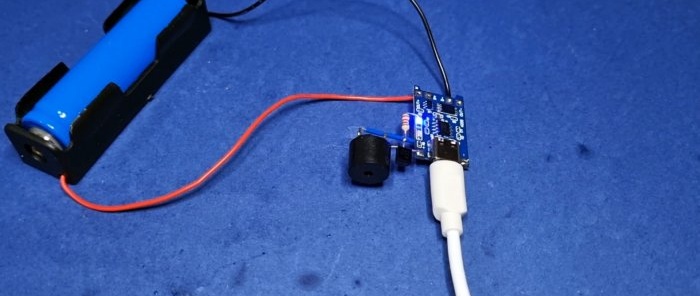
That's all, the module has been modified and has an audible alarm. Connect the power and check.
Lights up red. Once the battery is fully charged, the green light will turn on. Light-emitting diode and a clear beeping sound will be heard.
This modification may well be useful to many who use this charging module in their projects.
Watch the video
Similar master classes

