How to make an ax handle from PET bottle caps
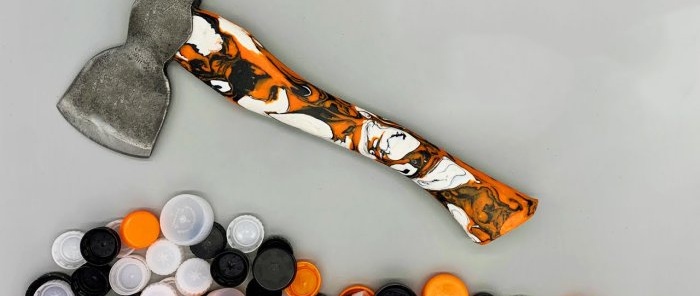
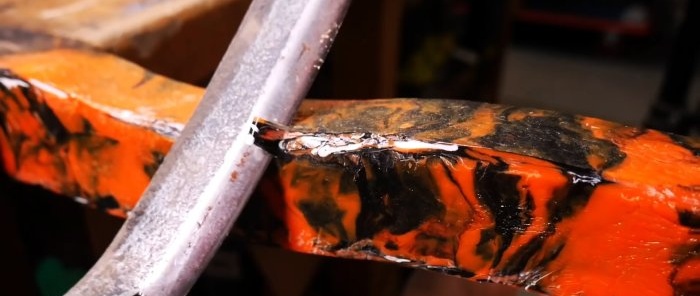
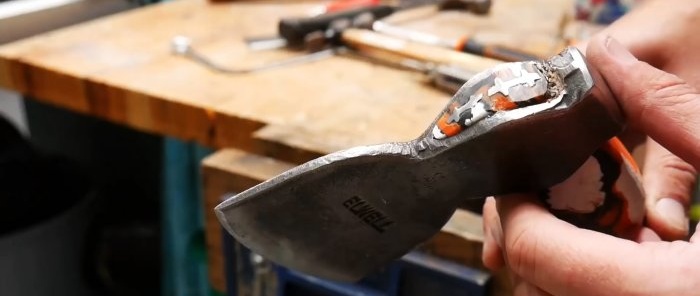
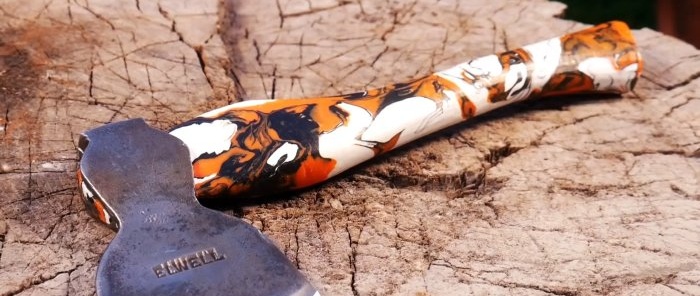
Traditionally, an ax handle is made of wood, but over time the wood is susceptible to rotting and drying out, which leads to the loosening of the working head on the ax handle. By making an ax handle from waste multi-colored plastic, we will get a reliable and aesthetically very beautiful ax handle.
Will need
Materials:
- an ax with a wooden hatchet;
- pieces of OSB sheets;
- wood glue;
- self-tapping screws or self-tapping screws;
- pieces of multilayer plywood;
- aerosol varnish;
- orange, white and black plastic;
- metal wedges, etc.
Tools: band saw, drill, clamps, spindle grinder, plastic melting equipment, manual hydraulic press, plastic processing tools, grinder, etc.
The process of making an ax from multi-colored plastic waste
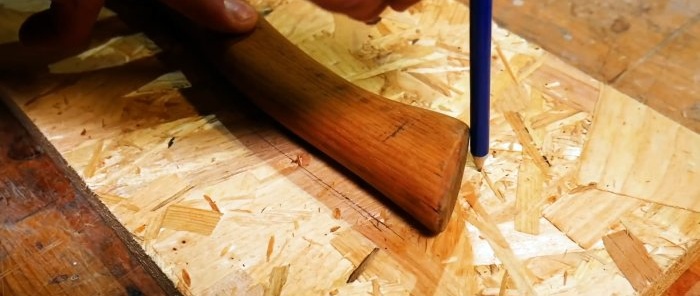
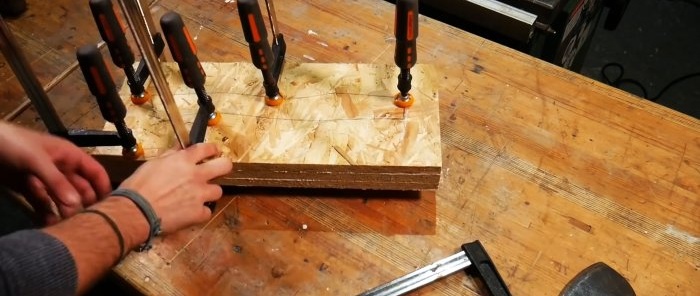
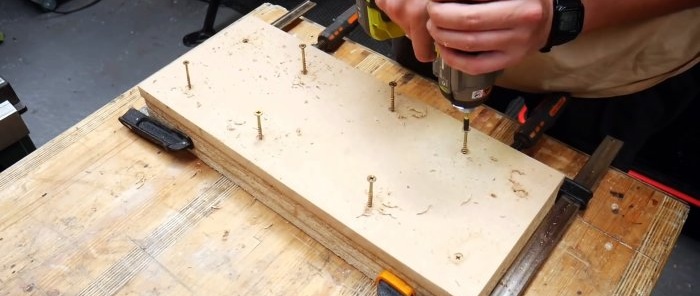
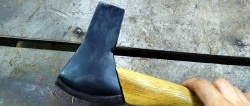
We remove the old wooden ax handle from the ax head. On the OSB sheet we reproduce the contour of the handle we like. Since the diameter of the ax is greater than the thickness of the OSB sheet, we glue three sheets together and, pressing with clamps, leave until the glue dries.
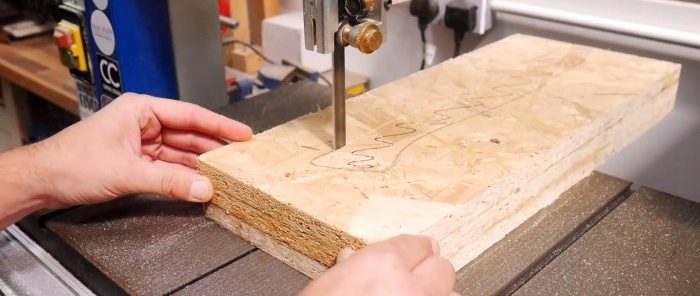
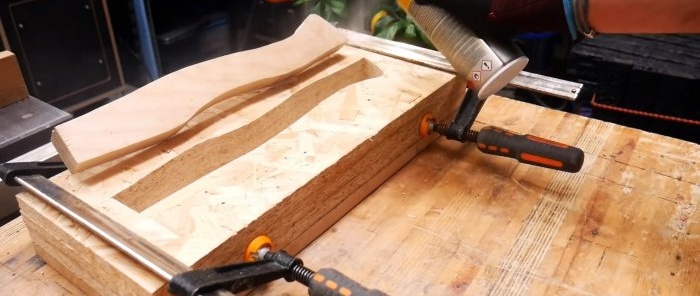
We remove the outline of the ax handle in the OSB sheets by first cutting the sheets into two parts, which simplifies cutting out the outline, and later removing the plastic handle blank from the mold.
The inner contour of the mold is processed using a spindle grinder. We place the almost finished form of the ax on the fourth sheet and fasten it to the form with screws or self-tapping screws.
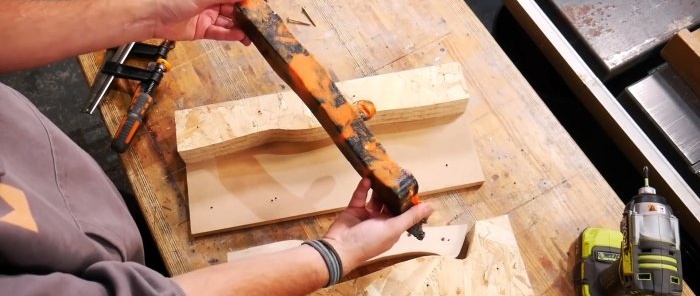
To compact the heated plastic, we make a punch from two layers of multilayer plywood, fastened with screws, tightly fitting into the shape of the axe. To make it easier to handle the punch, we screw in two screws on top instead of handles.
We cover the mold and punch with aerosol varnish to prevent the plastic from sticking to the wood during molding. Immerse the ax head in a diluted vinegar solution for a while to remove deposits and rust.
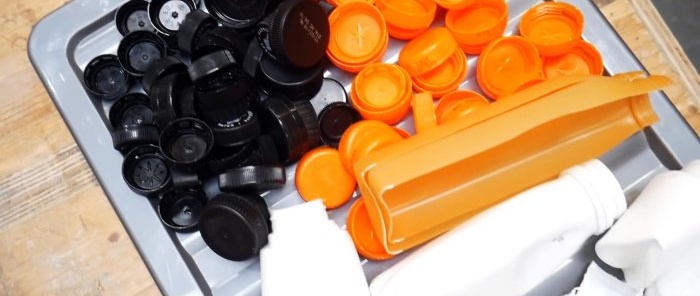
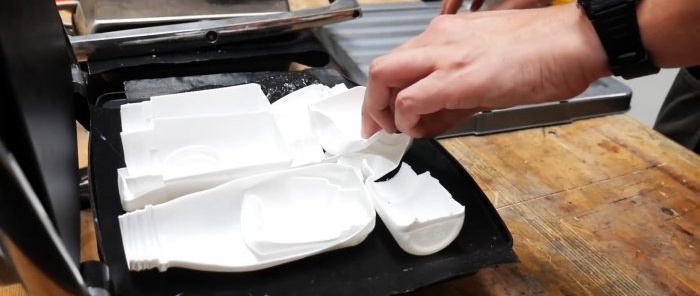
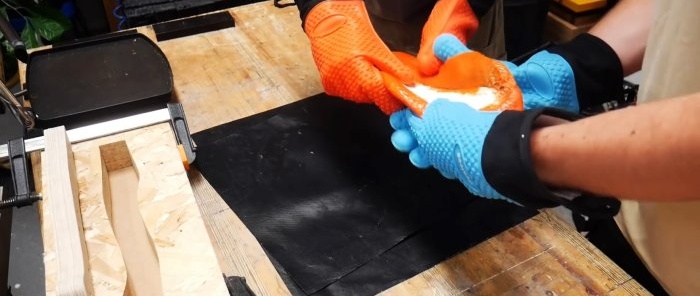
To make the ax handle attractive, we use three colors of plastic: orange, black and white. Finely crushed orange plastic just needs to be heated in the oven on a baking sheet. To melt plastic products in the form of caps or bottles, you will need equipment such as a Padini press. Melt each color separately without stirring.
We combine the multi-colored masses, which easily crumple after heating, together, kneading, twisting and rolling several times, warming up as we go. Then we place the mixture in the mold, giving it elongation.
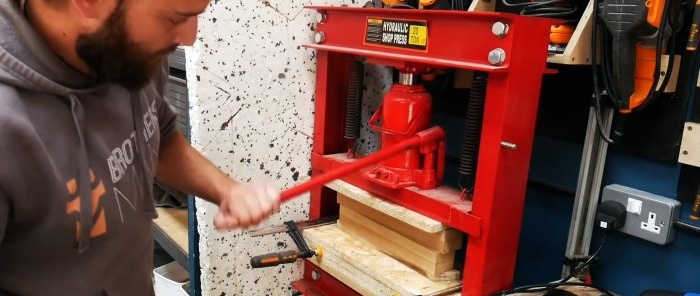
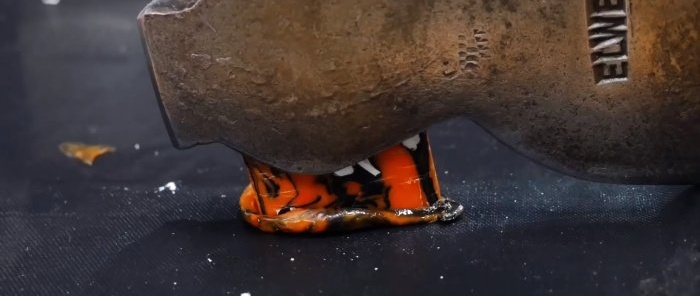
We press the mass into the mold with a punch and place it under a hydraulic press, creating pressure. Since the plastic shrinks as it cools, you need to periodically increase the pressure. After a few hours, we release the pressure and, having removed the bottom of the mold, take out the ax blank.
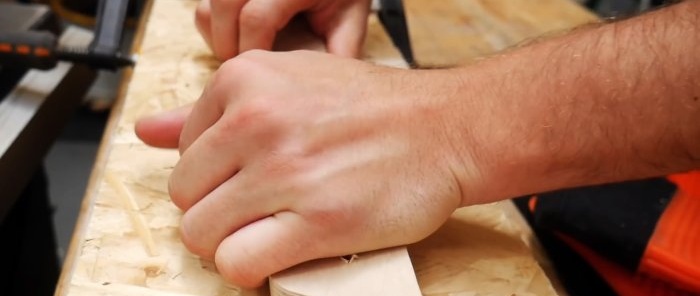
We remove excess plastic and, using various cutting and scraping tools, give the workpiece a shape that is convenient for holding in the hands, and also compares it with the original.
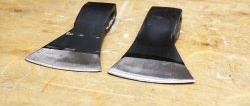
Clean the ax head soaked in vinegar with a wire brush, rinse with plenty of water and wipe dry. If desired, you can change the shape of the ax head and sharpen it. Finally, rub oil into the metal surface to protect it.
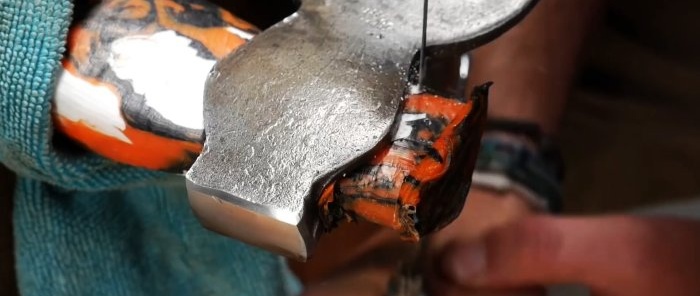
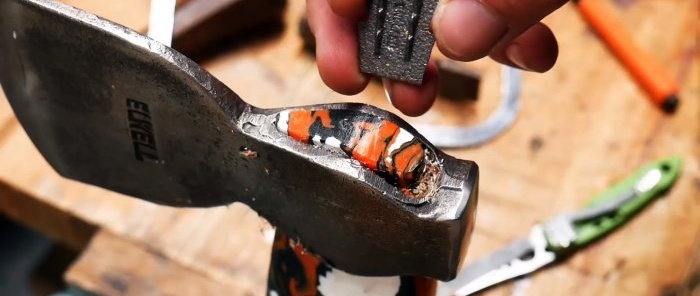
We adjust the end of the plastic ax handle to the eye and after finishing, place the ax head on the plastic handle. If there is a gap between the eye and the ax handle, then fill it with molten plastic shavings, sealing it with the tip of a screwdriver.
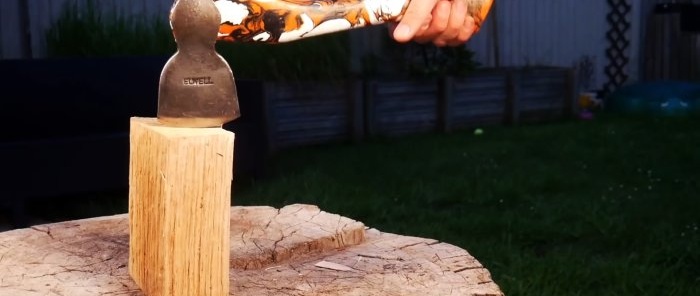
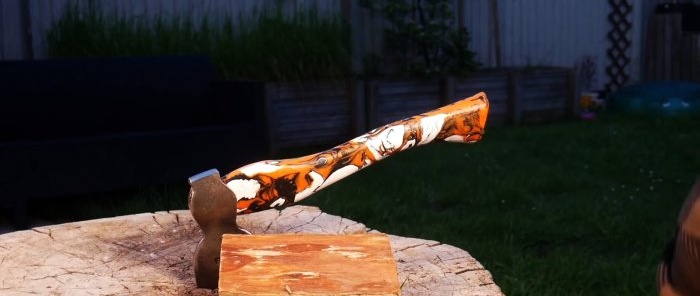
We cut off the part of the ax handle protruding from the eye and strengthen the connection with metal wedges after heating them. The test showed that the ax with a plastic ax is quite reliable, productive and easy to use.

