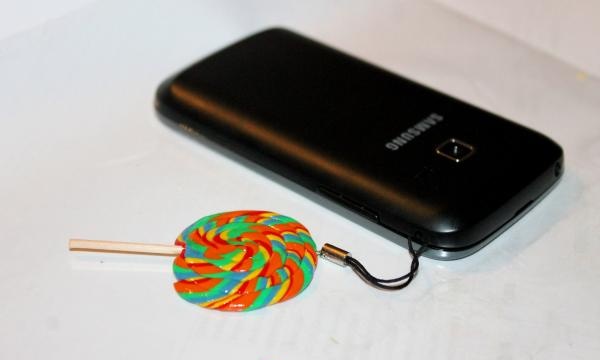
Keychain made of plastic
Working with plastic is a pleasure. There are so many ideas that come up with this material, and it’s quite easy to implement them. Take, for example, a keychain for a mobile phone or keys. After all, I want it to be interesting and original, and even better, funny. You can make bright caramel on a stick! Let's take a closer look at how to make a plastic keychain.
Materials required for work:
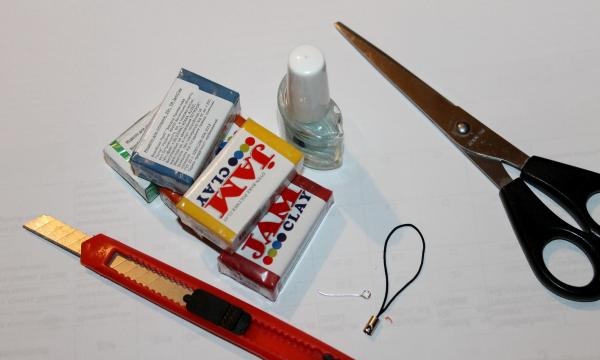
- plastic 5 colors;
- stationery knife;
- nail polish (if not, then you can take a glossy nail polish, but only transparent);
- scissors;
- 1 toothpick;
- polyethylene file;
- accessories for a keychain.
Progress.
We cover the working surface with a plastic file, it is convenient to work on. Using a utility knife, cut small pieces of plastic of different colors. By the way, choose bright, colorful shades, then the finished product will be tempting and interesting.
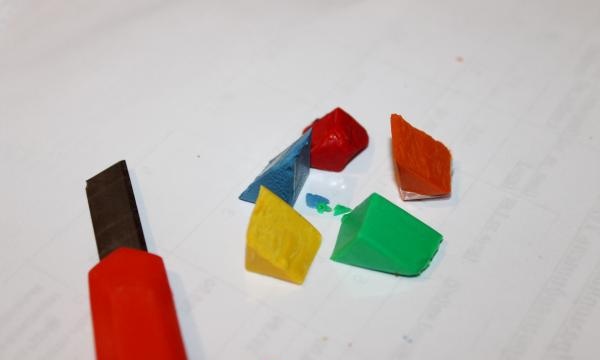
We knead the plastic with our hands (you can work with gloves) until it becomes soft and pliable for modeling. From each color of plastic we make a long thin “sausage”.
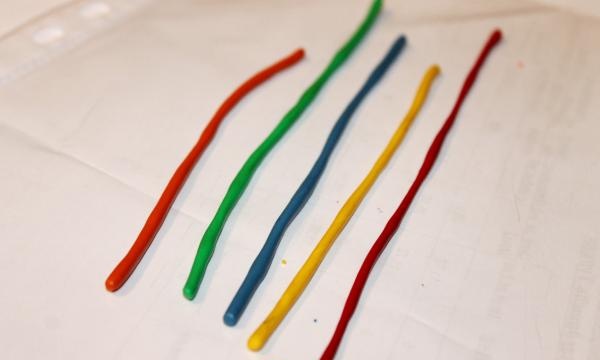
Then we twist all 5 sausages together and scroll to create a rope.
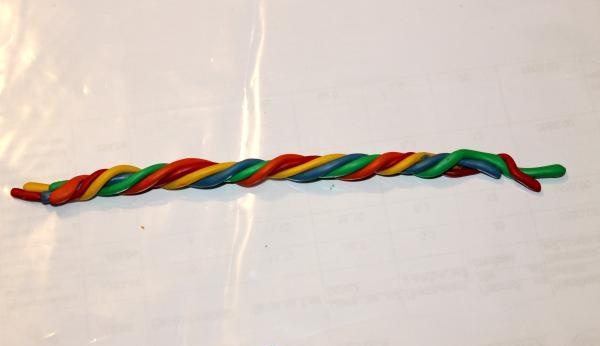
We twist this rope so that it becomes a little thinner; you can swing the rope a little on the file with your fingers. We cut off the ends, they are still uneven.
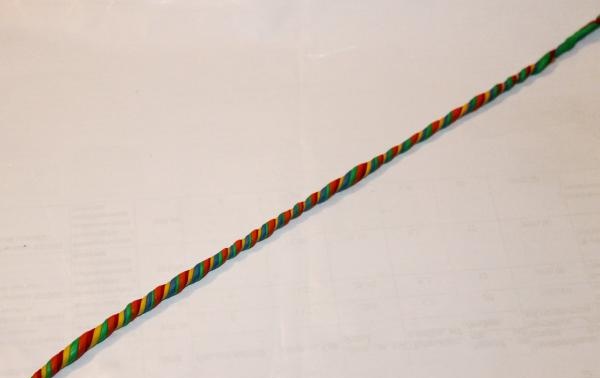
Now we make a beautiful curl from multi-colored plastic rope. We twist it in a circle, lightly pressing each new row to the previous one.
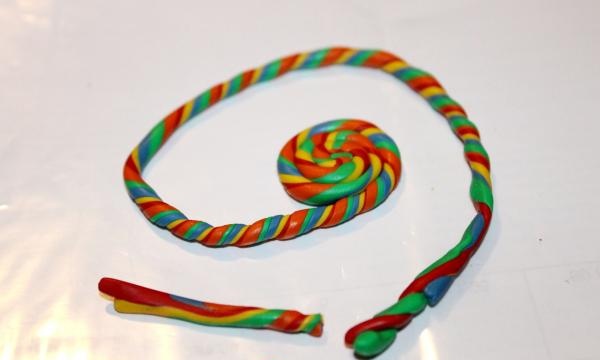
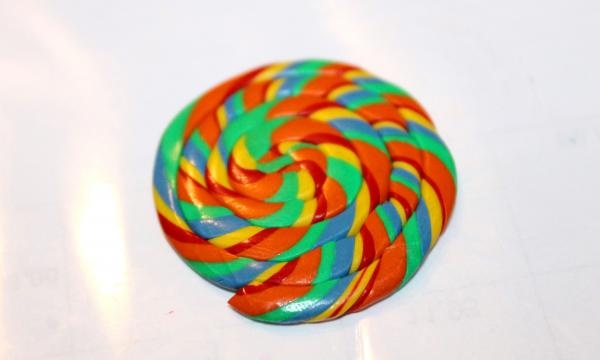
The result is such a multi-colored curl.
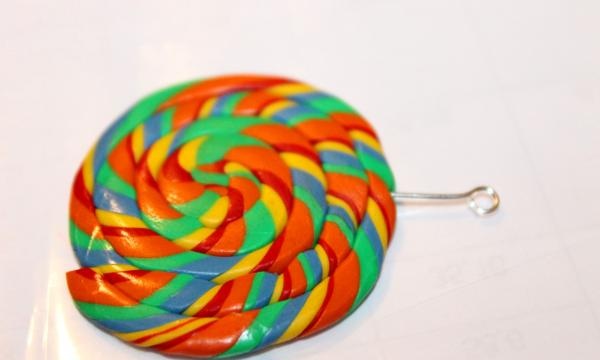
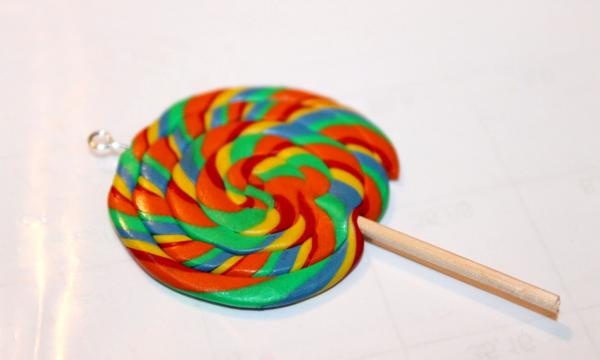
We pierce the caramel with a special pin. And on the other side we attach a stick - half a toothpick.
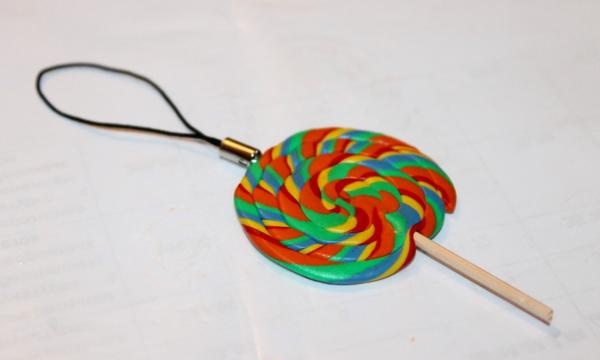
Now the plastic needs to be baked. We act according to the instructions on the packaging. In this case, the plastic should be baked in the oven for 20 minutes at 110C. Read what it says on your package, as baking times may vary. Don't forget to line the baking tray with baking paper. It is advisable to periodically check the product in the oven; if you press lightly with a stick and the plastic is not pressed through, then it is ready.
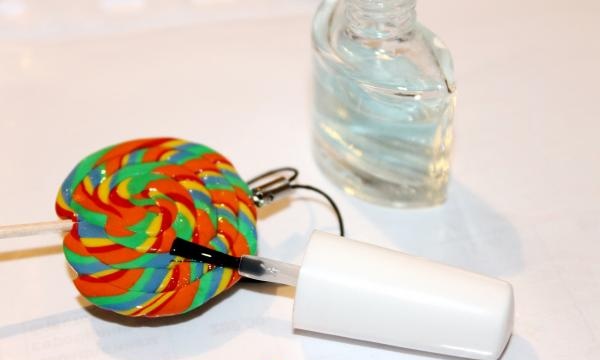
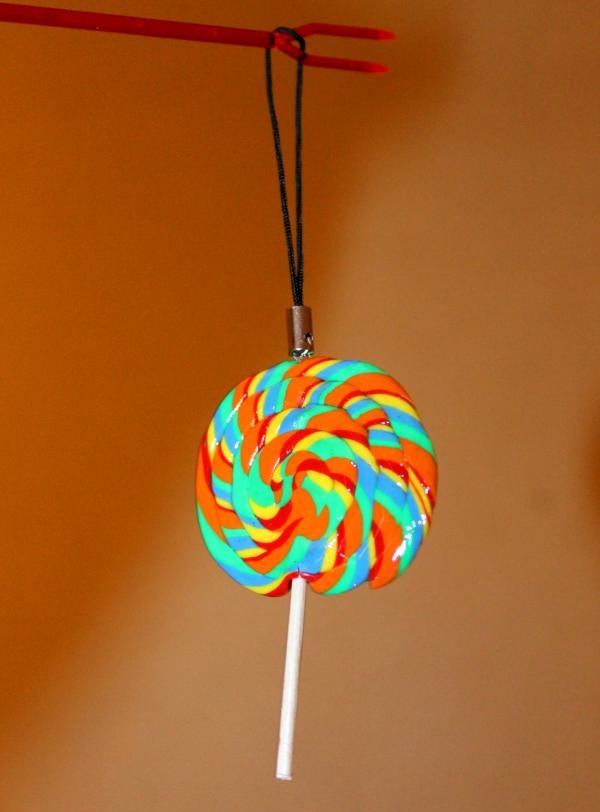
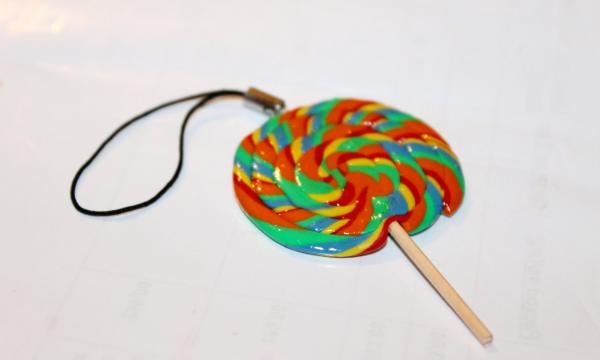
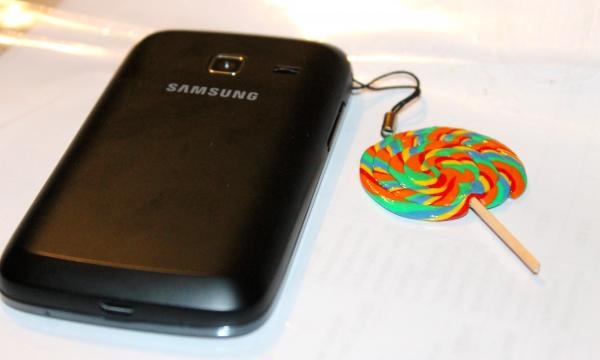
The baked product must be cooled at room temperature, and then opened with plastic varnish or regular nail polish. We attach the remaining accessories and the keychain is ready! You can change colors at your discretion, use only two shades or, conversely, more, it all depends solely on your imagination.
Happy creativity!
Materials required for work:

- plastic 5 colors;
- stationery knife;
- nail polish (if not, then you can take a glossy nail polish, but only transparent);
- scissors;
- 1 toothpick;
- polyethylene file;
- accessories for a keychain.
Progress.
We cover the working surface with a plastic file, it is convenient to work on. Using a utility knife, cut small pieces of plastic of different colors. By the way, choose bright, colorful shades, then the finished product will be tempting and interesting.

We knead the plastic with our hands (you can work with gloves) until it becomes soft and pliable for modeling. From each color of plastic we make a long thin “sausage”.

Then we twist all 5 sausages together and scroll to create a rope.

We twist this rope so that it becomes a little thinner; you can swing the rope a little on the file with your fingers. We cut off the ends, they are still uneven.

Now we make a beautiful curl from multi-colored plastic rope. We twist it in a circle, lightly pressing each new row to the previous one.


The result is such a multi-colored curl.


We pierce the caramel with a special pin. And on the other side we attach a stick - half a toothpick.

Now the plastic needs to be baked. We act according to the instructions on the packaging. In this case, the plastic should be baked in the oven for 20 minutes at 110C. Read what it says on your package, as baking times may vary. Don't forget to line the baking tray with baking paper. It is advisable to periodically check the product in the oven; if you press lightly with a stick and the plastic is not pressed through, then it is ready.

The baked product must be cooled at room temperature, and then opened with plastic varnish or regular nail polish. We attach the remaining accessories and the keychain is ready! You can change colors at your discretion, use only two shades or, conversely, more, it all depends solely on your imagination.


Happy creativity!
Similar master classes
Particularly interesting
Comments (3)


