Oil lamp
It often happens that the electricity suddenly goes out and there are no paraffin candles at hand. In this case, an oil lamp will be the optimal solution to the problem.
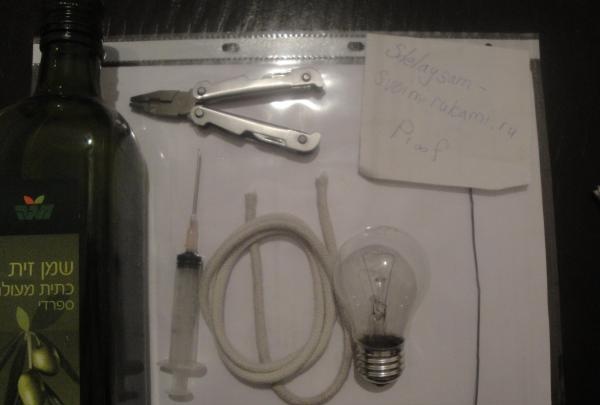
In order to make an oil lamp we need:
1. Old burnt out light bulb (You can also buy a new one).
2. Tool set.
3. Cotton wick.
4. Steel wire.
5. Syringe.
6. Olive oil.
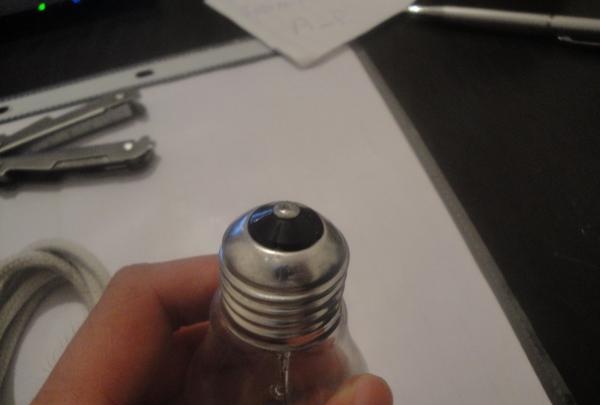
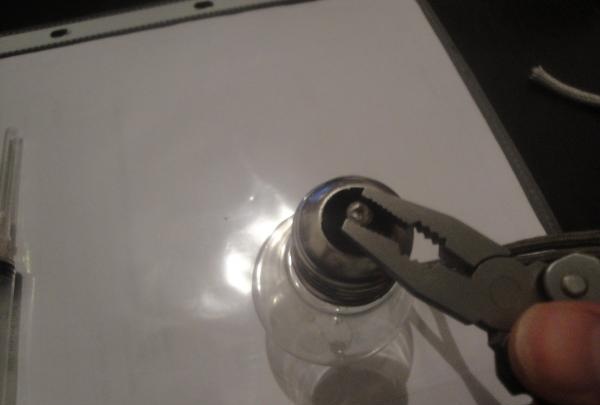
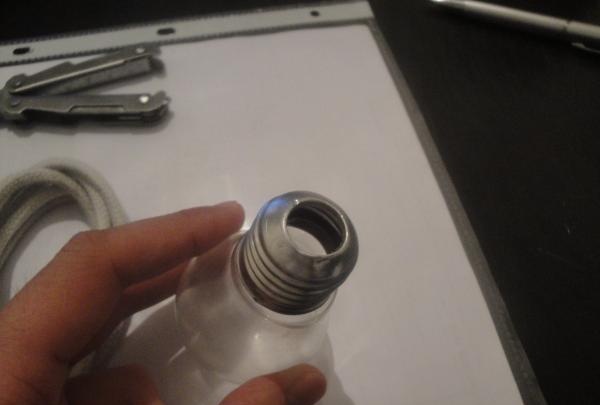
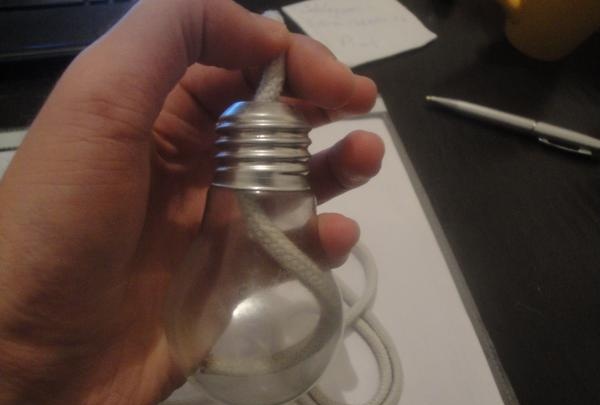
First you need to prepare the light bulb for further actions. To do this, we need to make a hole in the base for wiring the wick. It is enough to hook the protruding contact of the lamp with pliers and pull it. Once you've removed the epoxy (the black polymer around the contact) and everything inside the bulb, you should have a glass blank like this.
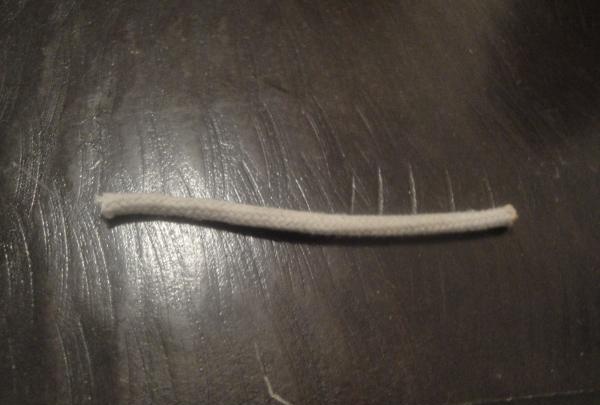
Next, measure the required length of the cotton wick. In order to check the suitability of the wick, simply set it on fire. If it produces loose ash, then everything is fine. If it starts to turn into plastic, then such a wick will not suit us. So, we measure the wick so that it is completely immersed in the bottom of the lamp and comes out about a centimeter.
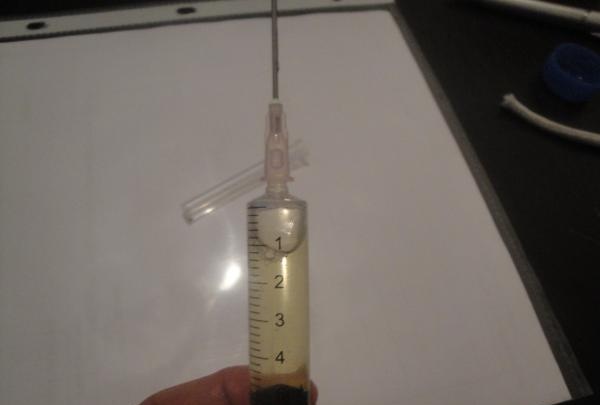
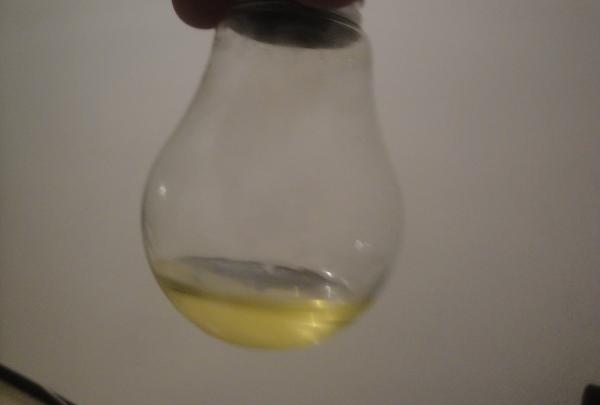
Now fill our container with oil.For this I used a syringe. And pour the oil into the lamp. 10 ml. will be sufficient. If you run out of oil, you can always top it up.
Now we take our wire and use pliers to make such a device out of it. The circular area is for attaching the wire to the lamp thread, and the top is for fixing the wick. When assembled it looks like this.


Soak our wick in oil, lower it into the lamp and secure it with wire. The wick should extend about one centimeter out of the lamp, otherwise there will be a lot of soot.
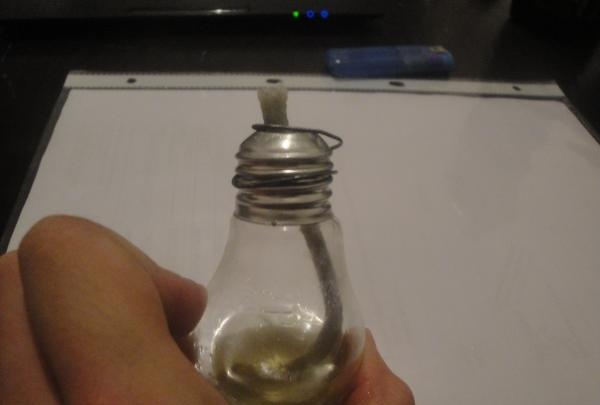
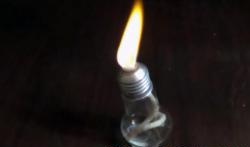
Let's light our lamp and rejoice!
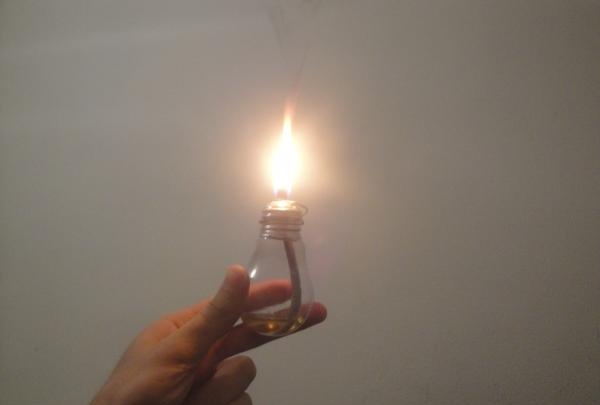
As the wick burns, it will need to be drawn periodically and always monitor the oil level.

In order to make an oil lamp we need:
1. Old burnt out light bulb (You can also buy a new one).
2. Tool set.
3. Cotton wick.
4. Steel wire.
5. Syringe.
6. Olive oil.
First you need to prepare the light bulb for further actions. To do this, we need to make a hole in the base for wiring the wick. It is enough to hook the protruding contact of the lamp with pliers and pull it. Once you've removed the epoxy (the black polymer around the contact) and everything inside the bulb, you should have a glass blank like this.


Next, measure the required length of the cotton wick. In order to check the suitability of the wick, simply set it on fire. If it produces loose ash, then everything is fine. If it starts to turn into plastic, then such a wick will not suit us. So, we measure the wick so that it is completely immersed in the bottom of the lamp and comes out about a centimeter.


Now fill our container with oil.For this I used a syringe. And pour the oil into the lamp. 10 ml. will be sufficient. If you run out of oil, you can always top it up.


Now we take our wire and use pliers to make such a device out of it. The circular area is for attaching the wire to the lamp thread, and the top is for fixing the wick. When assembled it looks like this.


Soak our wick in oil, lower it into the lamp and secure it with wire. The wick should extend about one centimeter out of the lamp, otherwise there will be a lot of soot.

Let's light our lamp and rejoice!

As the wick burns, it will need to be drawn periodically and always monitor the oil level.
Similar master classes
Particularly interesting
Comments (2)


