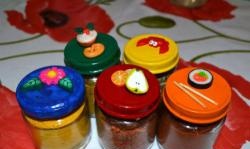
Bowl for sweets
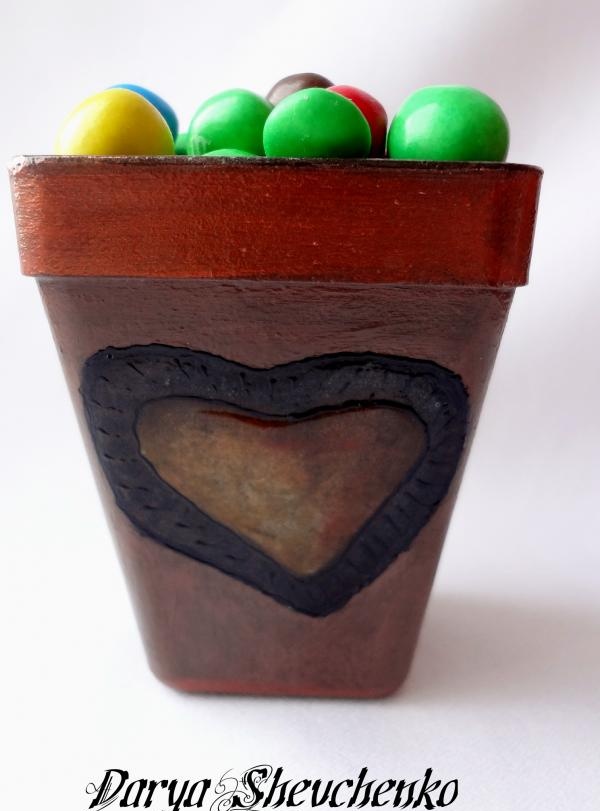
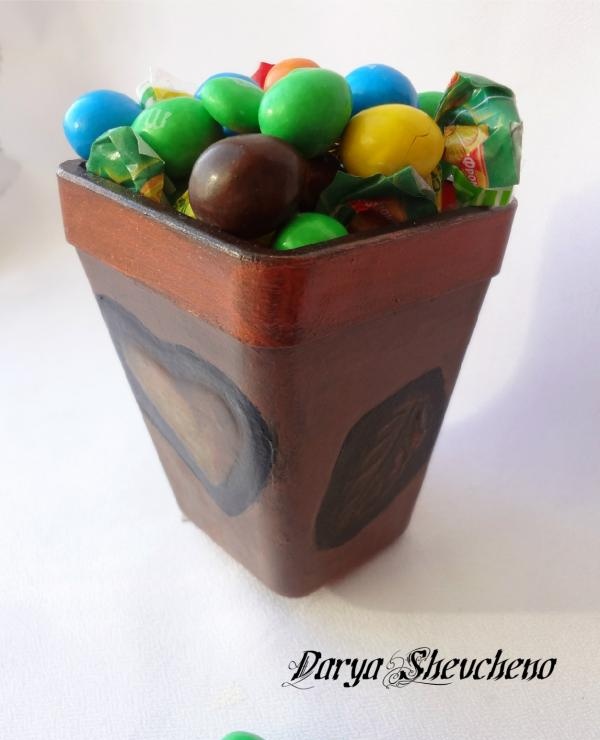
Vase for sweets “Chocolate heart”. This master class is easy and quick using technology decoupage, will turn an ordinary plastic jar into a decorative, chocolate one. To create a “Chocolate Heart” vase you will need a little free time, paint and, of course, a good mood.
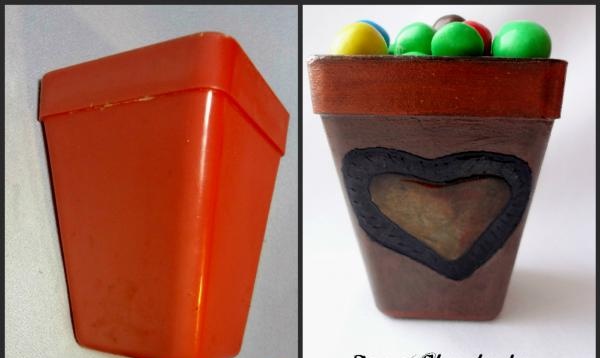
Materials for the master class:
- a napkin with your favorite print;
- acrylic paints in black and brown colors;
- decoupage glue or PVA glue;
- acrylic lacquer;
- brush, scissors;
- if possible, 3-D varnish and self-leveling contour on glass.
So let's get started:
1. First degrease a plastic jar with alcohol or dishwashing detergent, take a piece of sponge and brown paint.
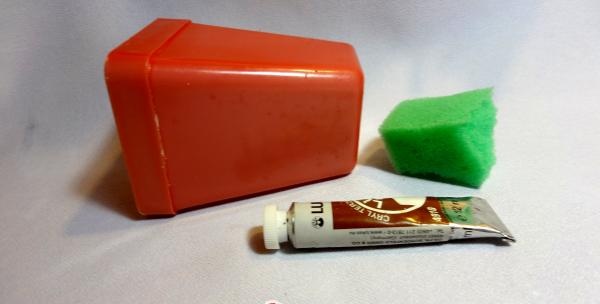
2. Using a sponge, apply the paint evenly.
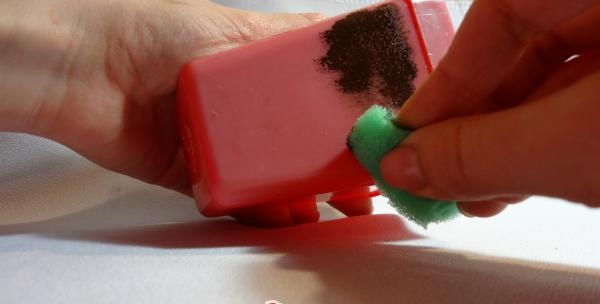
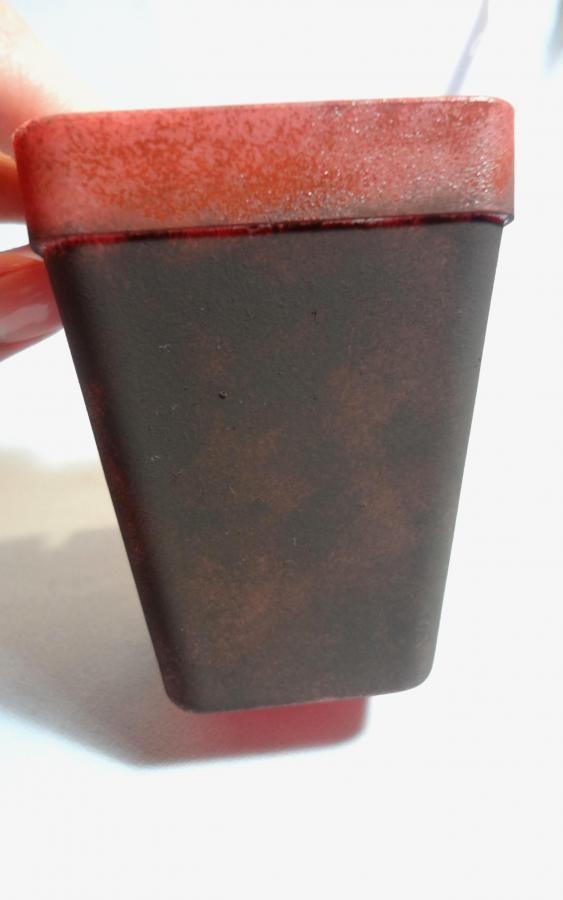
3. If the jar has a rim, cover it with brown paint of a lighter shade.
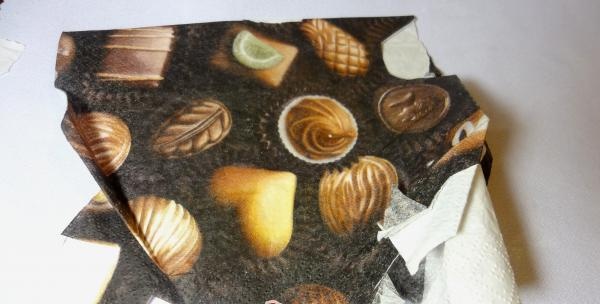
4. Take a napkin with a picture of candies, cut out one candy and remove the top layer from this fragment of the napkin.
5. Glue the heart onto the jar using decoupage glue or PVA glue diluted 1:2 with water.We place strokes from the center to the edges of the image.
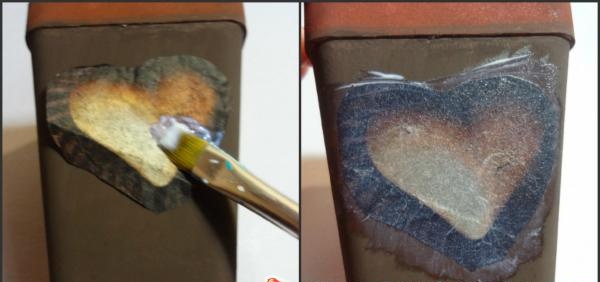
6. Paint on the edge of contact between the chocolate heart and the jar with a thin brush and black paint, or outline it with a black outline. Let dry.
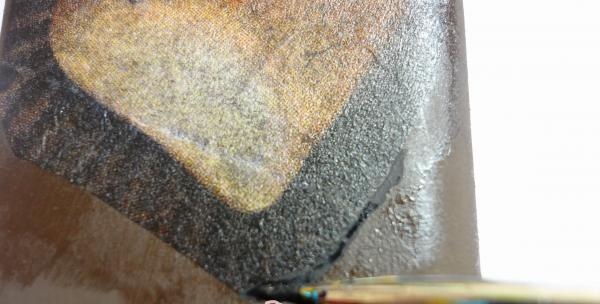
7. Open the jar with acrylic varnish.
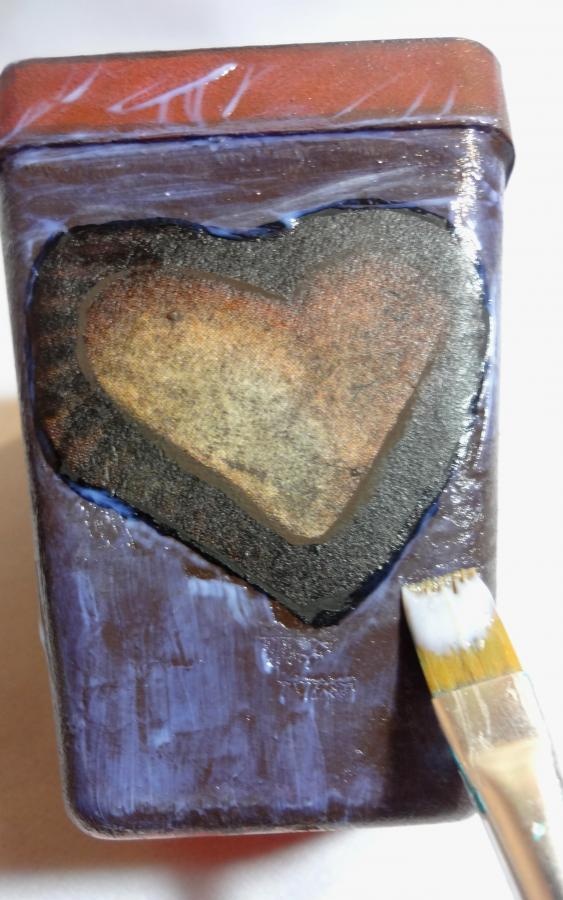
8. Allow to dry thoroughly and recoat.
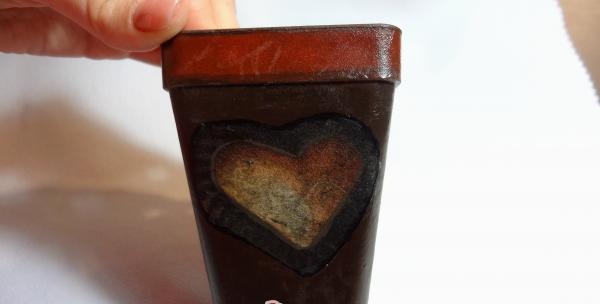
9. Take a transparent 3-D varnish and apply it in the middle and around the perimeter of the heart.

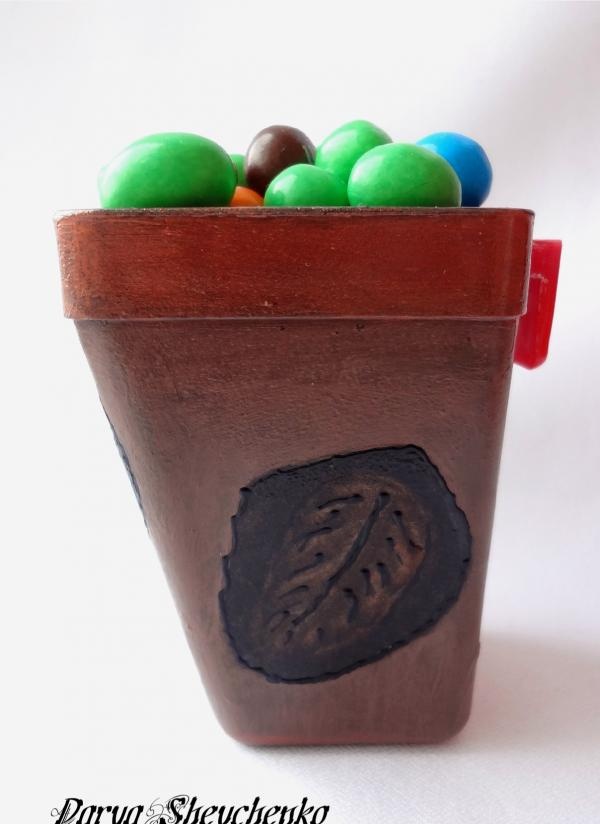
10. Our chocolate jar is ready, now it will delight our eyes with its aesthetic appearance, and its delicious contents will not leave anyone indifferent. If desired, the side parts can be decorated with other designs of chocolate candies using the same principle.
We wish you creative success!

Materials for the master class:
- a napkin with your favorite print;
- acrylic paints in black and brown colors;
- decoupage glue or PVA glue;
- acrylic lacquer;
- brush, scissors;
- if possible, 3-D varnish and self-leveling contour on glass.
So let's get started:
1. First degrease a plastic jar with alcohol or dishwashing detergent, take a piece of sponge and brown paint.

2. Using a sponge, apply the paint evenly.

3. If the jar has a rim, cover it with brown paint of a lighter shade.

4. Take a napkin with a picture of candies, cut out one candy and remove the top layer from this fragment of the napkin.

5. Glue the heart onto the jar using decoupage glue or PVA glue diluted 1:2 with water.We place strokes from the center to the edges of the image.

6. Paint on the edge of contact between the chocolate heart and the jar with a thin brush and black paint, or outline it with a black outline. Let dry.

7. Open the jar with acrylic varnish.

8. Allow to dry thoroughly and recoat.

9. Take a transparent 3-D varnish and apply it in the middle and around the perimeter of the heart.

10. Our chocolate jar is ready, now it will delight our eyes with its aesthetic appearance, and its delicious contents will not leave anyone indifferent. If desired, the side parts can be decorated with other designs of chocolate candies using the same principle.
We wish you creative success!


Similar master classes
Particularly interesting
Comments (0)


