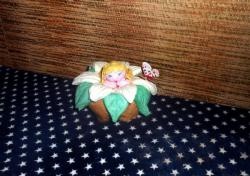
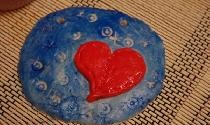
Fridge magnet
It has long been known that there is no better gift than present, made with your own hands. By creating a souvenir ourselves, we put our heart, soul, and warmth into it. And if the gift is made from the heart, then this positive energy will certainly be transferred to the recipient of the surprise and pleasant memories will remain for a long time.
A homemade refrigerator magnet can easily serve as a gift for many of your friends and acquaintances. It can be made from salt dough, which is ideal for arts and crafts. With this material you can make all your fantasies come true.

There are quite a few recipes for salt dough that can be used for modeling. The choice of recipe depends on the size of the figurine you want to get. If you plan to make small magnets, you can prepare the material according to the recipe I suggested.
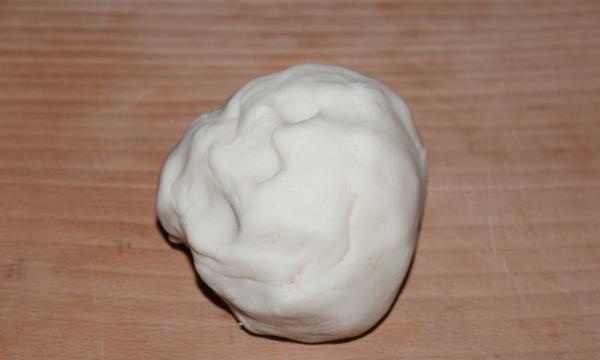
To prepare salt dough you will need regular white flour without any additives, fine salt and cold water. It is important that the salt is without iodine, otherwise the product may crack when drying. The water should be ice-cold; to do this, place it in the freezer for a while.
The ratio of flour and salt in grams is one to one. That is, if you take 200 grams of flour, then there should be 200 grams of salt. It is worth considering that the volume of flour will be larger - one glass of flour and half a glass of salt. And for this amount of dry ingredients you need 125 ml of water. It's best to add it gradually so that the dough doesn't get too sticky.
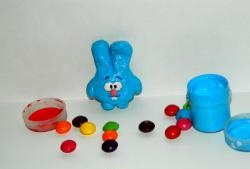
And then you can act in different ways. The first option is to mold figures from the finished dough, bake and then paint. The second option is to add gouache, watercolor or food coloring to the finished dough, knead the dough and sculpt it from colored material. I prefer the first option, when I paint the finished product.
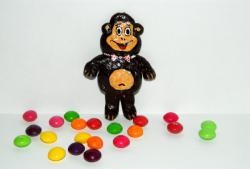
The teddy bear magnet is quite simple to make; it consists of several parts.
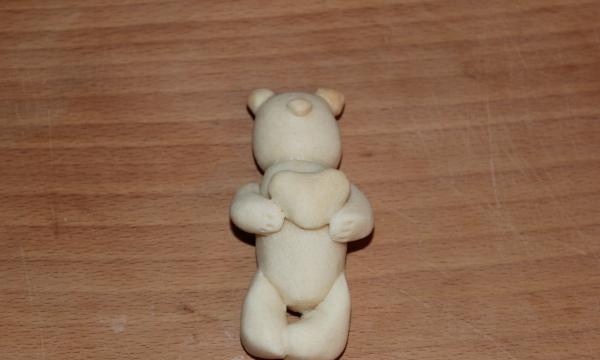
First sculpt a round head, then semicircular ears and a triangular nose. Attach all the parts to the head. For a better connection, brush the attachment points with a brush soaked in water. Then you need to sculpt a proportional oval-shaped body and legs.
The upper legs will be slightly thinner. To make the paws, roll a small piece of dough into a “sausage”, round the edges, flatten it on one side and glue it to the body. On the opposite end, squeeze out three small strips to simulate fingers. Use the same principle to make the lower legs. Make a convex heart and place it in the bear’s paws.
Bake the finished product in the oven at minimum temperature.
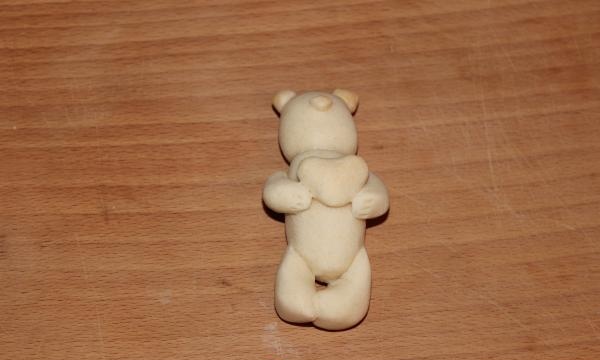
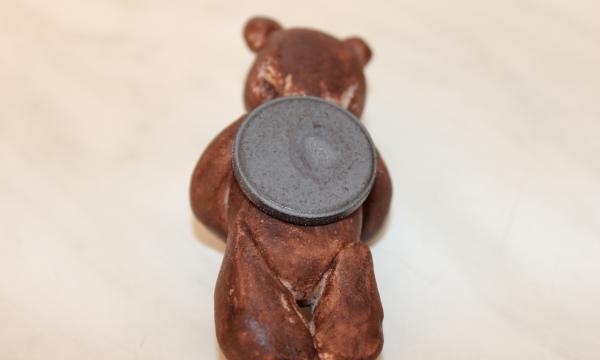
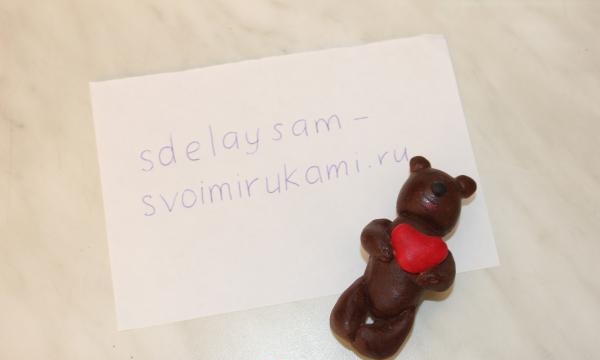
Periodically look at the product so that it does not dry out and it does not crack. When the teddy bear has cooled down, paint it with gouache: the body is brown, the nose is black, the heart is red. Draw eyes with black paint. Now glue the magnet onto the PVA glue.
A homemade refrigerator magnet can easily serve as a gift for many of your friends and acquaintances. It can be made from salt dough, which is ideal for arts and crafts. With this material you can make all your fantasies come true.

There are quite a few recipes for salt dough that can be used for modeling. The choice of recipe depends on the size of the figurine you want to get. If you plan to make small magnets, you can prepare the material according to the recipe I suggested.

To prepare salt dough you will need regular white flour without any additives, fine salt and cold water. It is important that the salt is without iodine, otherwise the product may crack when drying. The water should be ice-cold; to do this, place it in the freezer for a while.
The ratio of flour and salt in grams is one to one. That is, if you take 200 grams of flour, then there should be 200 grams of salt. It is worth considering that the volume of flour will be larger - one glass of flour and half a glass of salt. And for this amount of dry ingredients you need 125 ml of water. It's best to add it gradually so that the dough doesn't get too sticky.
And then you can act in different ways. The first option is to mold figures from the finished dough, bake and then paint. The second option is to add gouache, watercolor or food coloring to the finished dough, knead the dough and sculpt it from colored material. I prefer the first option, when I paint the finished product.
The teddy bear magnet is quite simple to make; it consists of several parts.

First sculpt a round head, then semicircular ears and a triangular nose. Attach all the parts to the head. For a better connection, brush the attachment points with a brush soaked in water. Then you need to sculpt a proportional oval-shaped body and legs.
The upper legs will be slightly thinner. To make the paws, roll a small piece of dough into a “sausage”, round the edges, flatten it on one side and glue it to the body. On the opposite end, squeeze out three small strips to simulate fingers. Use the same principle to make the lower legs. Make a convex heart and place it in the bear’s paws.
Bake the finished product in the oven at minimum temperature.

Periodically look at the product so that it does not dry out and it does not crack. When the teddy bear has cooled down, paint it with gouache: the body is brown, the nose is black, the heart is red. Draw eyes with black paint. Now glue the magnet onto the PVA glue.


Similar master classes
Particularly interesting
Comments (1)

