Homemade folding grill
We all love spring, summer... the time when you can go out of town with your family and friends for a picnic. But what would a picnic be without barbecue? It’s not always the place where you arrive that will have the material to build a stand for skewers or a barbecue. Therefore, I decided to make a small, compact folding grill.
There are many different types of barbecues on sale, but they also cost differently...
My grill cost me nothing...
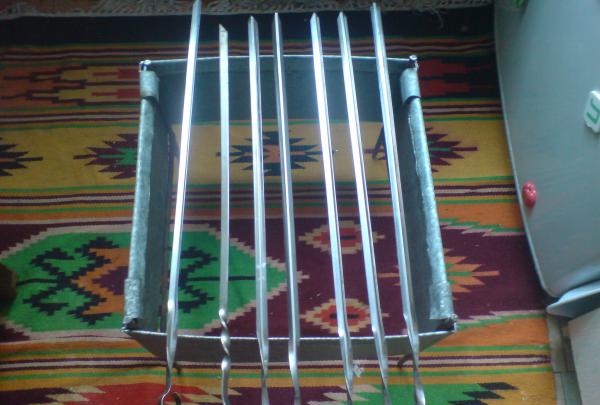
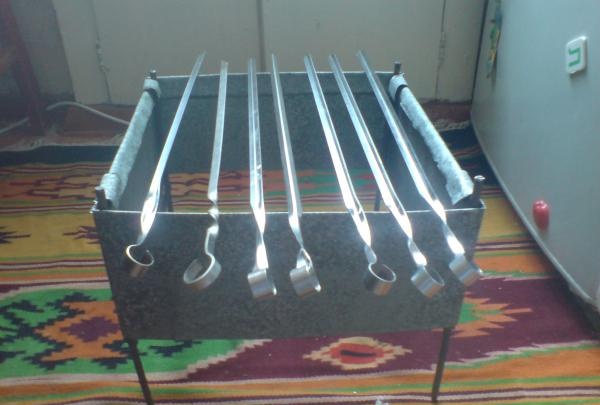
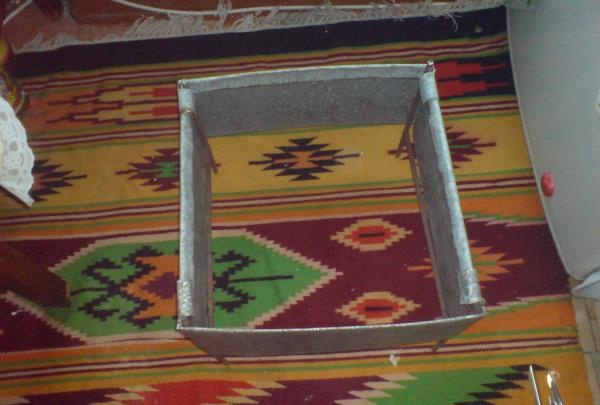
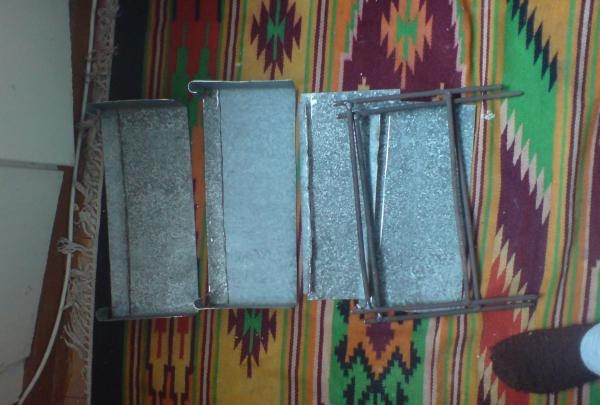
All we need is:
1. Steel rod 3m long, diameter 4mm-8mm
2. Galvanized sheet 1.5mm I used old external window sills
3. Welding
4. Metal scissors or grinder
5. Hammer
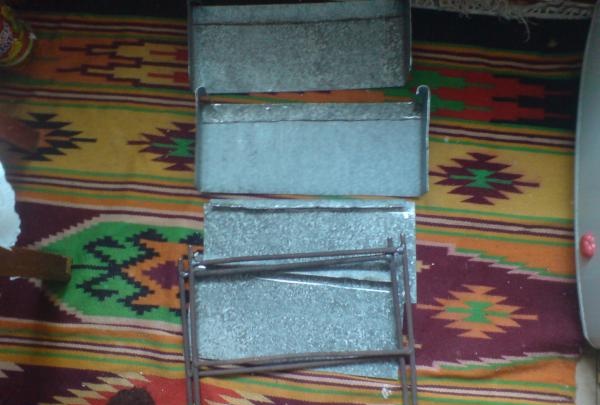
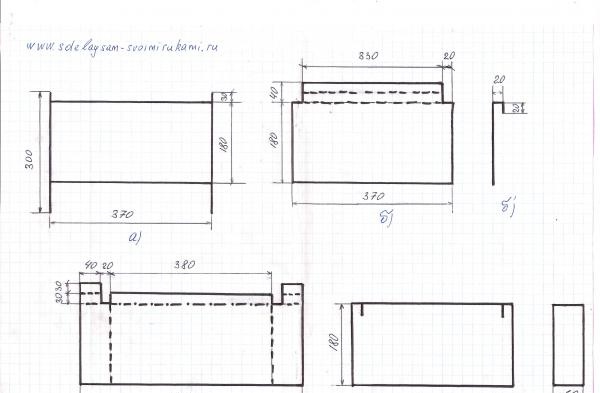
Unfortunately, there are no photographs of the manufacturing process itself. But I think that from the drawing that I made everything will become clear to everyone...
And so we will transgress.
Steel rod cut into pieces of the dimensions indicated in the drawing Fig. a This will be our base, the racks on which the side panels will be placed..
There will be 2 such racks. We fold the cut rods and weld them. It is advisable to sharpen the bottom of the post slightly so that it can be better inserted into the ground.Very sharp ones are also not advisable, since during transportation the sharp ends can cause injury or damage the bag or package...
Start making the side panels.
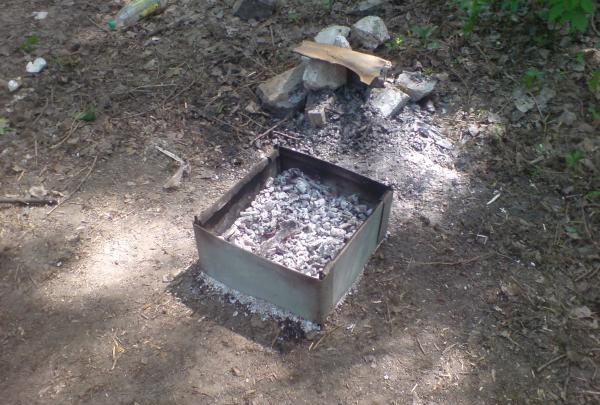
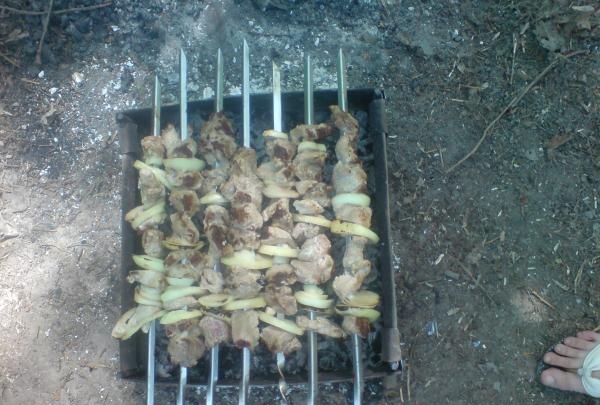

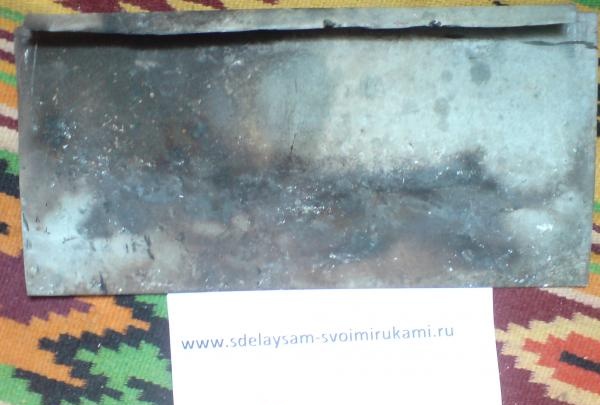
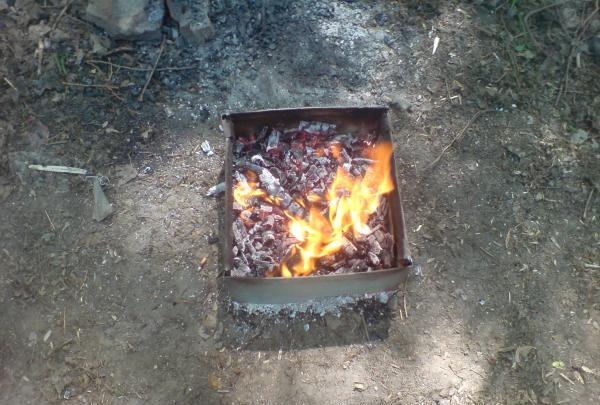
They are indicated in the drawing. b), fig. V).
Using a nail and a ruler (I did this with a pencil or chalk), we mark our future panels on a galvanized sheet and cut them out with a grinder or scissors.
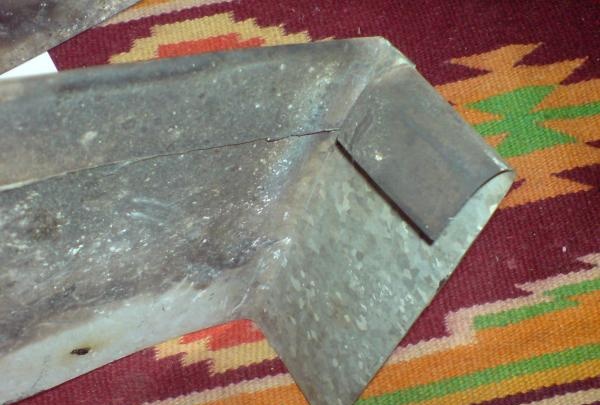
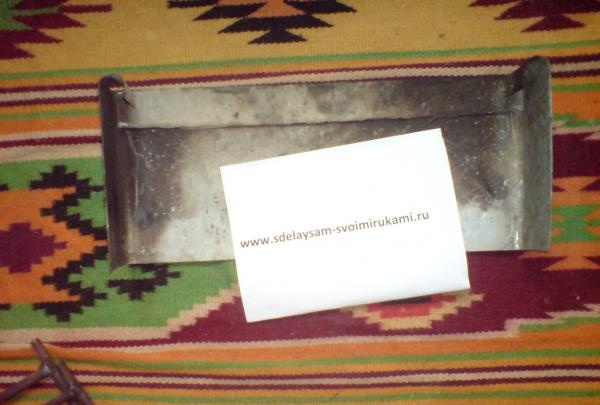
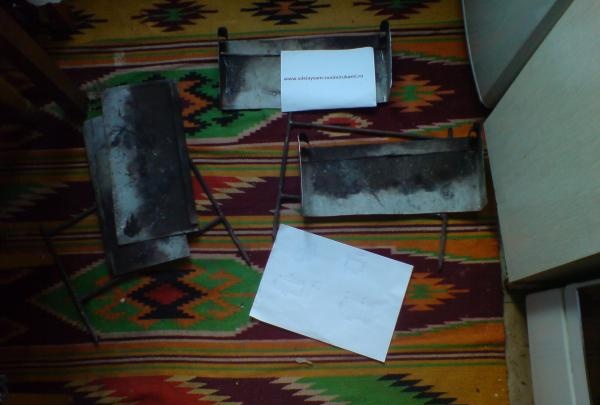
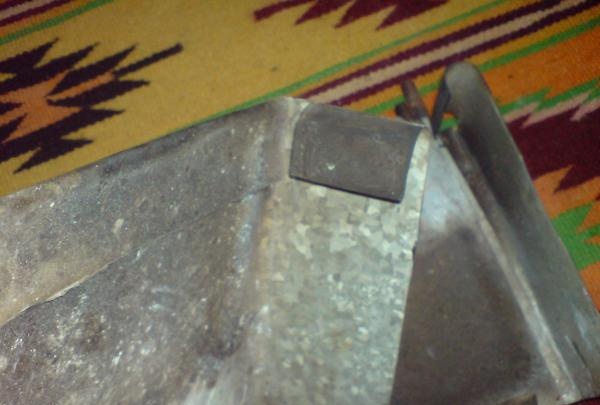
We should have 2 pieces of blanks (Fig.b) and Fig. V)
The dotted line in the drawing indicates the bend line at an angle of 45 and the dotted line with a point of 180
Also in the drawing:
b’) – side view of panel b)
c ’) - front view of panel c)
in '') – side view of panel c)
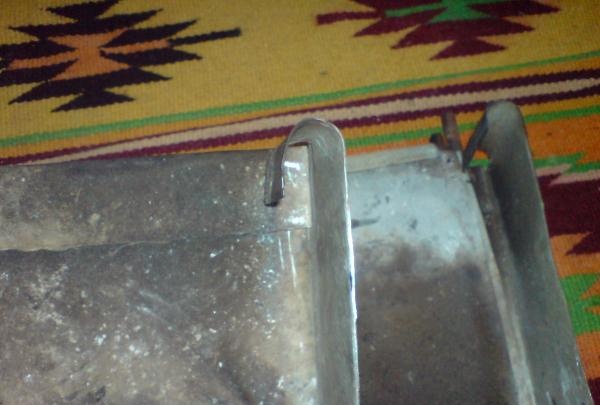
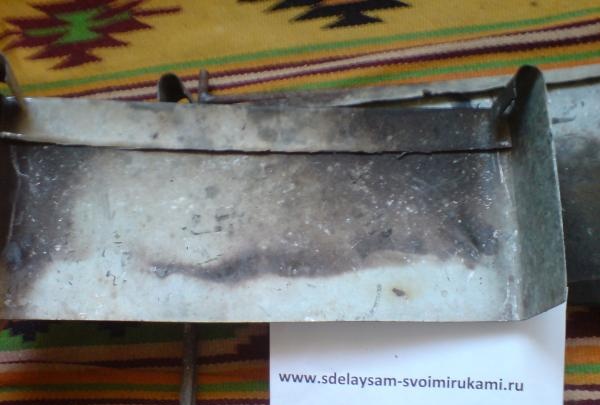
After everything is done, all that remains is to slightly sharpen the sharp ends of the sheet, this can be done with a file, or on a wheel for sharpening cutters.
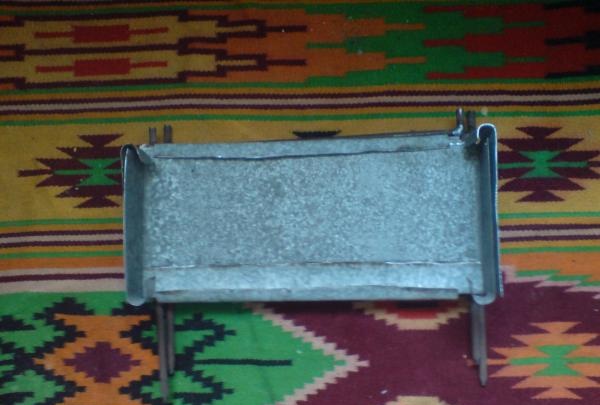
The grill is ready!! I wish you a pleasant holiday!
There are many different types of barbecues on sale, but they also cost differently...
My grill cost me nothing...


All we need is:
1. Steel rod 3m long, diameter 4mm-8mm
2. Galvanized sheet 1.5mm I used old external window sills
3. Welding
4. Metal scissors or grinder
5. Hammer


Unfortunately, there are no photographs of the manufacturing process itself. But I think that from the drawing that I made everything will become clear to everyone...
And so we will transgress.
Steel rod cut into pieces of the dimensions indicated in the drawing Fig. a This will be our base, the racks on which the side panels will be placed..
There will be 2 such racks. We fold the cut rods and weld them. It is advisable to sharpen the bottom of the post slightly so that it can be better inserted into the ground.Very sharp ones are also not advisable, since during transportation the sharp ends can cause injury or damage the bag or package...
Start making the side panels.


They are indicated in the drawing. b), fig. V).
Using a nail and a ruler (I did this with a pencil or chalk), we mark our future panels on a galvanized sheet and cut them out with a grinder or scissors.


We should have 2 pieces of blanks (Fig.b) and Fig. V)
The dotted line in the drawing indicates the bend line at an angle of 45 and the dotted line with a point of 180

Also in the drawing:
b’) – side view of panel b)
c ’) - front view of panel c)
in '') – side view of panel c)
After everything is done, all that remains is to slightly sharpen the sharp ends of the sheet, this can be done with a file, or on a wheel for sharpening cutters.
The grill is ready!! I wish you a pleasant holiday!


Similar master classes
Particularly interesting
Comments (4)


