Candy bouquet made of colored paper
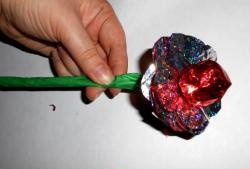
Colored paper is a favorable material for creativity with children. From double-sided colored paper you can create voluminous craftsand then give them as a gift. For example, my daughters and I tried to make flowers like these, very similar to roses. The end result was a beautiful candy bouquet.
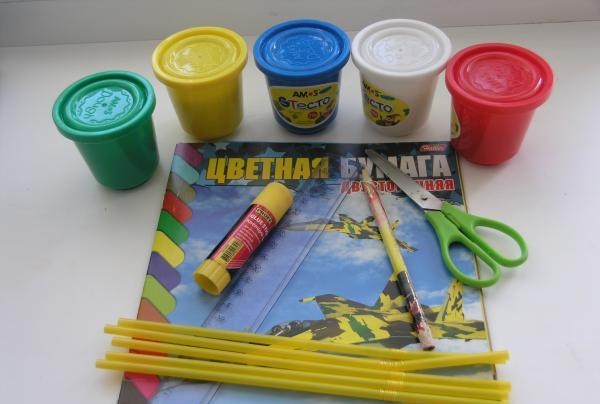
For work you needed:
1) double-sided colored paper;
2) plasticine (hardens better), you can also use modeling dough;
3) cocktail straws;
4) scissors, glue stick, silicone glue, pencil and ruler.
All work can be divided into several stages.
Flower.
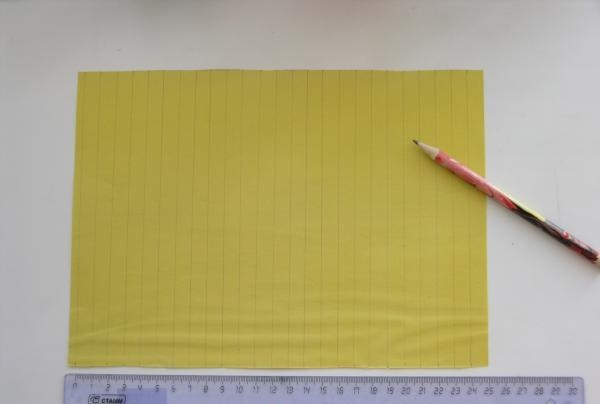
1. First, we prepared strips of colored paper for future petals. To do this, use a ruler and pencil to line a sheet of colored paper. The width of the strips may vary. The narrower the petals, the more airy the flower will be. The width of our strips is 1 cm. This seemed to me to be the optimal value. Not too wide and not too narrow for little fingers. The length of the strips depends on the size of the paper. We cut a sheet of paper along its entire length, and then divided each strip in half so that there were no scraps left.This work can be entrusted to a child who is good with scissors. Even if he makes a slight mistake, it will not affect the final result.
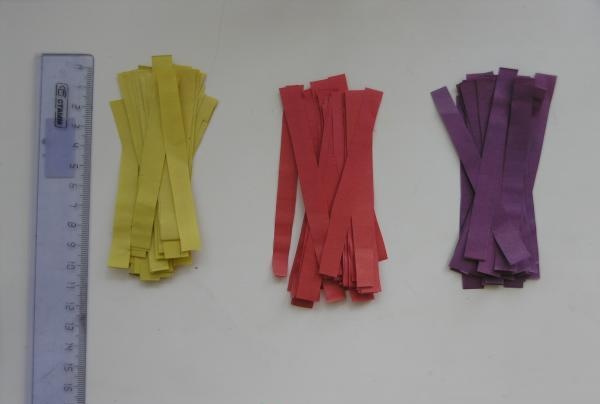
2. Next we made the petals. We smeared the edge with glue and connected the two ends of the strip with a loop. Each flower needed 22 petals. From a sheet of colored paper approximately A-4 size we made 2 flowers.
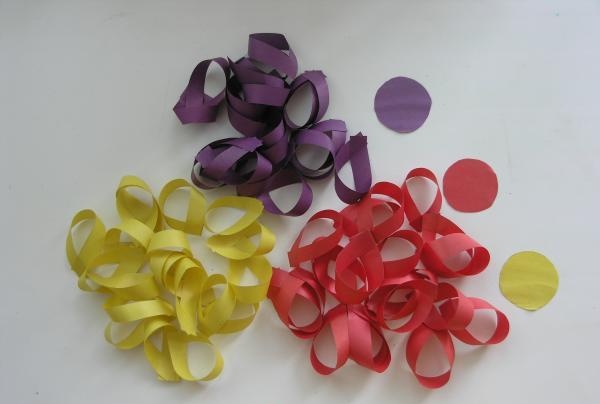
3. The most interesting thing was creating a flower. The base was a pre-cut circle with a diameter of 2-3 cm. We glued our loops onto it in three rows of 6 pieces in a checkerboard pattern. At the end, 4 petals were glued together. We turned the flower upside down and carefully glued in the center of the petals.
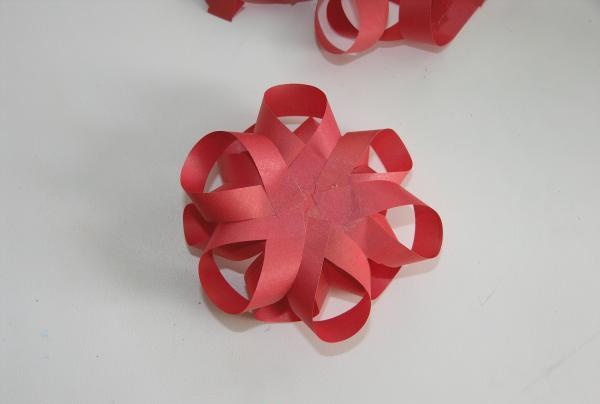
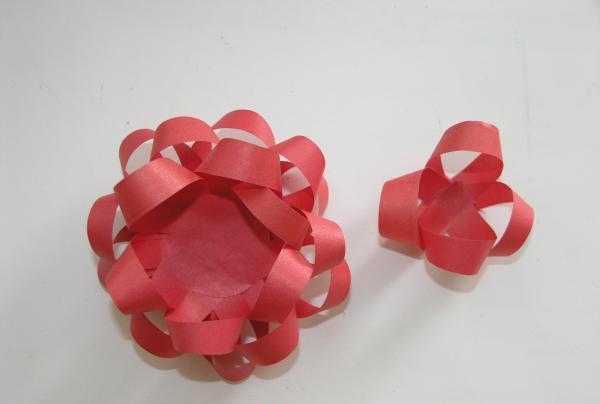
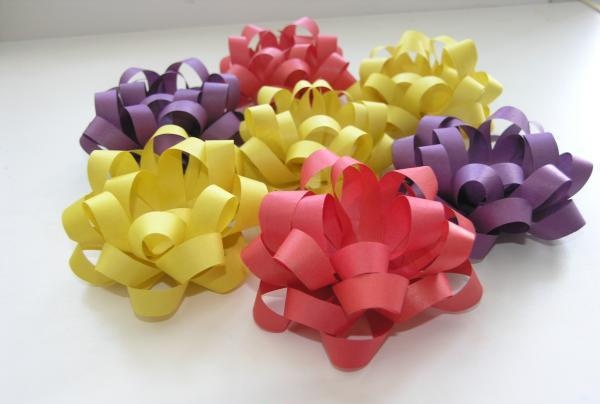
4. For the core of flowers, you can use hardening plasticine or modeling dough, beads, rhinestones, seed beads, and buttons. The middle can be made of foil or glossy cardboard. We decided to use sweets for this purpose.
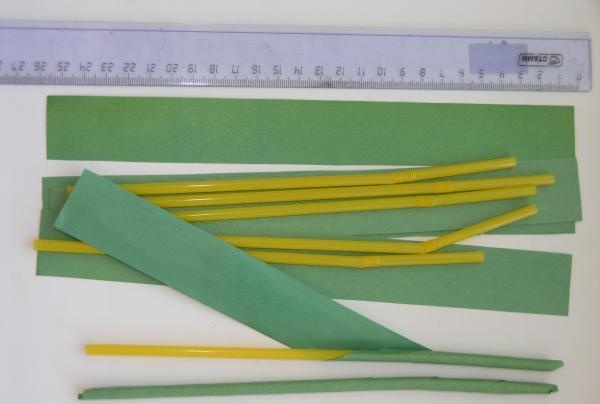
Stem with leaves.
1. Cut out a strip 3 cm wide from green paper. Spread it with glue and wrap it diagonally around a cocktail tube.
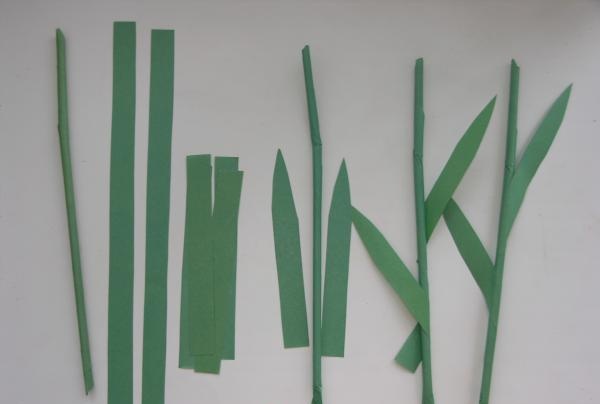
2. For the leaves, we took strips 1.5 cm wide and 10 - 15 cm long, which were cut out in the form of leaflets. We smeared half a leaf with glue and wrapped it around the stem in the same way.
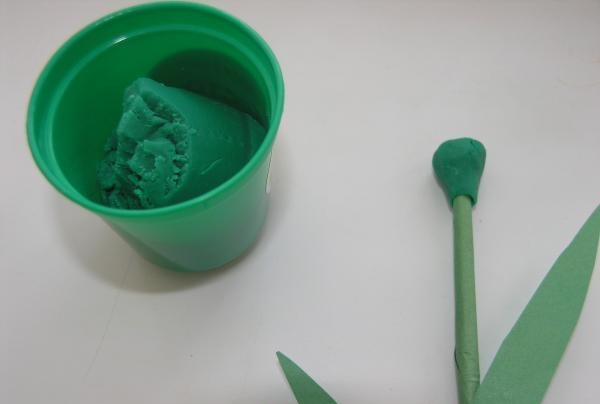
3. We sculpted the receptacle from plasticine and attached it to the stem.
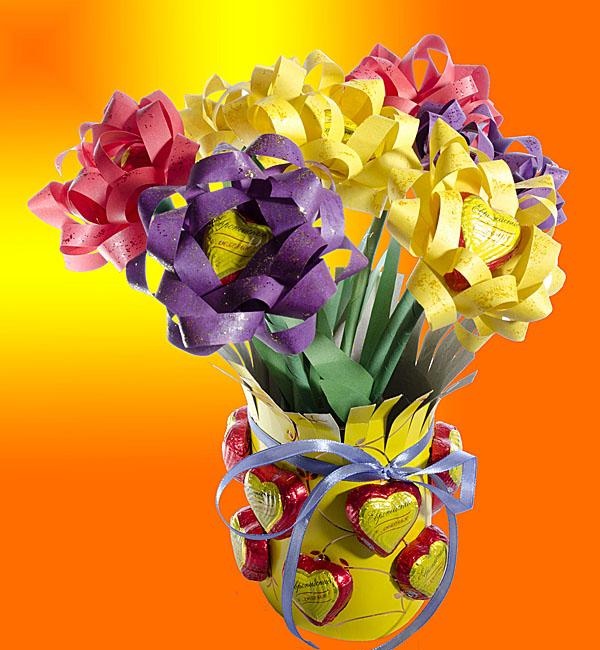
All that remains is to connect the stem with the flower using glue. Since our flowers turned out to be quite heavy due to the candies, we fixed them with silicone glue.
We made such beautiful paper flowers. By the way, they can be used for voluminous applications or greeting cards. Without stems, the flowers will look great on a gift wrap or homemade photo frame.We decided to make a candy bouquet for the kindergarten on September 1st. Added brightness with sparkles. We came up with an original vase made of cardboard and sweets. As a result, our craft not only decorated the group’s interior, but also became a source of pride for our girls, who took an active part in its creation.
For work you needed:
1) double-sided colored paper;
2) plasticine (hardens better), you can also use modeling dough;
3) cocktail straws;
4) scissors, glue stick, silicone glue, pencil and ruler.

All work can be divided into several stages.
Flower.
1. First, we prepared strips of colored paper for future petals. To do this, use a ruler and pencil to line a sheet of colored paper. The width of the strips may vary. The narrower the petals, the more airy the flower will be. The width of our strips is 1 cm. This seemed to me to be the optimal value. Not too wide and not too narrow for little fingers. The length of the strips depends on the size of the paper. We cut a sheet of paper along its entire length, and then divided each strip in half so that there were no scraps left.This work can be entrusted to a child who is good with scissors. Even if he makes a slight mistake, it will not affect the final result.


2. Next we made the petals. We smeared the edge with glue and connected the two ends of the strip with a loop. Each flower needed 22 petals. From a sheet of colored paper approximately A-4 size we made 2 flowers.

3. The most interesting thing was creating a flower. The base was a pre-cut circle with a diameter of 2-3 cm. We glued our loops onto it in three rows of 6 pieces in a checkerboard pattern. At the end, 4 petals were glued together. We turned the flower upside down and carefully glued in the center of the petals.


4. For the core of flowers, you can use hardening plasticine or modeling dough, beads, rhinestones, seed beads, and buttons. The middle can be made of foil or glossy cardboard. We decided to use sweets for this purpose.

Stem with leaves.
1. Cut out a strip 3 cm wide from green paper. Spread it with glue and wrap it diagonally around a cocktail tube.

2. For the leaves, we took strips 1.5 cm wide and 10 - 15 cm long, which were cut out in the form of leaflets. We smeared half a leaf with glue and wrapped it around the stem in the same way.

3. We sculpted the receptacle from plasticine and attached it to the stem.

All that remains is to connect the stem with the flower using glue. Since our flowers turned out to be quite heavy due to the candies, we fixed them with silicone glue.
We made such beautiful paper flowers. By the way, they can be used for voluminous applications or greeting cards. Without stems, the flowers will look great on a gift wrap or homemade photo frame.We decided to make a candy bouquet for the kindergarten on September 1st. Added brightness with sparkles. We came up with an original vase made of cardboard and sweets. As a result, our craft not only decorated the group’s interior, but also became a source of pride for our girls, who took an active part in its creation.
Similar master classes
Particularly interesting
Comments (0)

