Car door lighting
Often, when getting out of the car, you want to see where you put your foot, especially in rainy weather. In addition, if you drop something while leaving, you have to look for it in complete darkness - we are talking about those cars that are not equipped with illuminated doors. And here's how to fix this flaw.
We will need:
• Diode tape (moisture-proof) – 2 pieces of 30 cm each;
• wire – 5 m;
• male-female terminals - 4 pairs;
• soldering iron;
• electrical tape;
• transparent adhesive sealant.
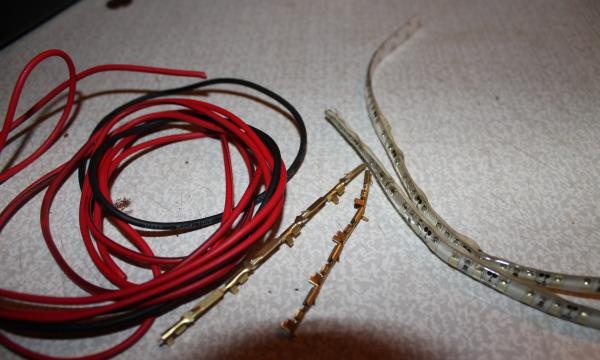
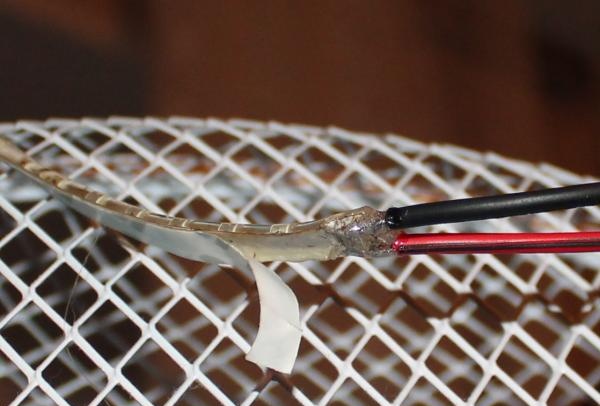
First you need to prepare the modules for lighting. To do this, take a diode strip and solder a wire from one end to each of the two contacts (“+” and “-”). It will be enough to make each wire 15 cm long. We do the same with the second piece of tape.
After securing the wires, fill the soldering area with sealant.
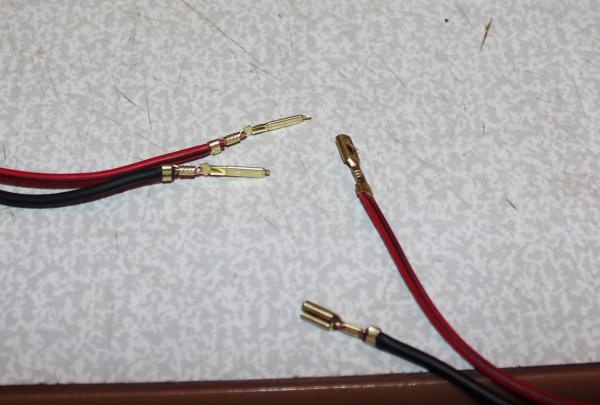
For ease of installation and dismantling, we will make the module removable: we equip the ends of the wires of the tapes with “female” terminals. Accordingly, we also prepare 4 wires with male terminals.
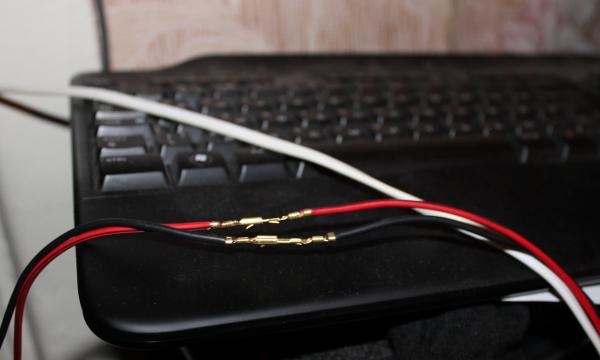
The backlight modules are ready, let's move on to installation.The installation is quite simple: first we remove the door trims, then we take 2 wires out of each door through the hinges (those with male terminals, the terminals should remain sticking out of the door). These are “+” and “-” for our backlight. We extend both pluses to any permanent plus in the car (for example, we attach it to the positive wire of the cigarette lighter). We connect each of the negative backlight wires to the corresponding limit switch in the door (the right door is the right limit switch, the left door is the left limit switch). This is done so that each door is illuminated independently of the others.
We connect the diode strips to the male terminals and check their functionality. If everything is shining as it should, feel free to fasten the tape to the casing from the bottom end and fasten the casing in place.
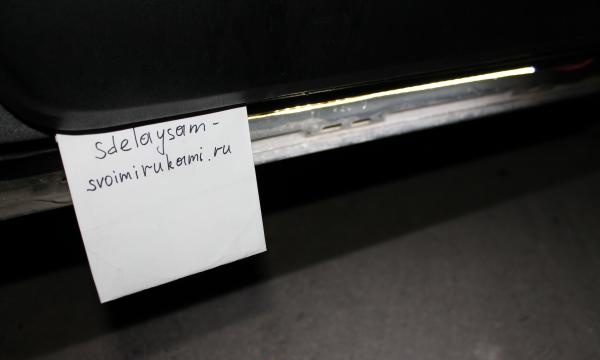
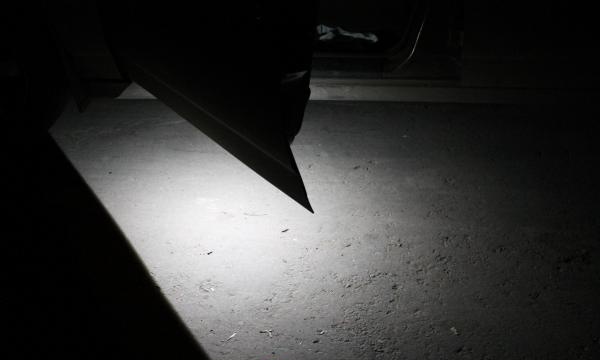
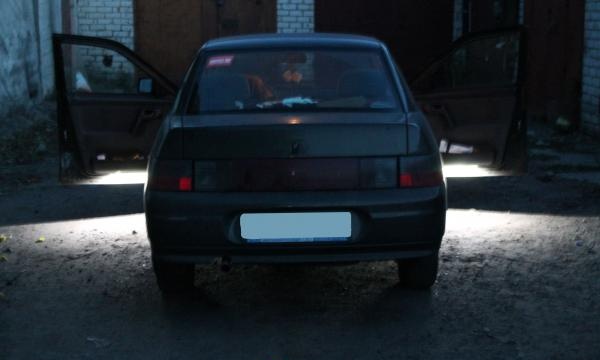
Now you don't have to randomly get out of the car in the dark, and your shoes will remain clean. Successful implementation!
We will need:
• Diode tape (moisture-proof) – 2 pieces of 30 cm each;
• wire – 5 m;
• male-female terminals - 4 pairs;
• soldering iron;
• electrical tape;
• transparent adhesive sealant.

First you need to prepare the modules for lighting. To do this, take a diode strip and solder a wire from one end to each of the two contacts (“+” and “-”). It will be enough to make each wire 15 cm long. We do the same with the second piece of tape.
After securing the wires, fill the soldering area with sealant.

For ease of installation and dismantling, we will make the module removable: we equip the ends of the wires of the tapes with “female” terminals. Accordingly, we also prepare 4 wires with male terminals.


The backlight modules are ready, let's move on to installation.The installation is quite simple: first we remove the door trims, then we take 2 wires out of each door through the hinges (those with male terminals, the terminals should remain sticking out of the door). These are “+” and “-” for our backlight. We extend both pluses to any permanent plus in the car (for example, we attach it to the positive wire of the cigarette lighter). We connect each of the negative backlight wires to the corresponding limit switch in the door (the right door is the right limit switch, the left door is the left limit switch). This is done so that each door is illuminated independently of the others.
We connect the diode strips to the male terminals and check their functionality. If everything is shining as it should, feel free to fasten the tape to the casing from the bottom end and fasten the casing in place.


Now you don't have to randomly get out of the car in the dark, and your shoes will remain clean. Successful implementation!
Similar master classes
Particularly interesting
Comments (0)


