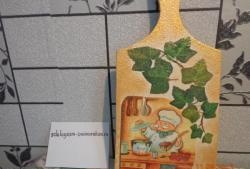
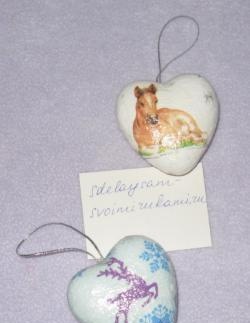
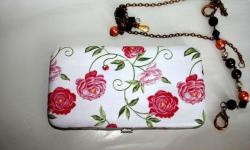
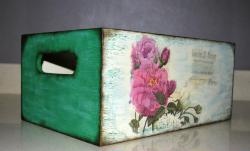
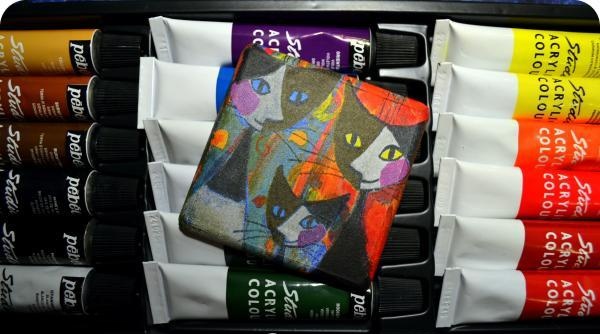
Magnet using decoupage technique
When beauty arises in a person, he tries to share it with the whole world, and this can be explained very simply - an invariable attraction to the world of creativity. One of the techniques that helps bring ideas to life is decoupage - the art of decorating a wide variety of things with fragments of paper napkins. Marie Antoinette was also fond of this creativity, and today each of us has the opportunity to create a unique thing. So, let's get to work!
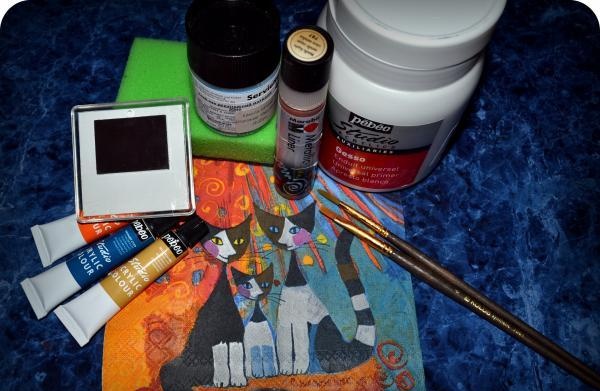
In our work we will need:
blank, acrylic primer and paints, glue and varnish for decoupage (this can be two in one), stationery file, napkin, foam sponge, sandpaper.
1. Using a sponge, cover the working surface of the magnet with acrylic primer in several layers until it turns completely white (this can be done up to 3 times, each layer must dry). In between, sand the surface with fine sandpaper.
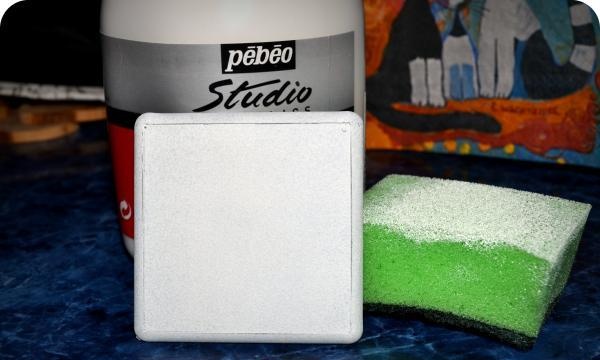
2. You can help the acrylic primer dry with a hairdryer. The next step is to cut out a piece of napkin you like according to the size of the magnet and remove the two bottom layers from it.As a result, we have a thin piece of paper.

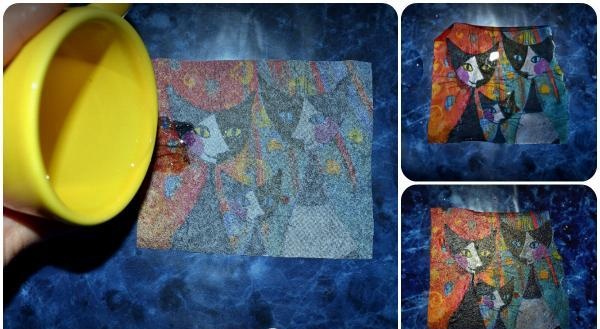
3. Place the cut piece face down on the file. Pour some water into a cup, pour it over the fragment, completely cover it with water and pour the rest into the sink. Gently remove the bubbles with a brush.
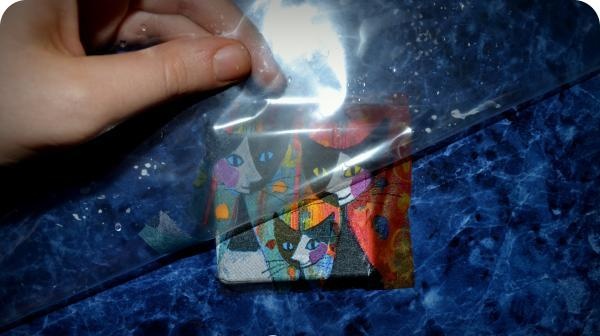
4. Take the file by the ends and gradually apply it to the already dried workpiece. Use your fingers to expel any air bubbles. When all these manipulations are done, pry up the tip of the napkin, separating it from the file, and remove it. As a result, we get a beautifully glued fragment.
5. Using a wide brush, cover our magnet with glue, starting from the middle and carefully moving towards the edge, trying not to touch it.
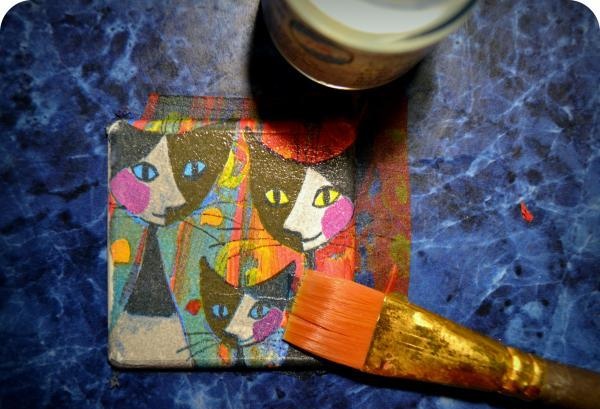
6. Remove unnecessary parts on the sides and completely dry the magnet with a hairdryer. Next, we take acrylic paints and begin painting. We coat the magnet with varnish in at least 2 layers and let it dry completely.
We enjoy the result!
In our work we will need:
blank, acrylic primer and paints, glue and varnish for decoupage (this can be two in one), stationery file, napkin, foam sponge, sandpaper.

1. Using a sponge, cover the working surface of the magnet with acrylic primer in several layers until it turns completely white (this can be done up to 3 times, each layer must dry). In between, sand the surface with fine sandpaper.

2. You can help the acrylic primer dry with a hairdryer. The next step is to cut out a piece of napkin you like according to the size of the magnet and remove the two bottom layers from it.As a result, we have a thin piece of paper.

3. Place the cut piece face down on the file. Pour some water into a cup, pour it over the fragment, completely cover it with water and pour the rest into the sink. Gently remove the bubbles with a brush.

4. Take the file by the ends and gradually apply it to the already dried workpiece. Use your fingers to expel any air bubbles. When all these manipulations are done, pry up the tip of the napkin, separating it from the file, and remove it. As a result, we get a beautifully glued fragment.

5. Using a wide brush, cover our magnet with glue, starting from the middle and carefully moving towards the edge, trying not to touch it.

6. Remove unnecessary parts on the sides and completely dry the magnet with a hairdryer. Next, we take acrylic paints and begin painting. We coat the magnet with varnish in at least 2 layers and let it dry completely.
We enjoy the result!

Similar master classes
Particularly interesting
Comments (0)

